Welcome to Moda Fabrics!
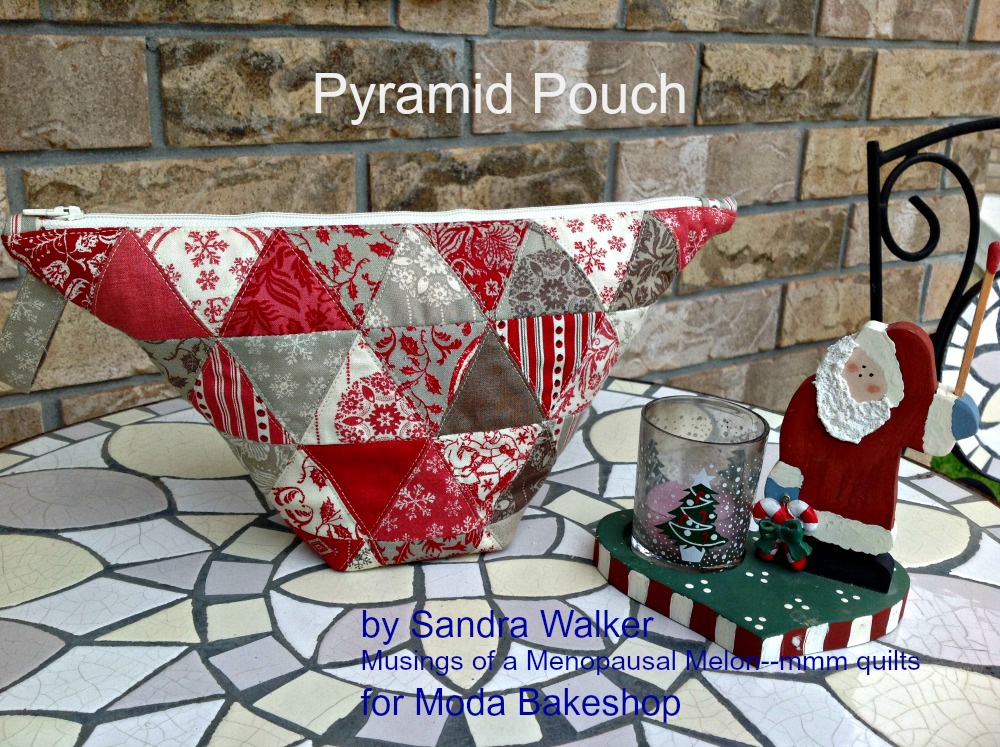
Pyramid Pouch
Pyramid Pouch
Published:
May 29 2015 - 21:59

![]()
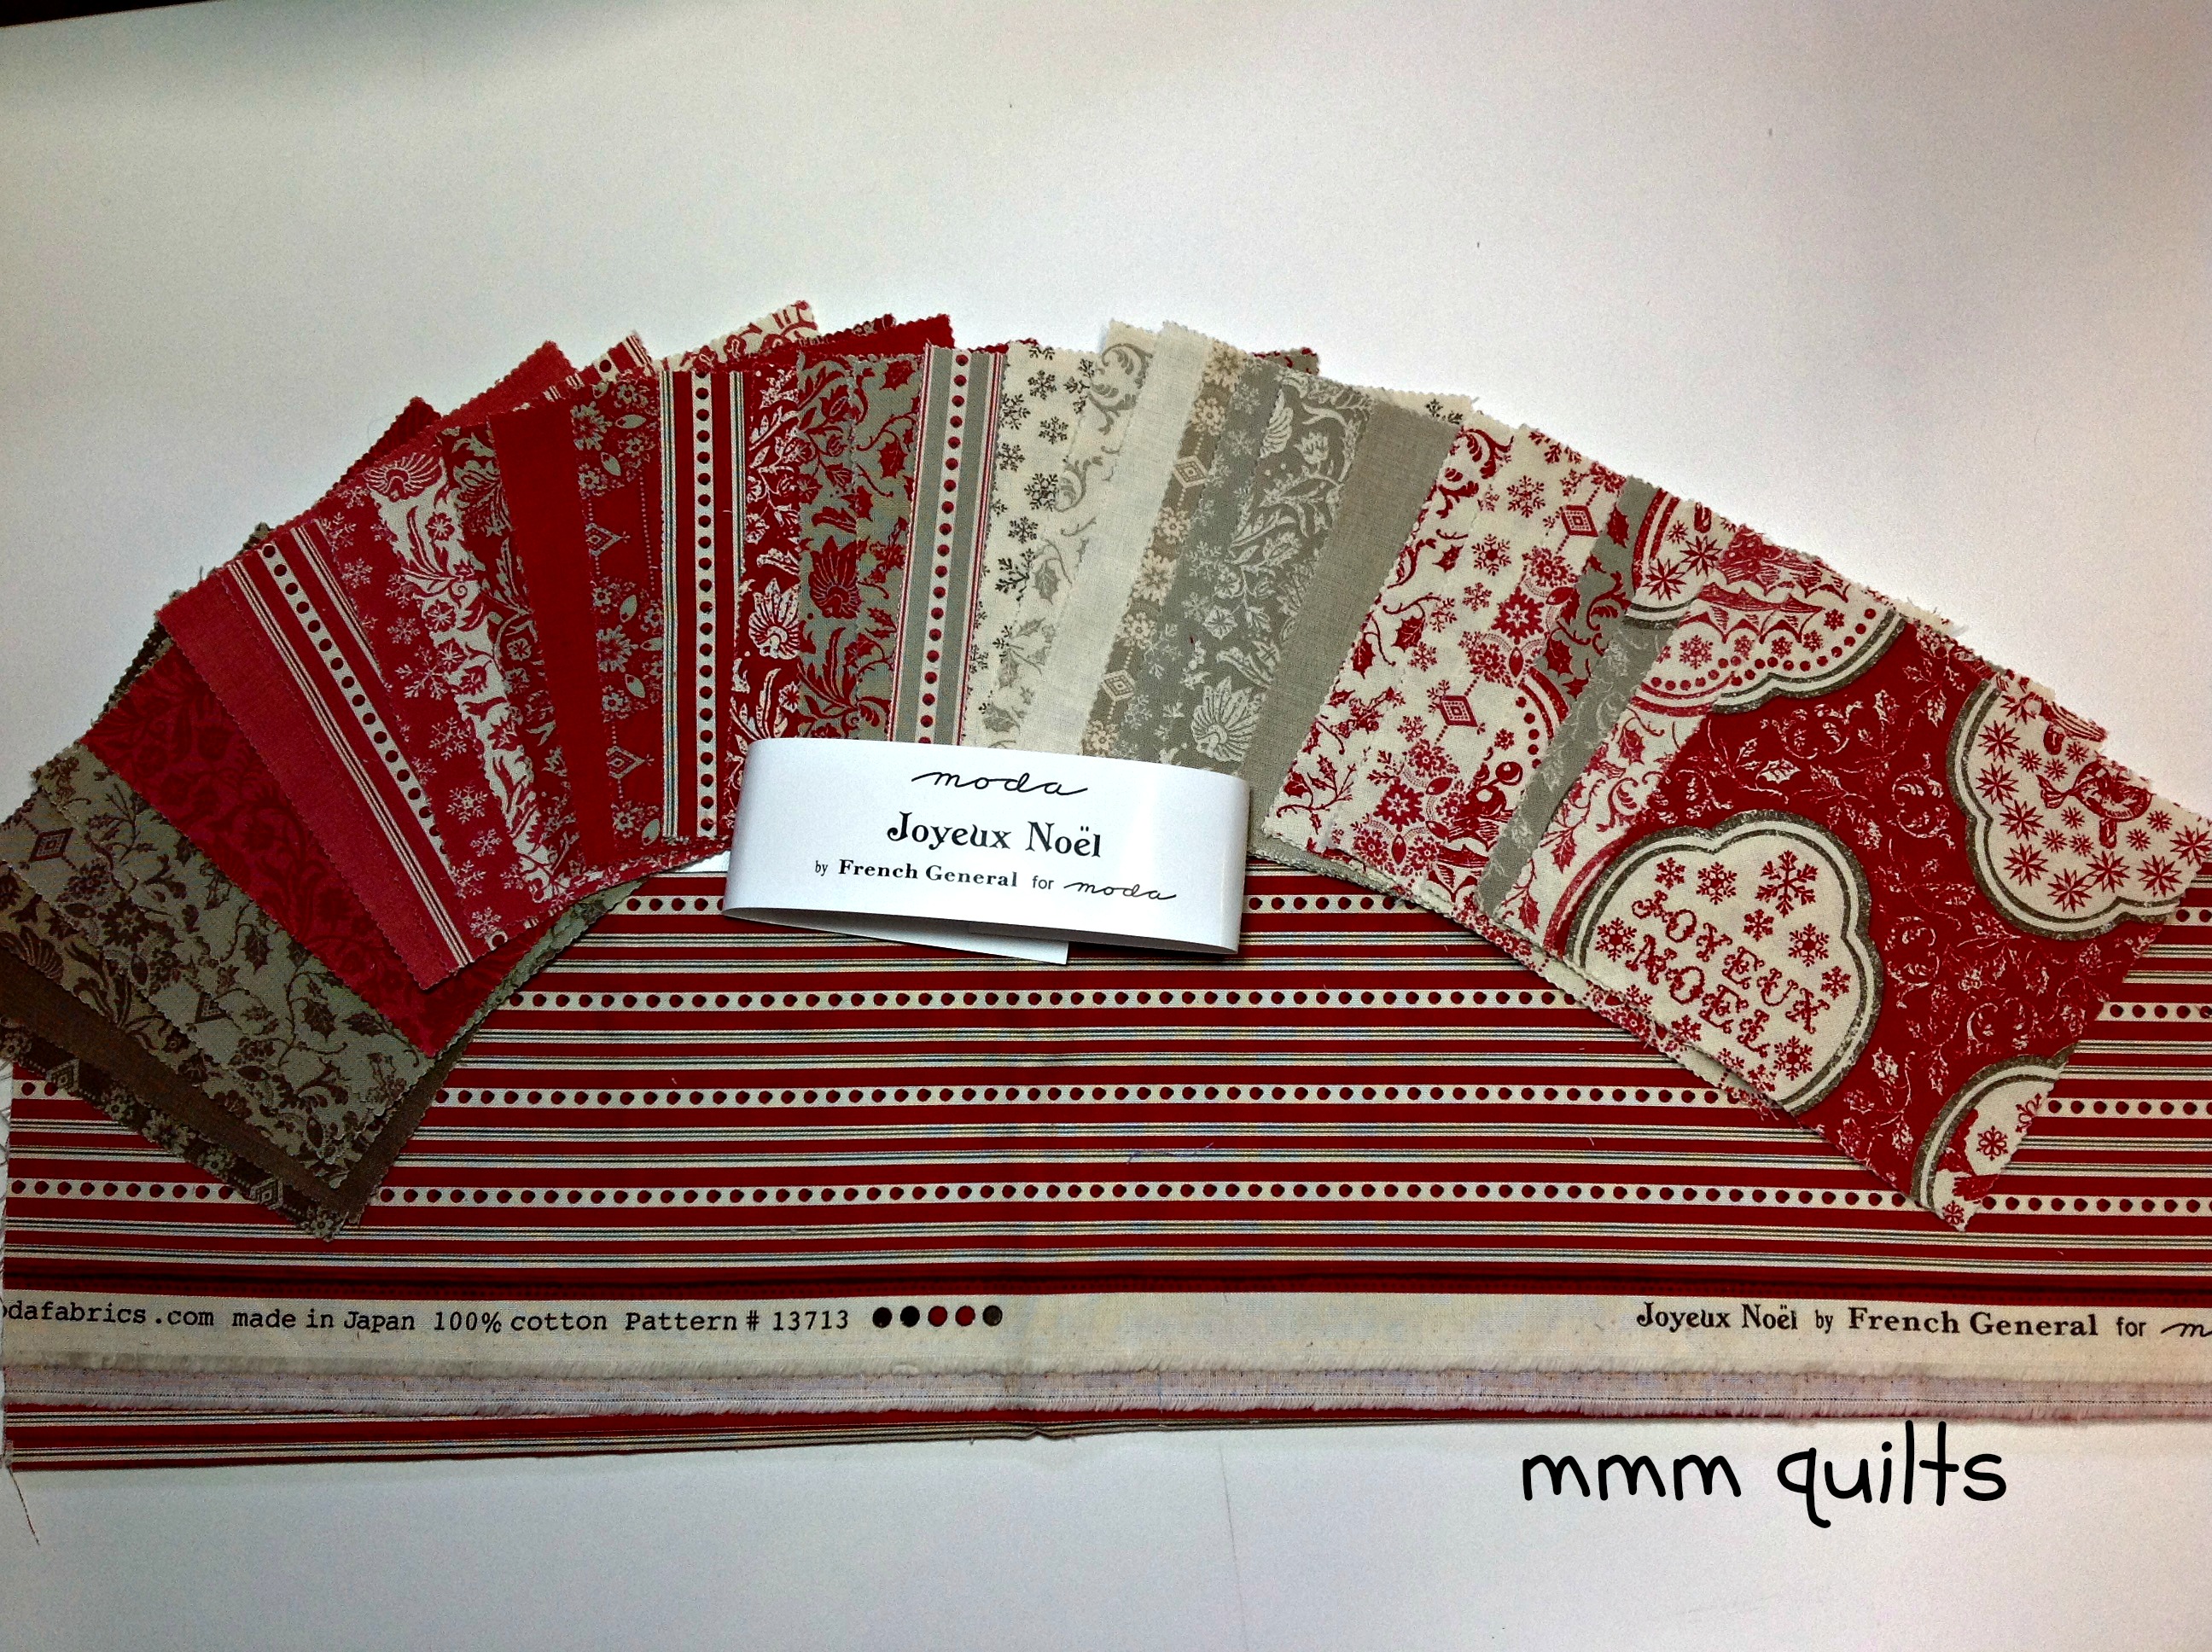
1 Joyeux Noel Charm Pack
2 batting scraps measuring 14X9" each OR a strip measuring 22X9"
Optional: stiff iron-on interfacing in the same measurement as the batting
lining the same measurements as the batting or 1/3 yard (which will give you enough lining for two pouches!)
a zipper that is at least 12" long (if you have a longer zipper I will show you how to make it work)
![]()
Cutting
First choose 32 of the charm squares for your pouch if you want to make two at once (I like that!) OR choose 16 of the charm squares if you are only making one. (Tip: I am all about labels, so if you have a charm square that reads solid and upon which writing would easily show, then put it aside now to be used as your label.)

Cut the charm squares you have chosen for the bag body in half to yield two rectangles 2.5”X5” per charm square.
Thus, 16 charm squares will yield 32 rectangles; 32 charm squares will yield 64 rectangles.

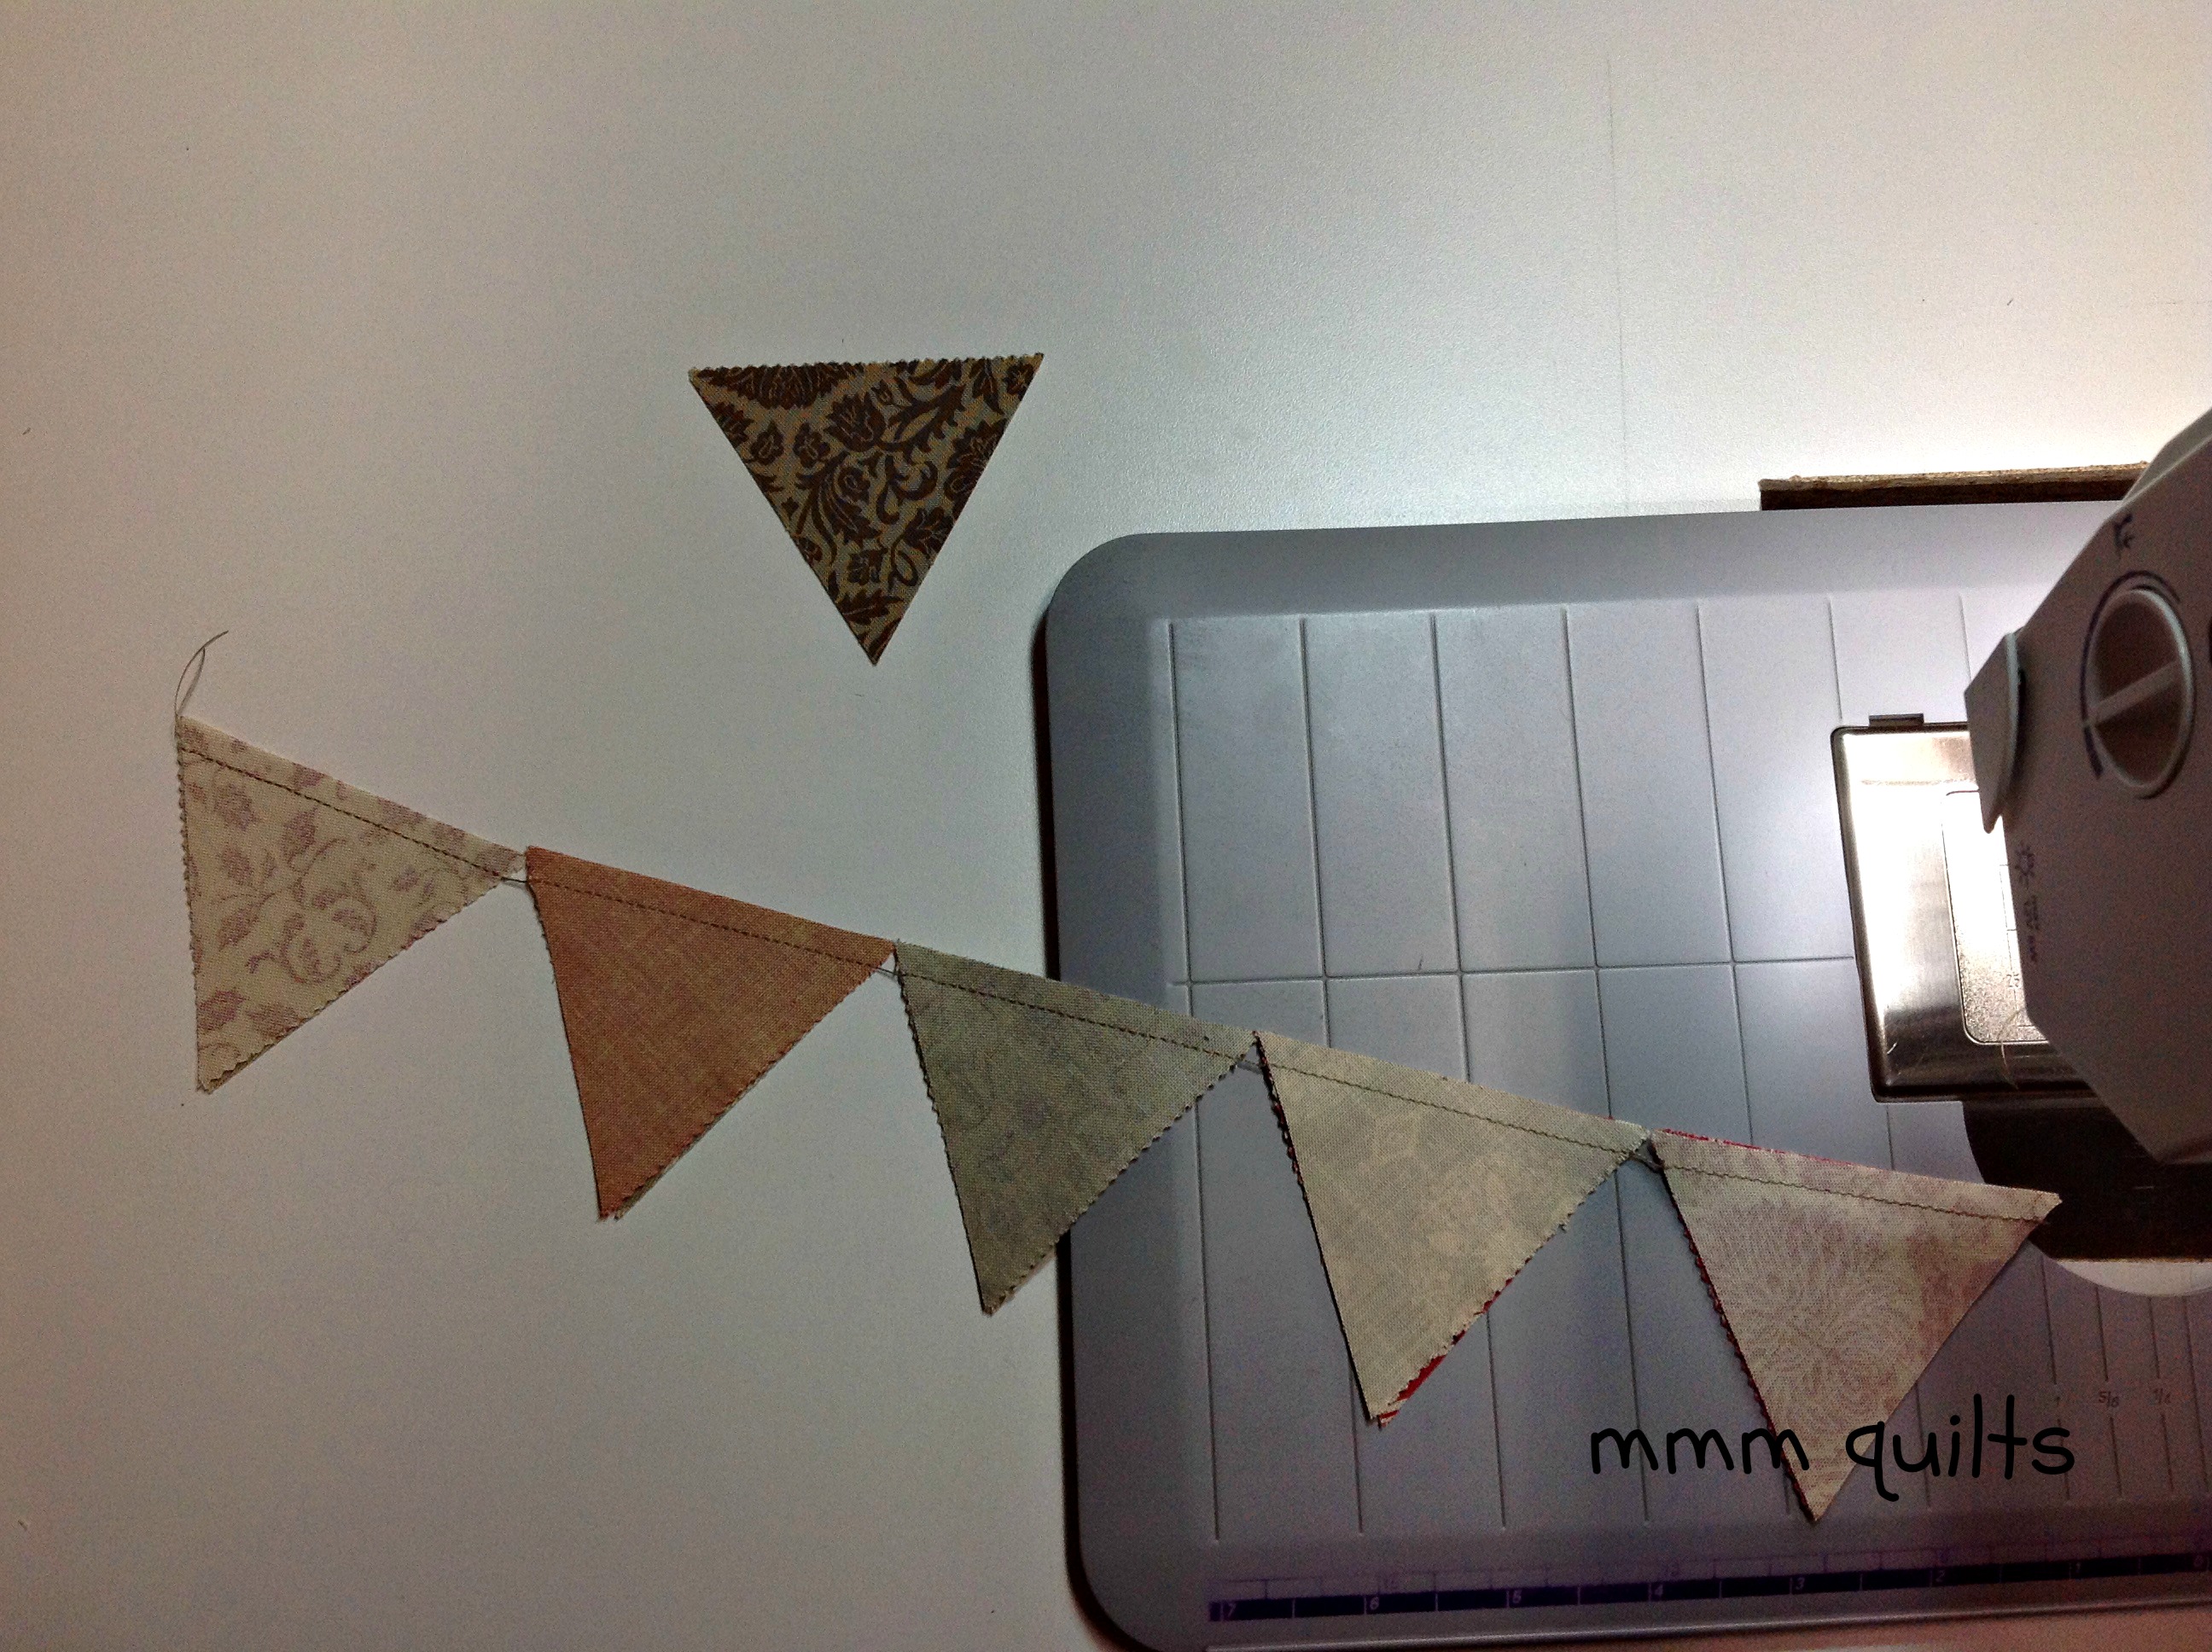
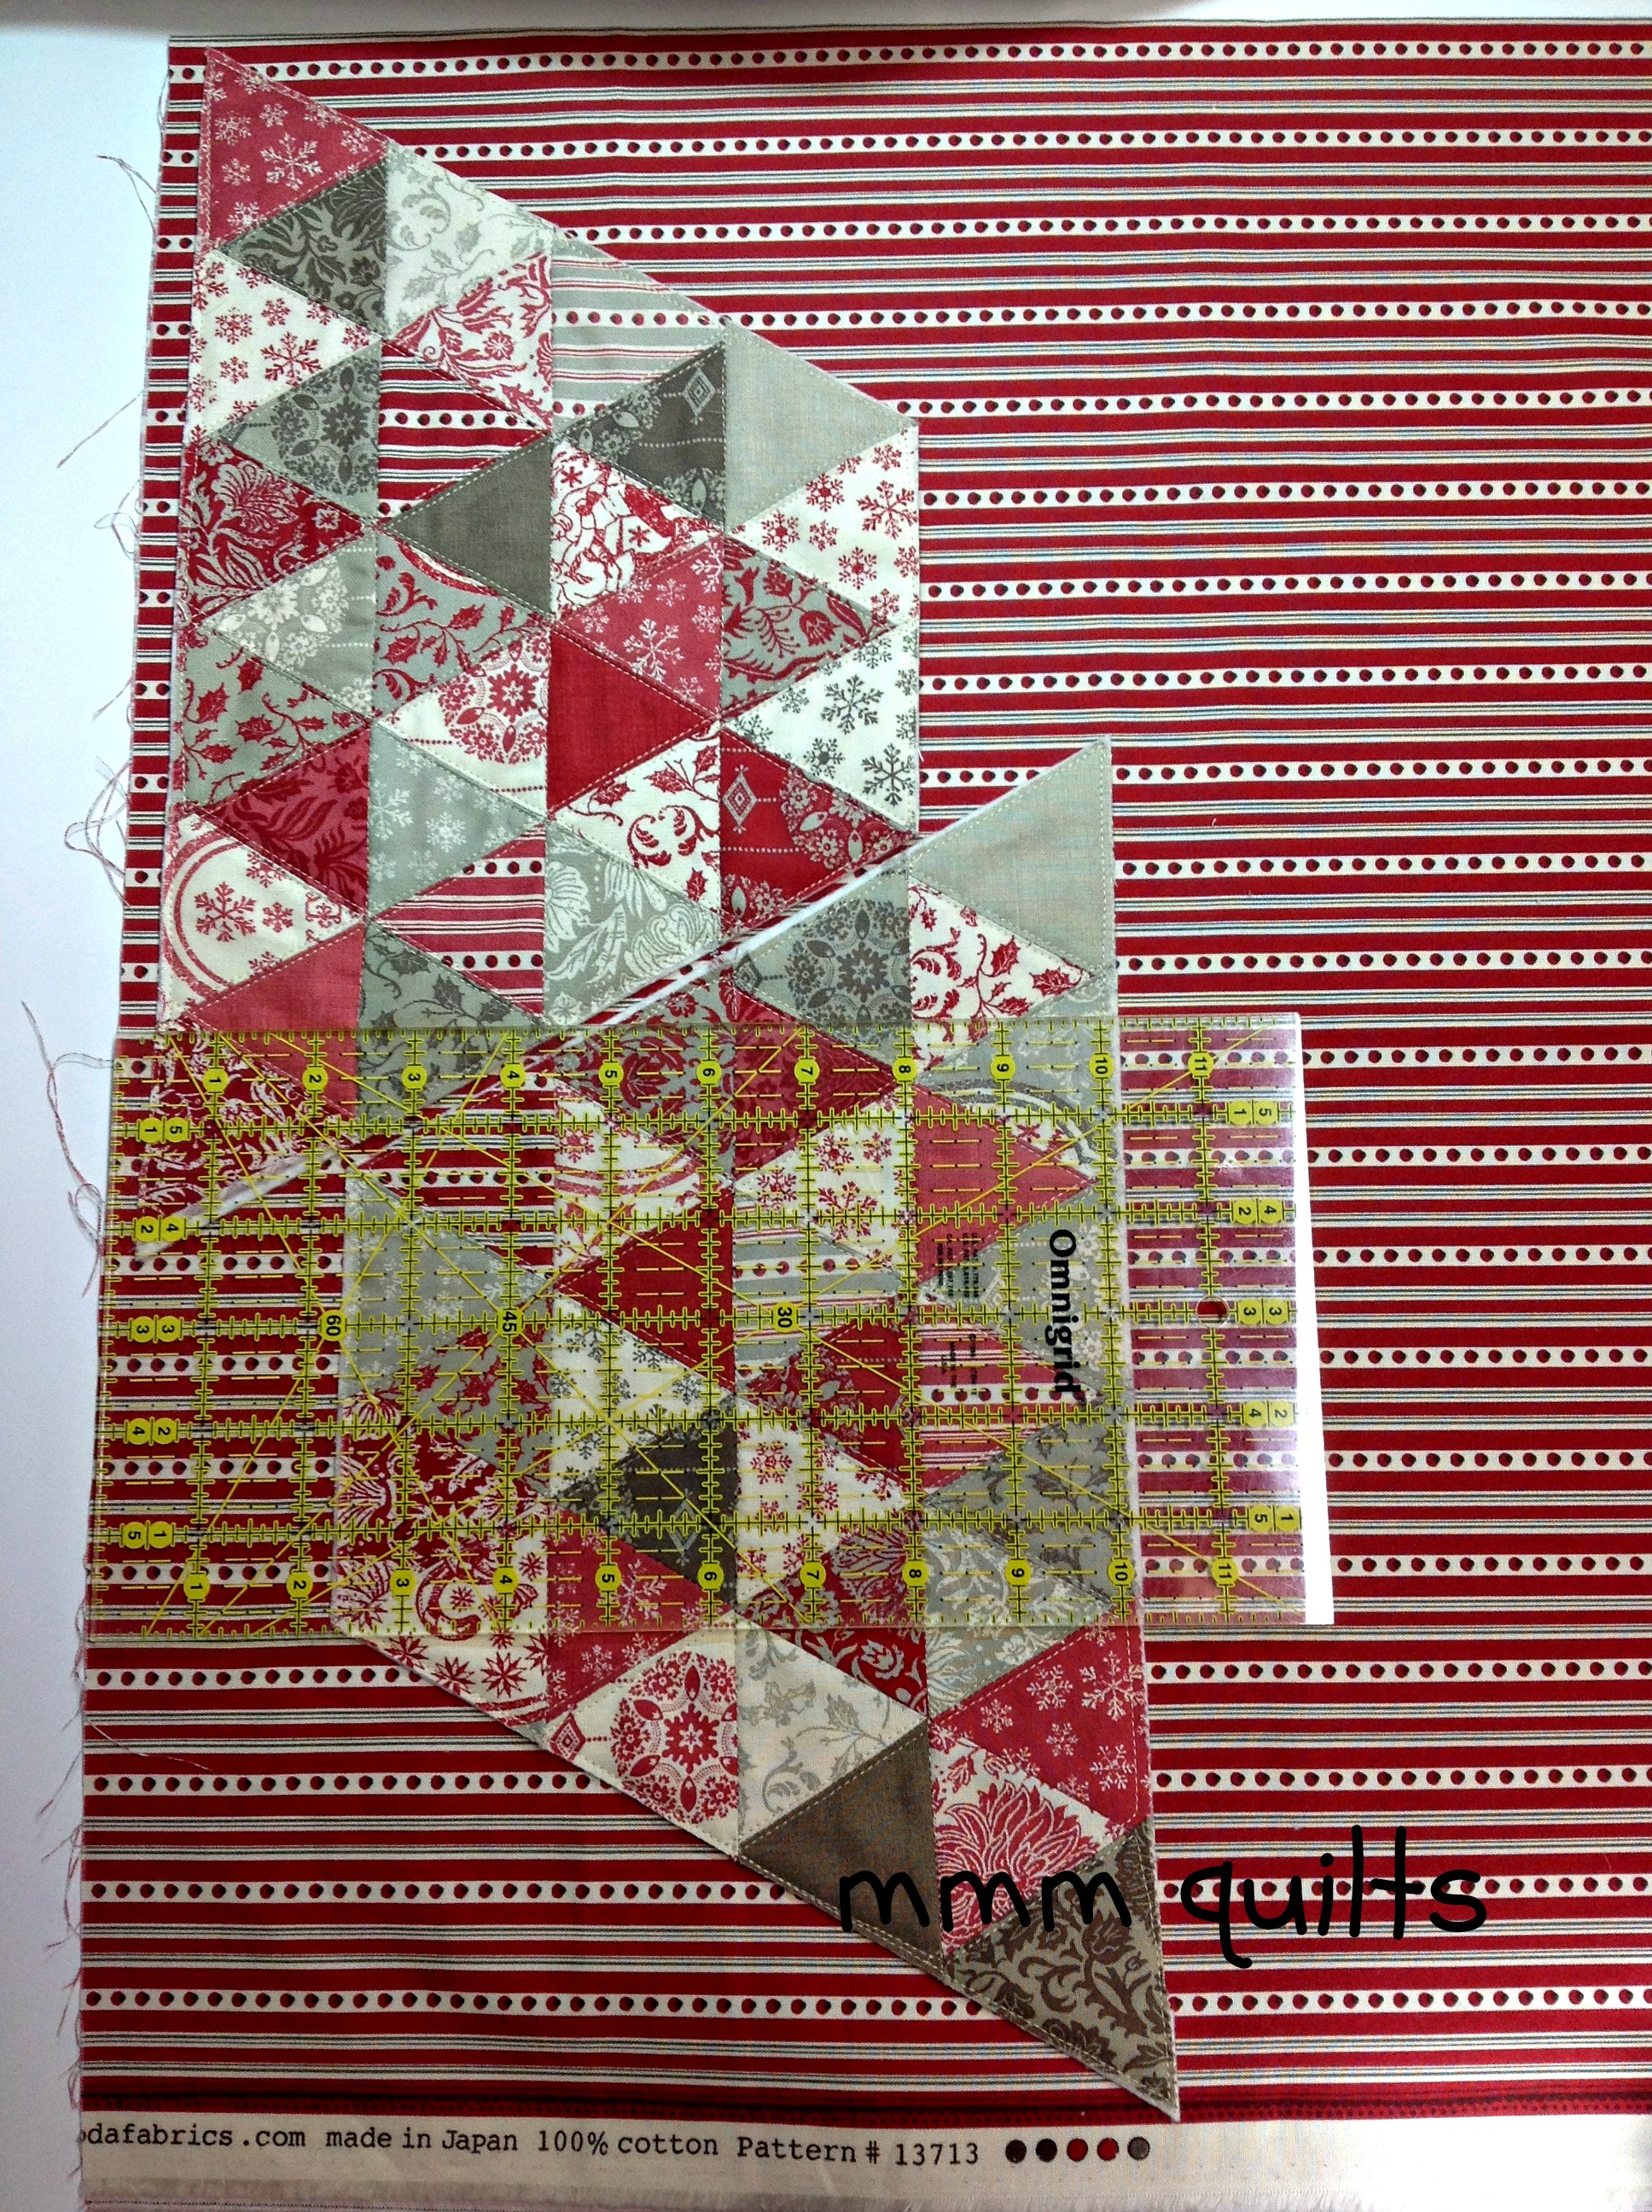
We will be cutting 60° triangles from these rectangles. You can make a template out of template plastic or paper, but I just use the angle lines on my 12" Omnigrid ruler. Place your ruler on the charm square with the 60° line along the bottom edge. Cut as shown.
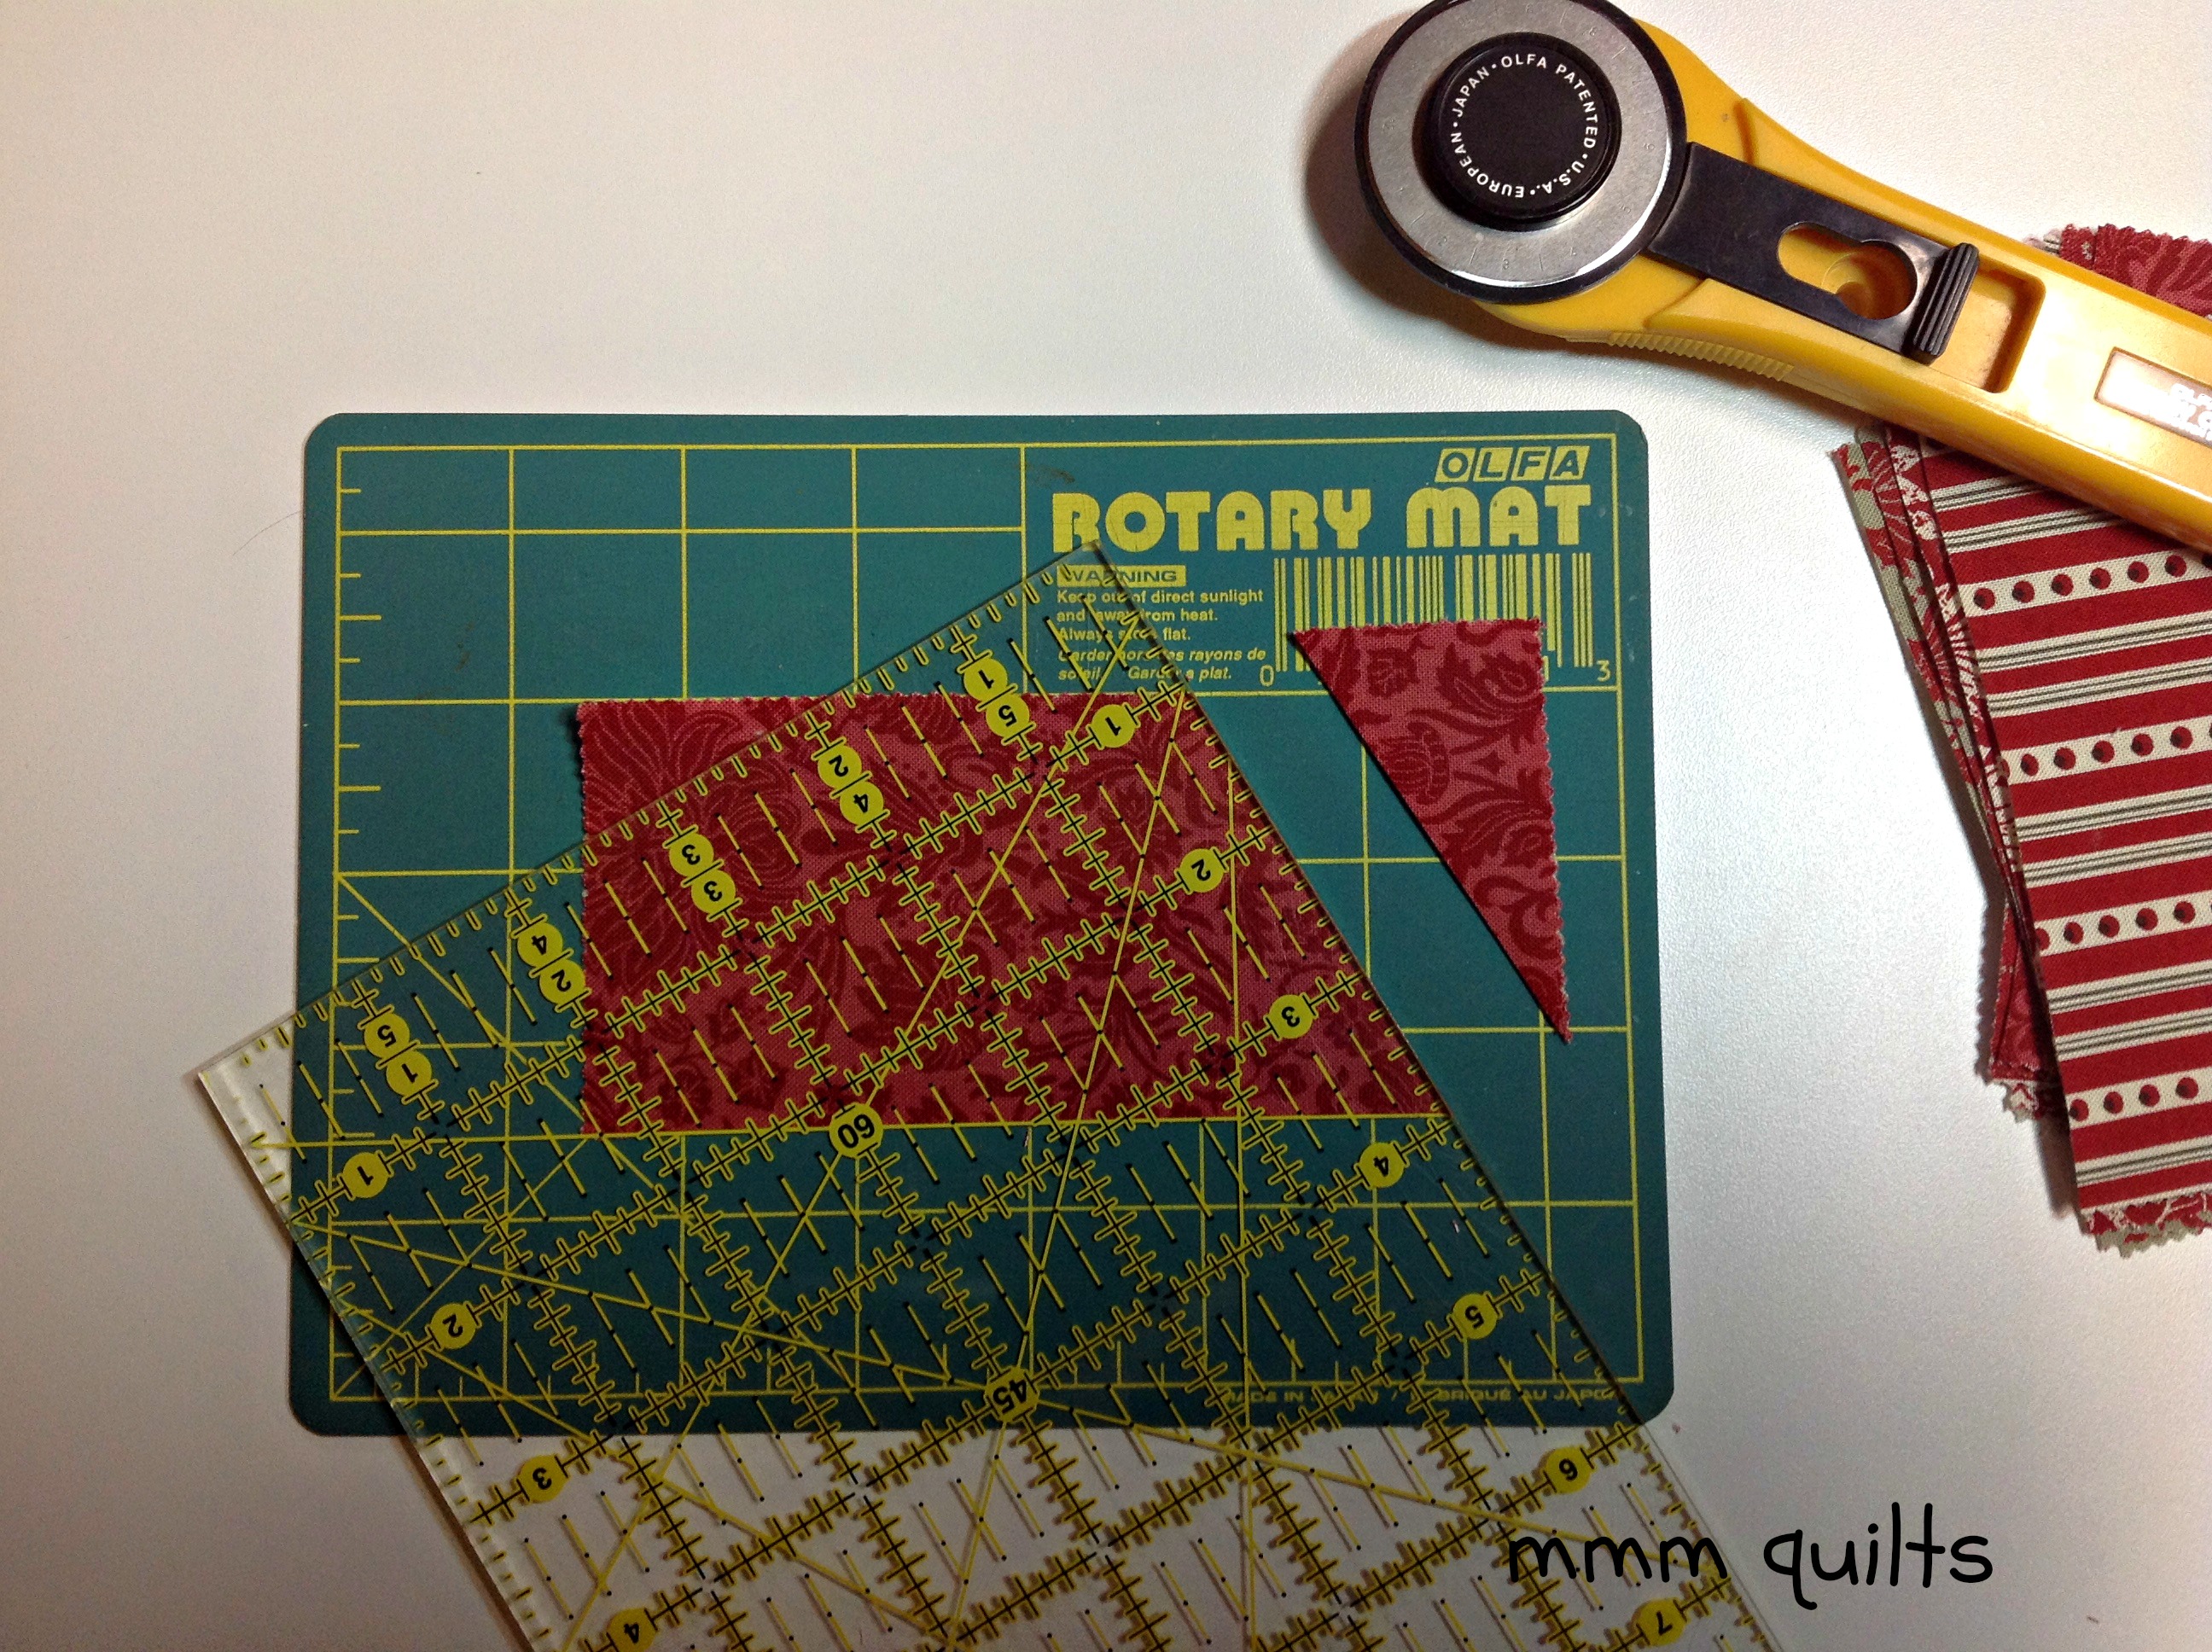
Turn the entire mat around if you're working on a small one, as I am. Otherwise, carefully turn the strip around (remember bias edges are very stretchy). Line the 2.5" line up along the just-cut edge, and the 60° line along the bottom edge of the strip as shown. Cut. You will have a diamond shape that is 2.5" wide and 2.5" high.

Now line up the 60° line along either the top or the bottom of the strip (sometimes you have to finagle (technical quilting term uh-huh) the ruler a bit to get the edge for cutting in the right place), and the cutting edge of the ruler from wide-angled point to point of the diamond. Think of it as cutting across the shorter distance of the two point-to-point distances.

Cut. Voilà! Two 60° triangles!
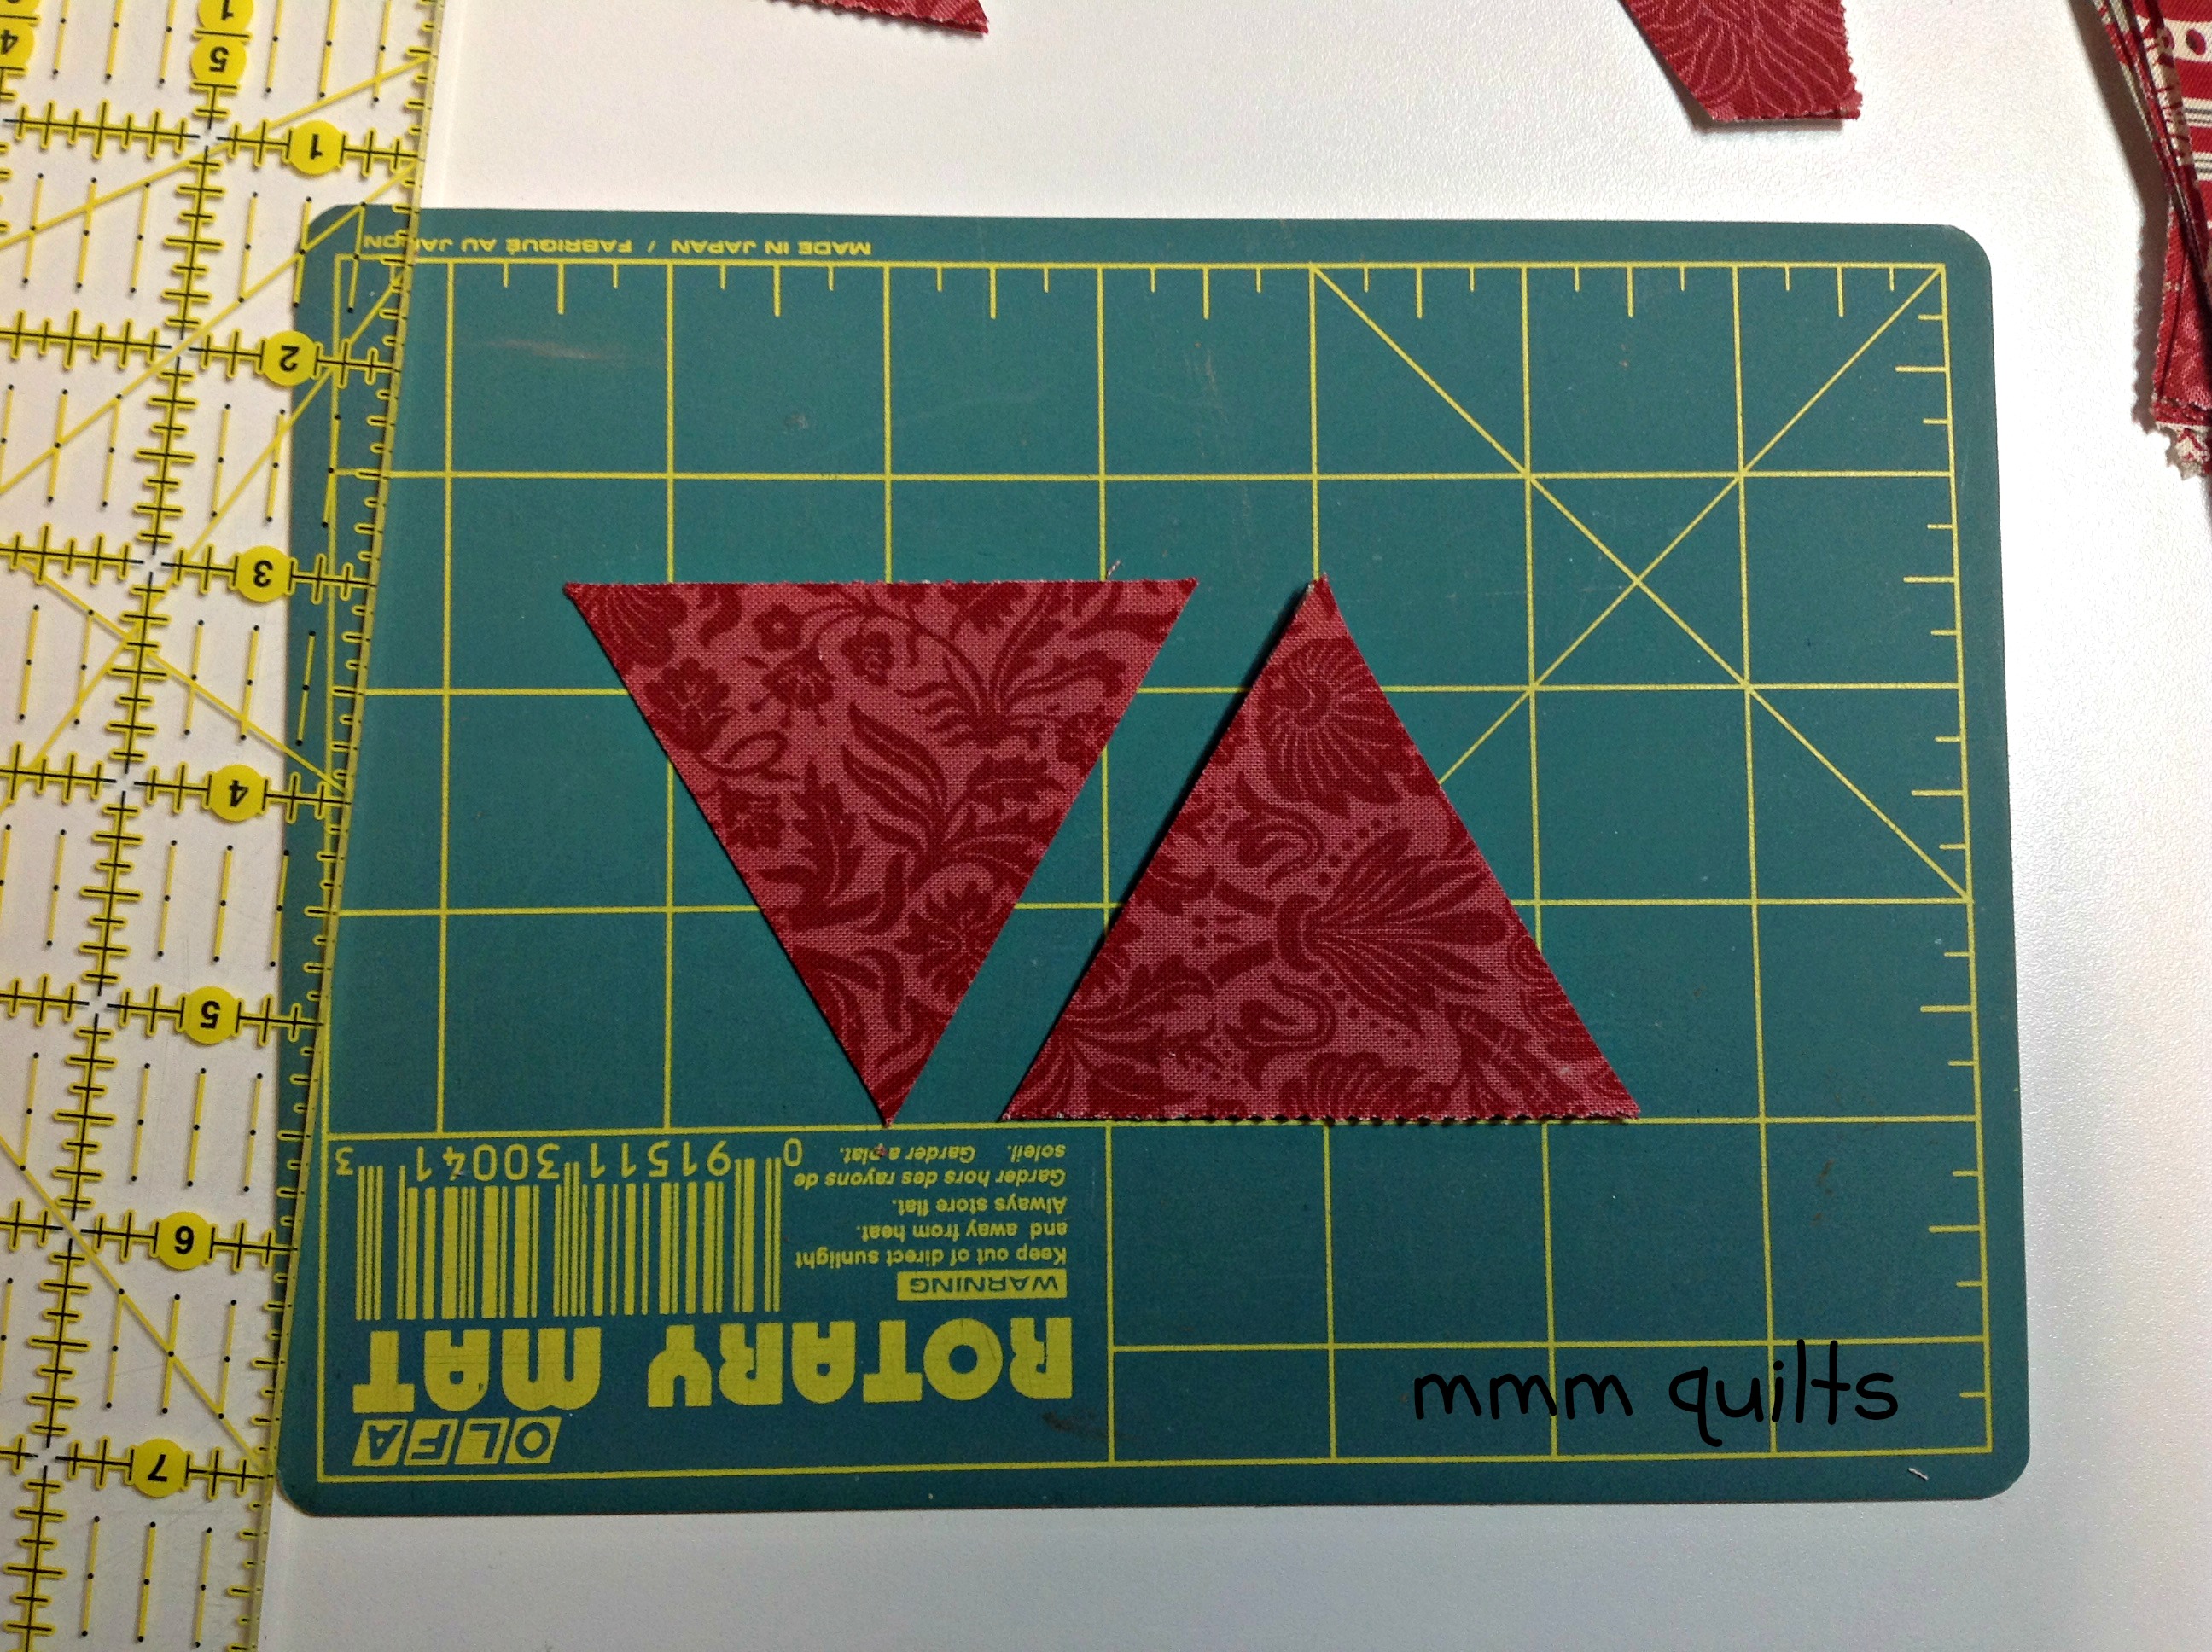
Continue cutting until you have 64 triangles. You can stack 2-4 rectangles on top of each other if you like to speed up the triangle-cutting process. I also like to stack all the triangles in the same direction, points up, with the straight grain base at the bottom (very important to keep your quilt or pouch from stretching out of control). As I cut the diamond into the two triangles, I make two stacks of 32 identical fabrics, one for each side of the pouch.
**If you have cut both halves of the charm square into triangles, you will have 4 piles of 32 triangles each, enough for two pouches!

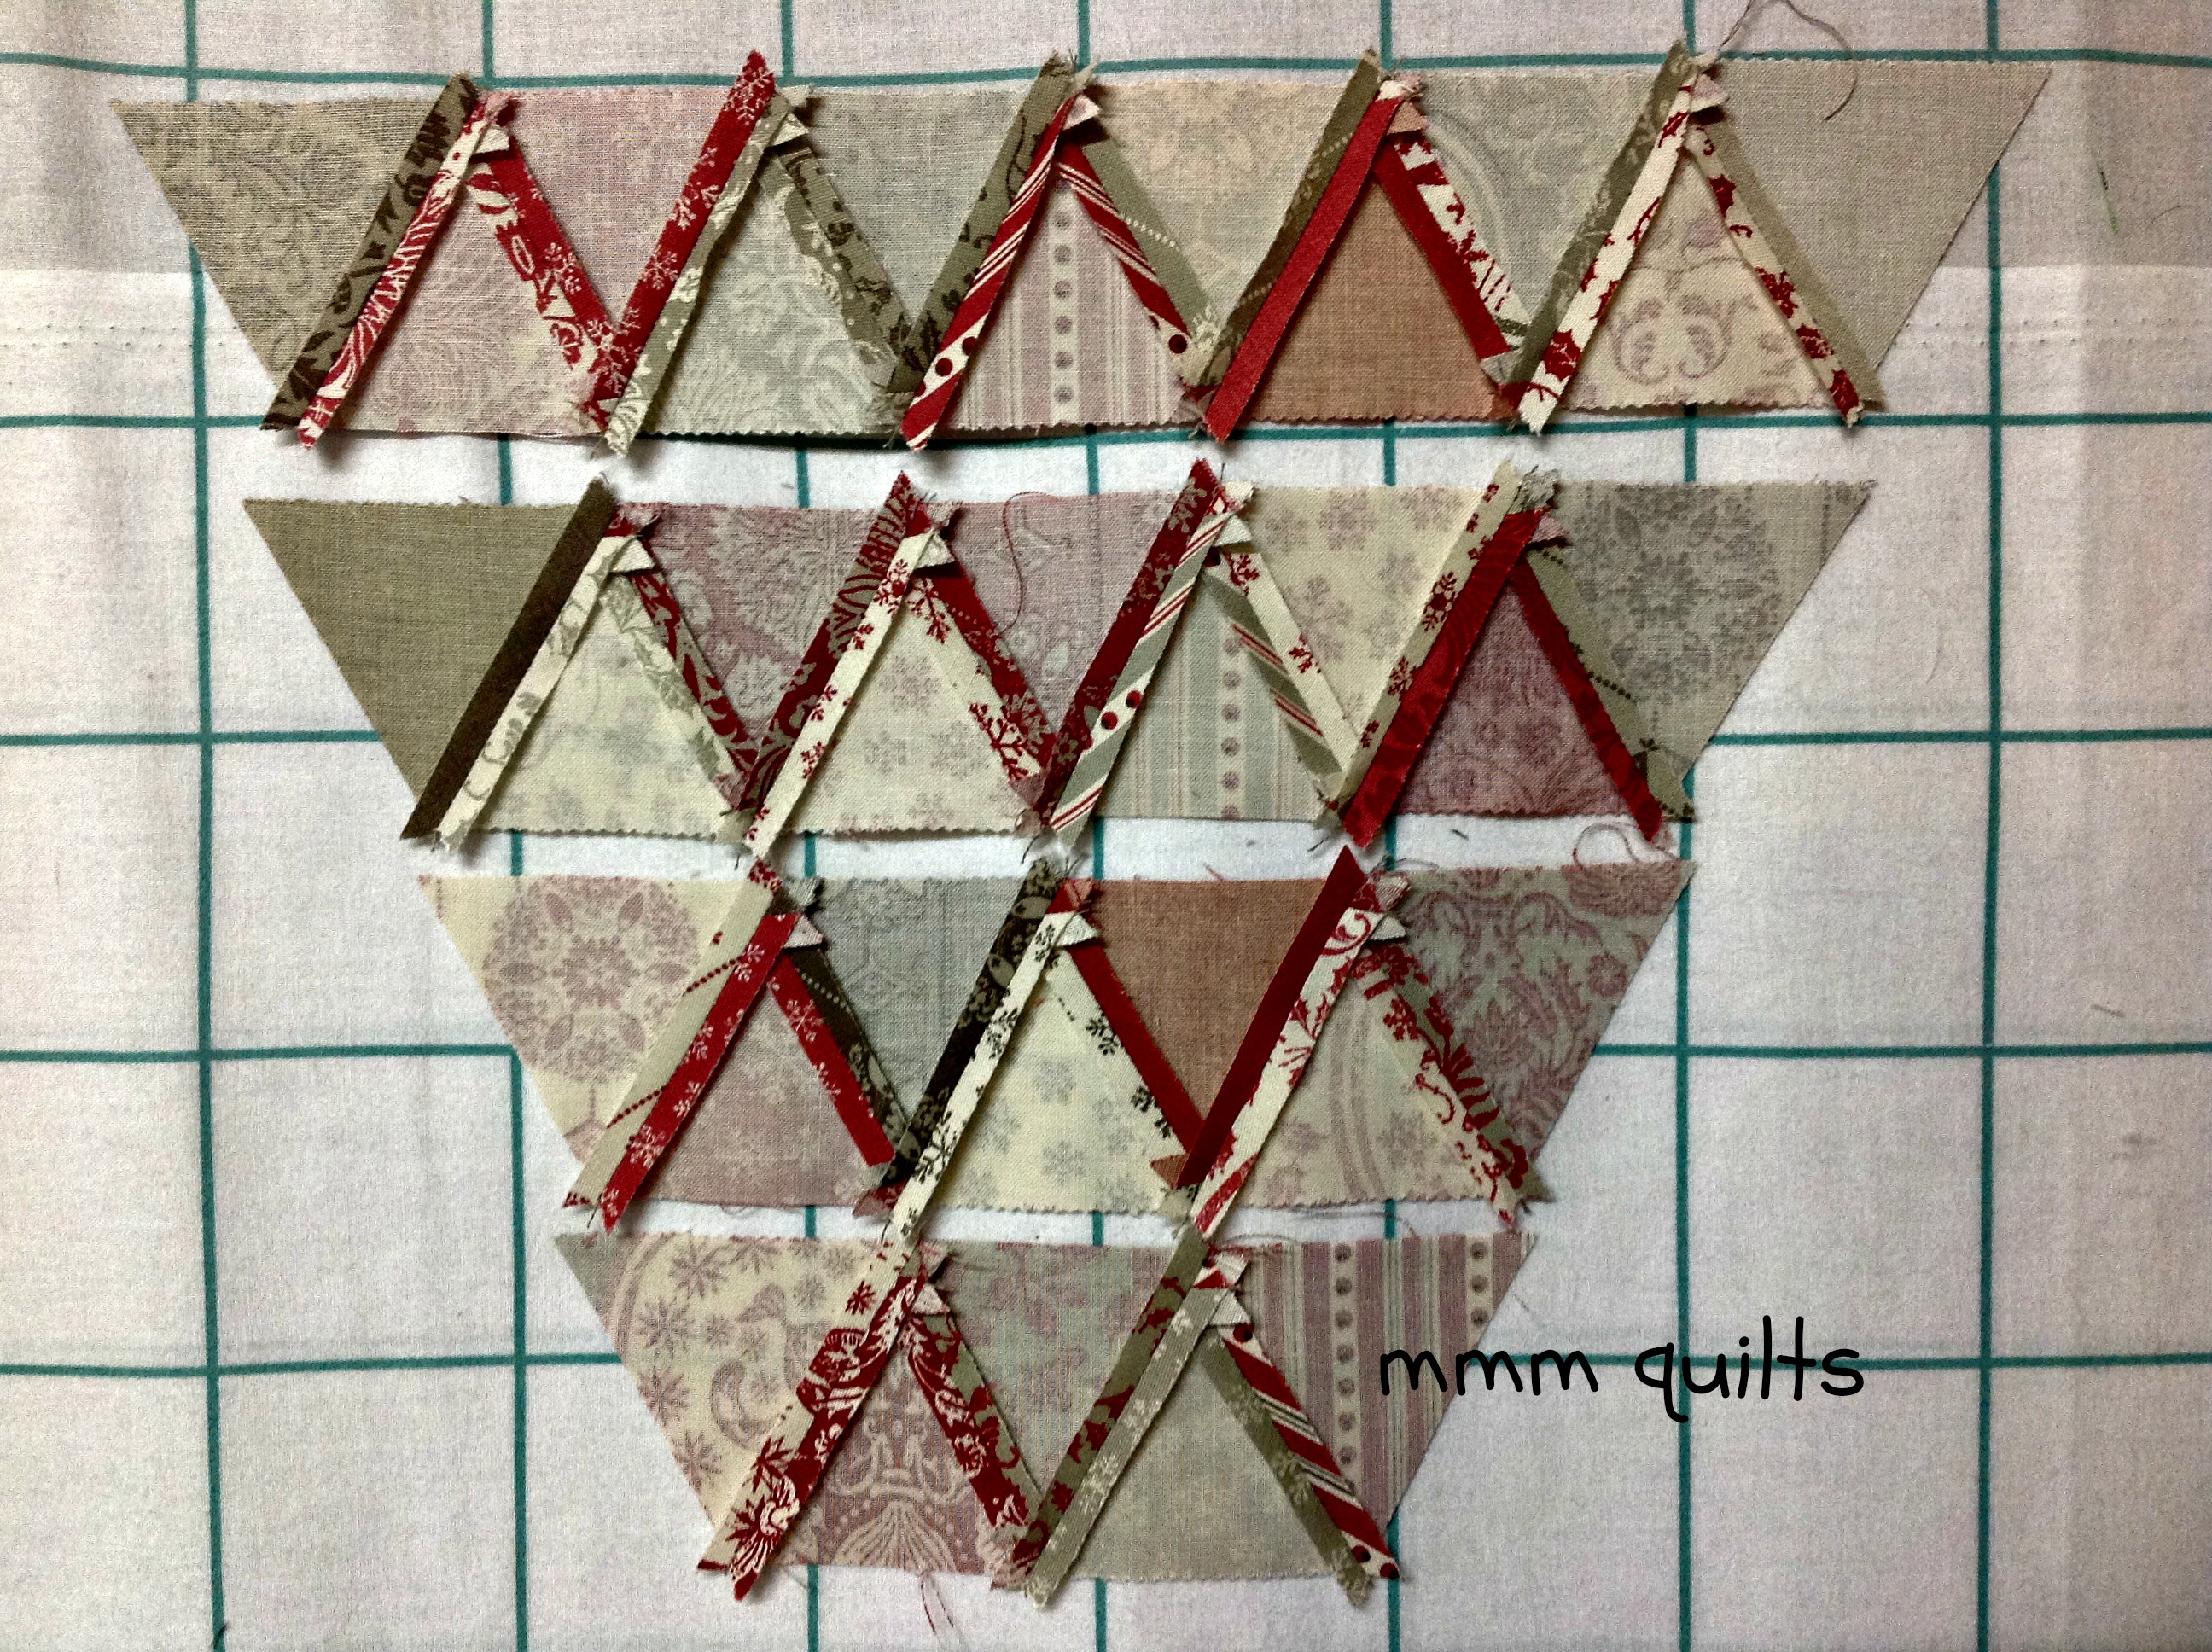
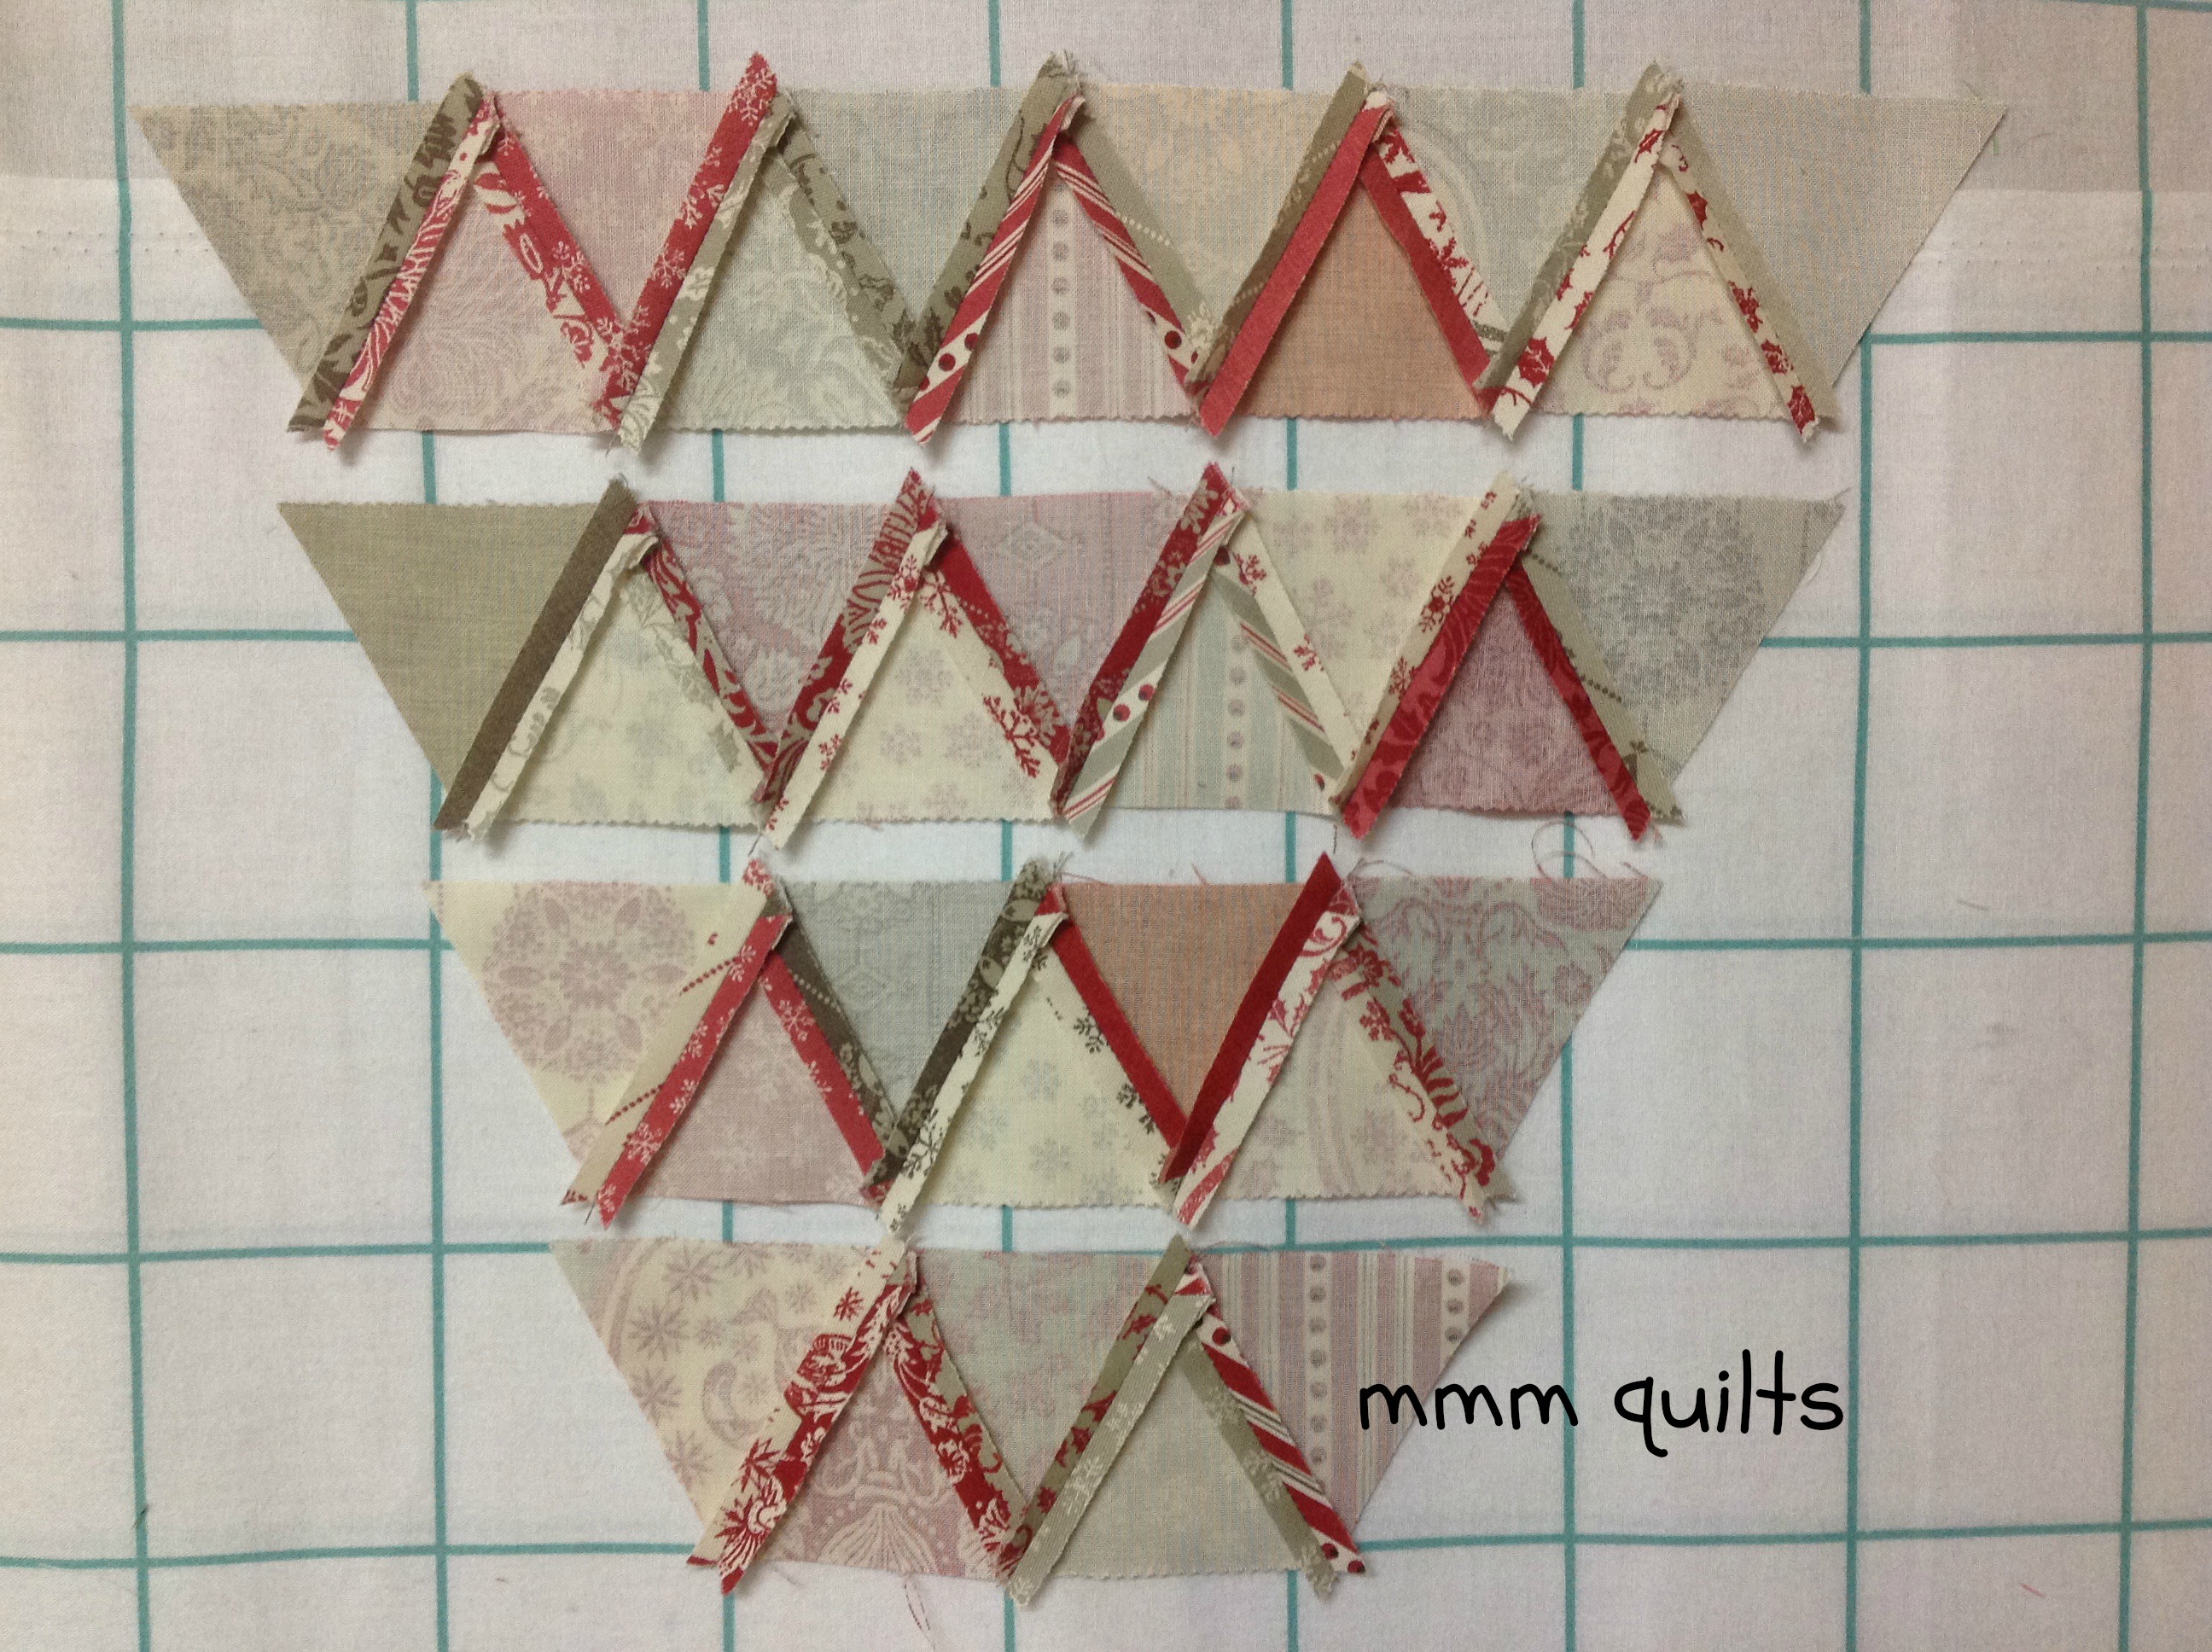
Once you have enough, go to your design wall and set them out in a 4-row grid. The bottom row has 5 triangles, the second has 7, the third has 9 and the top row has 11 triangles. You will have a pyramid shape.

Make the second side in the same way; since each side is made up of the exact same fabrics, it is your choice whether you make the second side exactly the same or whether you do a different arrangement. Tip: DO take a pic of the final arrangement on your design wall for reference when sewing these together; I might have learned that the hard way.
Make the bag body pieces
Assemble top row: Stack your top row triangles one on top of each other from left to right so that the far left triangle is on the top of the pile of 11, and the far right triangle is on the bottom. Take them to your machine, and set them to the left of your needle.

Take the top triangle off the pile and leave it point down. The straight of grain side should be at the top, and the two sides going up from the bottom point will both be bias. Take the second triangle and place it beside the first. This 2nd triangle will be on its base, its straight of grain base. Going up from the base are the two bias sides. This will ensure that your rows will all have parallel straight of grain edges, preventing wonkiness and stretching.

Flip the second triangle onto the first, right sides together, and sew slowly and carefully as you have two bias edges being sewn together.

Continue on in this manner, chain piecing the entire row. You will have 5 pairs and one last leftover triangle. Remove the chain from your machine. Tip: keep the tail of thread on the first pair of triangles as a way to remind you this is the left side of the row.
Cut apart the first two pairs only, finger press the seams open, and place one atop the other as shown. Note that the first pair, with the far left triangle in the row, and the little tails of thread, will be on the bottom. You can place a pin as I did if you like, (love my Clover fine pins) but it’s optional. Do not cut off the little ears! These will help to align the triangles so you will get perfect points. The “ears” of the finger-pressed seams in the bottom triangle pair will help you line up the points of the triangle on the top pair!

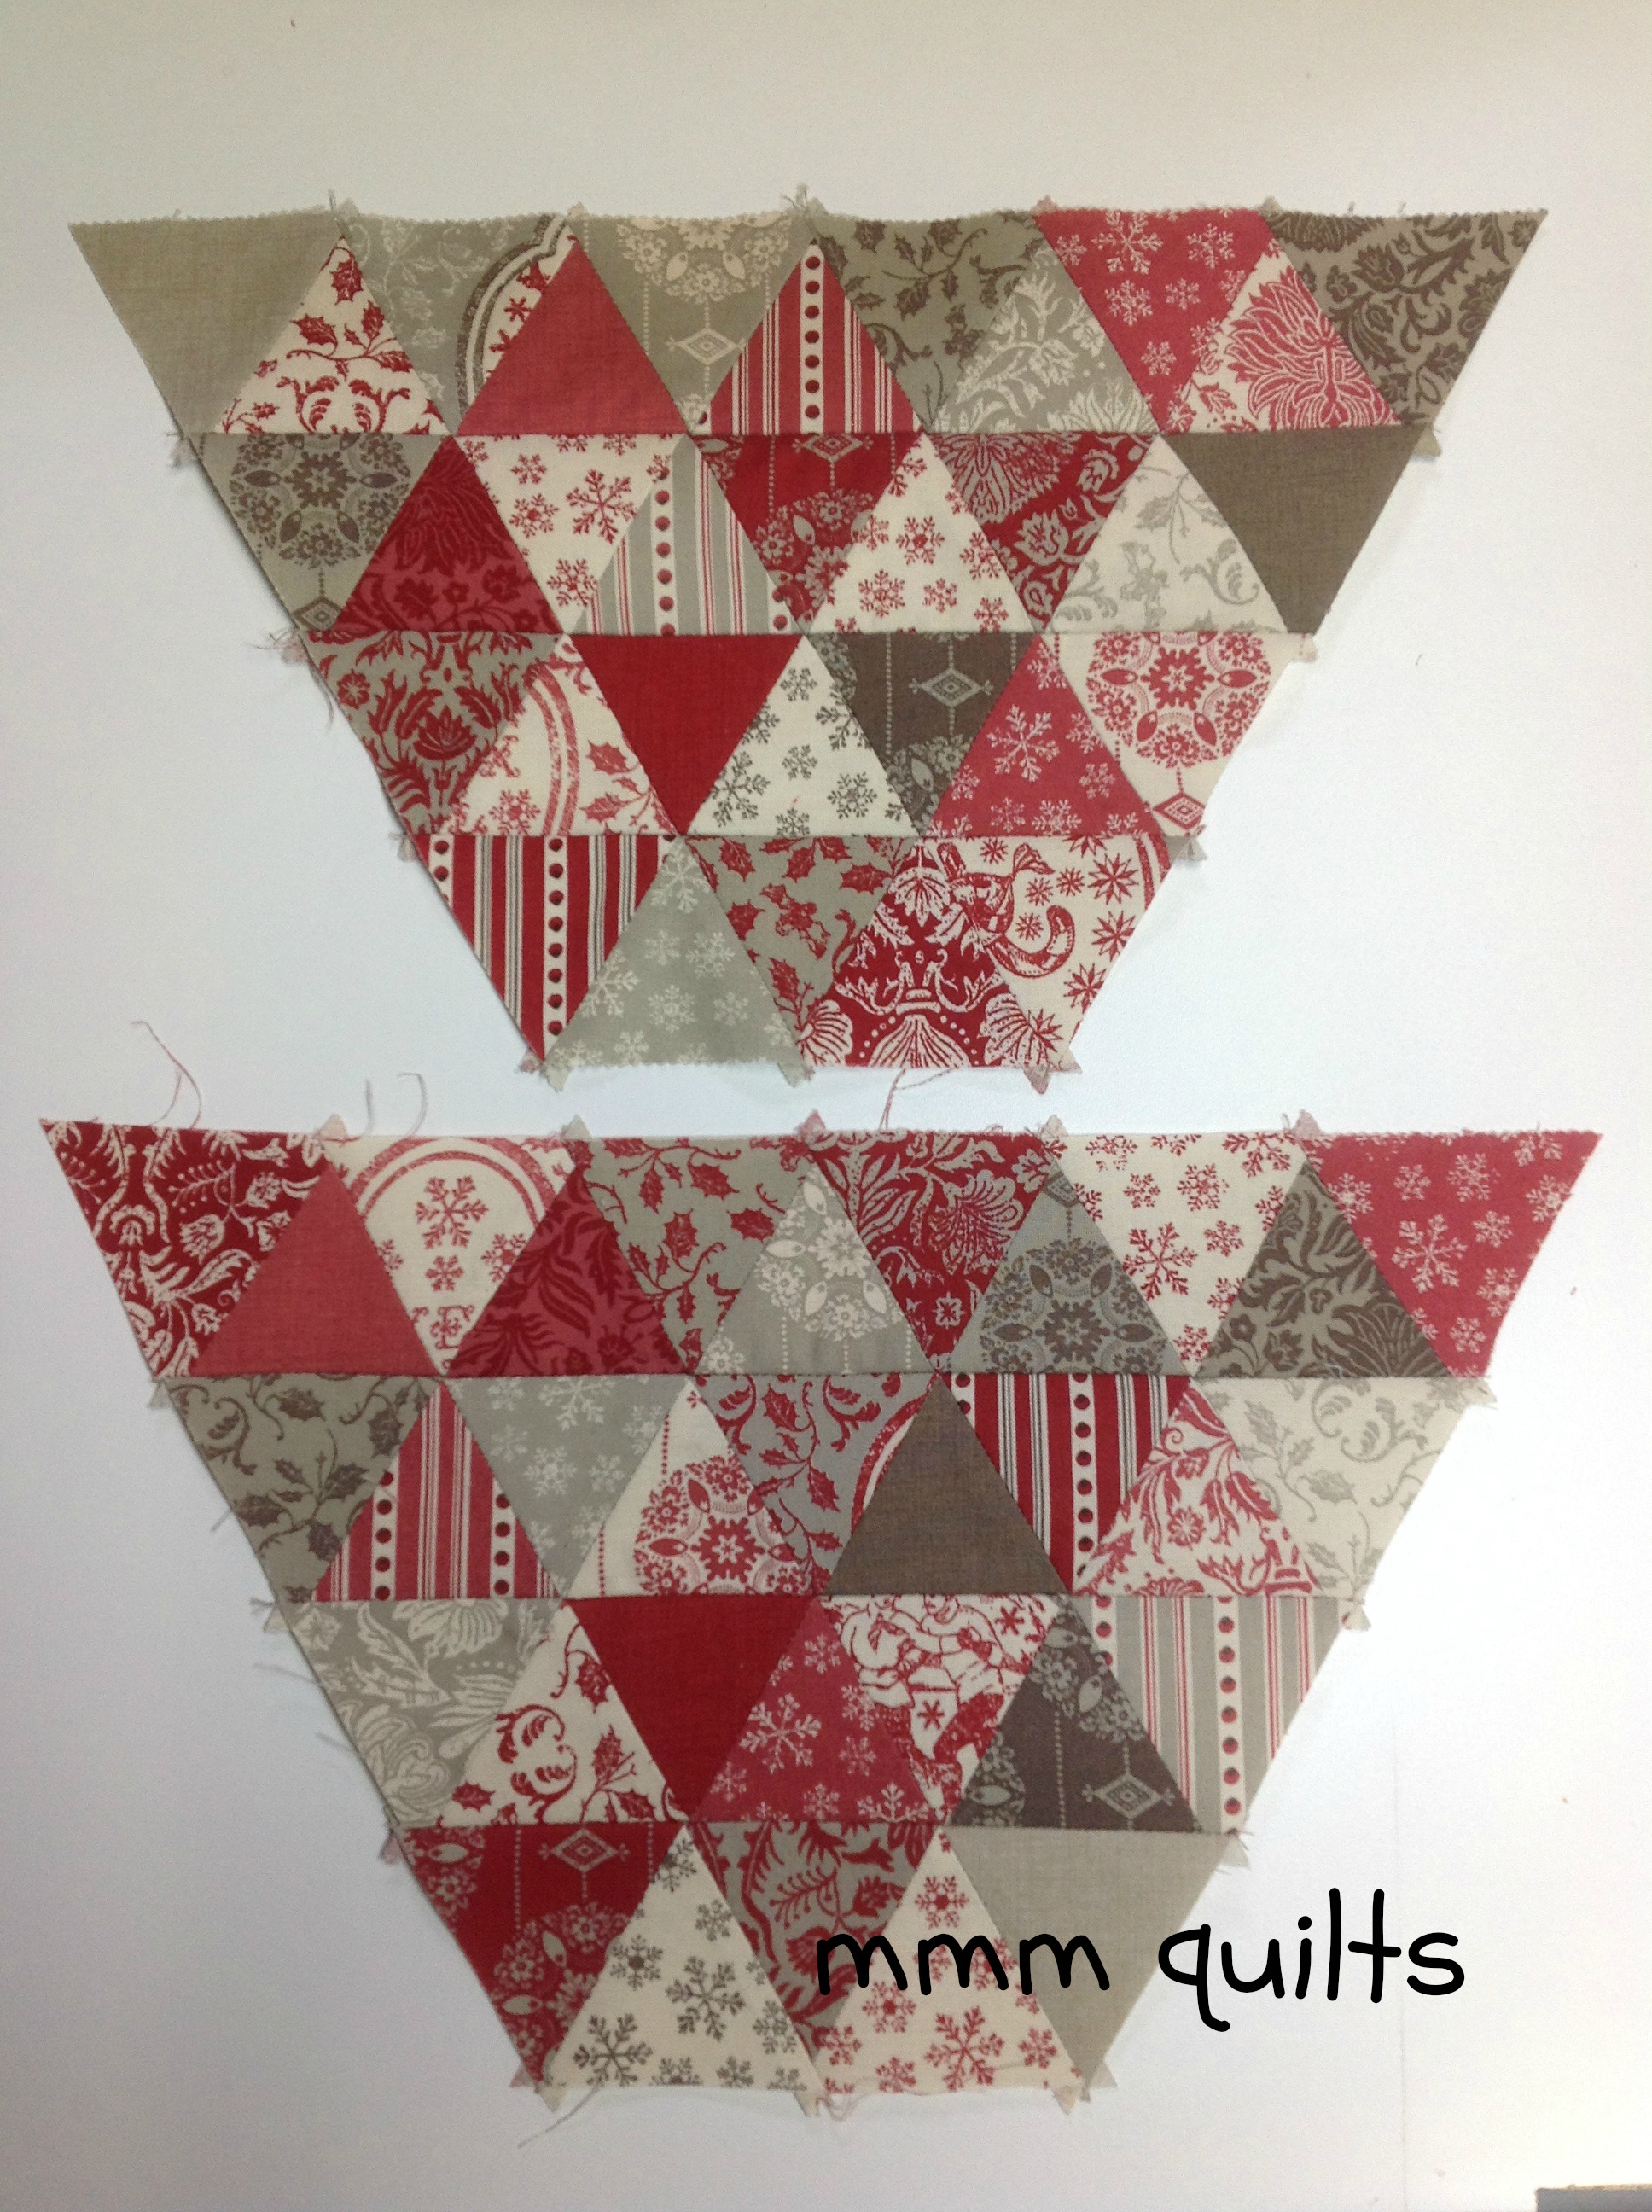
Sew along the edge to make a 2-pair, (4 triangles) section. Repeat with each pair. Sew the final 11th lone triangle to the last pair so that is a group of three. Then sew the two 4-triangle sections together as before, still finger-pressing the seams open. Finally, add the group of three triangles to the set of 8. You will have this:
 Once the entire row is sewn, press with an iron, no steam, press, don't stretch.
The horizontal edges should all be on straight-of-grain. The only two bias edges at this point are the short sides. Repeat this assembly method for each of the four rows.

This is what the back of each row will look like:
 Note that I still have not cut off the ears that stick out above the raw edges; you will need them when joining the rows
Here is another photo of the back, so you can see the ears trimmed that you no longer need for alignment. This reduces bulk at the intersecting seams. Basically if the little triangle ear protrudes above the raw edge, do not trim
Sew the rows together, again using the ears to align the points of the triangles.
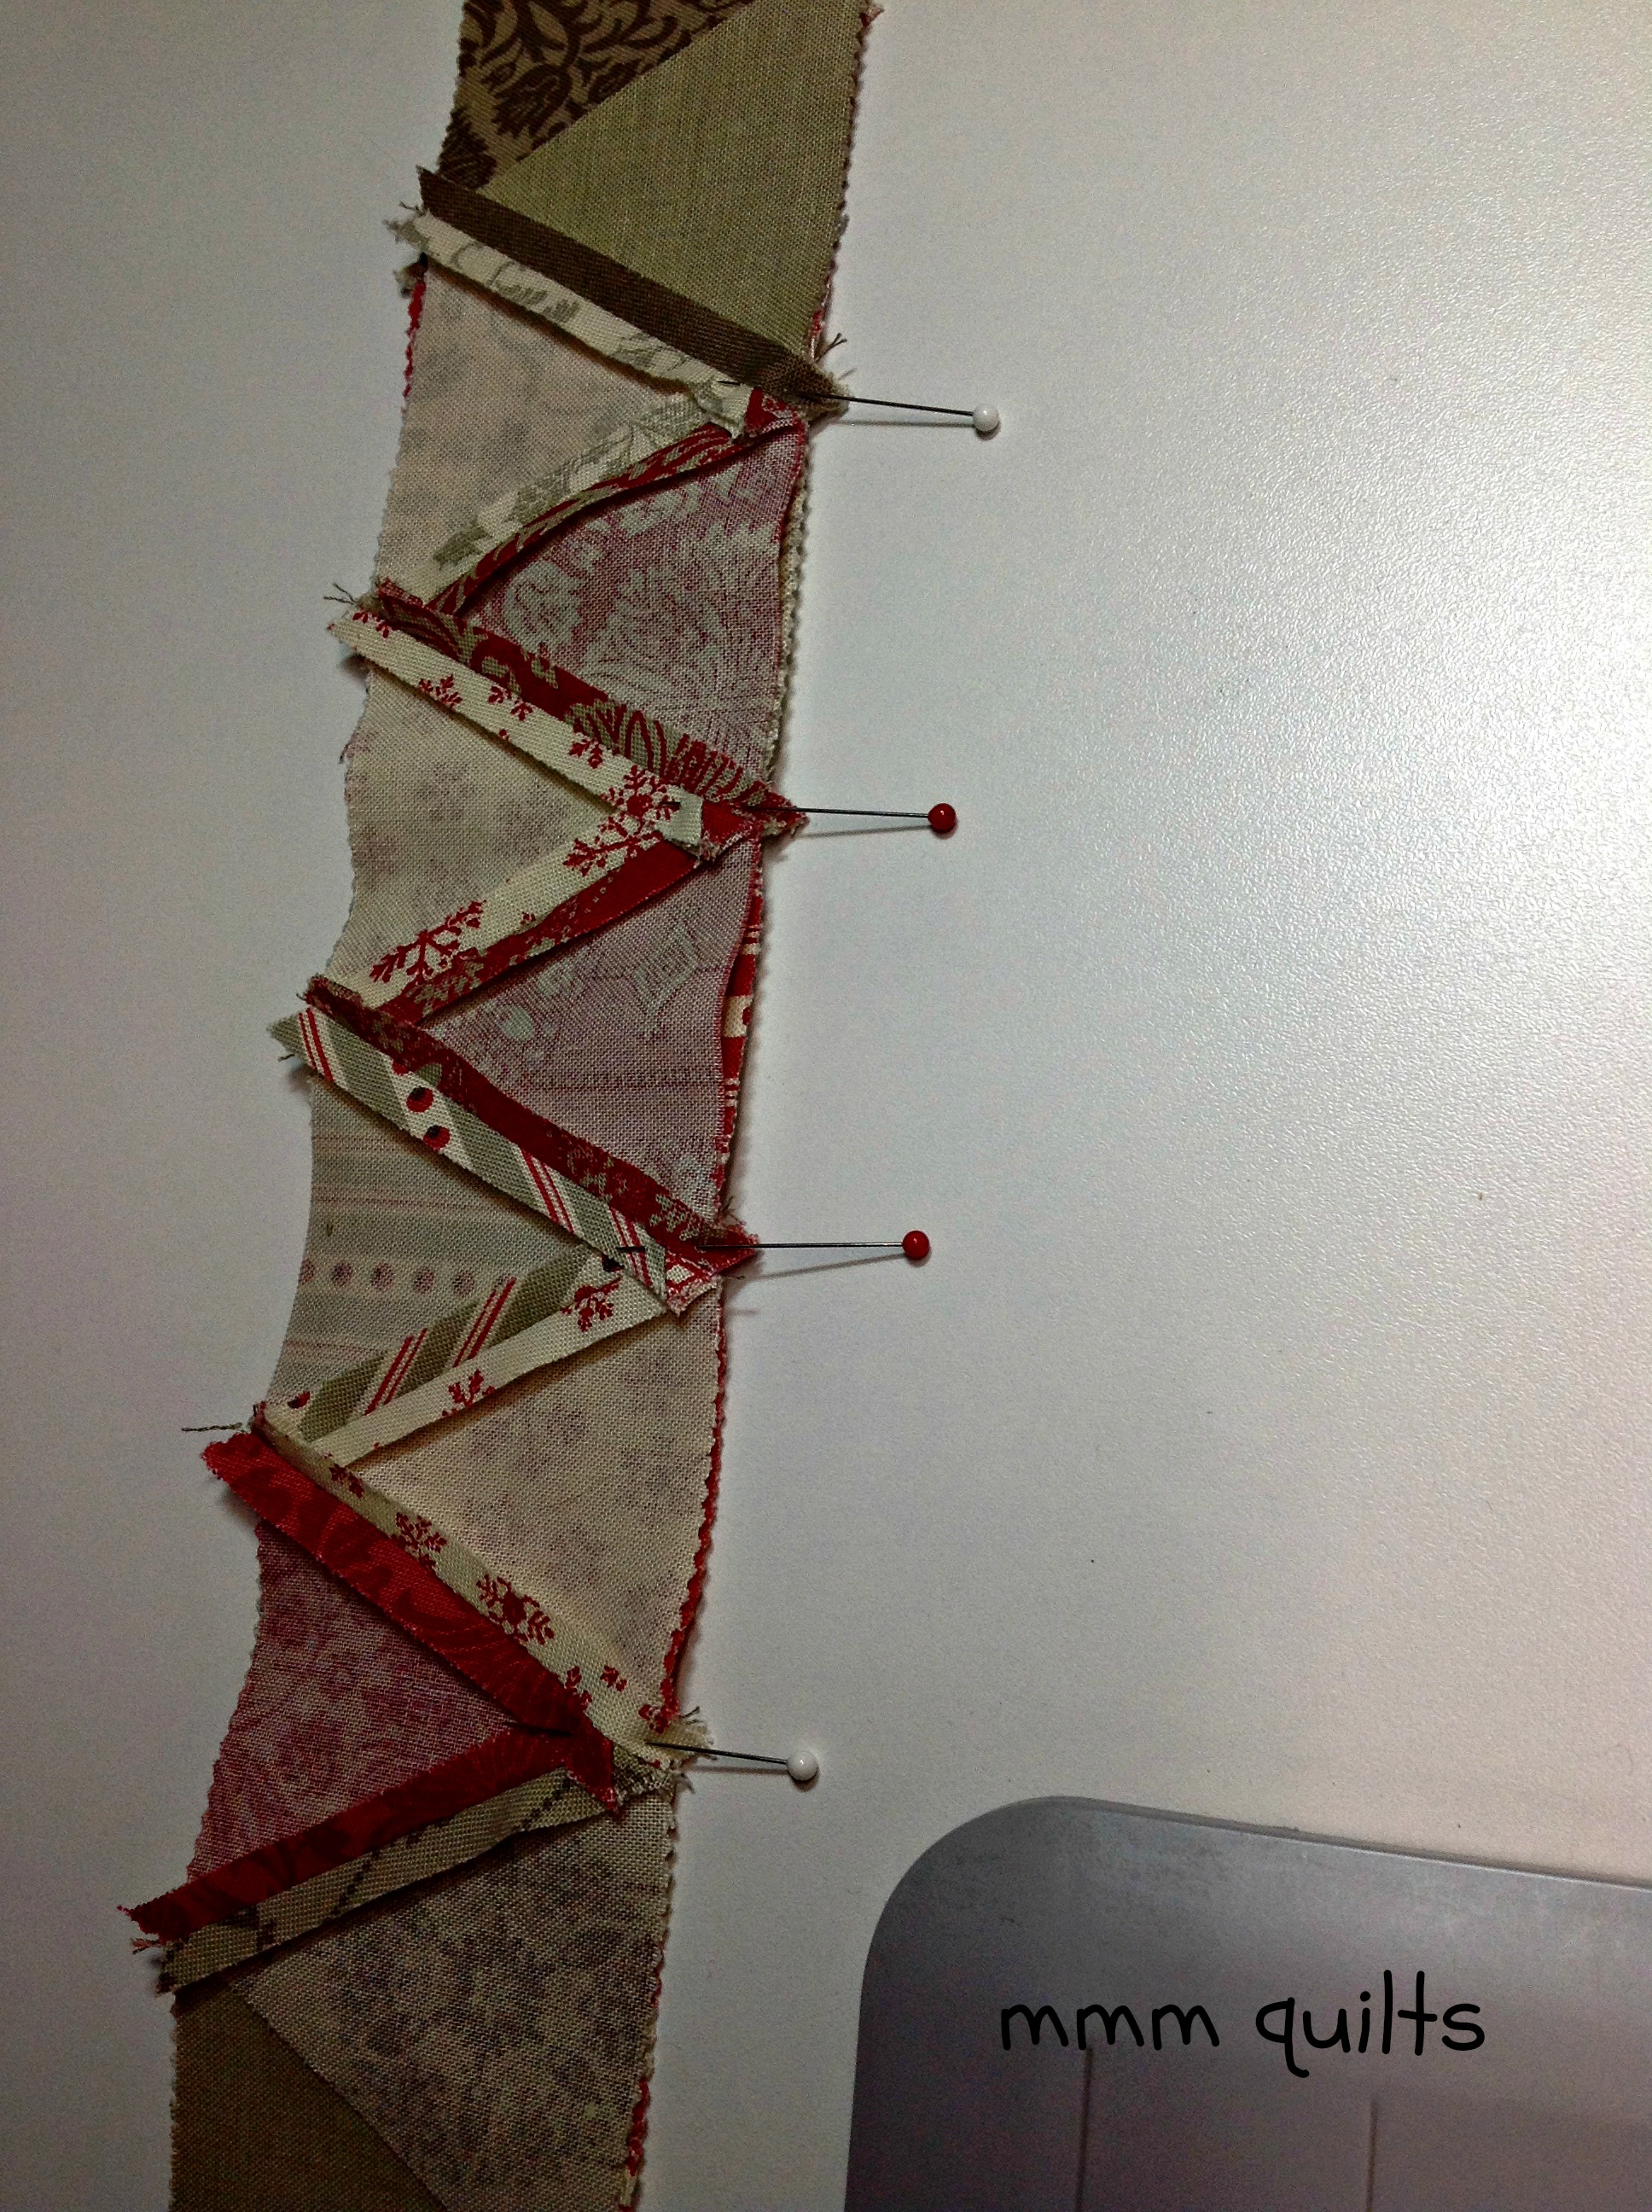
It's hard to tell in the pic above, but the ears of the right-side-down row lie exactly on top of the ears of the right-side-up row. Its partner ear lies along the raw edge.
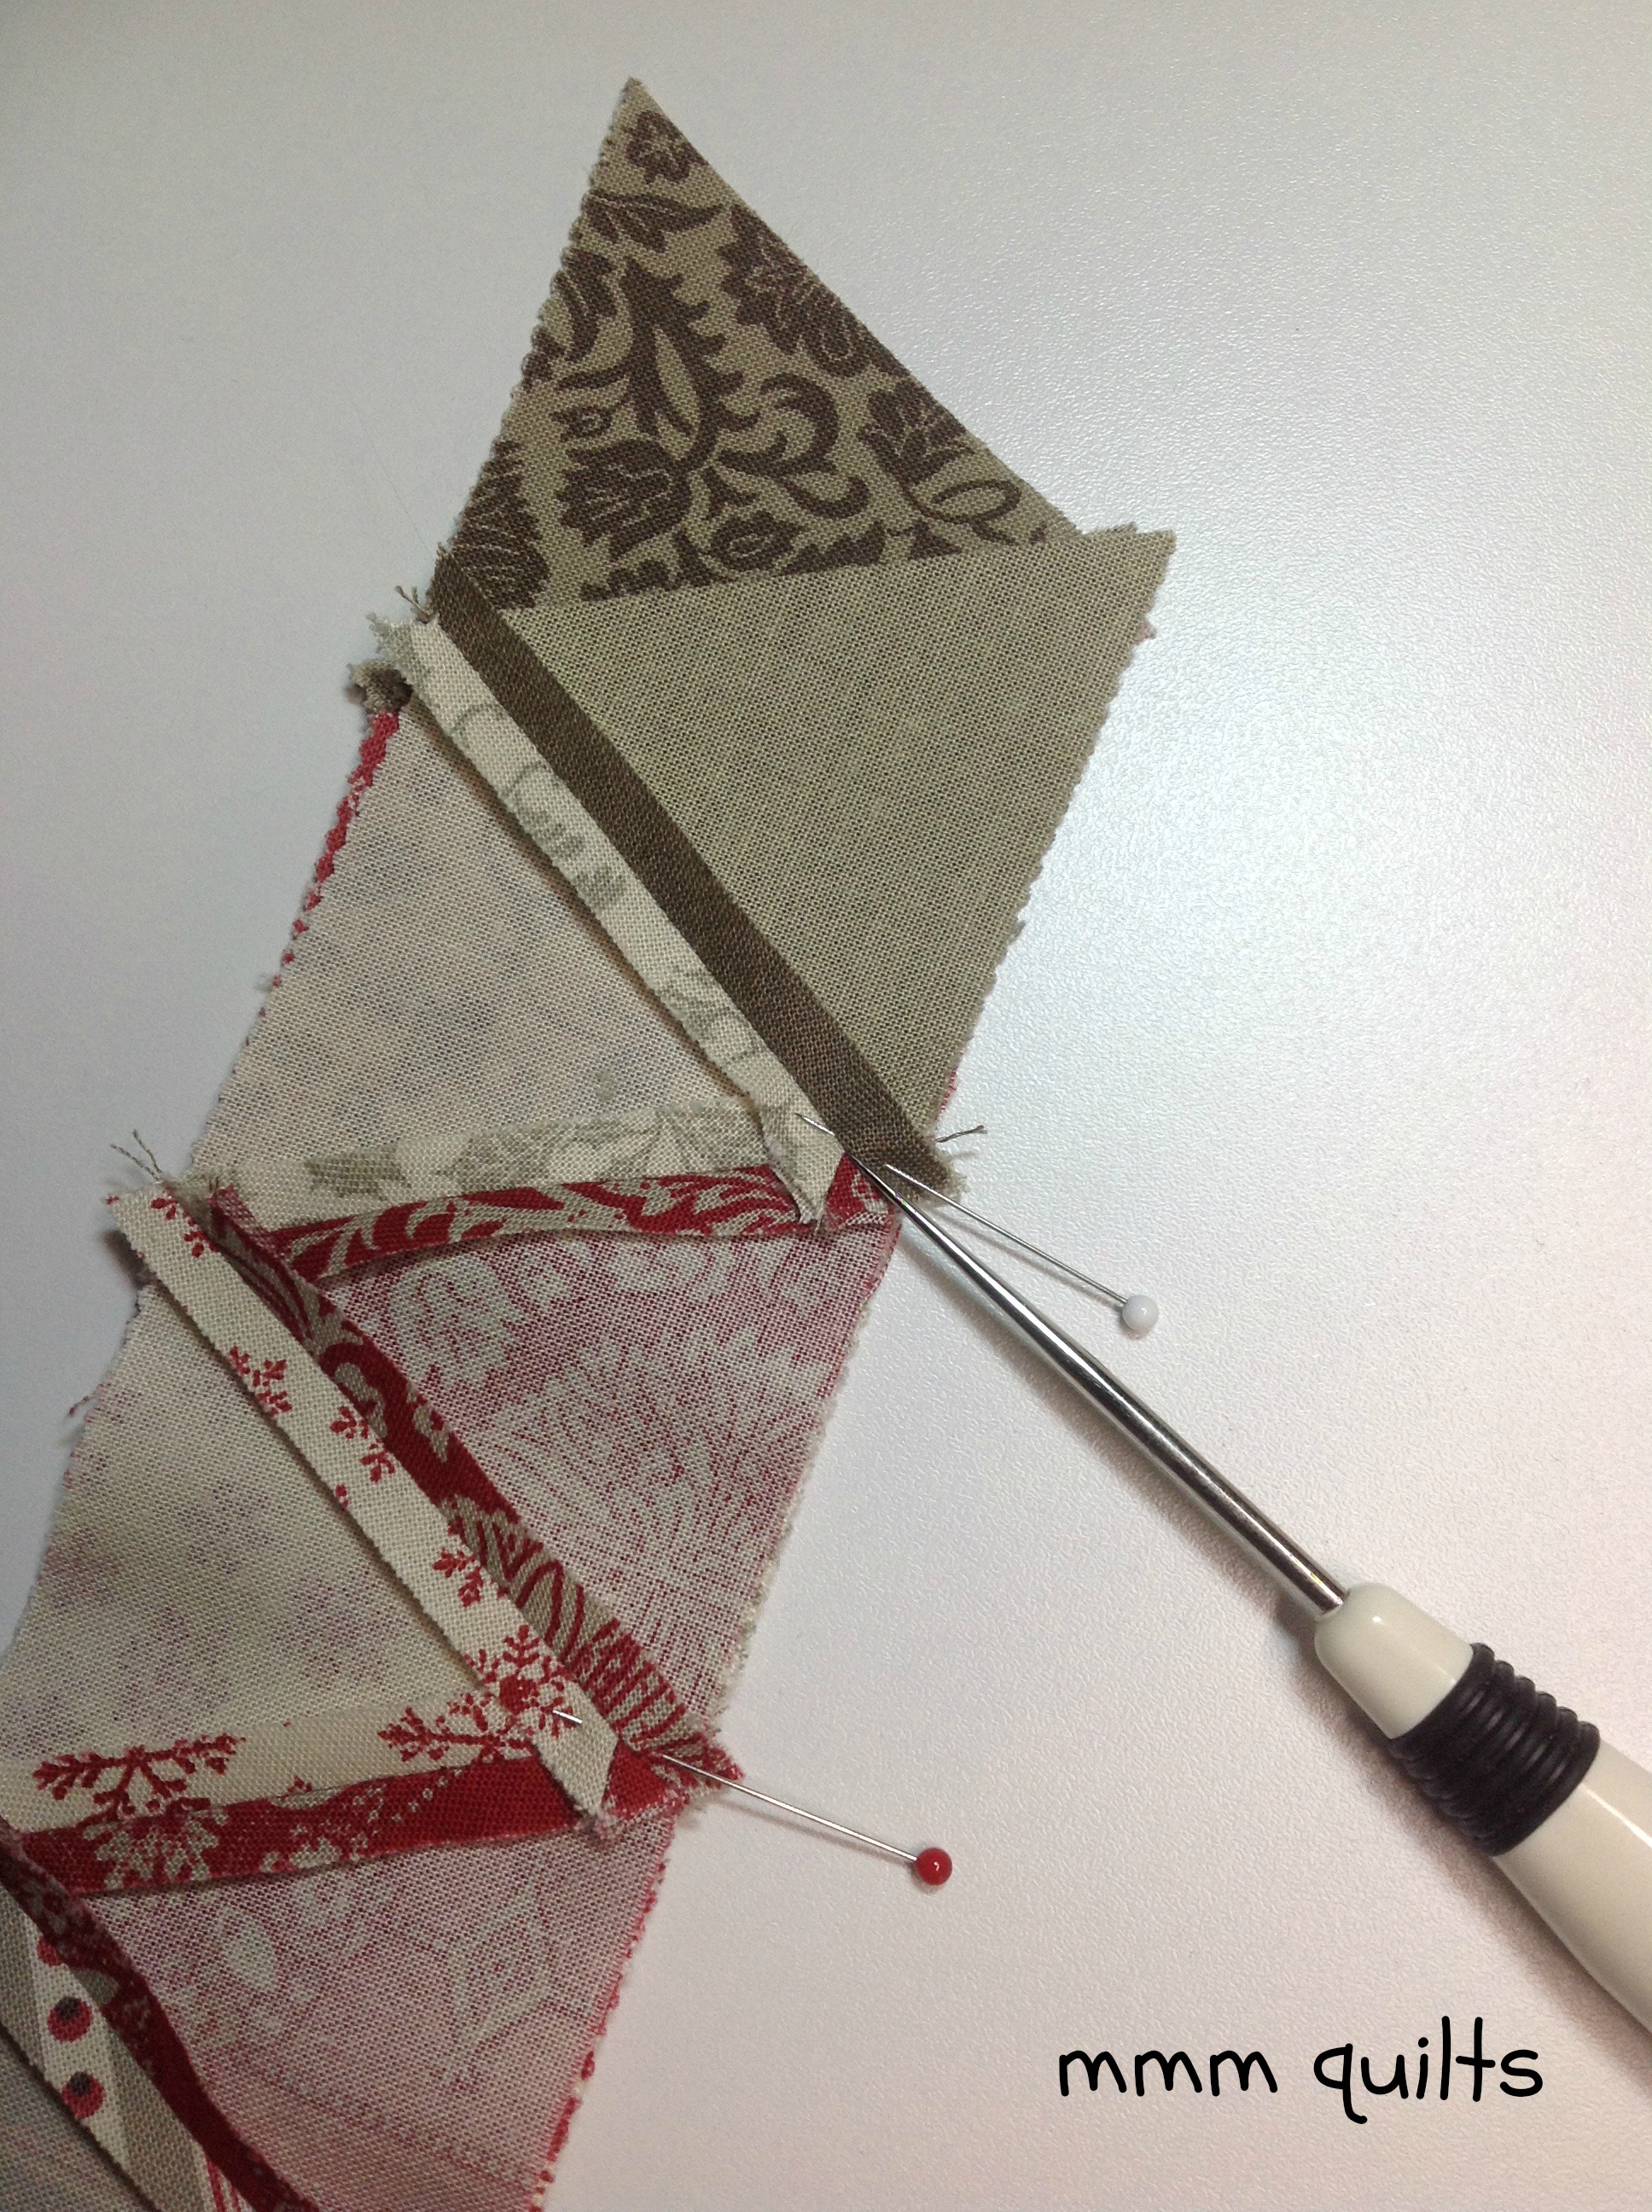
You can also use the teeny triangle (it's the red triangle you see between the ivory and taupe fabrics that the stylus is pointing to) seam-line as your guide to sew: go right through that seam-line, as it is the top point of the triangle. This will probably make more sense when you are sewing it. In the photo below, see how I am going to sew right through the point where the finger-pressed seam intersects the raw edge? I know when I first started quilting finding all these little aids to align things really helped me!
Make the second side as you did the first, either identical or different. Mine is different, although all 32 triangles are the same fabrics!
 Back view, all seams pressed open and ears trimmed except for those sticking out along all 4 raw edges
Quilting
Layer one assembled side on top of the batting. Pin or spray baste to hold the layers.
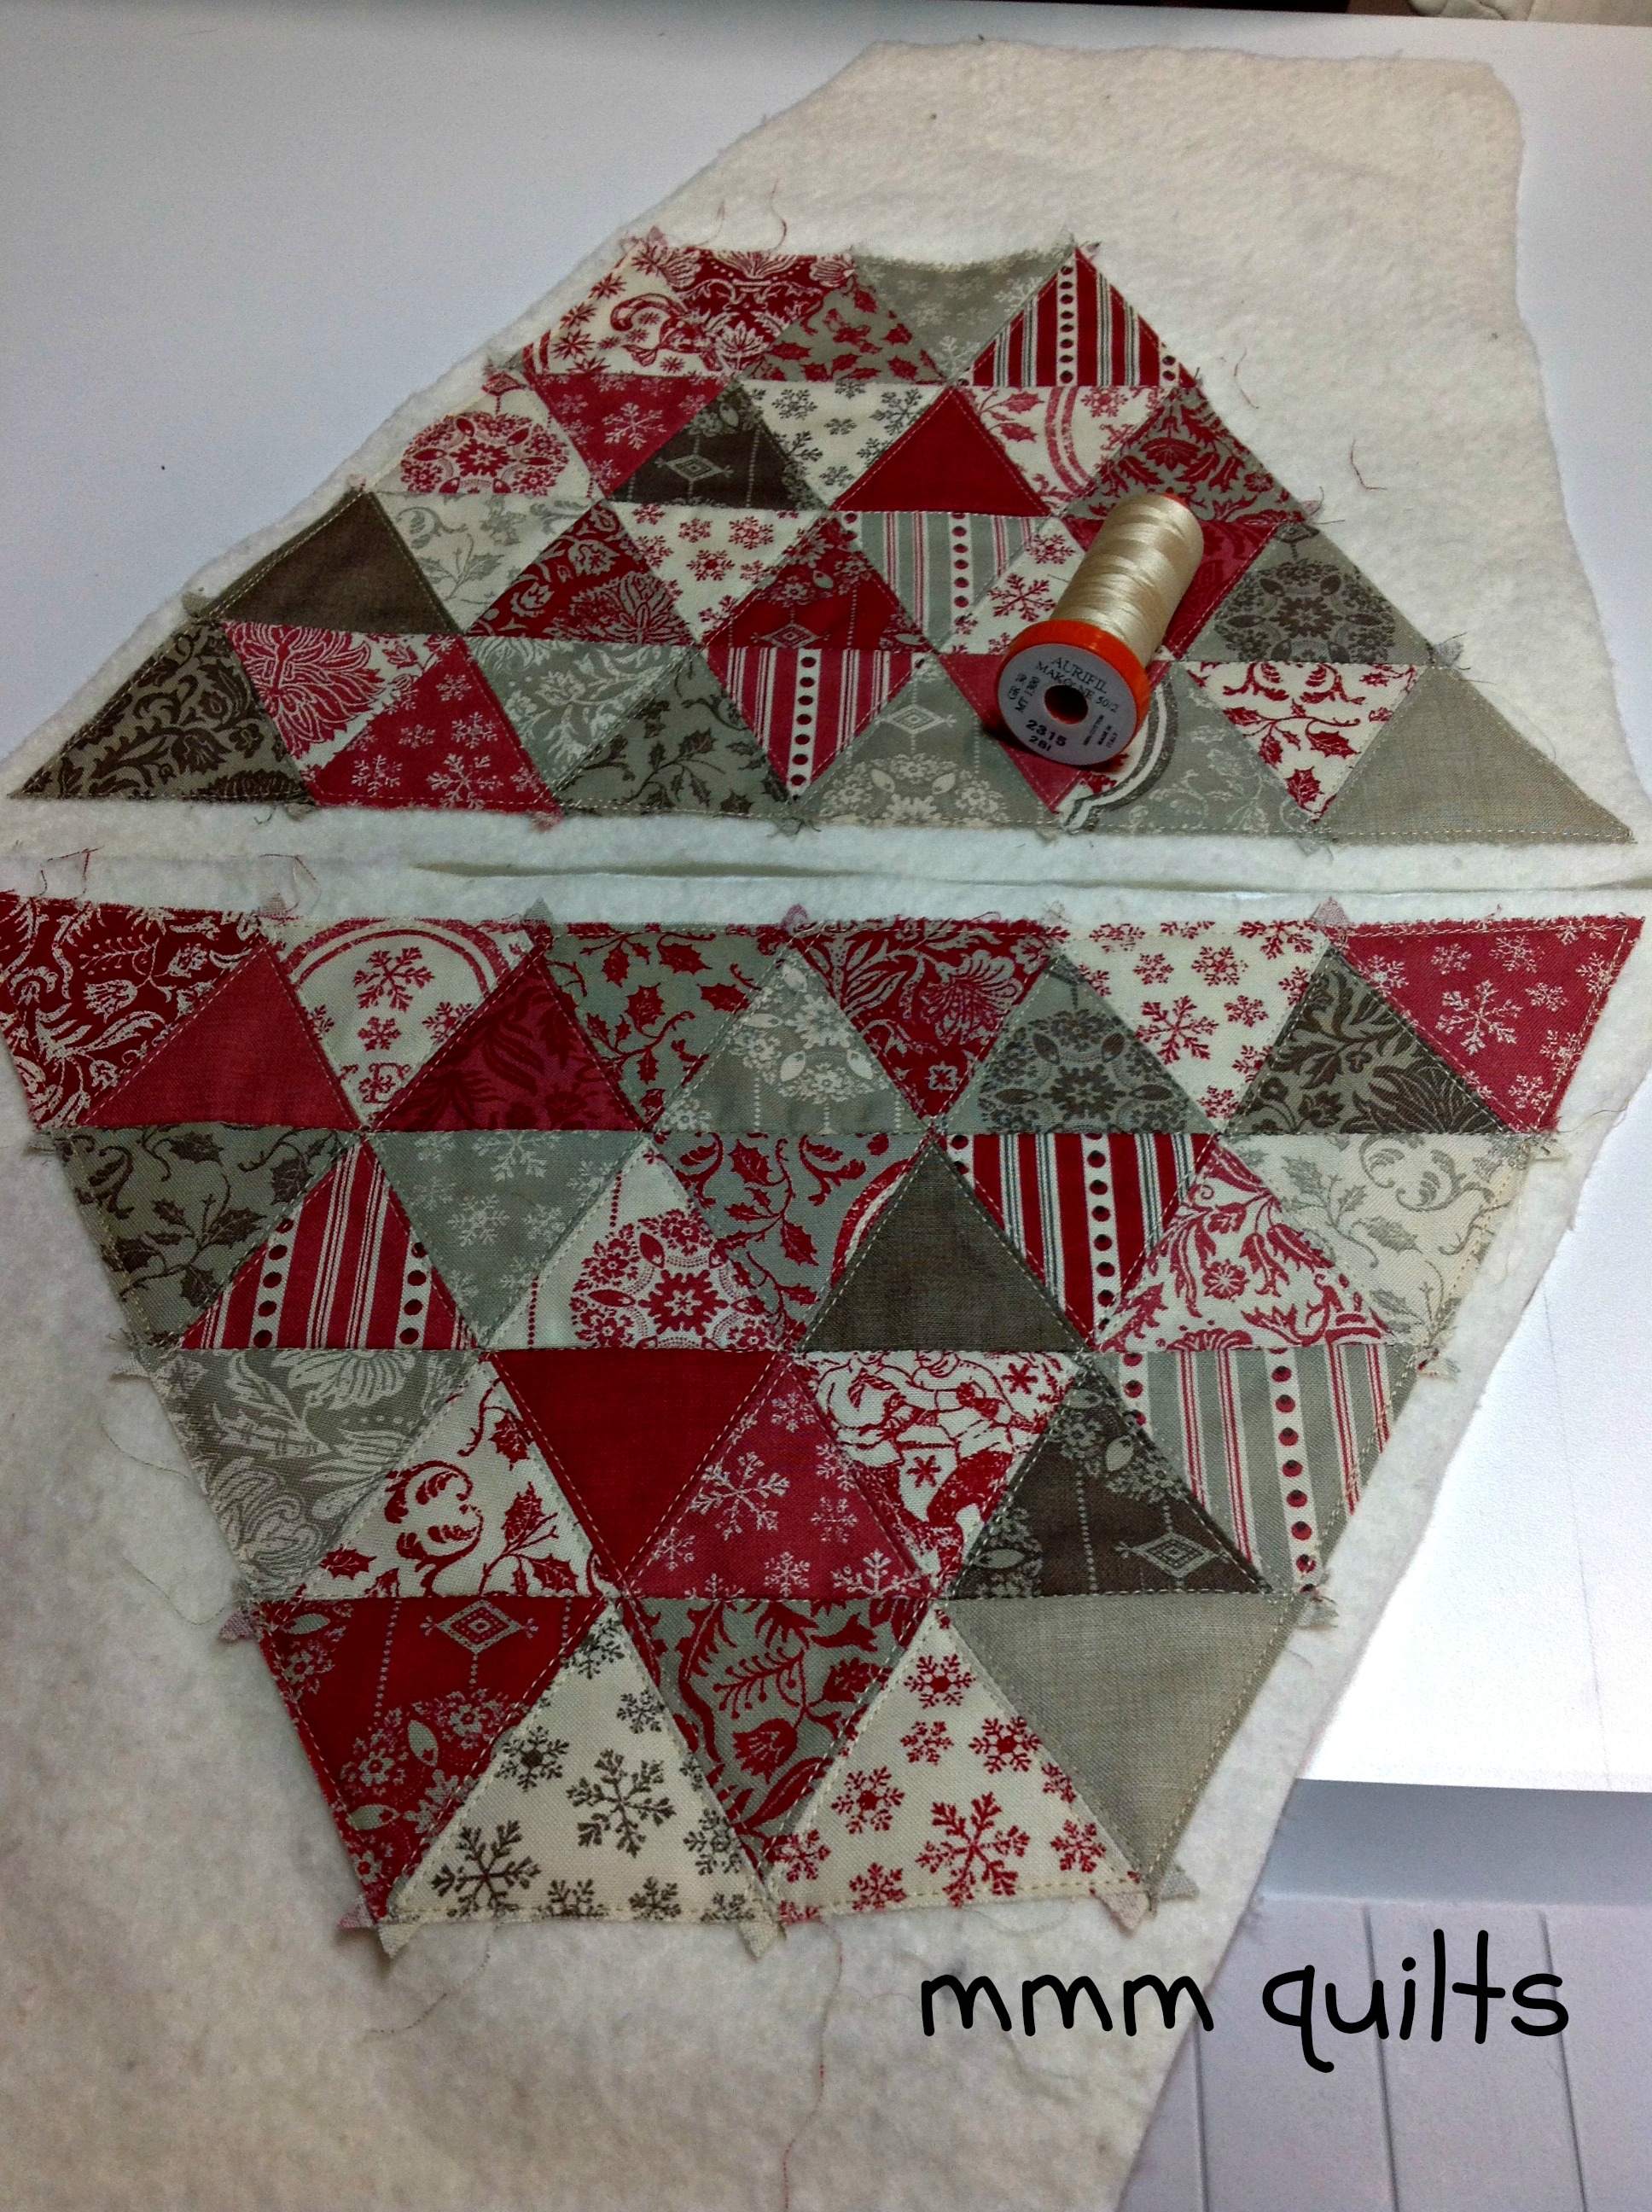
Quilt as desired. I used Aurifl #2315 thread (love it) to stitch in the ditch along the horizontal seams. For the diagonal seams I stitched 1/16” on either side of the seam. Trim the little quilt sandwich. This is what you will have:
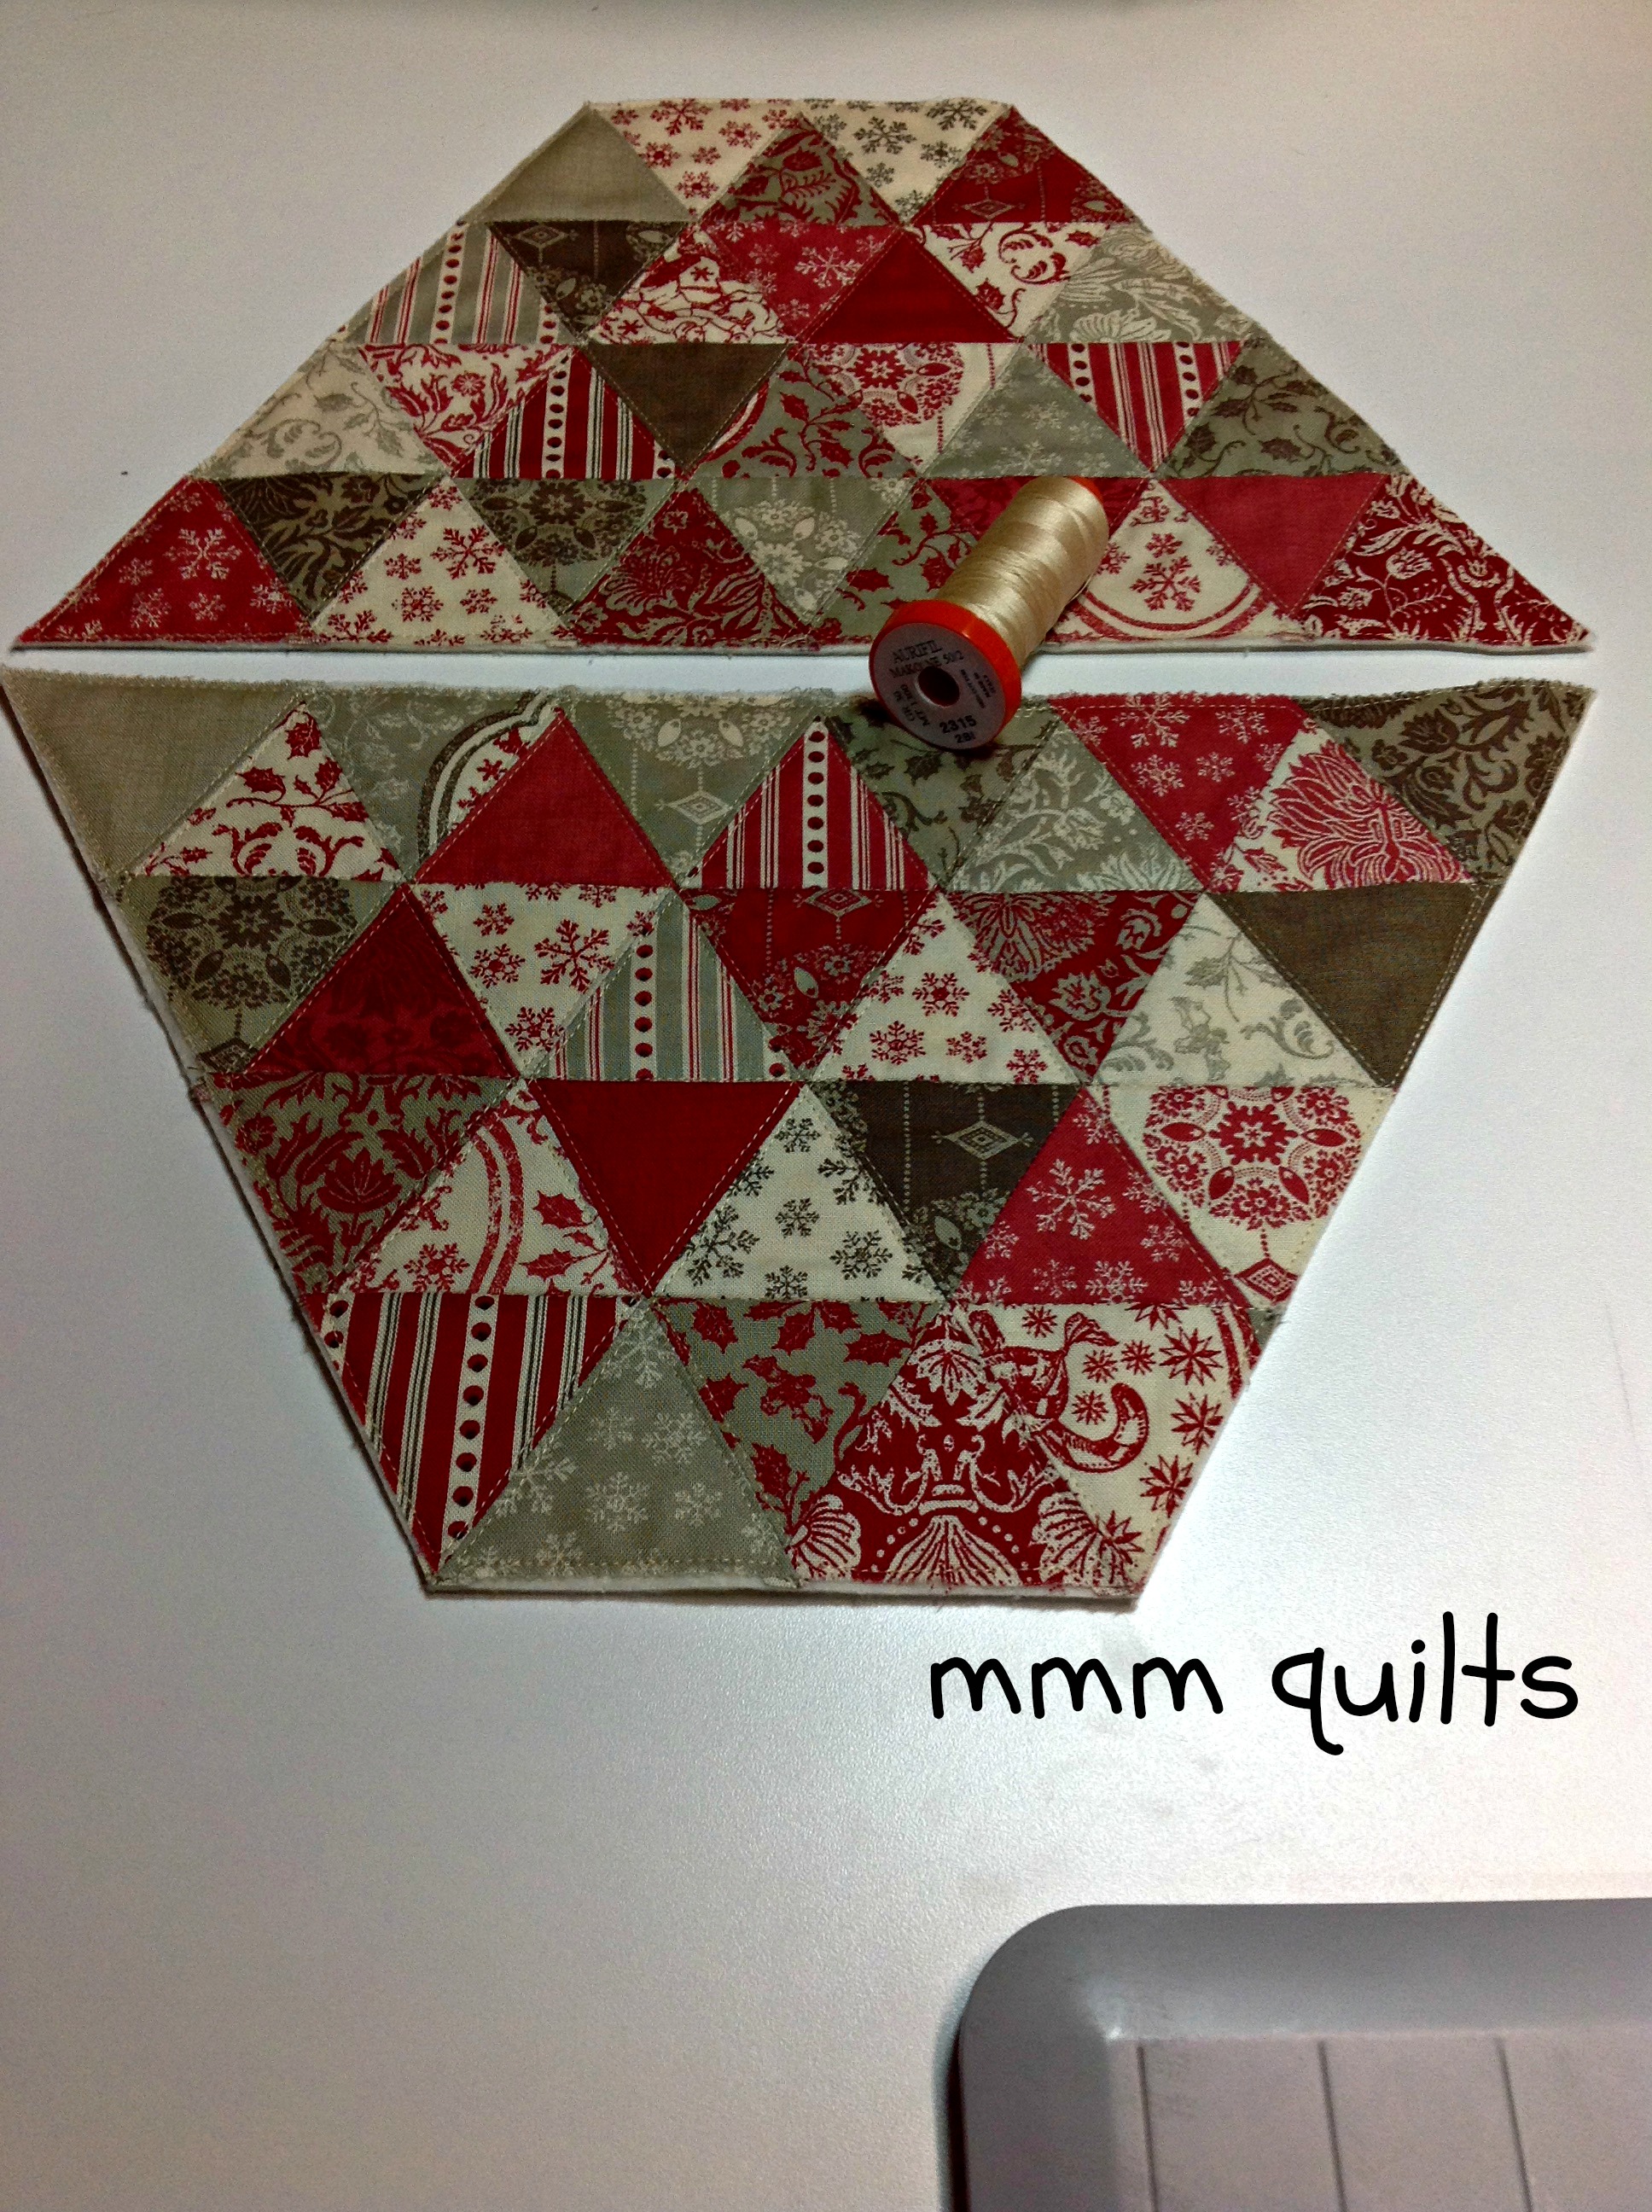
Of course, you may simply apply iron-on interfacing to your pyramid side, and skip the quilting. A third option, if you want a very stiff pouch, is to do both: quilt and interface.
Lining
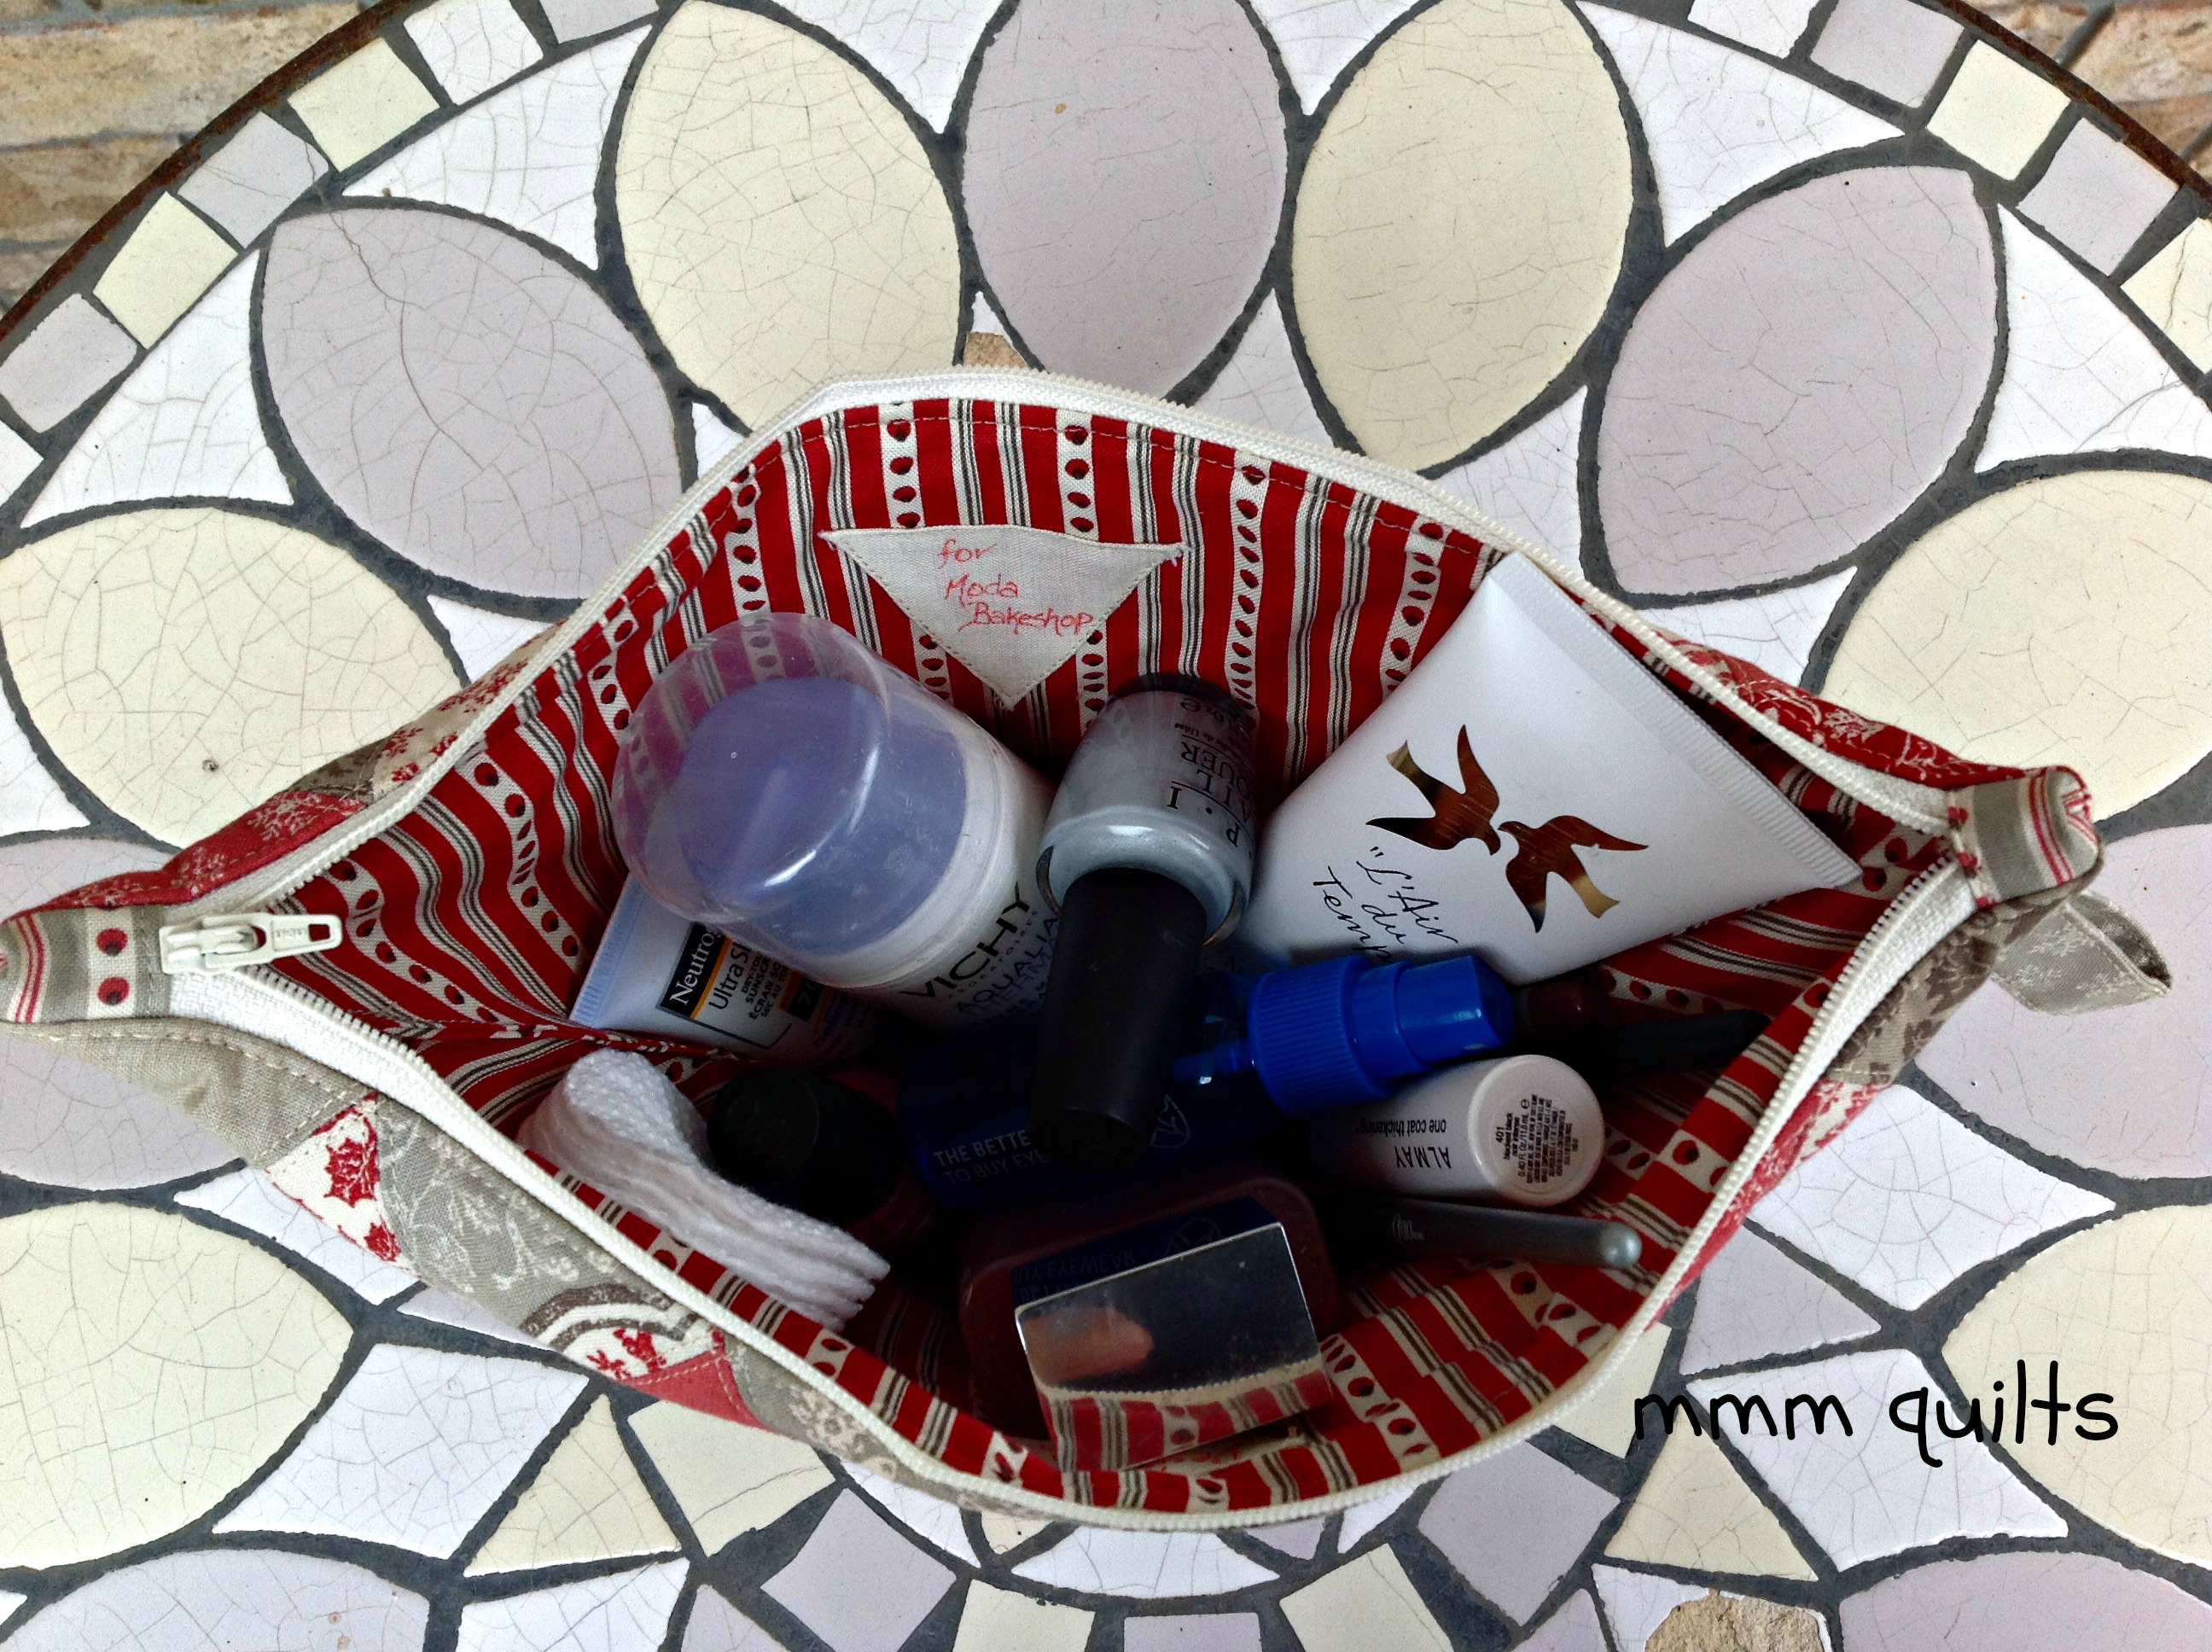
Use the two bag body sides as your pattern to cut your lining pieces from the fat quarter of fabric. I just love a striped lining! I cut the pieces so the stripes will be vertical within the bag.
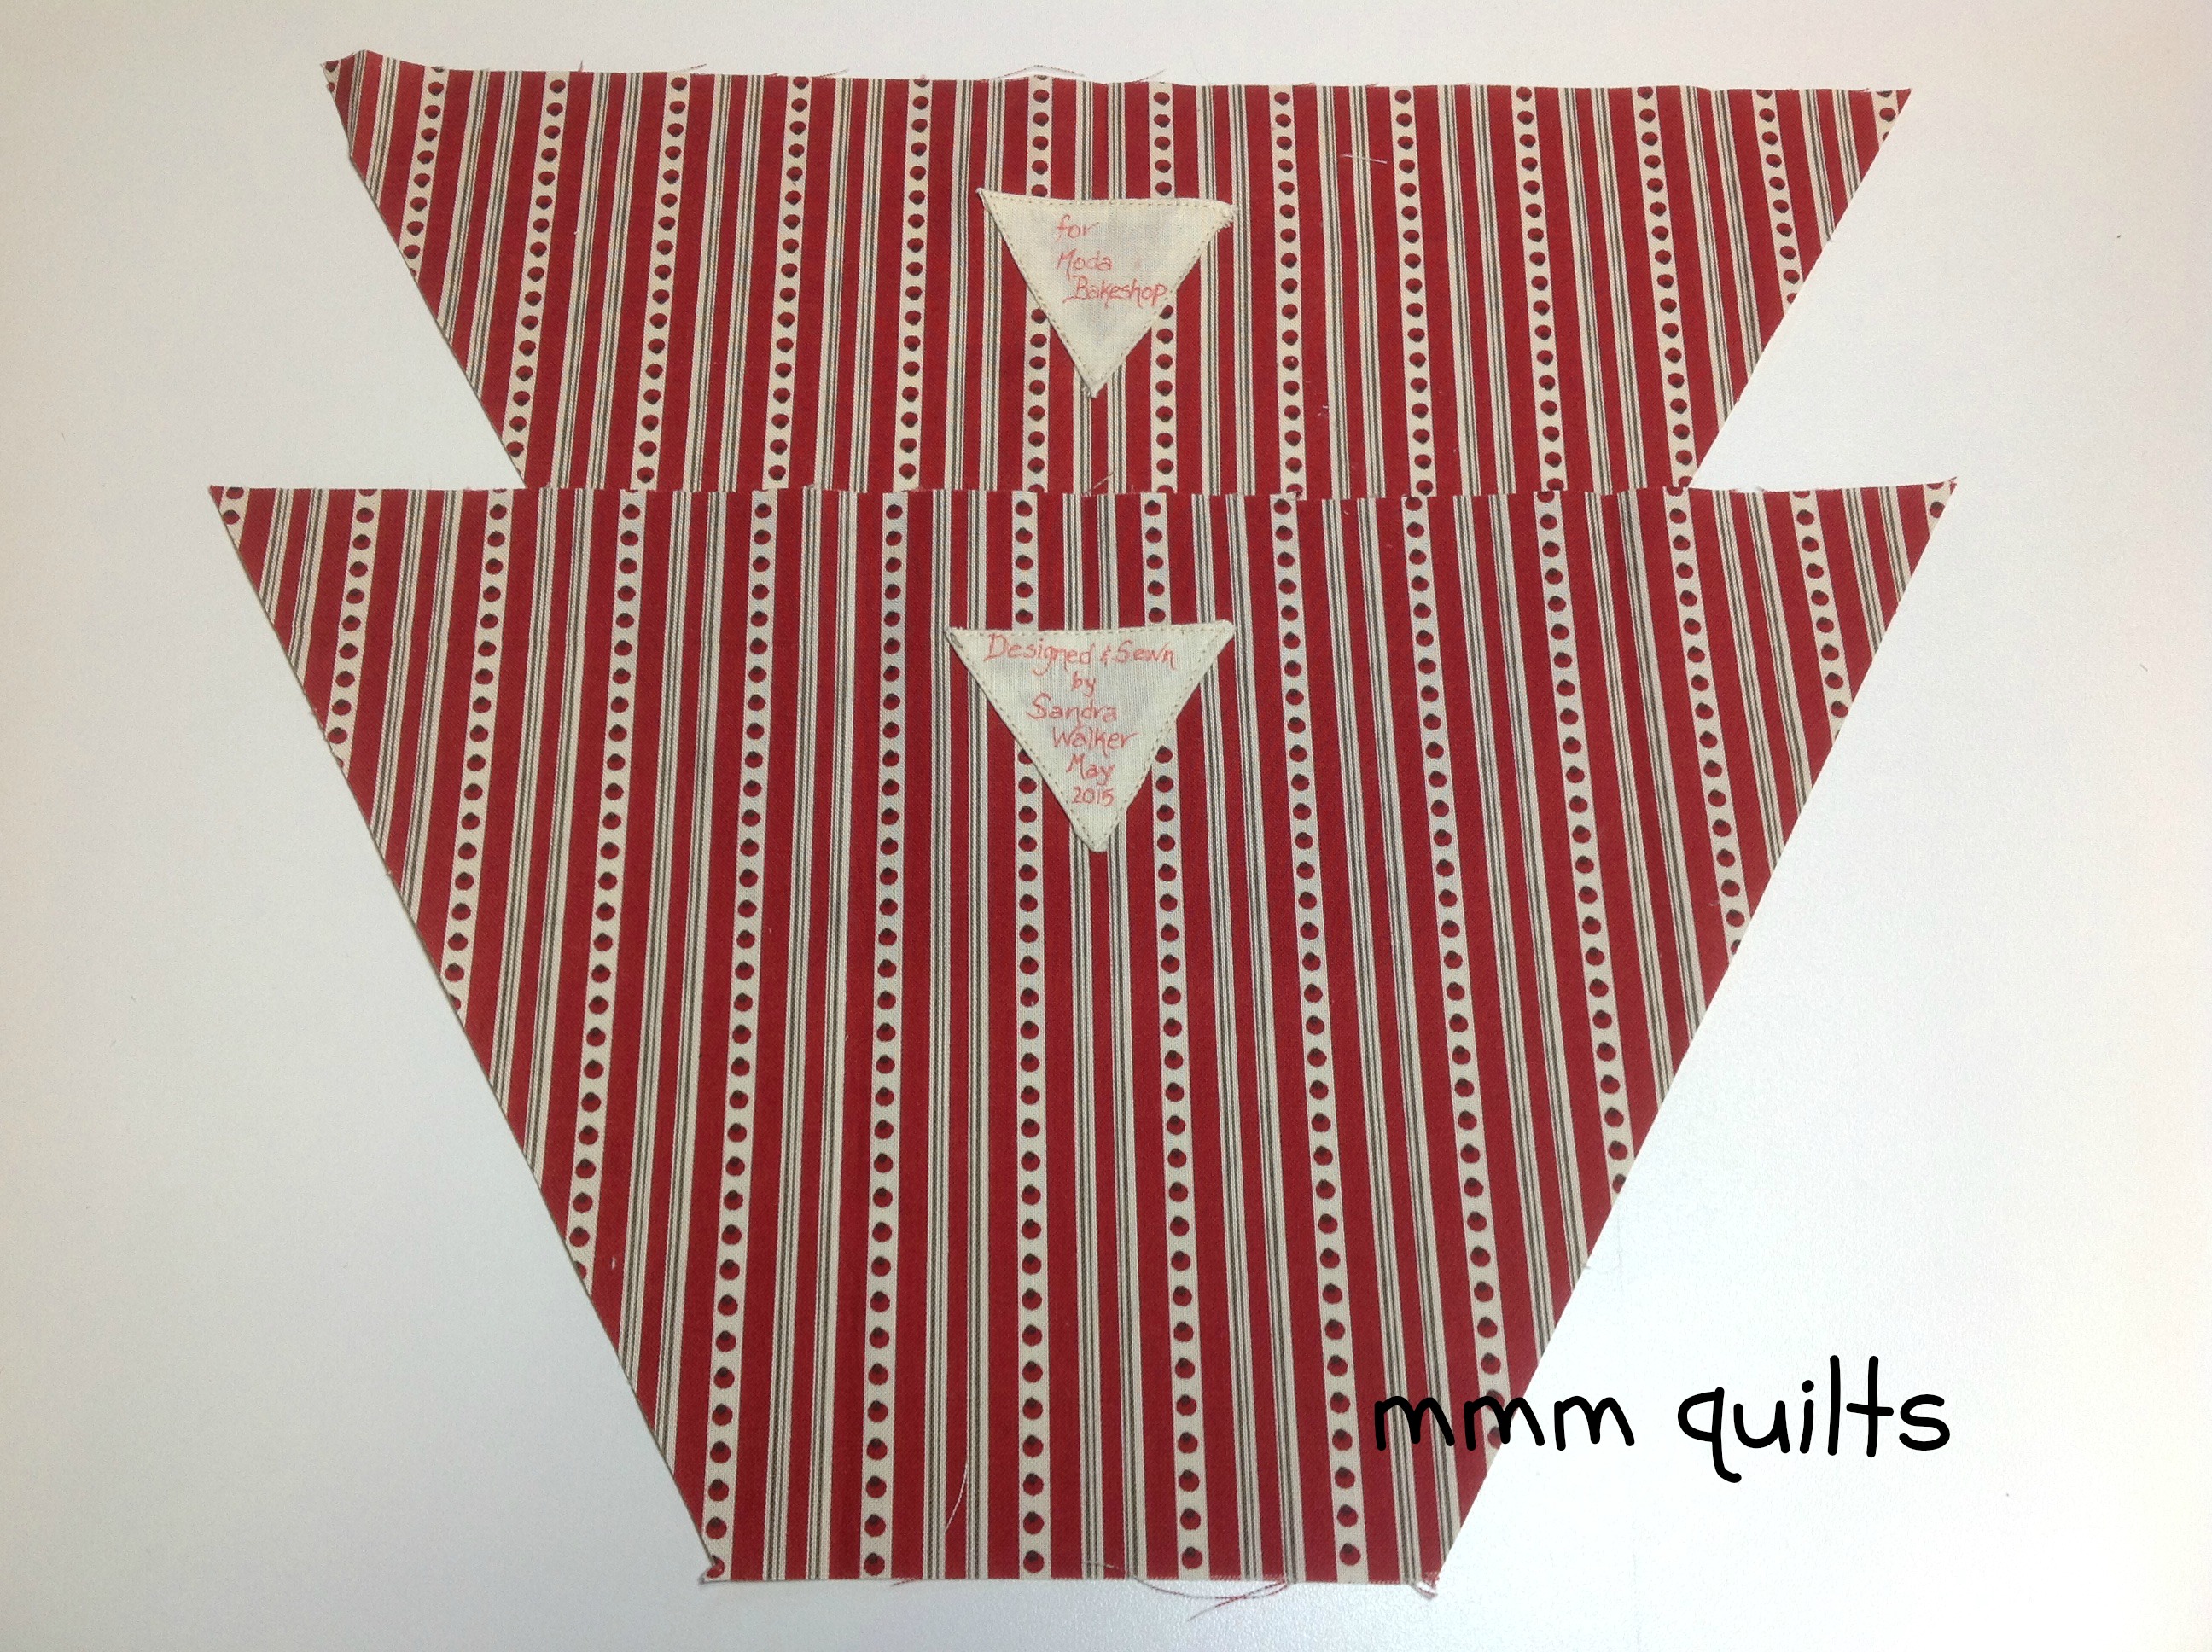
This is the time to apply a label, so if you put aside a solid-reading charm square, and if you wish to make the triangle label as I did, then cut the charm square in half as you did for the other triangles, so you have a 2.5X5” rectangle. Cut this rectangle as before into (2) 60° triangles. Press under the seam allowance a very scant ¼”. Trim the overlapping fabrics at each point. Use an archival ink pen to record any information you like. Fold the lining piece in half to find the vertical centre. Align the top edge of the label so it is about 1 ¼” down from the raw top edge of the lining. Topstitch it about 1/16” from the edge of the label.
Zipper
I love using the zipper tabs method I first saw on the Quilted Patchwork Pouch I made because this reduces bulk at the corners of the pouch and gives your zipper a custom matchy-matchy look! ;-)
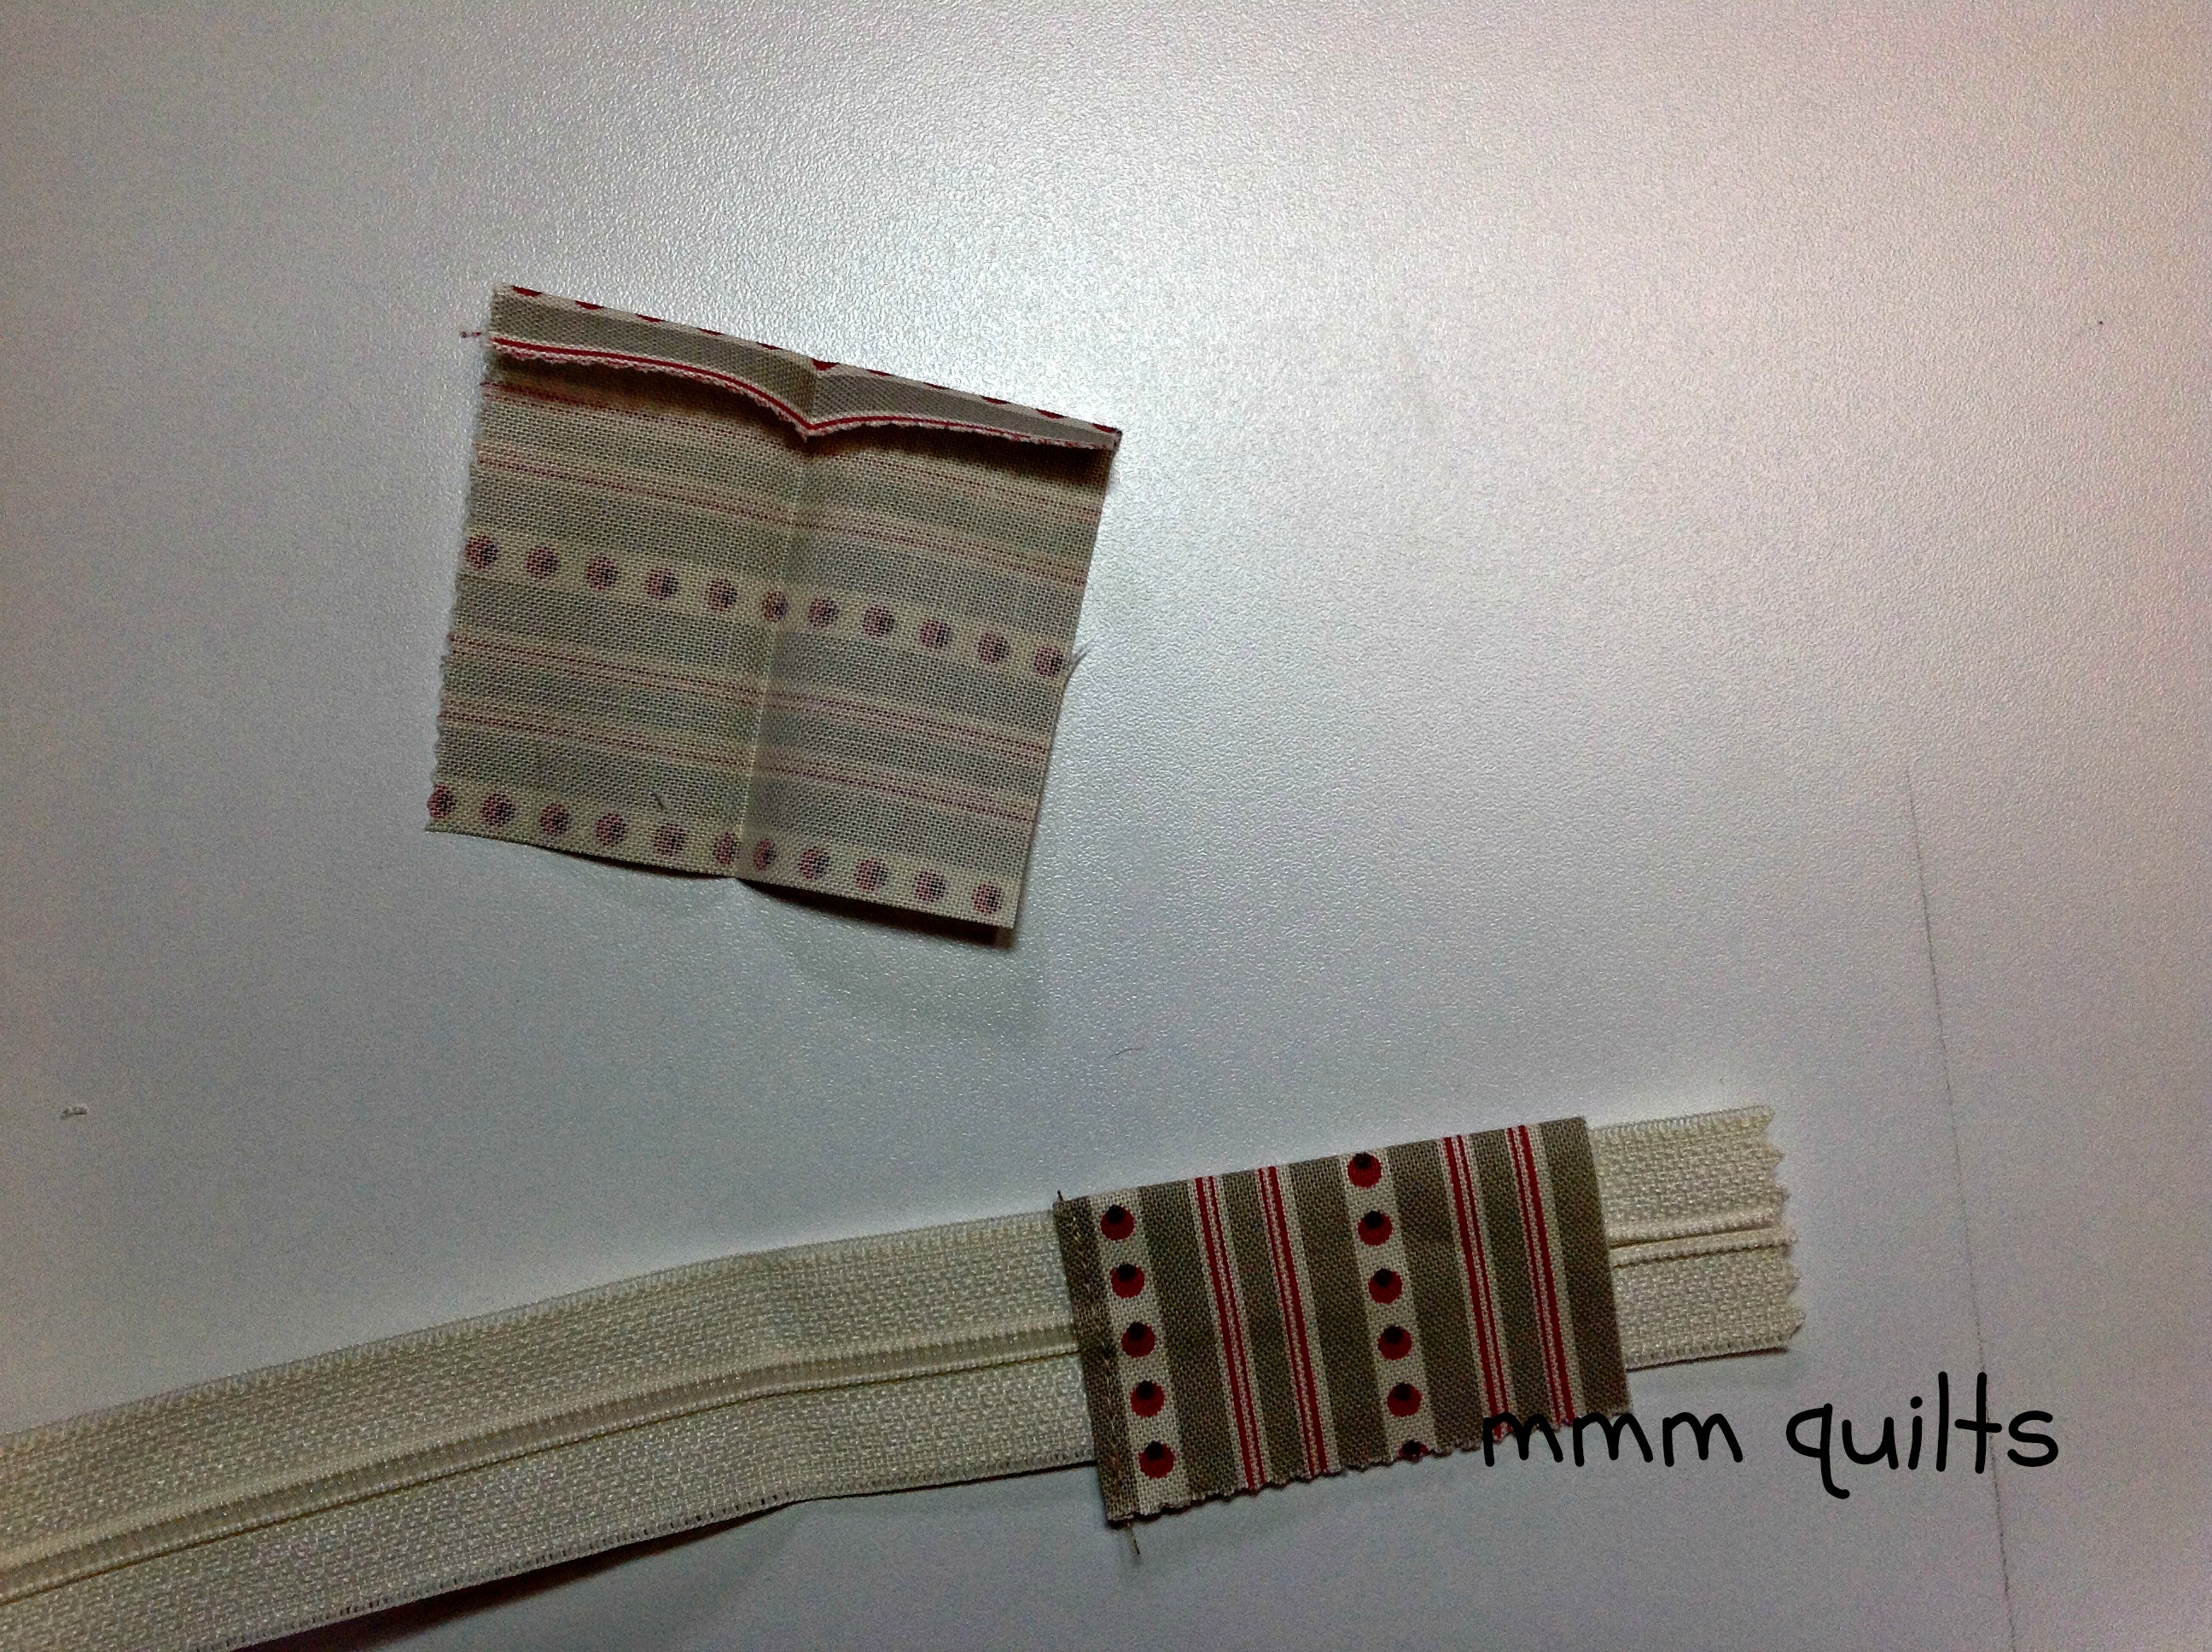
From another one of the leftover charm squares, cut (2) 2 ½” squares. Press one side under a generous ¼” and then press each one in half.
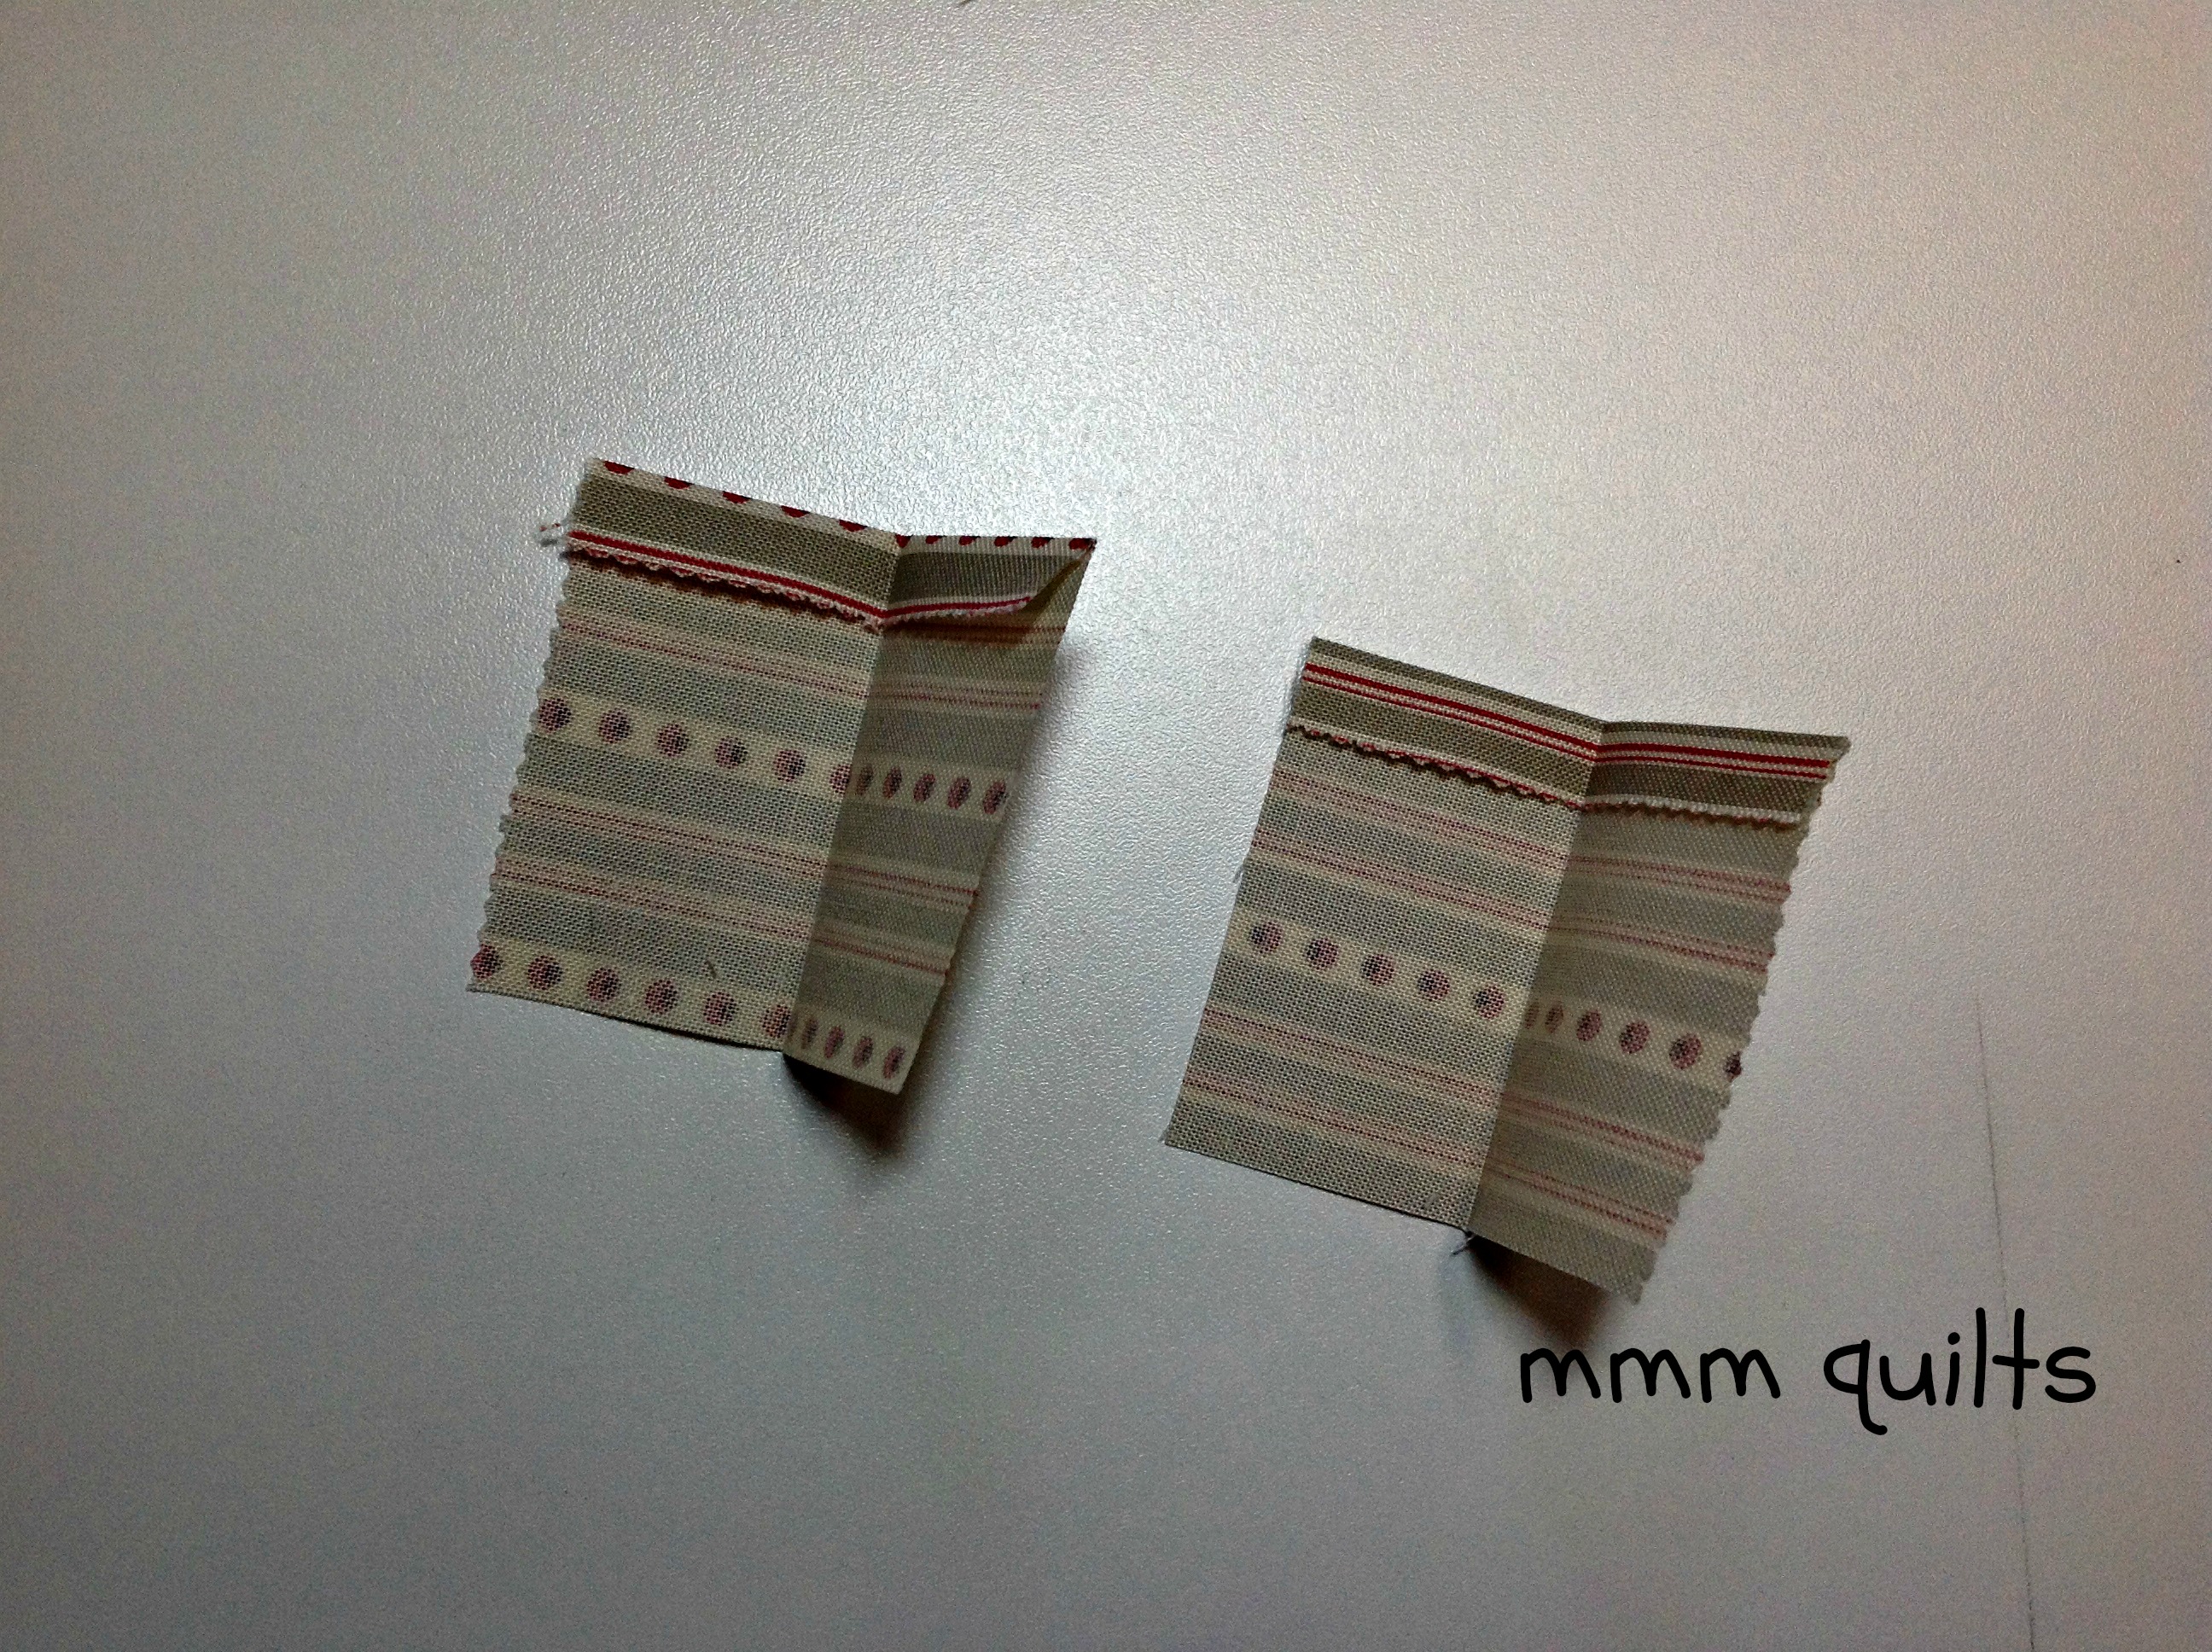
Take one of the tabs and fold it over one end of the zipper. Topstitch along the folded edge, encasing the zipper inside the 2.5” square. Open up the tab and trim the zipper to ¼”.
Leaving 10.5” between the zipper tabs, encase the zipper inside the second 2.5” square, topstitching as you did the first one. Be sure to open the zipper so the pull tab lies between the two new stops.
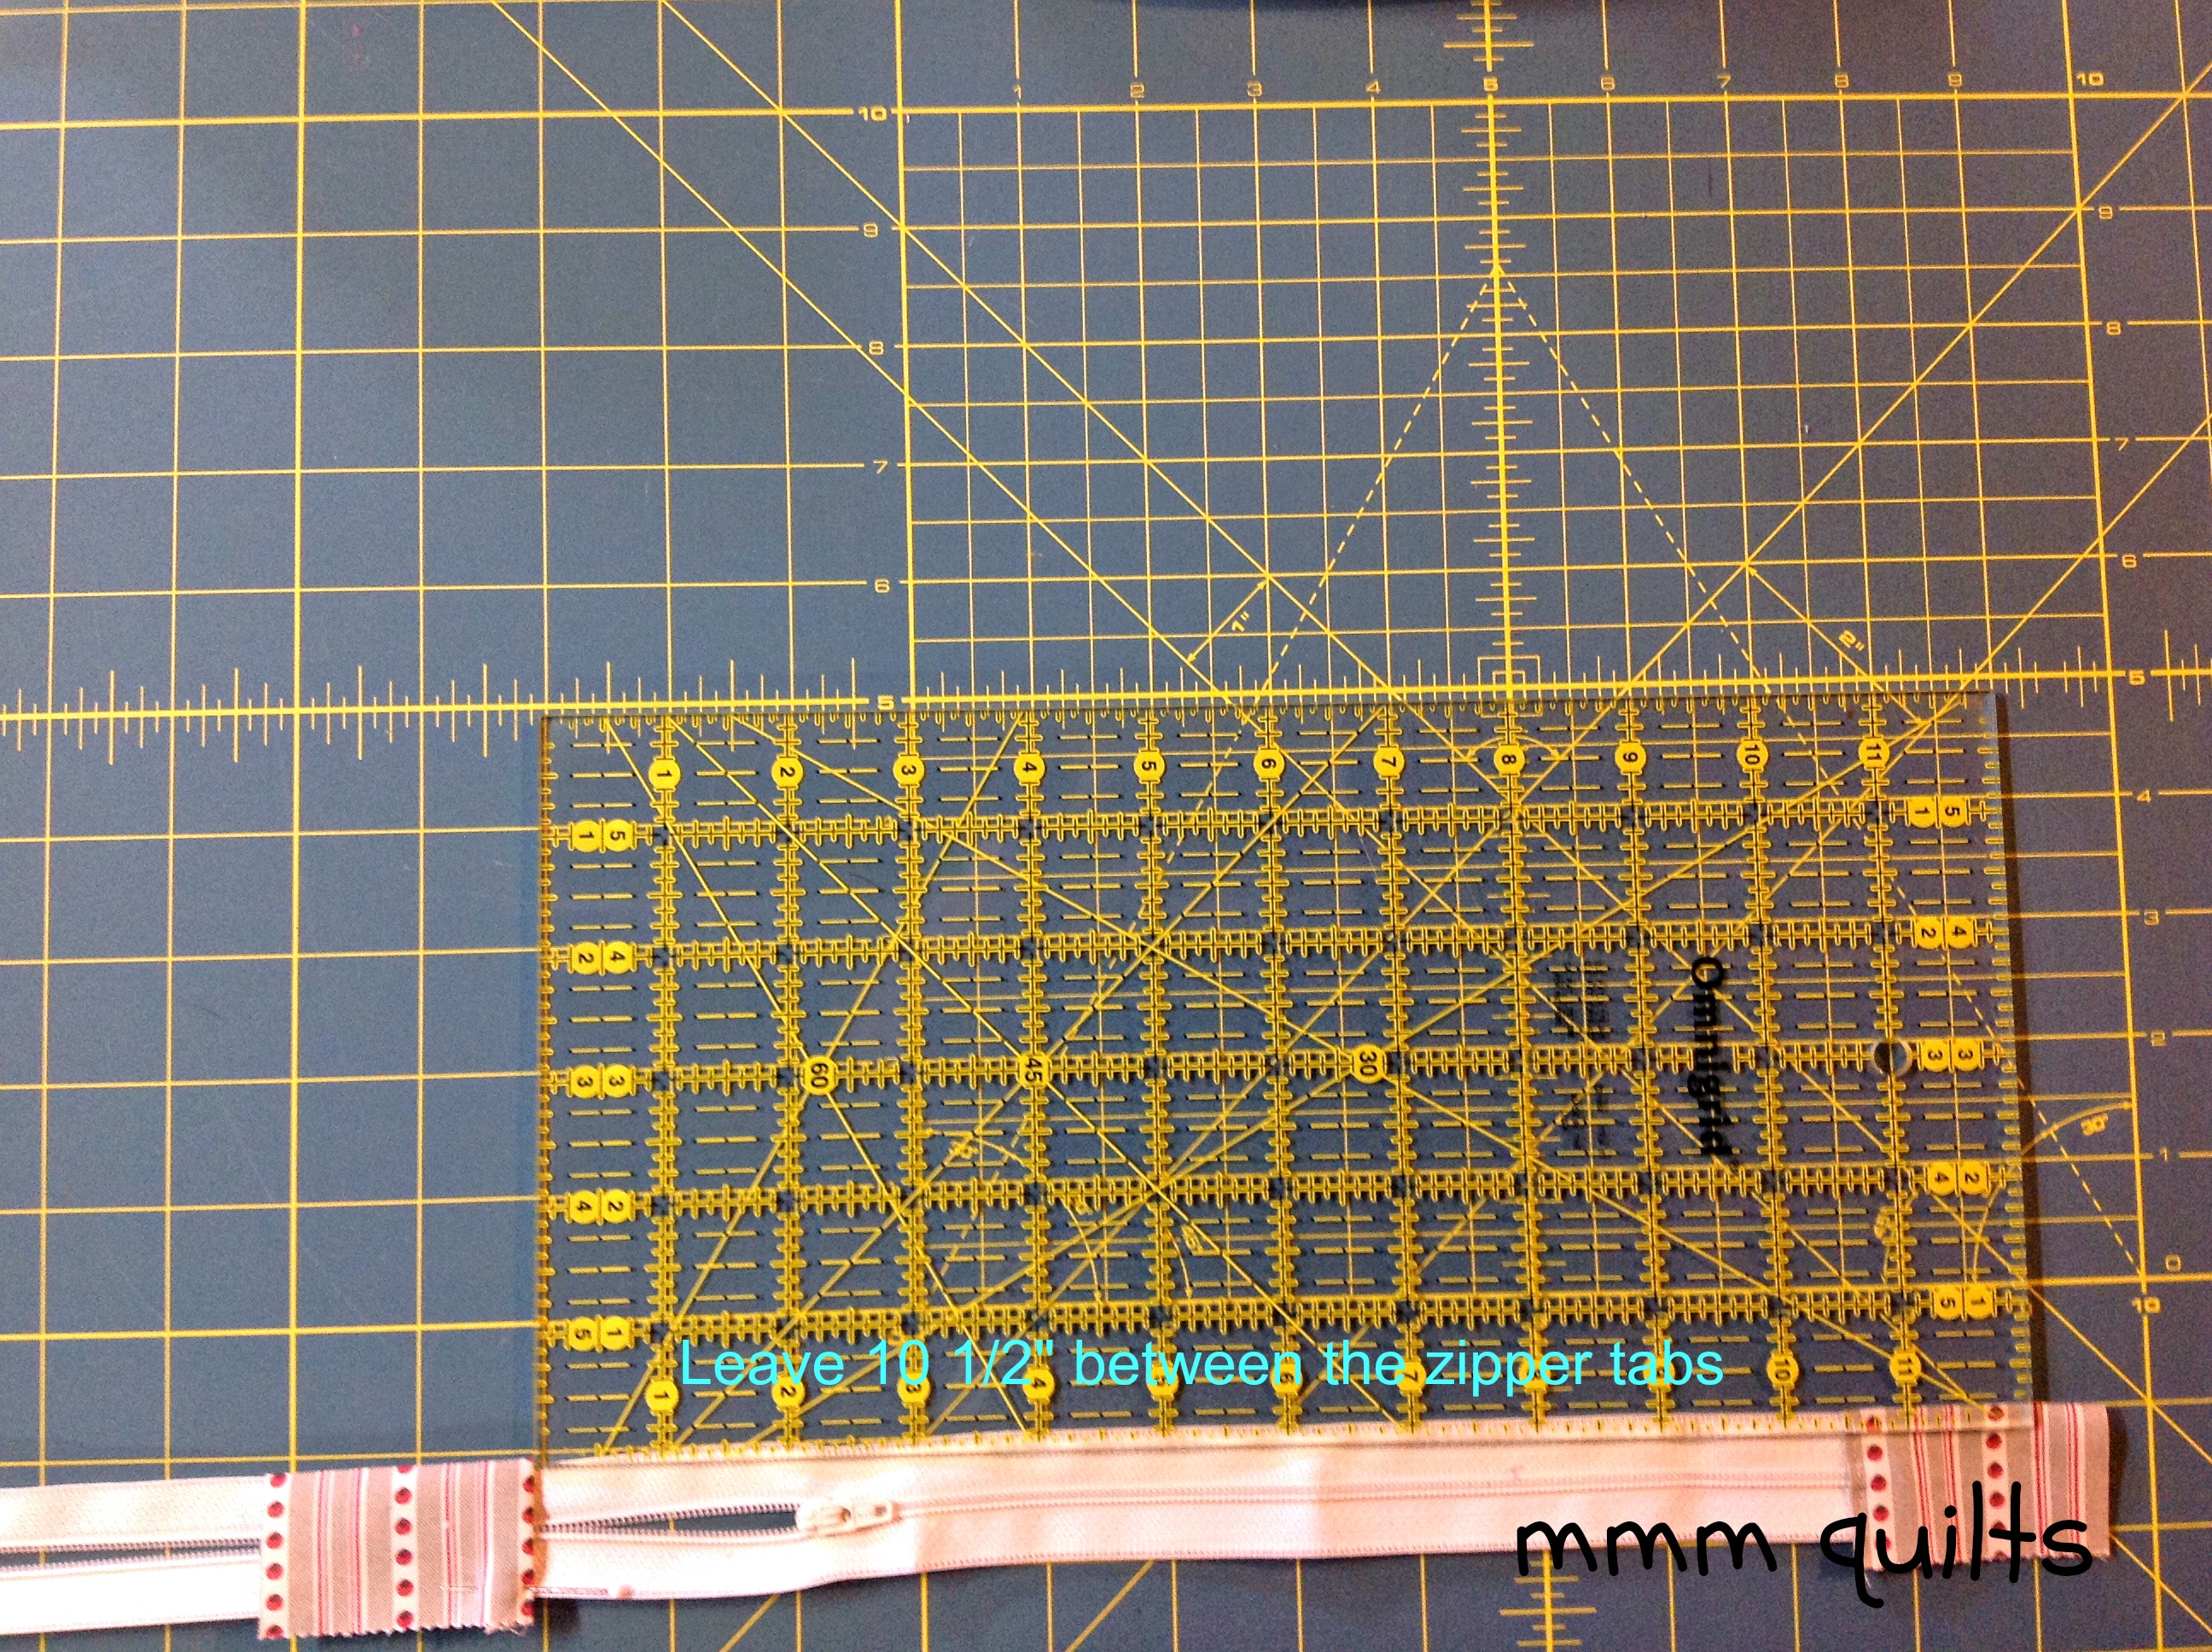
Trim the ends to ¼” just as you did for the first end. Here is what it will look like:

Bag Assembly
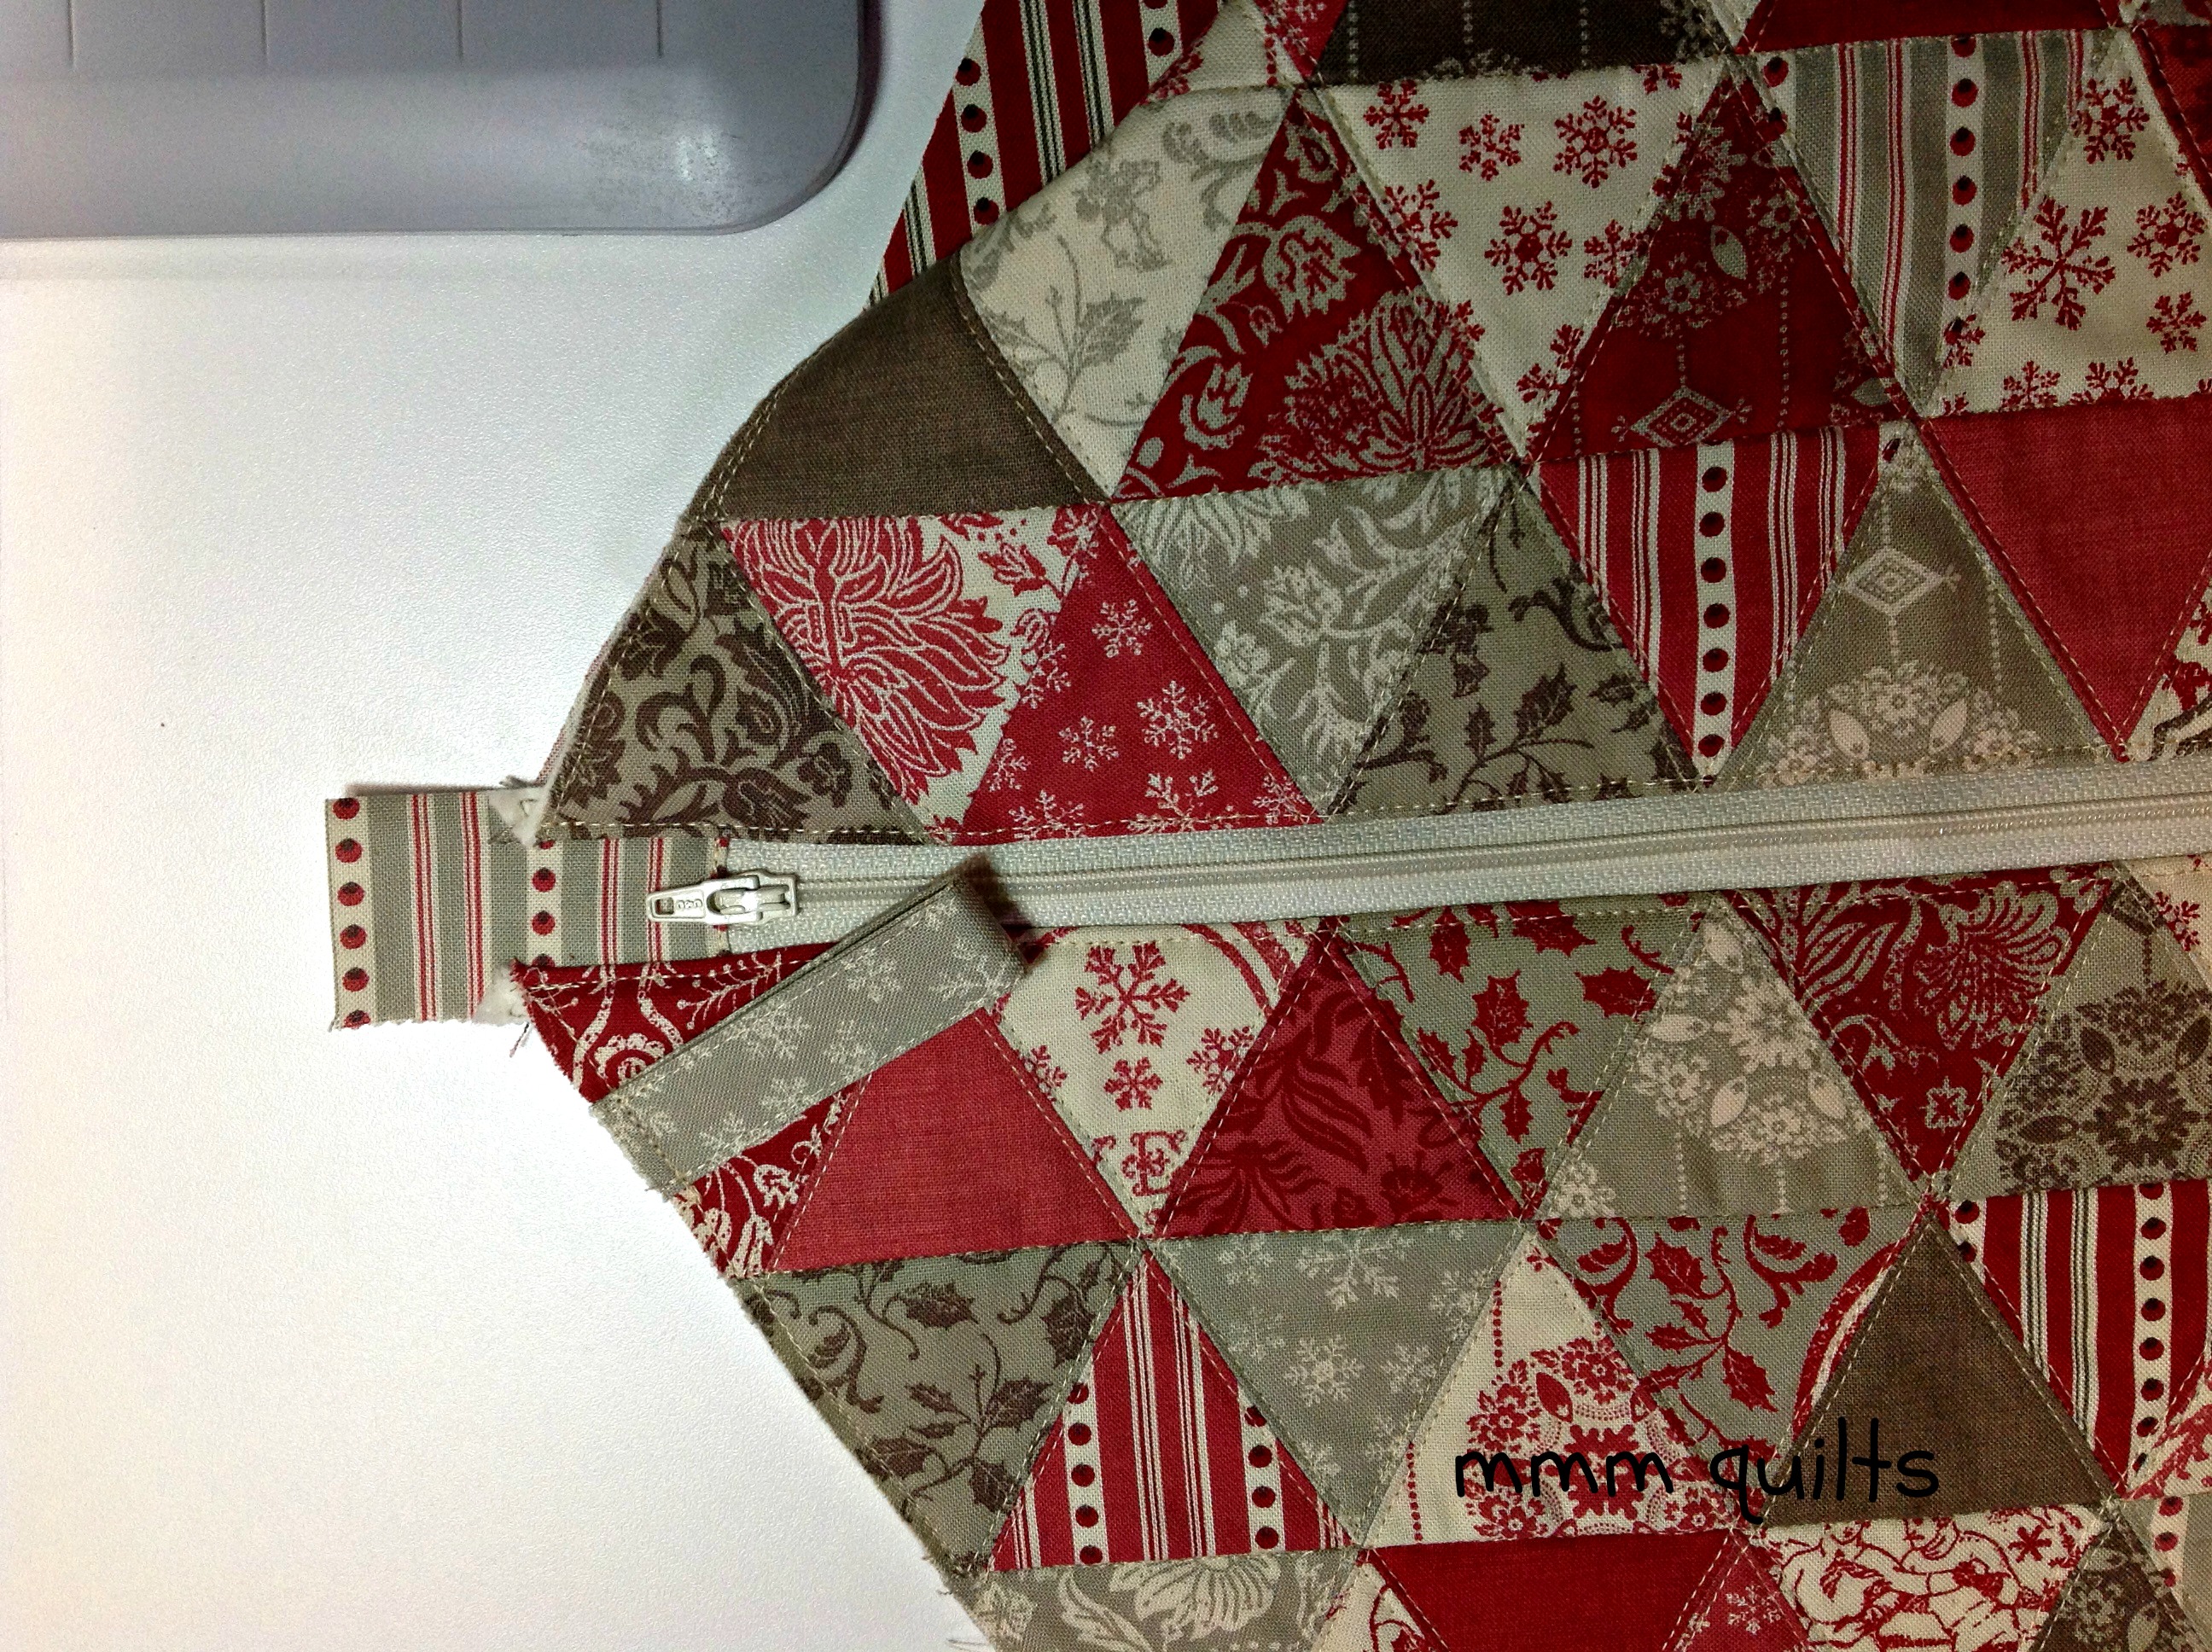
Layer the pieces in this order, aligning raw edges and centering your zipper with the midpoint of the bag top edge: bag body face up, zipper face down,

and then lining face down. Pin or baste the layers together. It's okay that the zipper tabs are sticking out; you will trim them later.

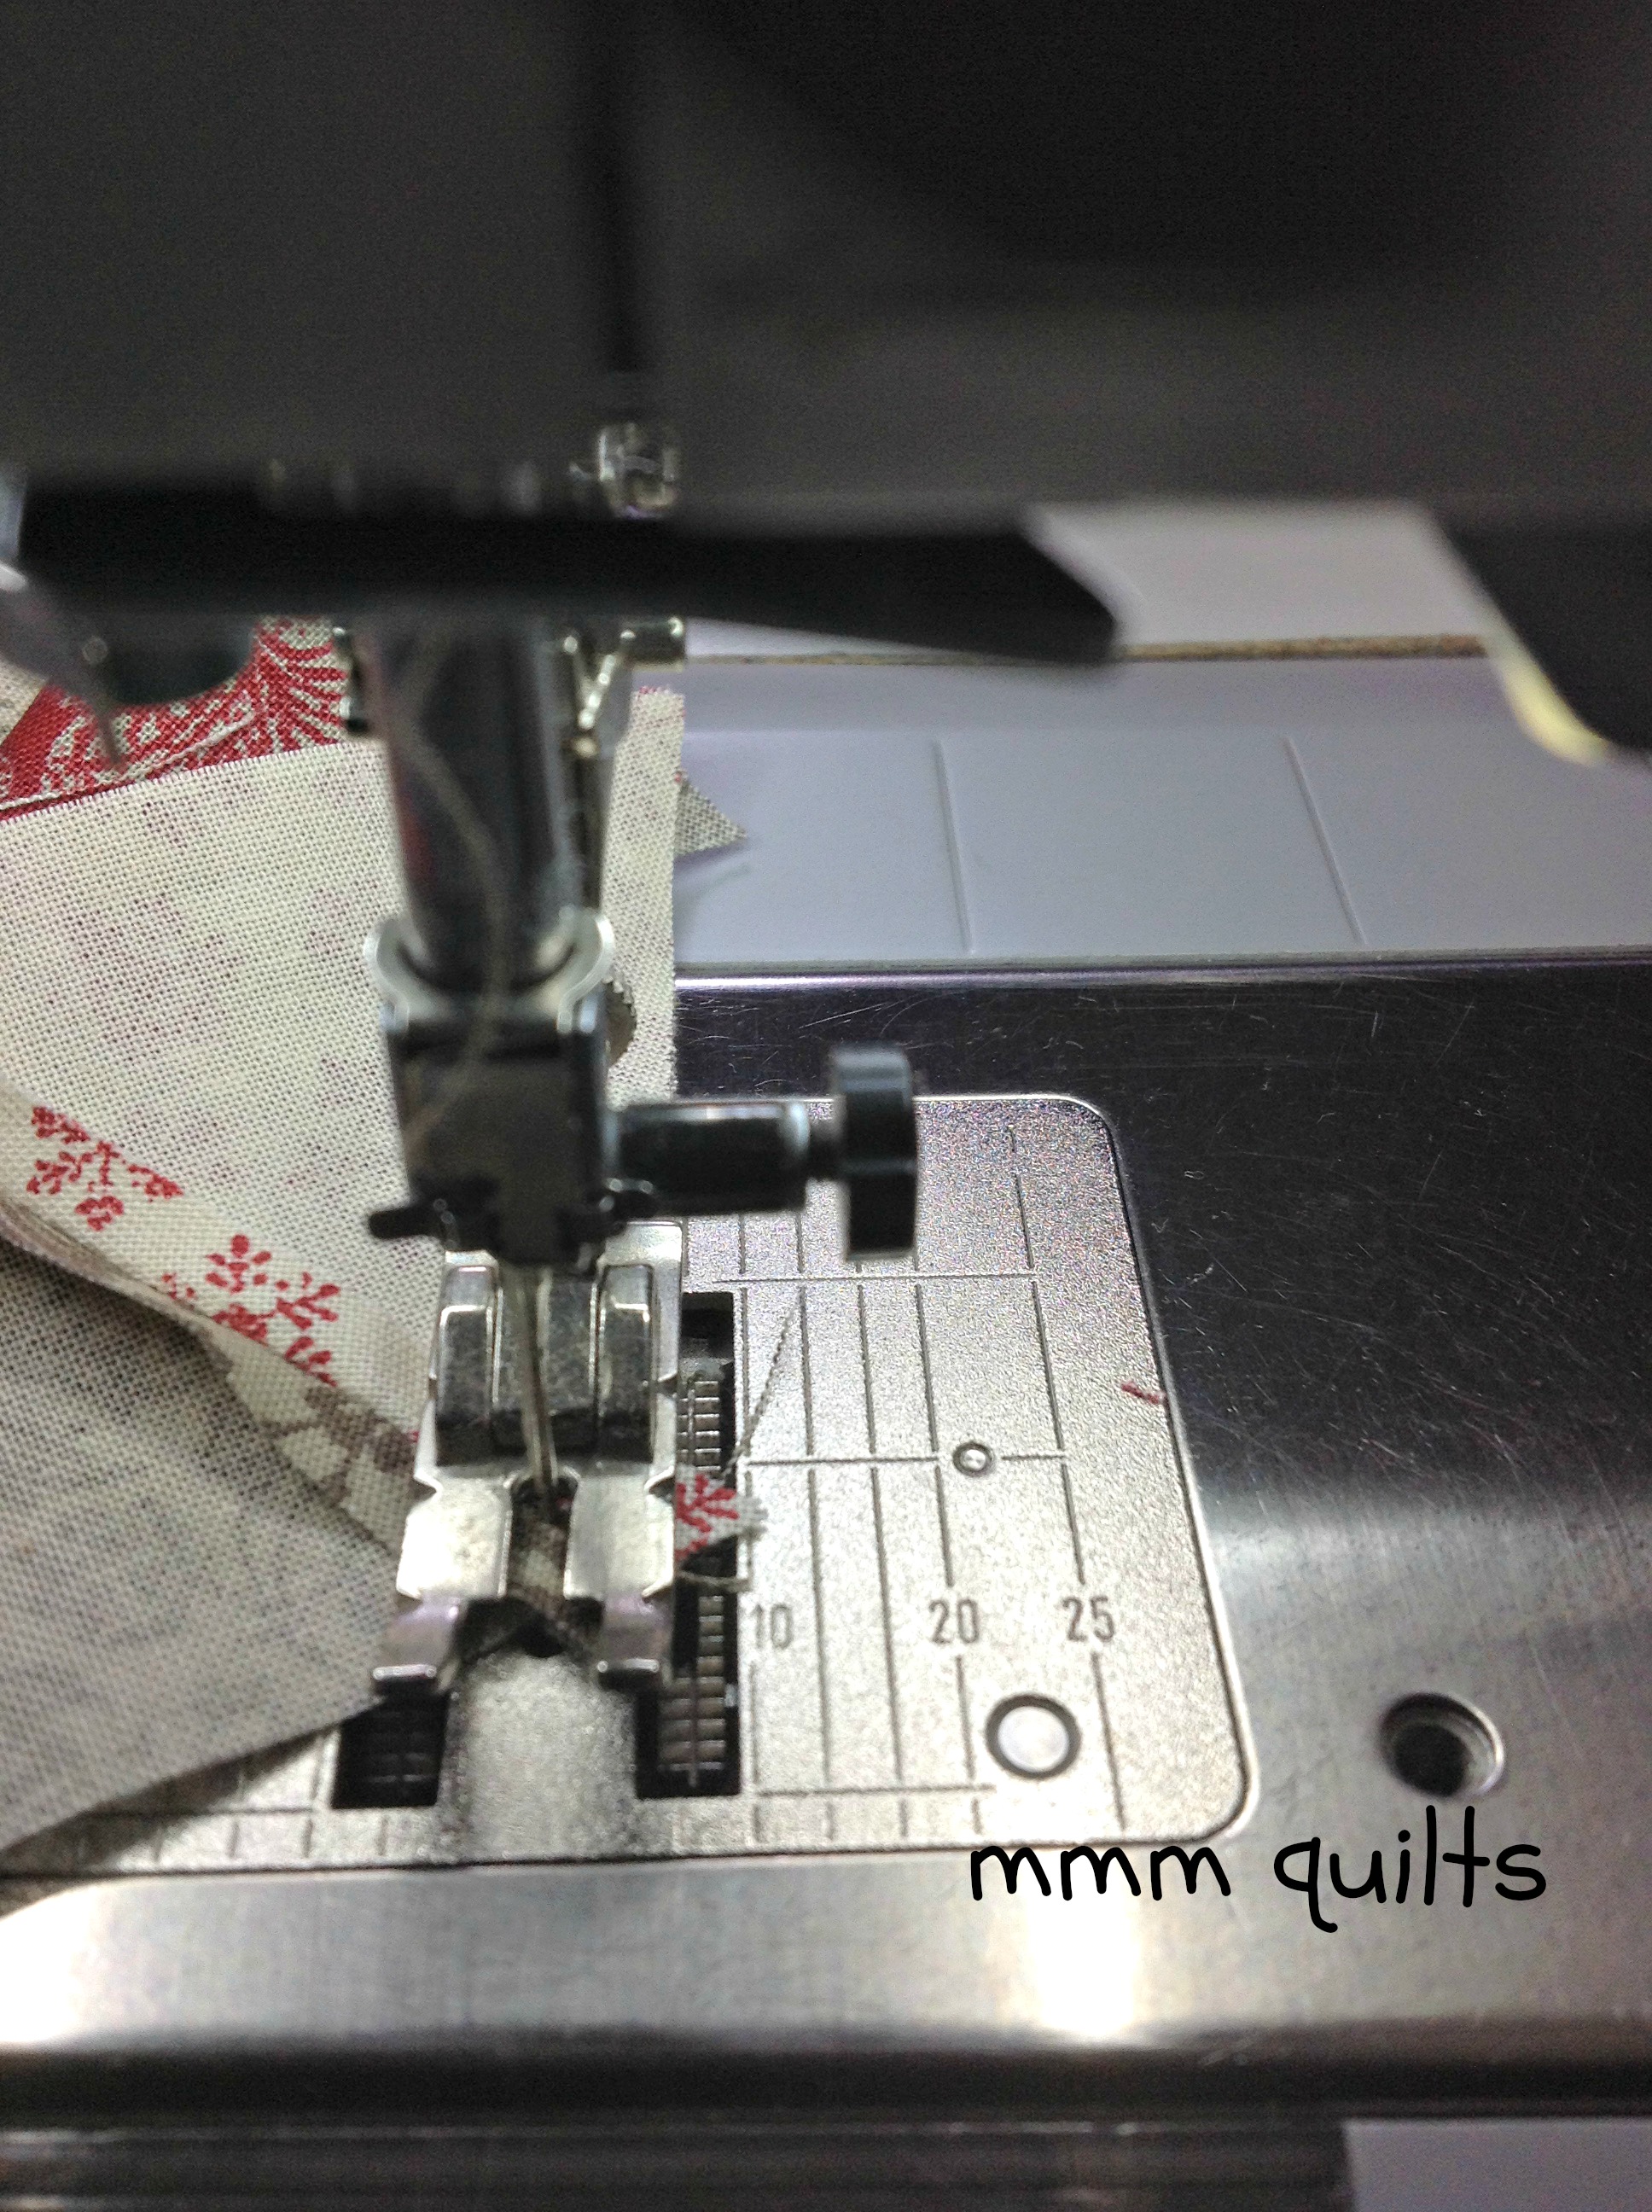
If you usually sew, as I do, with a single-hole throatplate, change it now, (or you will break a needle, yep been there done that, more than once) and put on your zipper foot. Sew slowly, backstitching at each end of the seam. Open the now-encased-edge-of-the-zipper seam and carefully fold away both the bag body and the lining.
Repeat with the other side. Layer them in this order: side 2 of the bag body, unsewn side of the zipper face down with the first side of the bag body/lining sewn to it, but folded away from the zipper, and finally the second piece of lining face down on top of the unsewn edge of the zipper. It should look like this
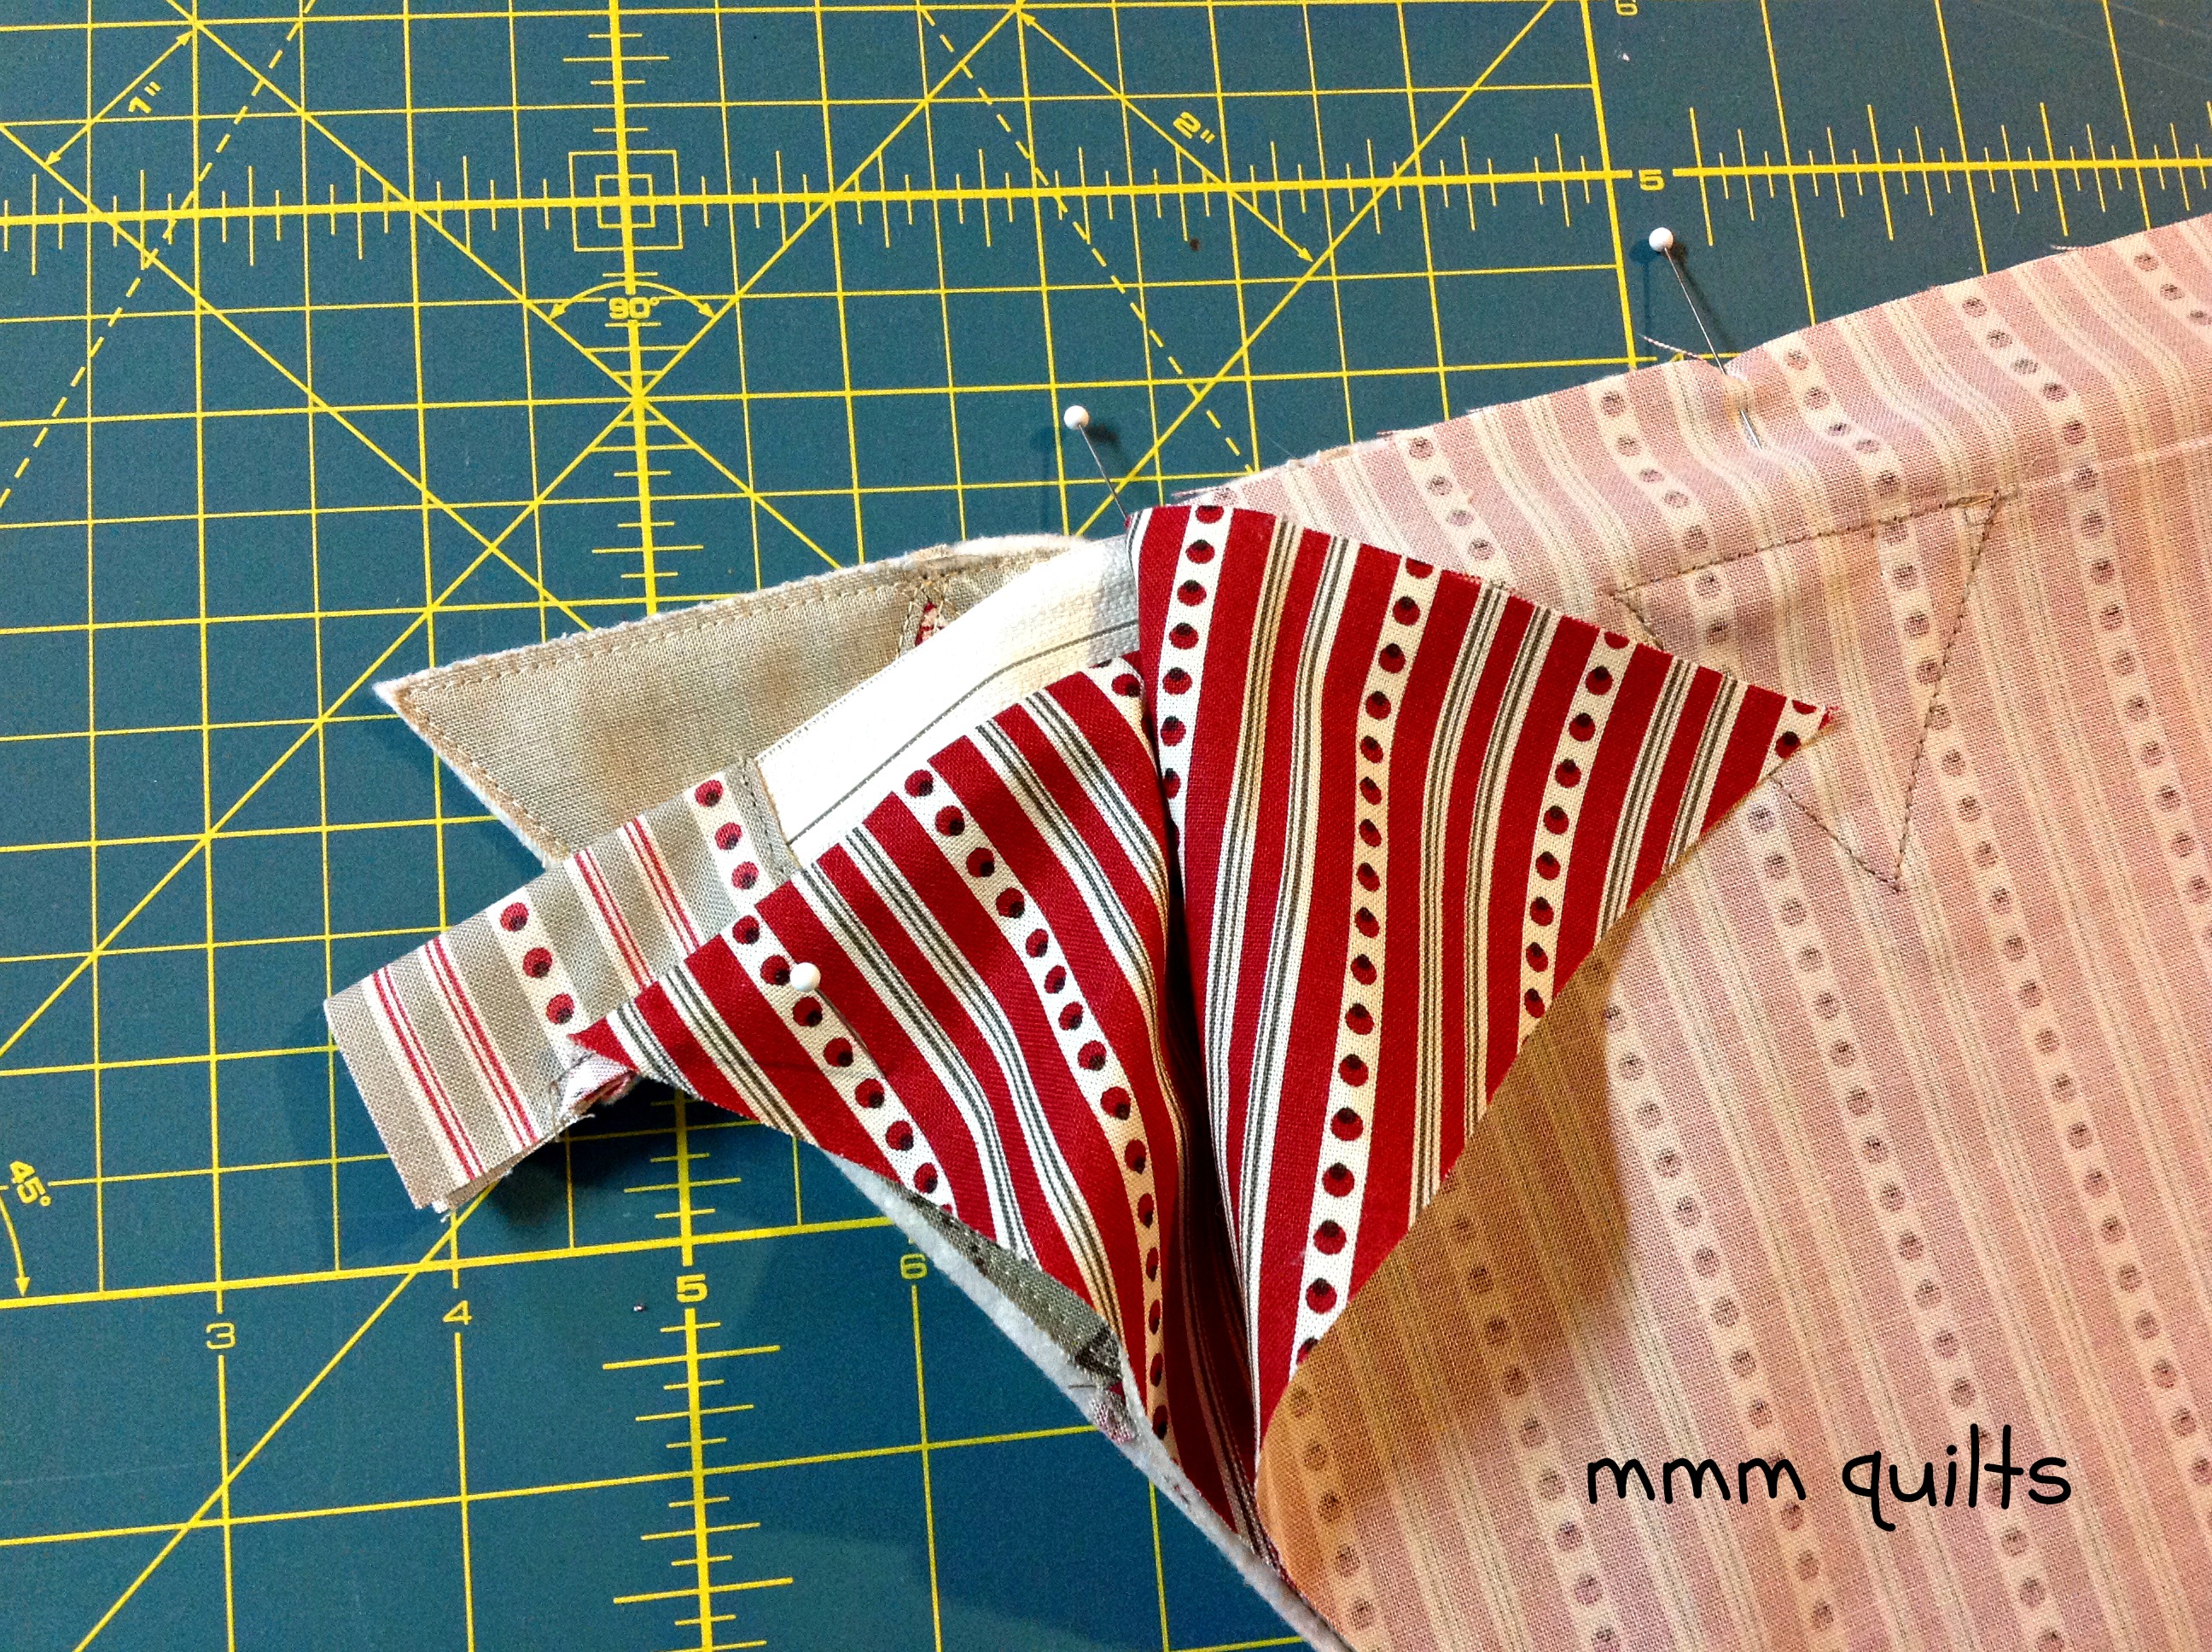 Basically side 1 of the bag body/lining is between side 2 of the bag body and the second piece of lining
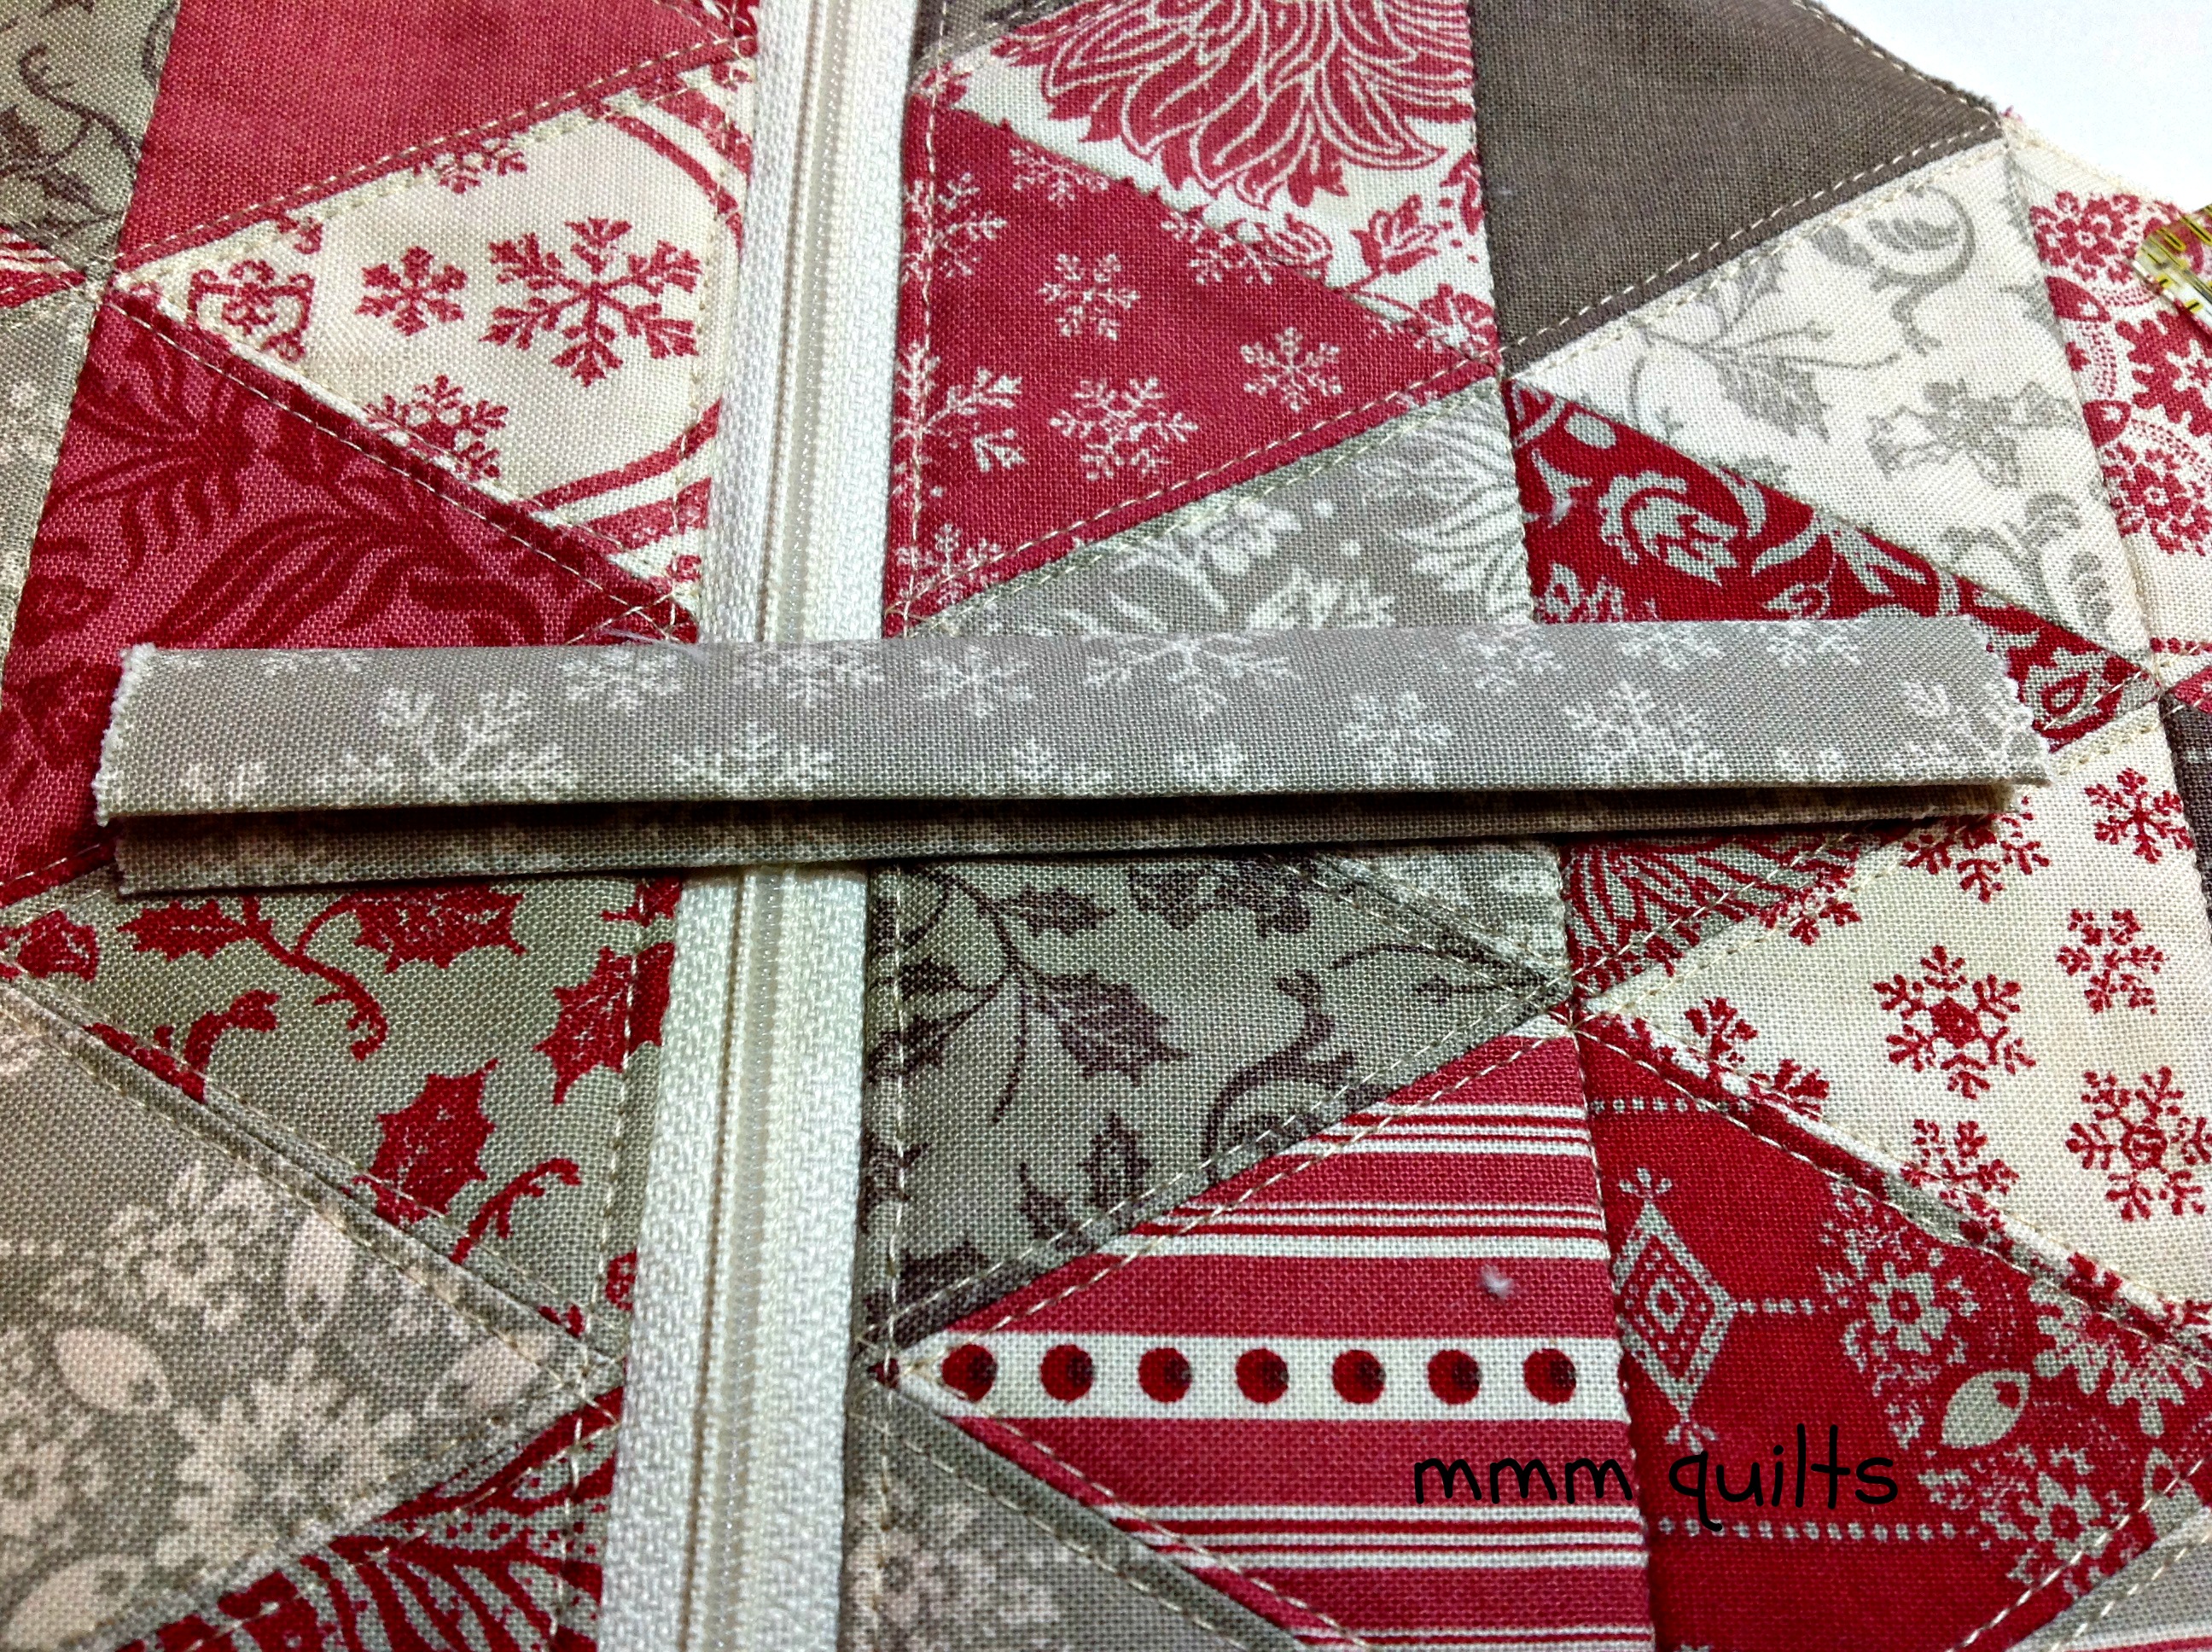
Pin and sew slowly as you did before. You will have this, a bag body/lining piece with wrong sides together on either side of your zipper:

With wrong sides of the bag body and the lining together, topstitch on the bag body side. You can do that step before you sew on the second side or not. I've done it both ways without any difference. I like to put on my walking foot as there's a fair amount of thickness to deal with. Tip: for a nice straight line of top-stitching, open the zipper a little ways. Sew up to the zipper stop, lift your presser foot with the needle in down position, carefully close the zipper so the stop is now behind your walking foot, and then continue top-stitching. I also do this when I'm sewing the bag body, zipper and lining sandwich.

For the little pull tab/handle, choose another one of the leftover charm squares, and cut it in half making a rectangle 5” x 2.5" wide. Fold in half and press, and then open and fold the raw edges to meet at that pressed centre fold.
Topstitch along both folded edges. Baste the pull tab/handle in place on one of the bag body sections, near the zipper opening, preferably within the first triangle. Be sure you do not catch the lining! (sigh...yes, guilty)
Now, to sew it all together. First, make SURE your zipper is OPEN. Then match the raw edges of the lining together, and those of the bag body together. Pin. Leave about a 5" opening on one side of the lining. This is where you will turn the bag right sides out when you’re done sewing. I put a different colour of pinhead (yellow) here so I will remember to stop/start at these points. This is a point where you might realize, as I did, that I missed an entire diagonal of topstitching! Did you notice in all the previous pics?! Never fear, I went back in and did it, remembering to move the lining out of the way!
Now the ears are all cut off, but it's still easy to match the triangle points simply by looking at your quilting lines, wiggling together the two points so they meet, and dropping a pin right there. Tip for when you get to pinning the lining: push the zipper tab fabric, which doesn't seem to have any place to go, towards the lining side, NOT the bag body side. This will make sense when you're pinning and you get to that point.

Backstitch at the beginning and end. I use my walking foot here again. I also use Clover pins (love 'em) not the clips because I often sew (usually slowly) over (gasp) the pins. Tip: I also backstitch over the place where I've basted the pull/handle to give it extra stability. You can trim the zipper tabs now too, and trim down that corner between the bag body and lining to reduce bulk.

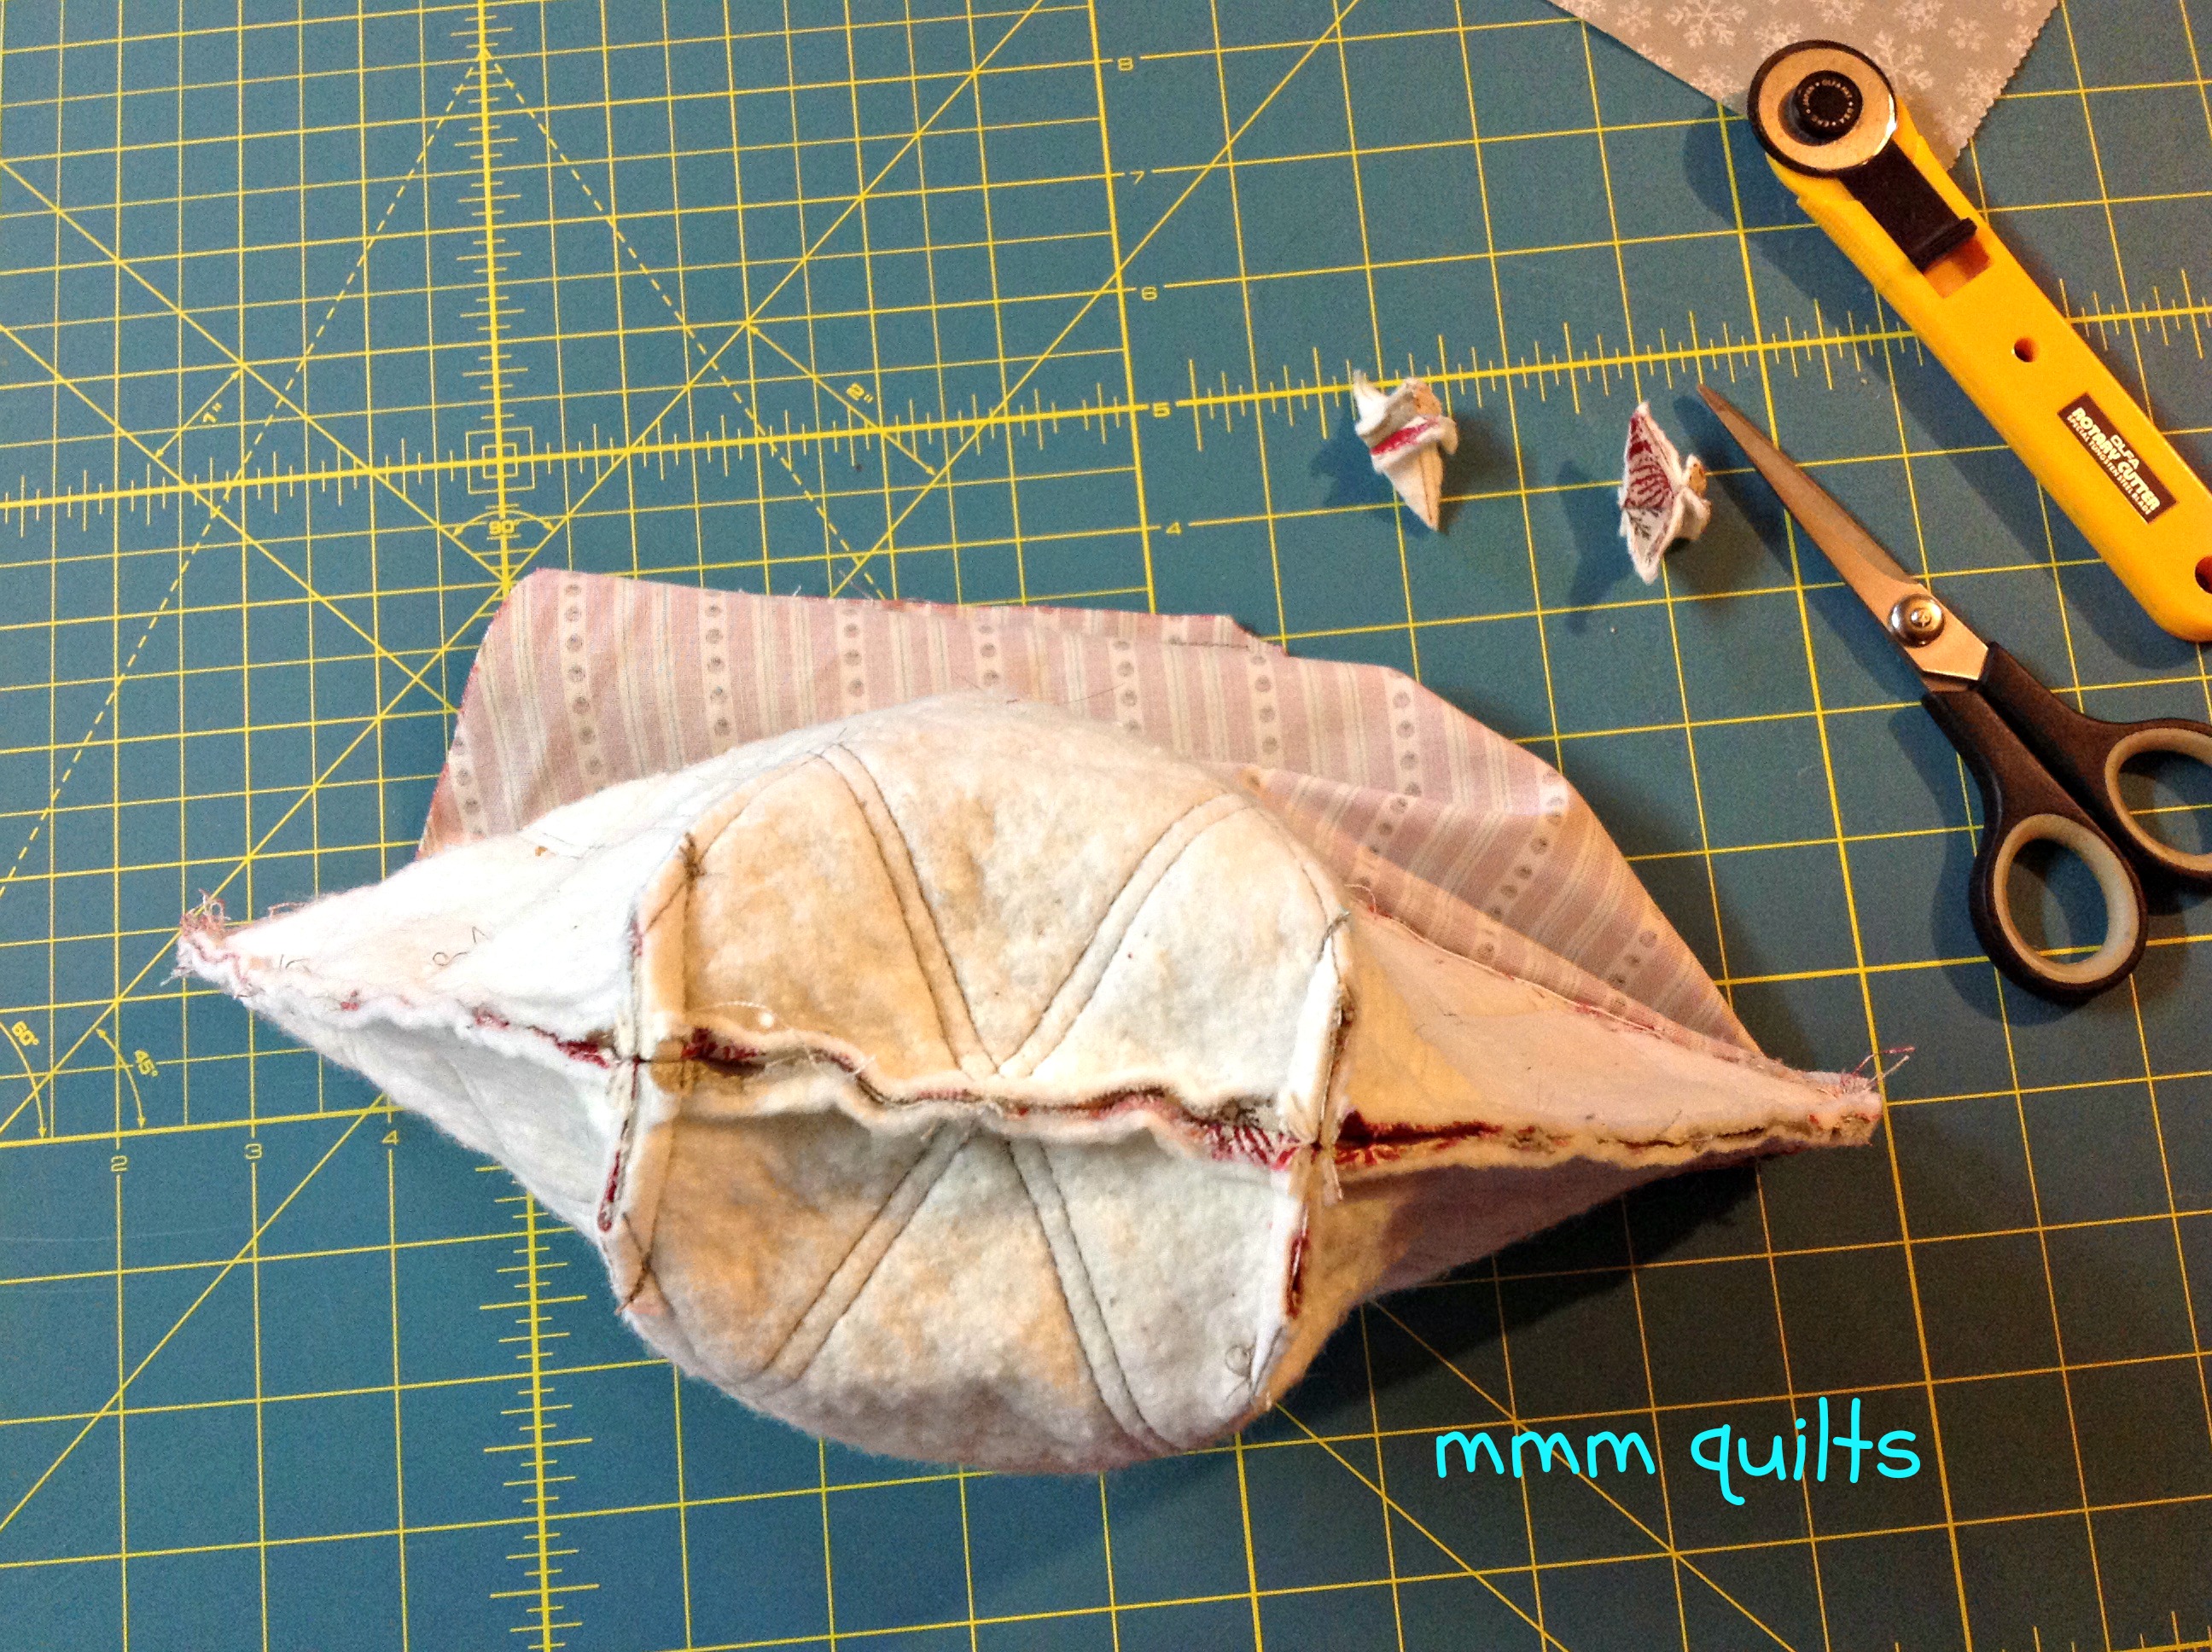
I like to check the bag here before I box the bottom. So, reach your hand inside the opening, and gently pull the bag body through the open zipper (you remembered, right?) and through that opening in the lining. If all looks/matches nicely, then turn it back wrong sides out to box the bottom so the bag will stand up on its own.
Line up the seams (finger press them open) of the side to match those of the bottom. You can pinch them first and pull them out through the hole in the lining to double-check. Pin. Place your ruler so that you have a 2" line perpendicular to the seams. Draw a line marking this 2" line. Sew along it, back-stitching at each end.

Repeat with the other side. Trim off those triangle pieces.
 Just love how the triangles meet up!
Do the same thing with the lining. Now turn the bag right sides out, pulling the bag body through the hole in the lining as you did before when you checked that all was okay. Turn in the edges of the opening in the lining 1/4" and stitch them closed close to the fold.
Ta da! Here is your new pyramid pouch.
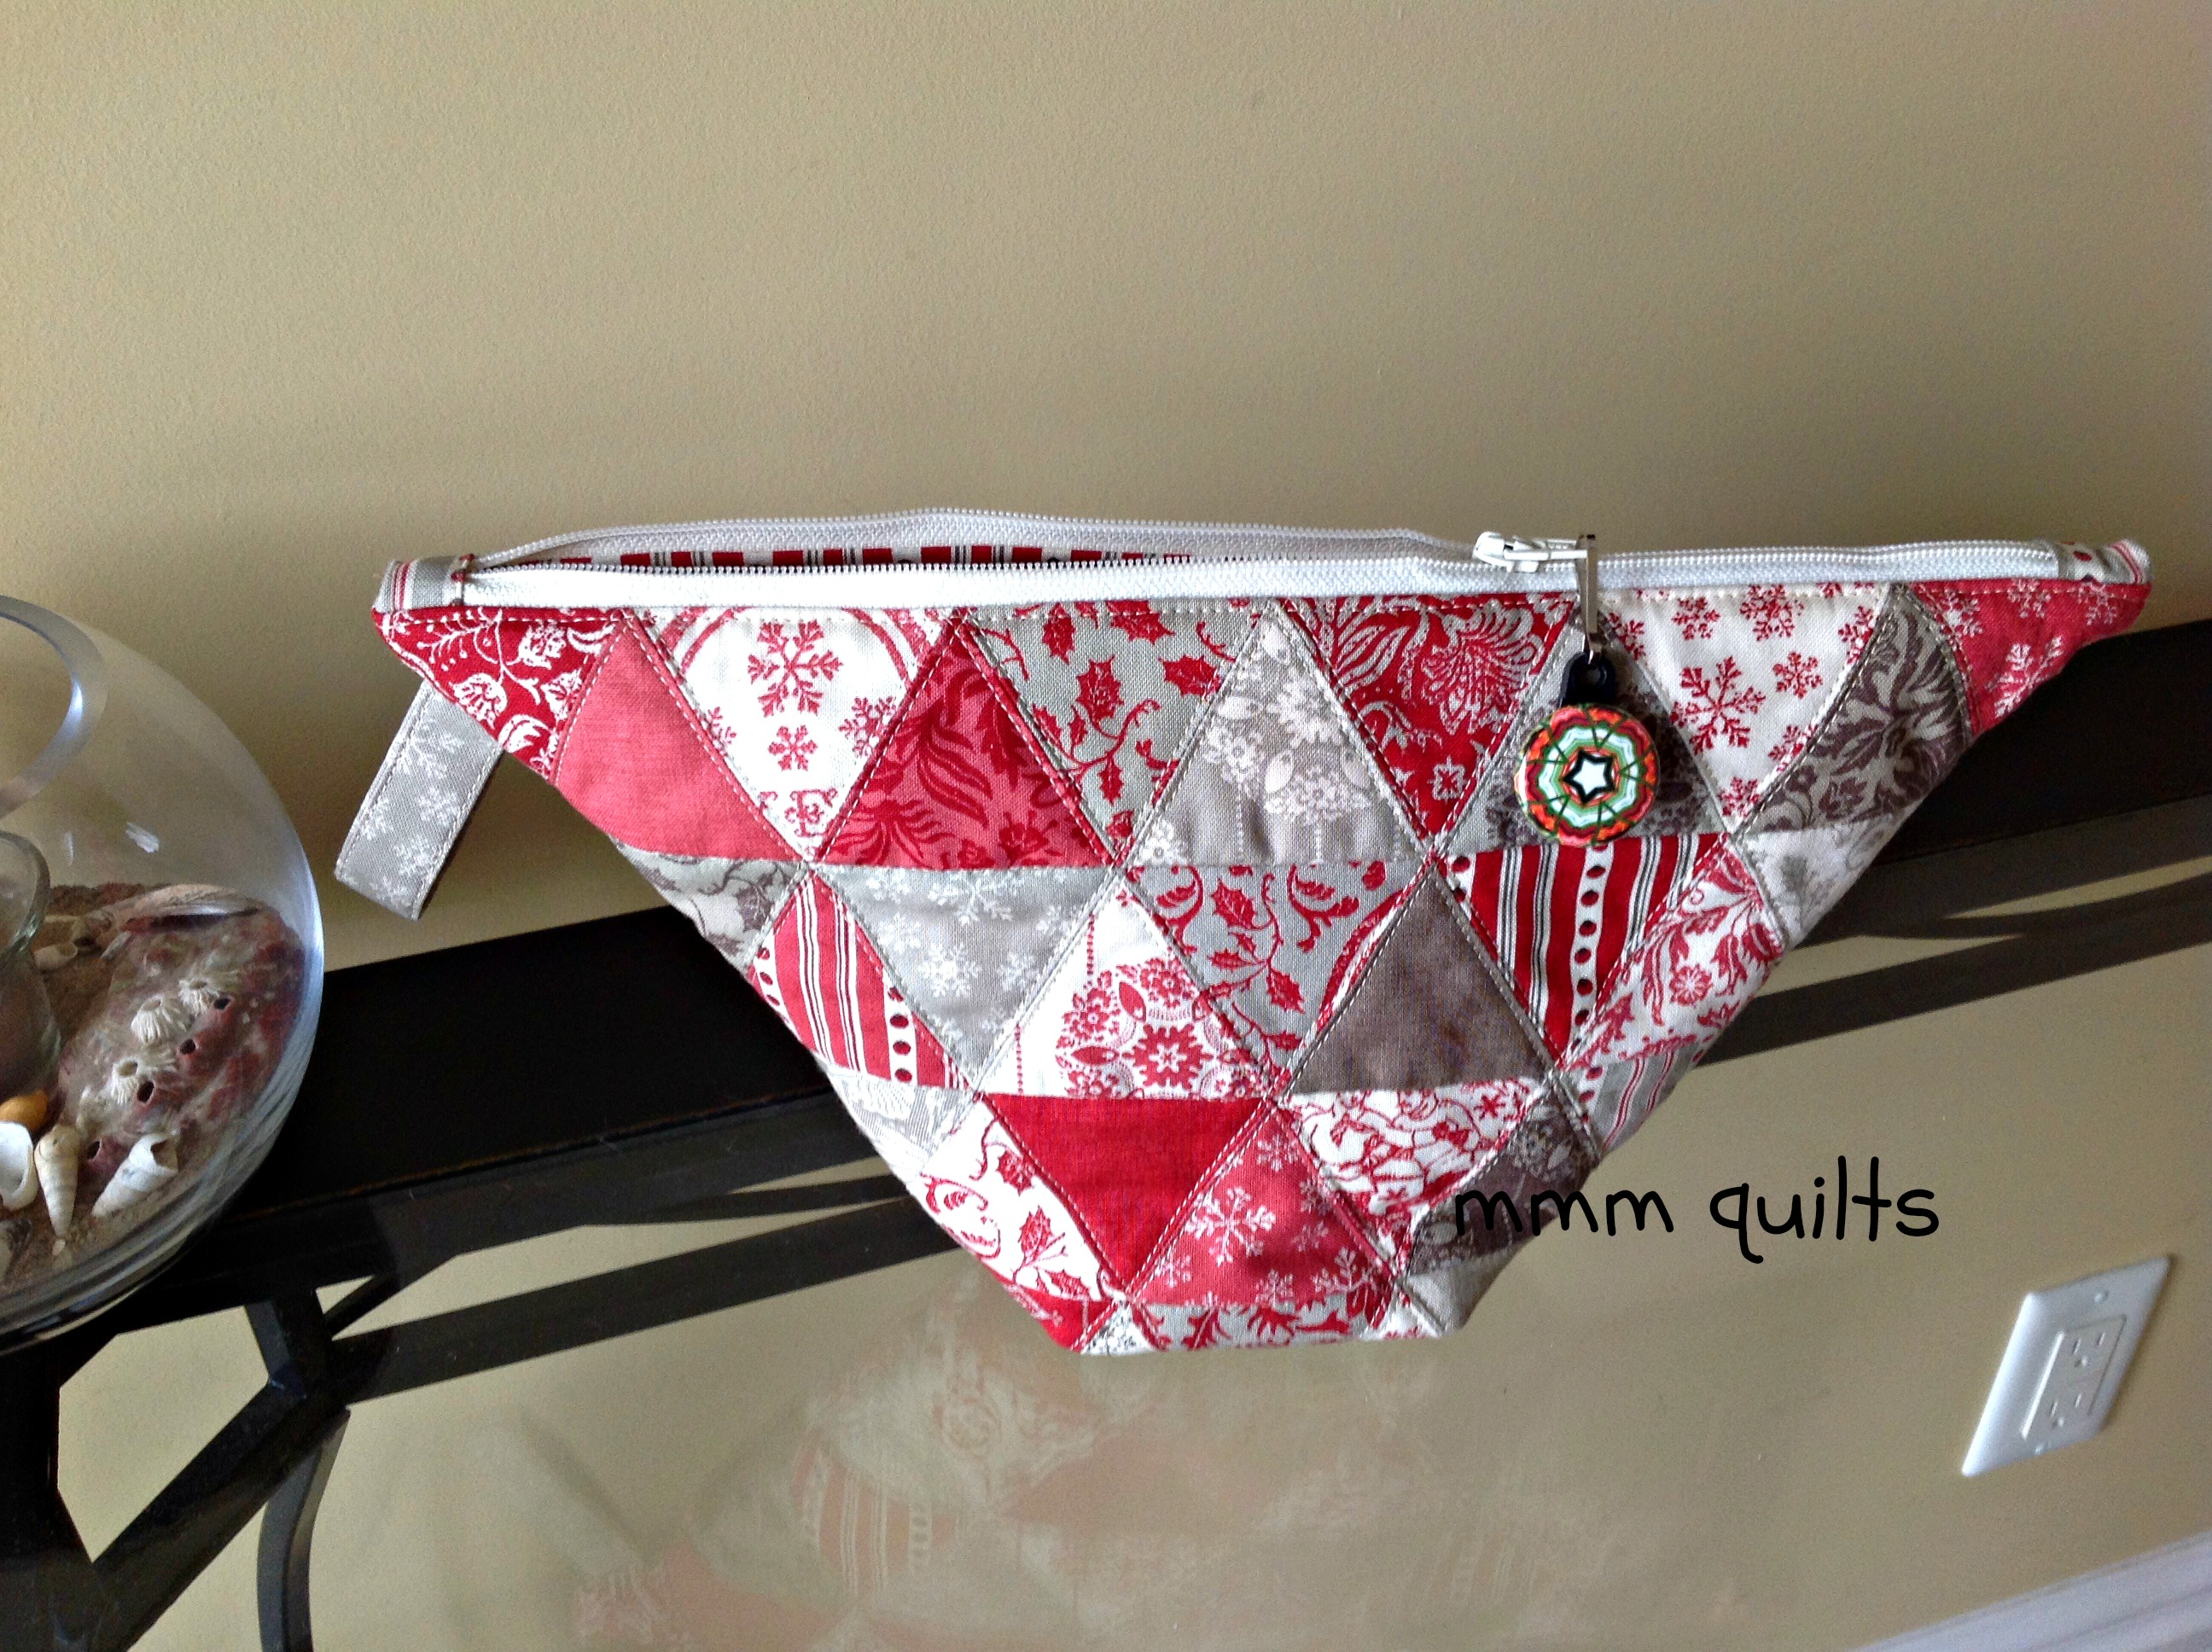
At first, I wasn't sure that such a narrow bottom would work...
But it's fine, and I just love how wide the top is: you can easily see all your junk/paraphernalia inside!
![]()
One (or two, if you cut 64 triangles from your charm squares!) Pyramid Pouch!

These would make great gifts, no? If you make one, I'd love to see it!
Sandra Walker
{Musings of a Menopausal Melon - mmm quilts}
![]()
Posted in: