Welcome to Moda!
Taking Appliqué on the Road
Taking Appliqué on the Road
I’ve written about hitting the road to visit barn quilts and quilt museums (and thanks, readers, for all the great additions to those posts). Now it’s time to think about what to do while you’re getting to those places. I find time in the car or on a plane the perfect opportunity to do a little hand sewing, knitting, embroidery, etc. And I’m not the only one. A lot of Moda’s designers are hitting the road this summer and taking their handwork with them. In future posts they’ll share tips for embroidery and hexagons on the road. Today, Anne Sutton of Bunny Hill, Laurie Simpson of Minick and Simpson, and Joanna Figueroa of Fig Tree and Co. let us in on tips and tricks for enjoying appliqué while en route to their vacation destinations (or maybe just while taking the kids to the neighborhood park).
 Here’s what Anne Sutton has to say:
Applique is the perfect project to carry along to occupy those endless traveling hours, waiting time at the Doctor’s office or those hours while you watch your kids swim. You do have to spend some “prep” time before you leave, but it’s so worth it! I can’t sit still for a long period of time without going crazy and applique is my answer.
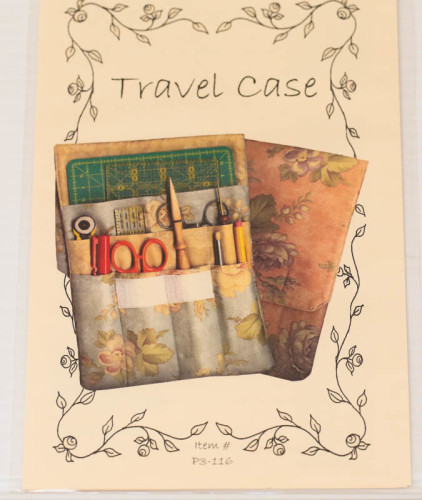
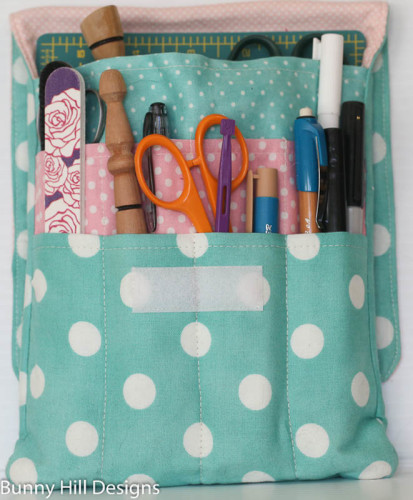
- A good case to hold supplies is essential. A friend made mine from a P3 Designs pattern. I love it so much that I now sell the pattern on my web site. With a fold over Velcro flap to hold everything secure, the case is the perfect travel size. Open it up and you’ll be amazed at what it can hold! It has lots of pockets designed to hold applique tools! This is my “go to” case at home and on the road. You are going to want one of these cases!
- Pin or glue baste your pieces to your background before you leave. My pins are the tiny applique pins that don’t catch the thread when sewing. You can glue baste using a glue made for applique (Roxanne’s or Appli-Glue). Just place a few tiny dots, or a very thin strip, on the seam allowance to hold your applique in place. As you can see from the photo mine has been glue-basted and is ready to stitch. I don’t have to worry about losing little pieces in the airport or on the plane. I’m ready to stitch!
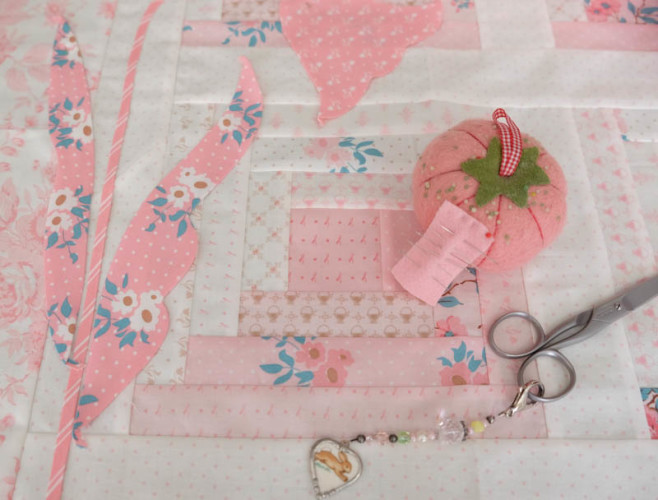
- Pin a piece of wool to your pincushion to hold all those applique needles. This is such a simple thing but it works like a charm. I’ll thread several needles with different colors of thread and have them ready to go. I’ll pop my pincushion, travel case, applique and glue (keep the glue in a zip lock bag) and I am ready to travel. Don’t forget the thread.
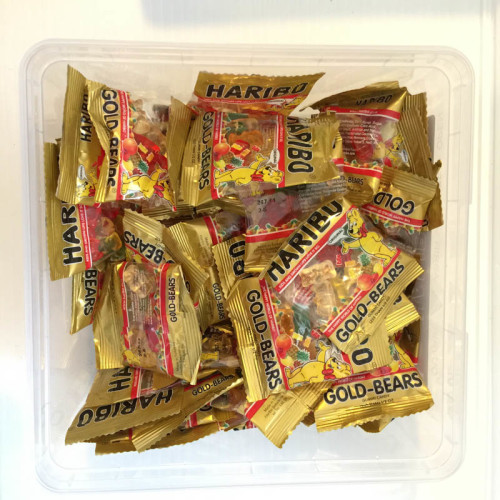
- Here’s my final tip…bring along some little packages of Haribo Gummi Bears to keep your energy level up.
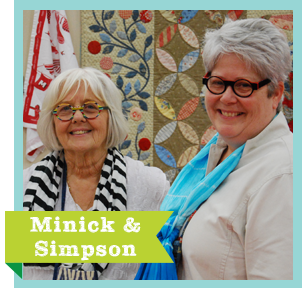
Here’s Laurie Simpson’s take on appliqué-on-the-road (and this woman is not afraid to sew-on-the-go: when the power went out in her home recently, she checked into a hotel with her sewing machine so she could finish a quilt! You can read about it here):
I always try to have handwork ready to go—anywhere I need to be. It usually isn't a problem since I always have projects going on that involve hand piecing, appliqué, or English Paper Piecing. Right now I am making the Austin Bluebird Sampler quilt. 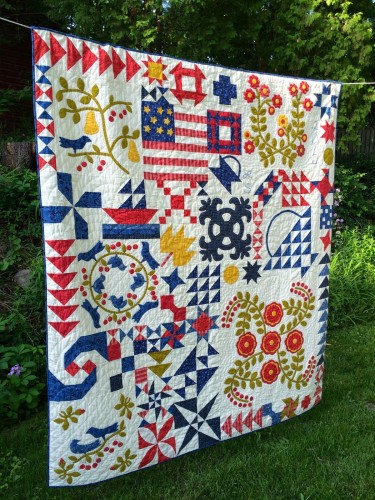
I’m actually re-making it—this one is all in blues. This is a large appliqué block in progress and here are all the tools I need. You can see it isn't very many. Threads, a thread book with pins and needles, a needle threader, small scissors, basting glue, thimble, and Thimble-It sticky dots. I find these sticky dots helpful for my index finger. 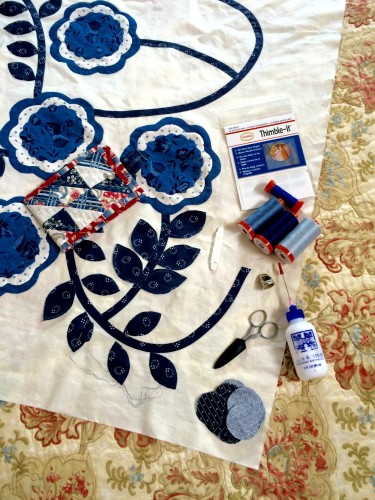
These tools are small and easily transported. I have used several different carriers in my lifetime. Bags, boxes, and custom-hacked lunch boxes. My current favorite is see-through project bags. I found these from a vendor at a quilt show and love them. Not only are they handy, but you can see at a glance which bag has what. The smallest bag holds my threads, the next smallest has the project with the needle case, scissors and such. The next largest bag holds some other tools that may or may not come in handy, bigger scissors, an extra set of eyeglasses, glue sticks, and even a tiny battery operated light that clips onto my eyeglasses. You never know when the power will go out. These 3 bags all fit in the largest bag. 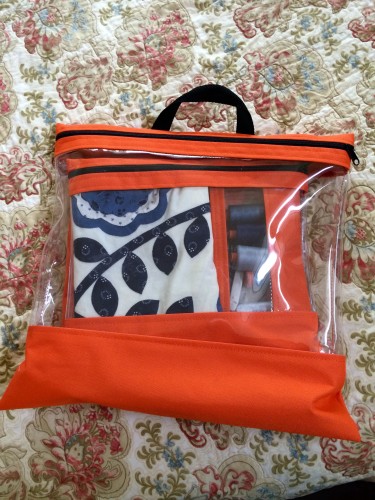
Another positive for the see-through bags is if you are taking these things through security at an airport I find that if they can see what you have (sewing stuff) it is much more likely to go through without a hassle. THIS IS NO GUARANTEE. Always take a pair of scissors through security that you wouldn't mind leaving behind. Make sure to pack your good scissors in your checked luggage. Happy travels are much more likely if you have busy hands.
And finally, Joanna Figueroa shares her appliqué travel tales:
So, for me its kind of hit-and-miss these days whether or not I have an actual appliqué project in the works, but I always have some kind of circle or basket handle or other block portion ready for handwork, if necessary. I find that a little bit of appliqué here and there really adds a lot of visual happiness to a larger project!
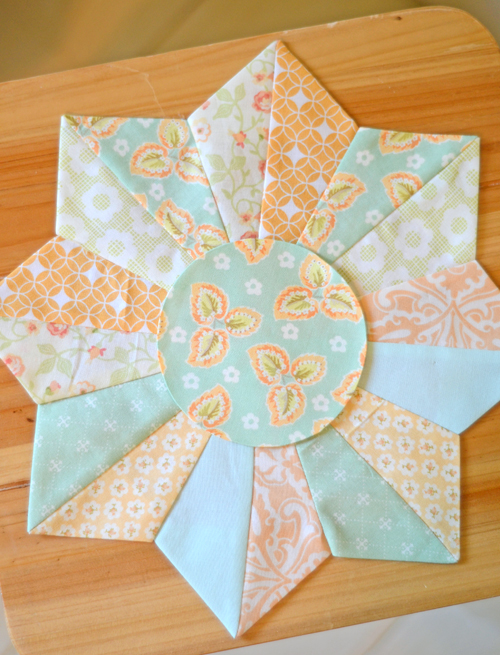
This summer I am committed to finishing my summer version of my LOLLIPOPS quilt that I started several years ago when I was teaching the pattern as a class in Southern California. There is something about the combination of light butterscotch, orange, and peach with aqua and cream that just gets me every time. These fabrics are a scrappy combo of my Tapestry collection with many other MODA lines mixed in including Flats, Boho, Patisserie, MODA Solids and Avalon. I think it makes me think of sea glass, which I love.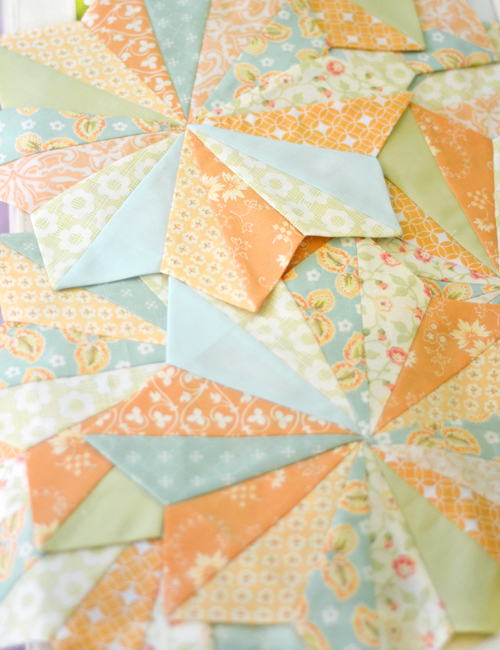
Anyway… I have had these Dresden Blocks ready for quite a while and this summer I am taking the center circles with me whenever I get in the car so that I can finish it all up while its still summer and I can enjoy the quilt outside!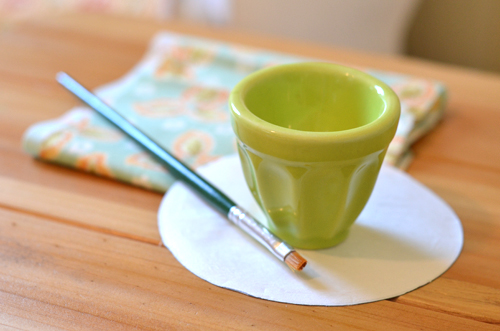
One of the many reasons that I love the starch method of appliqué is because I can do all the prep-work ahead of time and take pieces that are pretty much completely ready for stitching with me. To make them all I need is my fabric, my freezer paper template, a small paintbrush and my little bowl of spray starch.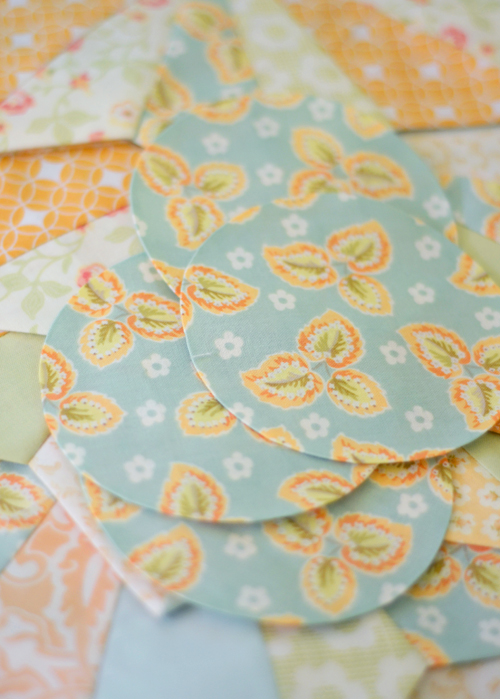
I prep the circle seam allowances by painting the spray starch onto them and pressing the seam allowances back onto the paper with my iron. Once done, I just remove the paper template and use it for the next circle. What I have ready to take with me are perfectly pressed circles that are ready for my summer Dresdens!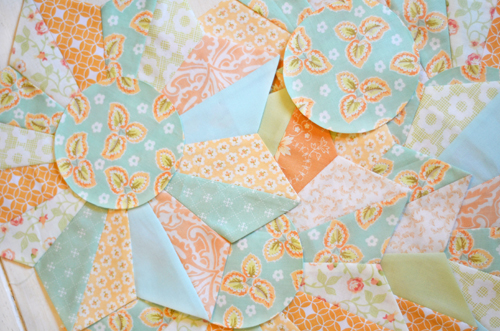
Check in with me later this summer to see if I have finished the project! Hope you are having fun on your road trip… or wherever you are doing some lovely handwork!

Comments