Welcome to Moda Fabrics!
Tip Jar: Goose Goose Geese!
Tip Jar: Goose Goose Geese!
You didn't really think that I would forget about Flying Geese.
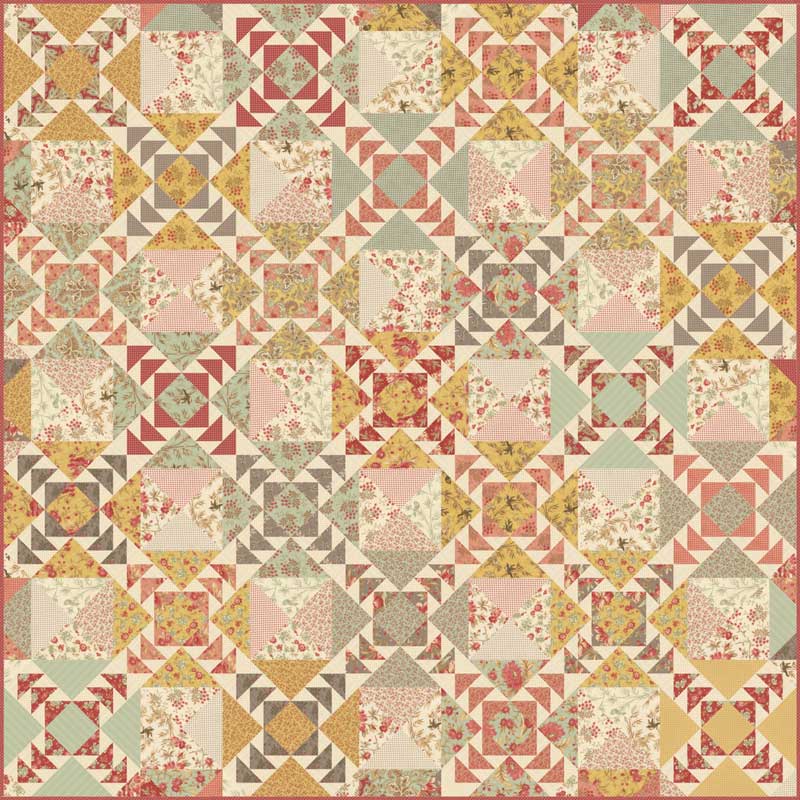
Really? This is Into The Wind - it's made with Larkspur by 3 Sisters.
Flying Geese - three triangles that form a rectangle with a 2:1 ratio. All three triangles have one 90-degree corner and two 45-degree corners. The two small triangles are often called the "wings" or "sky", and the large single triangle is generally called the "goose". Except when the flying geese units are used for a Sawtooth Star, then they're the background. Sometimes.
As it was with half-triangle squares, I used to avoid quilts with flying geese. They never "flew very straight". Over the years, I got better at making them and as it is with most things, the more you practice, the better you get. I also started seeing and trying different methods, many involving new rulers. Some worked well for me, others... not so much. It truly is about finding the method that works for you - the method that factors in your idiosyncrasies, skill set and missing tools. (That sounds so much better than "things you can't do well.)
I also believe that it's important to know as many ways as possible to do something because sometimes, you don't have the fabric or tools to use your regular method. That's when you reach into your MacGyver-bag of tricks and figure out what will work to get you the piece you need.
So here are a few ways to make flying geese.
The "Old-Fashioned" method. No, I'm not going to ask you to trace and cut out a cardboard template - that's the Really Old-Fashioned method. (It was before my time but I've read about it in history books under Ancient Rituals.)
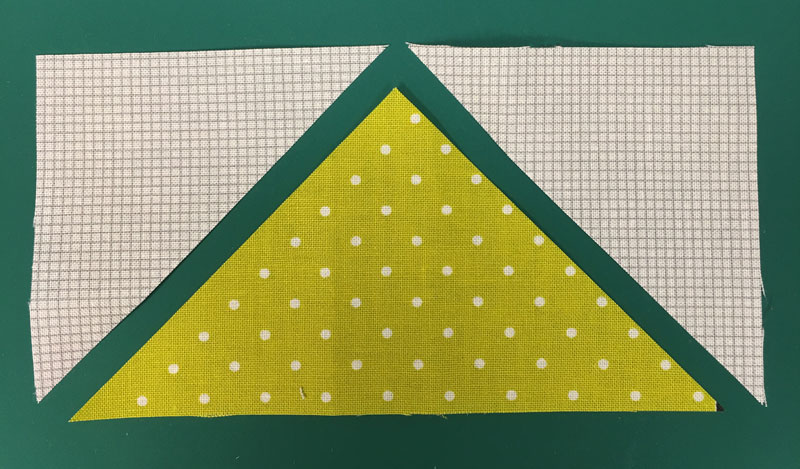
Join the long-sides of the two small triangles to the short-sides of the large triangle - using a scant 1/4" seam allowance. Press the seams toward the small triangles - or you can press them open.
This is a good method to know when you only need one or two geese... and you have perfect seam allowance. And your pieces always come out perfectly - every single time.
The math for a pieced-to-size unit is fairly simple:
- Determine the finished size of the flying geese unit - e.g., 1 1/2" x 3", 2" x 4", 2 1/2" x 5", etc.
- For the small triangles, use the smaller number and add 7/8".
- For the large triangles, use the larger number and add 1 1/4".
If you'd like to trim the geese to size using a special ruler - add more. And be patient... that's coming.
EZ's Easy Angle & Companion Angle Rulers. The process of joining triangles is the same but the cutting is different. Instead of cutting squares, triangles are cut from strips and you don't have to worry about 1/8" increments.
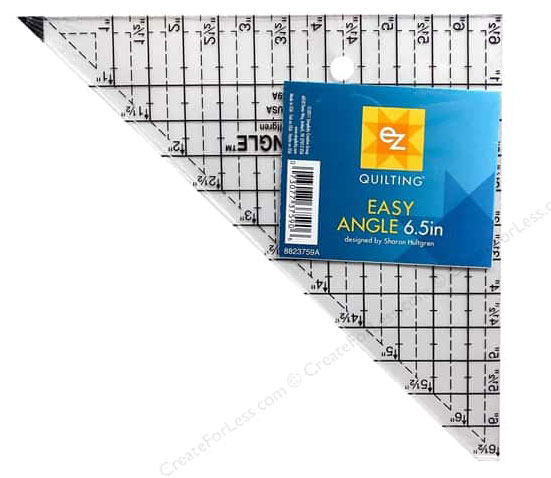
The Easy Angle comes in three sizes - 4 1/2", 6 1/2" - and 10 1/2". The Companion Angle comes in just one size - large.
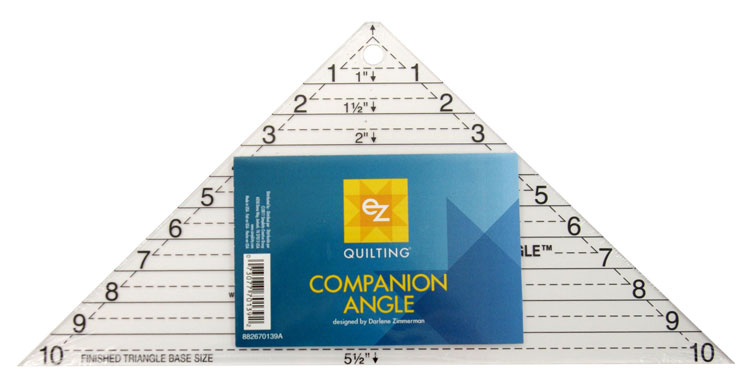
I have used these rulers and I like this method, but it's not my favorite. But if you've got a lot of strips - Jelly Rolls? - this the way to make geese. It also allows for making scrappy geese mixing backgrounds and prints - which I do like doing.
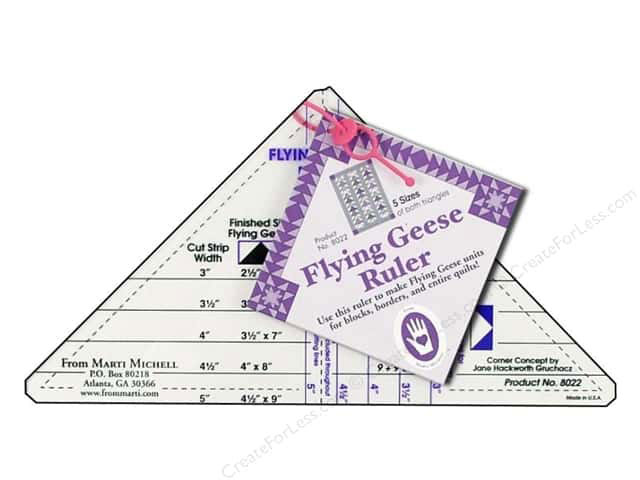
Flying Geese Ruler. This terrific single-ruler from Marti Michell does the same job as the Easy Angle and Companion Ruler. The pieces are also cut from strips and lined up using notches and flat edges that make it all a bit easier.
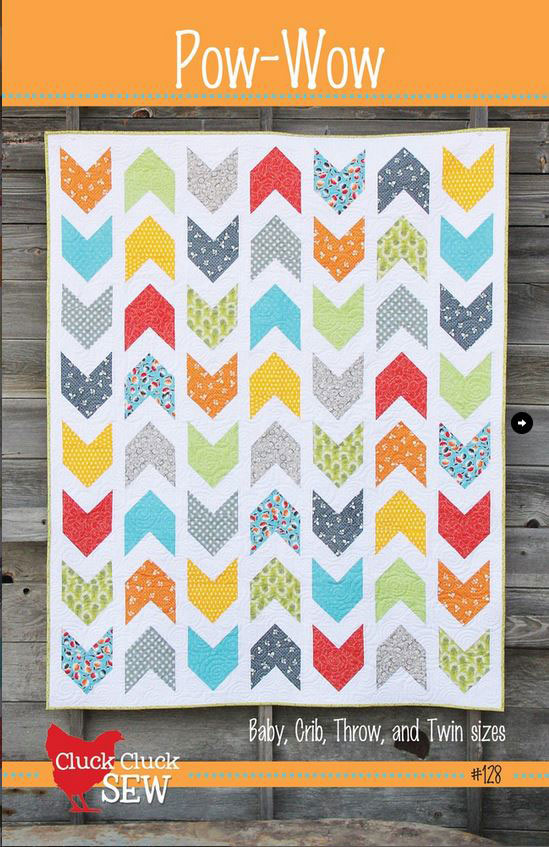
As with the EZ Angler-Companion Angle, the benefit is being able to cut both goose and wing pieces from the same width strip, making designs like this terrific Pow Wow quilt by Allison Harris of Cluck Cluck Sew a bit easier to cut.
Flip-n-Sew - or Connector Corners. Two squares and one rectangle, diagonal stitching lines, trim and press.
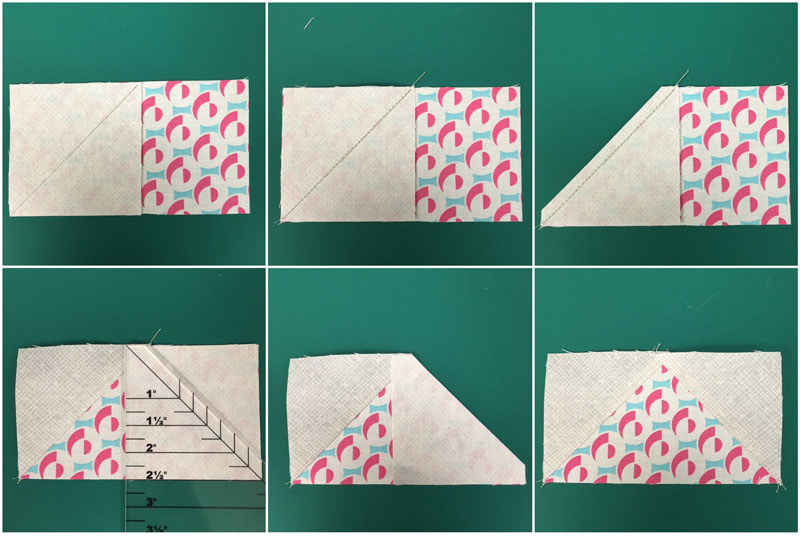
This is another terrific method to know when you only need a couple of flying geese - and you've got a little bit extra fabric.
The math for this method is a little different, finished sizes get 1/2" added. The rectangle is the goose - for 2" x 4" finished, the cut rectangle is 2 1/2" x 4 1/2". The "side triangles" are cut as squares using the smaller measurement - 2" becomes two squares - 2 1/2" x 2 1/2".
This is not my favorite method - mostly because I have issues with getting the finished unit to bear even a passing resemblance to a rectangle. But it is the tried-and-true method for many people, most of whom are seriously skilled quiltmakers. It can have a bit more wasted fabric - unless you take the time to put a second seam on the "wings" and make the trimmed-off triangles into a half-triangle square.
If this method appeals to you, there are a couple of tools that can help a lot.
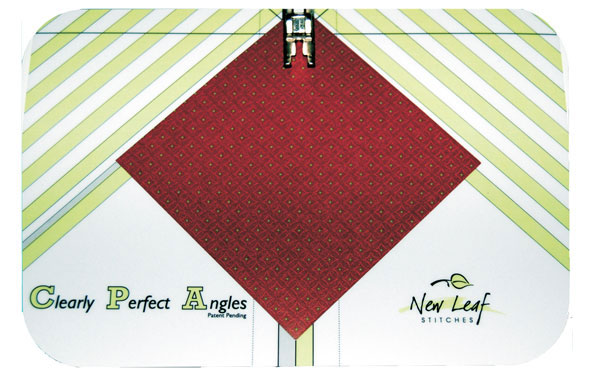
Clearly Perfect Angles by New Leaf Studios - this cling-template adheres to the base of your sewing machine so that you can stitch straight across the square perfectly every. single. time. (It also helps some folks maintain - okay, find - that perfect scant 1/4" seam allowance.)
The other tool that helps with this method is the Folded Corner Clipper by Prairie Sky. In the picture of the geese - second row on the left - instead of drawing the line or using the Clearly Perfect Angle cling, I trimmed the corner using the tool.
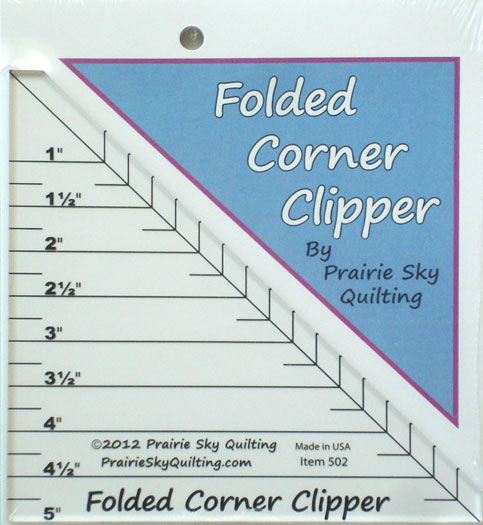
The squares are layered - then trimmed. Instead of following a line - drawn or otherwise - you just stitch your regular scant 1/4" seam allowance. Basically, you've trimmed before you've stitched.
And yes, I always trim both layers. It's not required and some folks don't. To-may-toe - to-mah-tow.
No-Waste Method. I don't know who first dubbed it that but the name stuck. You're probably seen it - it makes four matching geese units at the same time.
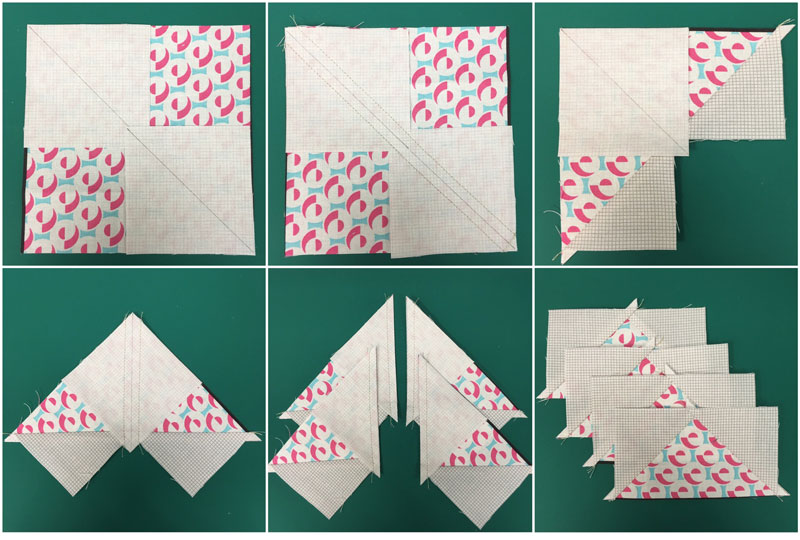
The pieces required are simple - 1 square for the geese and 4 matching squares for the wings-sky. As for how big to cut the pieces, the math is the same as it is for the "old-fashioned method" - add 7/8" and 1 1/4" to the finished size of the geese and cut squares.
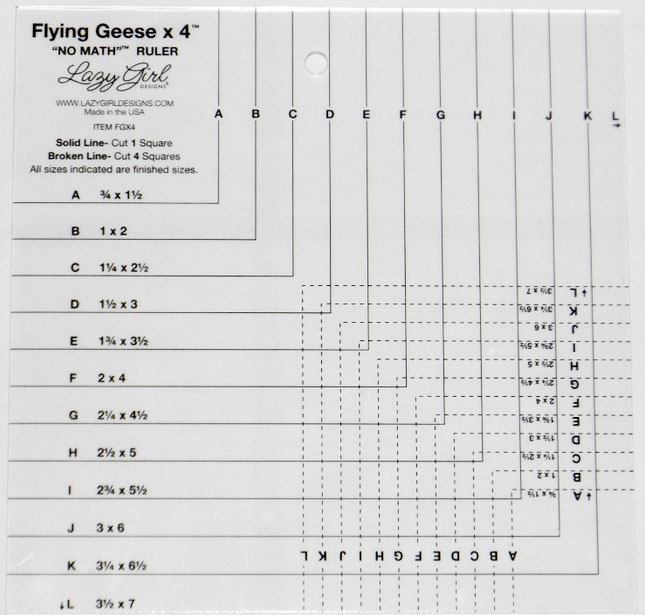
Or you could make it much easier and use a ruler that does the math for you -like this Flying Geese x 4 - No Math Ruler by Joan Hawley of Lazy Girl Designs.
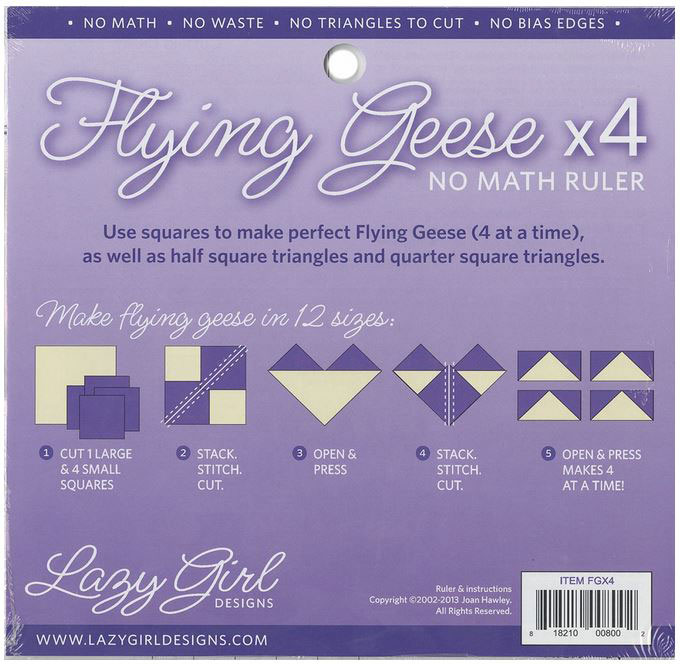
The only thing you need to know is the finished size of your flying geese - Joan has done all the rest. We love her for that.
I used this method for many, many years and it's still a good, tried-and-true method that provides good results - great results if you have a super-accurate seam allowance and your cutting is spot-on.
Just remember to trim all those little "ears" and "tails". Always.
Flying Geese Paper. If you like paper-piecing and you're making a strip of geese, this Sew & Fold On A Roll from the folks at Triangles on a Roll is a terrific option.
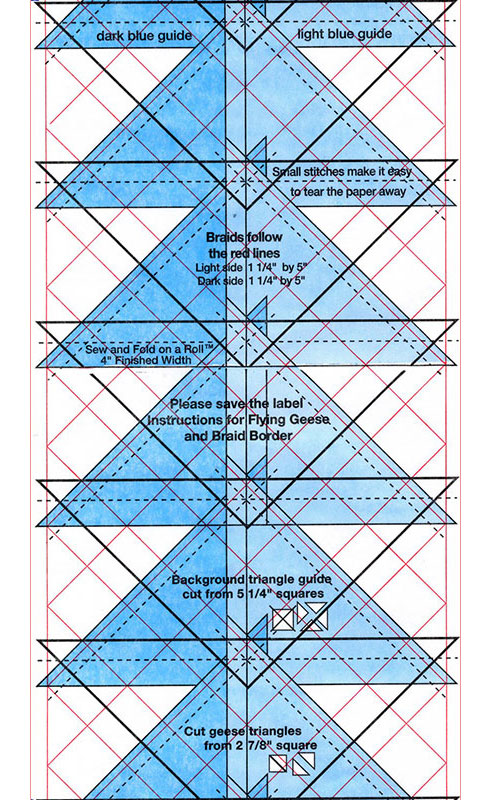
If you like braid-quilts, this paper works for that too.
I like paper-piecing and I've made several quilts with flying geese borders or long strips of geese... but this isn't my favorite method because it seemed to take me longer to do. But the results are very good.
Now there are the trim-it-down methods. There are two types that most of us are familiar with.
Eleanor Burns Quilt in a Day Flying Geese Ruler. This was one of the first trim-it-down methods to come on the market, I think it debuted in 2001 or 2002.
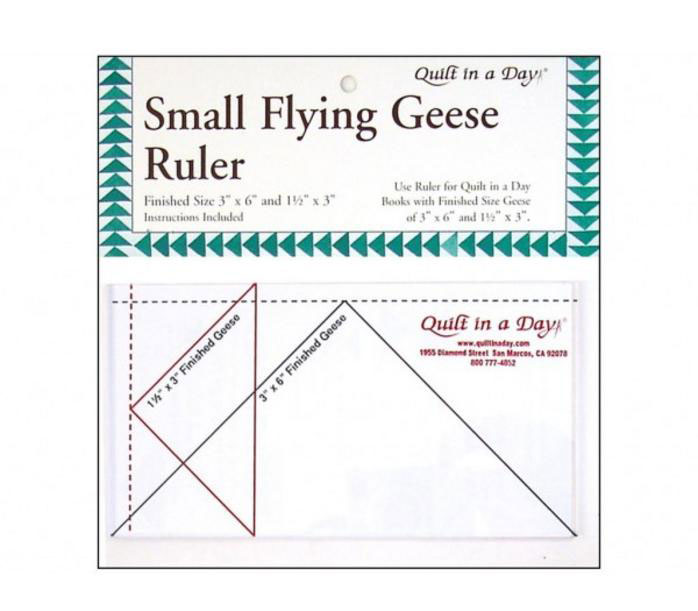
Only two squares need to be cut - different sizes, of course. After that, the squares are assembled in much the same that a quarter-triangle square is, except the center doesn't match up nicely. Then the geese are trimmed to size using the ruler shown above - or this one...

Each pair of squares makes four matching flying geese units.
While this ruler can be used to trim geese using the next method described, I've never loved the rulers with all the different slits for cutting. It's a personal thing - I prefer thicker, sturdier rulers for rotary cutting... probably because I'm a klutz and I already have plenty of rotary-cutting battle scars. But this is the go-to geese ruler of a friend.
Matching. That's the reason why I prefer the next method - piece the flying geese units the "old-fashioned" way but with over-sized triangles. Use four different fabrics for the wings-sky squares-triangles and you have four different geese.
With the Quilt in a Day and No-Waste methods, if you start with four different goose fabrics and four different wing-geese fabrics, you can only make four combinations - each with four matching geese. But if you piece it with oversized triangles instead of squares, those eight fabrics will make sixteen different combinations.
I think you know I like mixing it up.
Fit to be Geese & Bloc-Loc. Using triangles - cut from squares that are about 1/4" over-sized - join the pieces as shown.

Yes - trim off the triangle-tip as shown in the center picture.
The Fit to be Geese Rulers by Open Gate Quilts, Monique Dillard. Because Monique also likes (loves) scrappy quilts and flying geese, she built upon and - in my opinion - improved upon the trim-it-down ruler idea.

There are two rulers - the Mini Fit to be Geese and the original Fit to be Geese. Each ruler will trim geese to four sizes and one size is on both rulers - 2" x 3 1/2" measured or 1 1/2" x 3" finished. If you only want to buy one ruler for different geese, I think this is the ruler to have.
I love this ruler and still do. I have at least two of each size, just to make sure I didn't lose it and have to do without for even a day.
Finally, there is the Bloc-Loc. The grooves on the underside of the ruler fit against the seams to prevent the ruler from slipping while you're cutting.

The upside is - trimming the geese exactly, perfectly to size is easily and quickly done. The downside is - you need a separate ruler for each size goose you want to make. The bigger downside... they're kind of like M&Ms or Lay's Potato Chips. Good luck trying to limit yourself to just one.
I can honestly say that I don't know when or if I will ever need - or want! - to make a flying geese unit that finishes at 5/8" x 1 1/4", but I'll be ready with the ruler!
So there you have it - all of the methods I can think of and remember for making flying geese. If I can't make one of these work to get what I need, I still have other options.
I could make a smaller quilt. Or I could buy more fabric.
May I'll just use the fabric I have to make smaller geese... say 5/8" x 1 1/4"?

Comments