Welcome to Moda!
Bake Shop Basics: Flange Binding
Bake Shop Basics: Flange Binding
Published:
Jul 7 2016 - 23:00
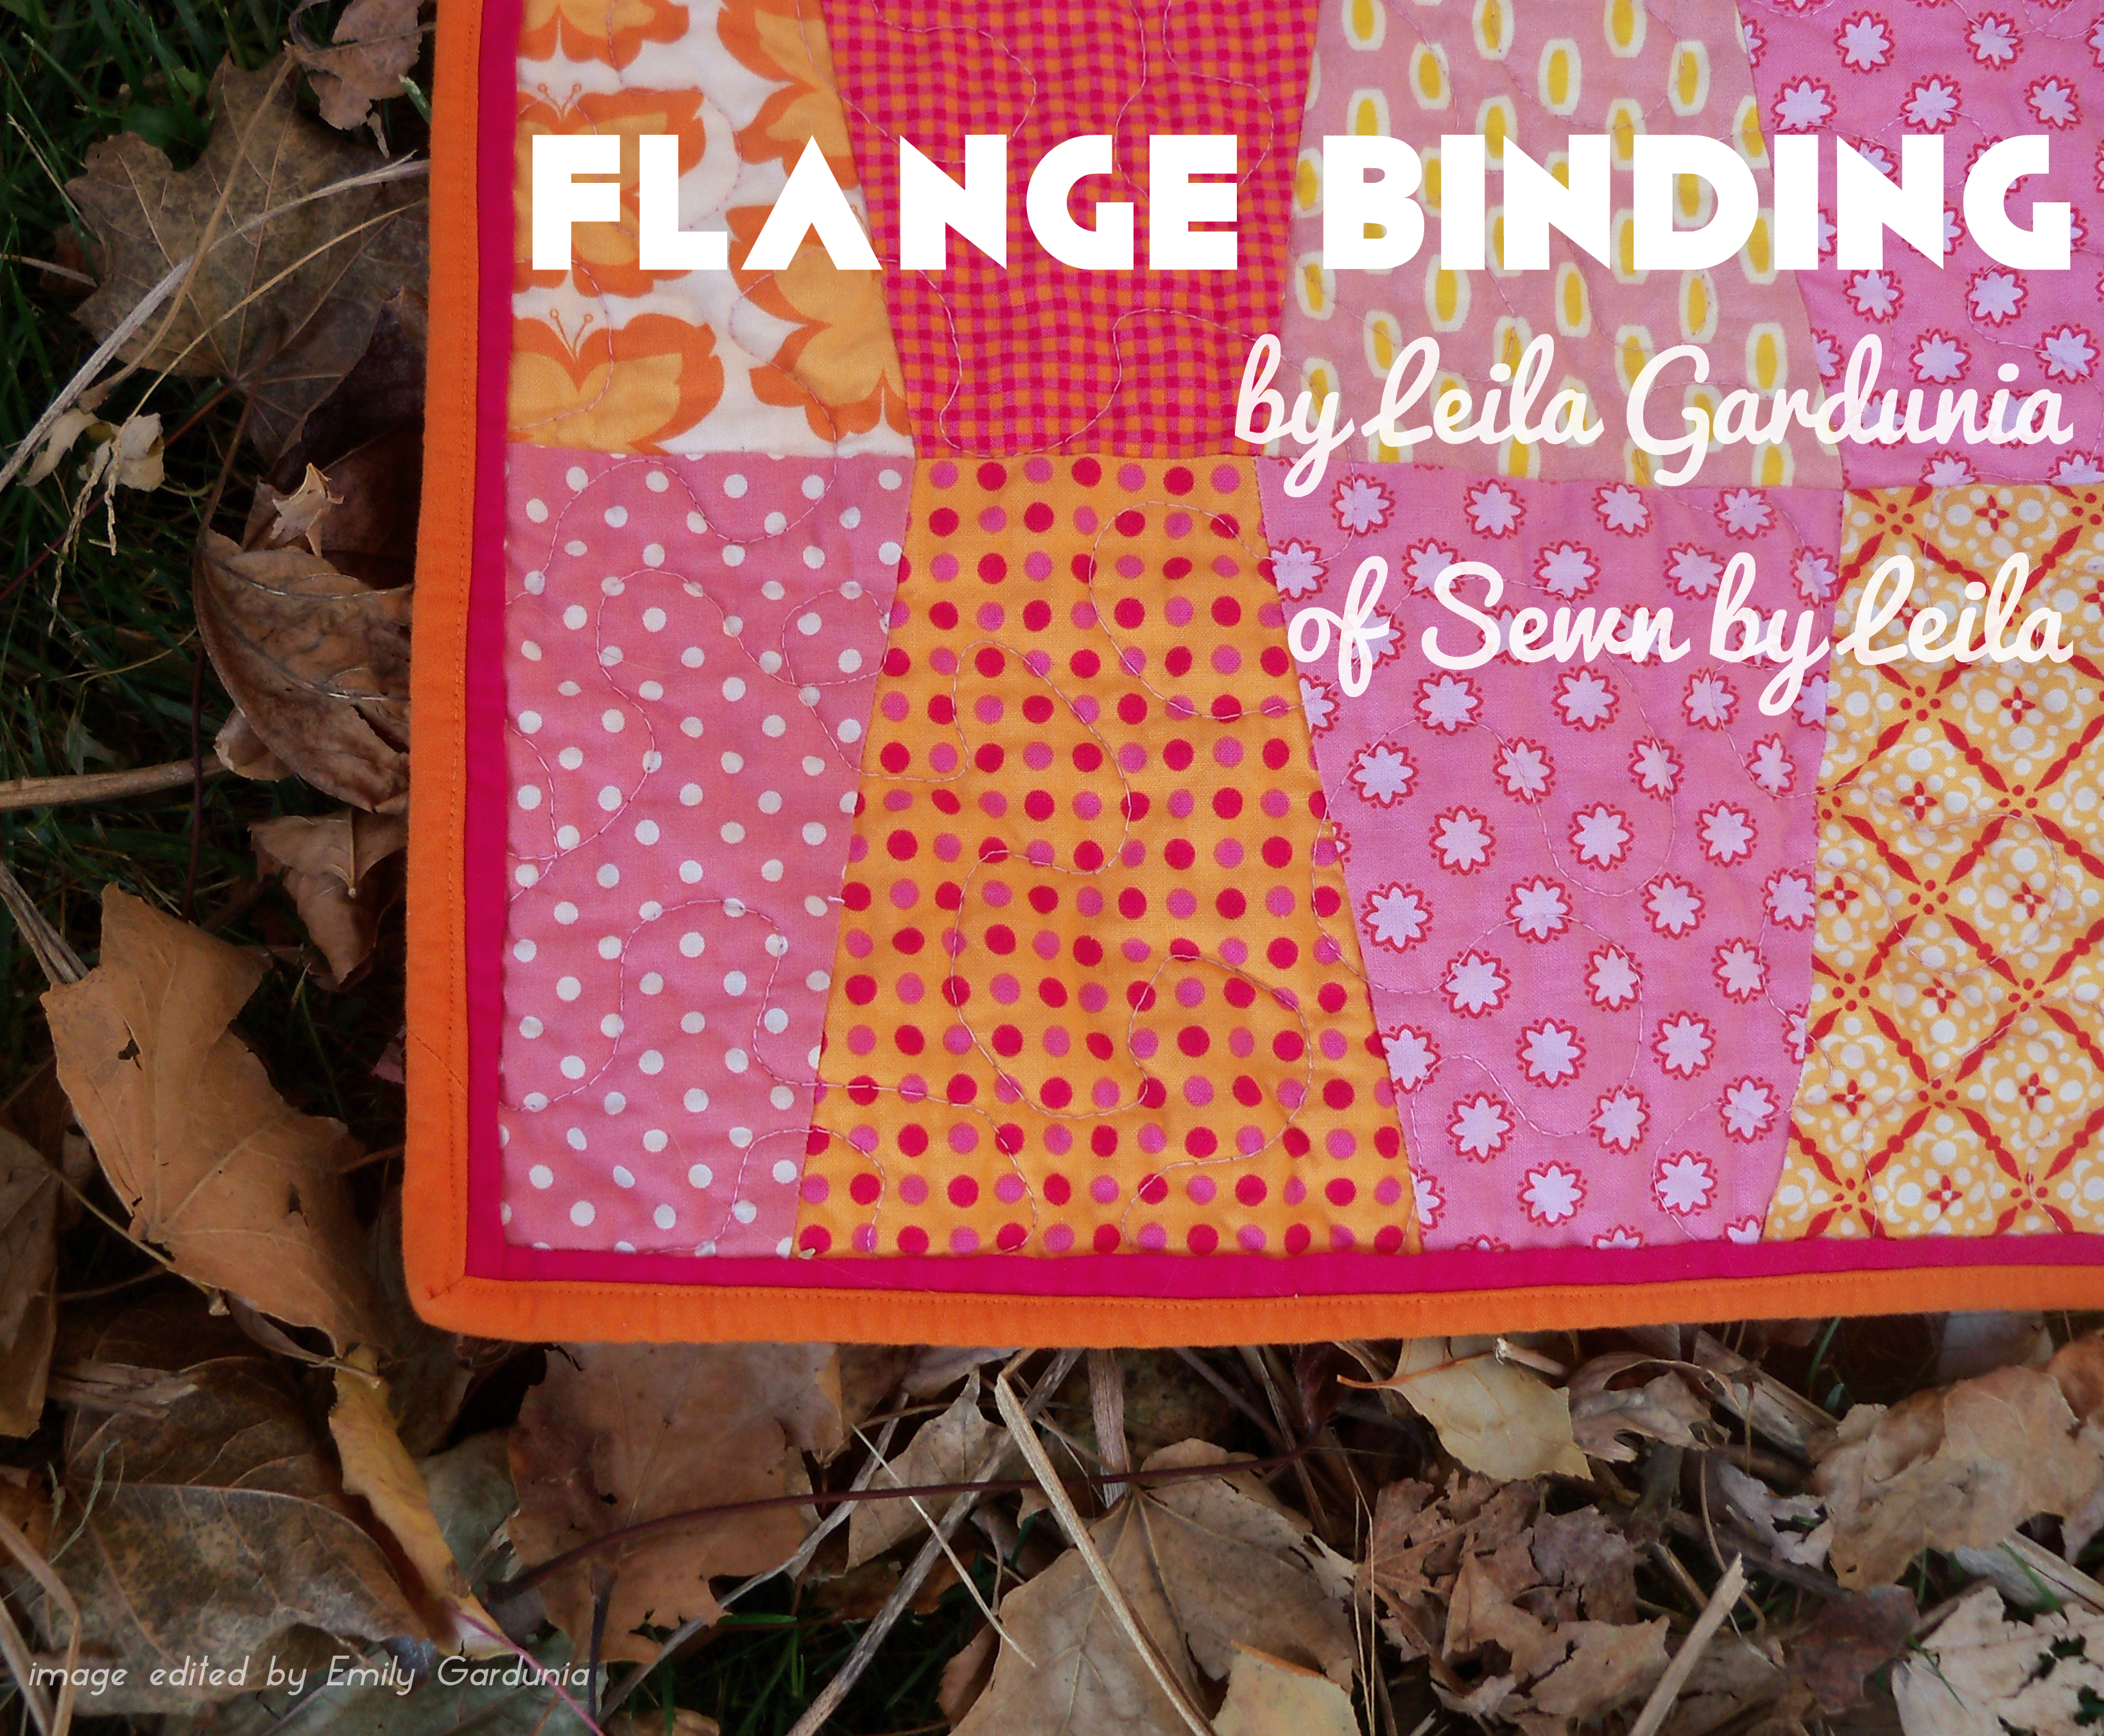

Hello, this is Leila Gardunia and I blog at Sewn by Leila. I love to try new things but there are a few things that keep popping up over and over again in my quilting. One of these is flanges.
I. Love. Flanges!
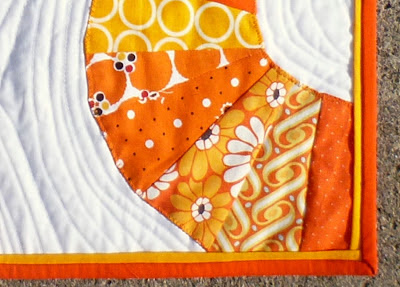
A flange is a narrow folded strip of fabric. It is usually found between the main body of the quilt and the border or between the finished quilt and the binding. Flanges are a great way to add extra interest and pop to a border and binding. Today I'll show you how to make a flange binding.
You can use this method on any sized quilt, wall hanging or pillow.
![]()
(1) Quilted quilt, wall hanging or pillow cover ready to be bound
(2) 1" x width of quilt + 1" strip of fabric (fabric strips can be pieced if necessary)
(2) 1" x length of quilt + 1" strip of fabric (fabric strips can be pieced if necessary)
(Choose a solid or small scale fabric for the flange that contrasts well with the quilt and binding.)
Binding strips as listed in your project's directions
![]()
Make your quilt, wall hanging or pillow and quilt as desired. Trim the edges square as you would before binding. Sticking with the "Christmas in July" tradition, I will demonstrate on a Christmas themed pillow.

When choosing the fabric for your flange choose a color that will really "pop" against the quilt and binding. Sometimes I use a fabric in the same color family as the binding and sometimes I choose a flange color that contrast with both the binding and quilt, like in the following Christmas pillow. Whatever color you choose be sure the flange fabric is either a solid or tiny print. Because the flange is so narrow (only 1/4"!) large or even medium scale prints will look blotchy and broken - not the look we are going for.
After you have chosen your fabric, measure the length and width of your quilt. Add 1" to these measurements and cut out a 1" wide strip of fabric for each side (2-length, 2-width).
Fold the strips in half length wise wrong sides together and press down the length of the fabric. Be sure to press (lifting the iron up and down) and not iron (running the iron back and forth) to avoid distorting the strips.

Lay one of the strips along one edge of the quilt - raw edges facing out toward the edge of the quilt. Zig-zag along the edge of the quilt. Be sure you are right on the edge so the stitching doesn't show when you attach the binding.
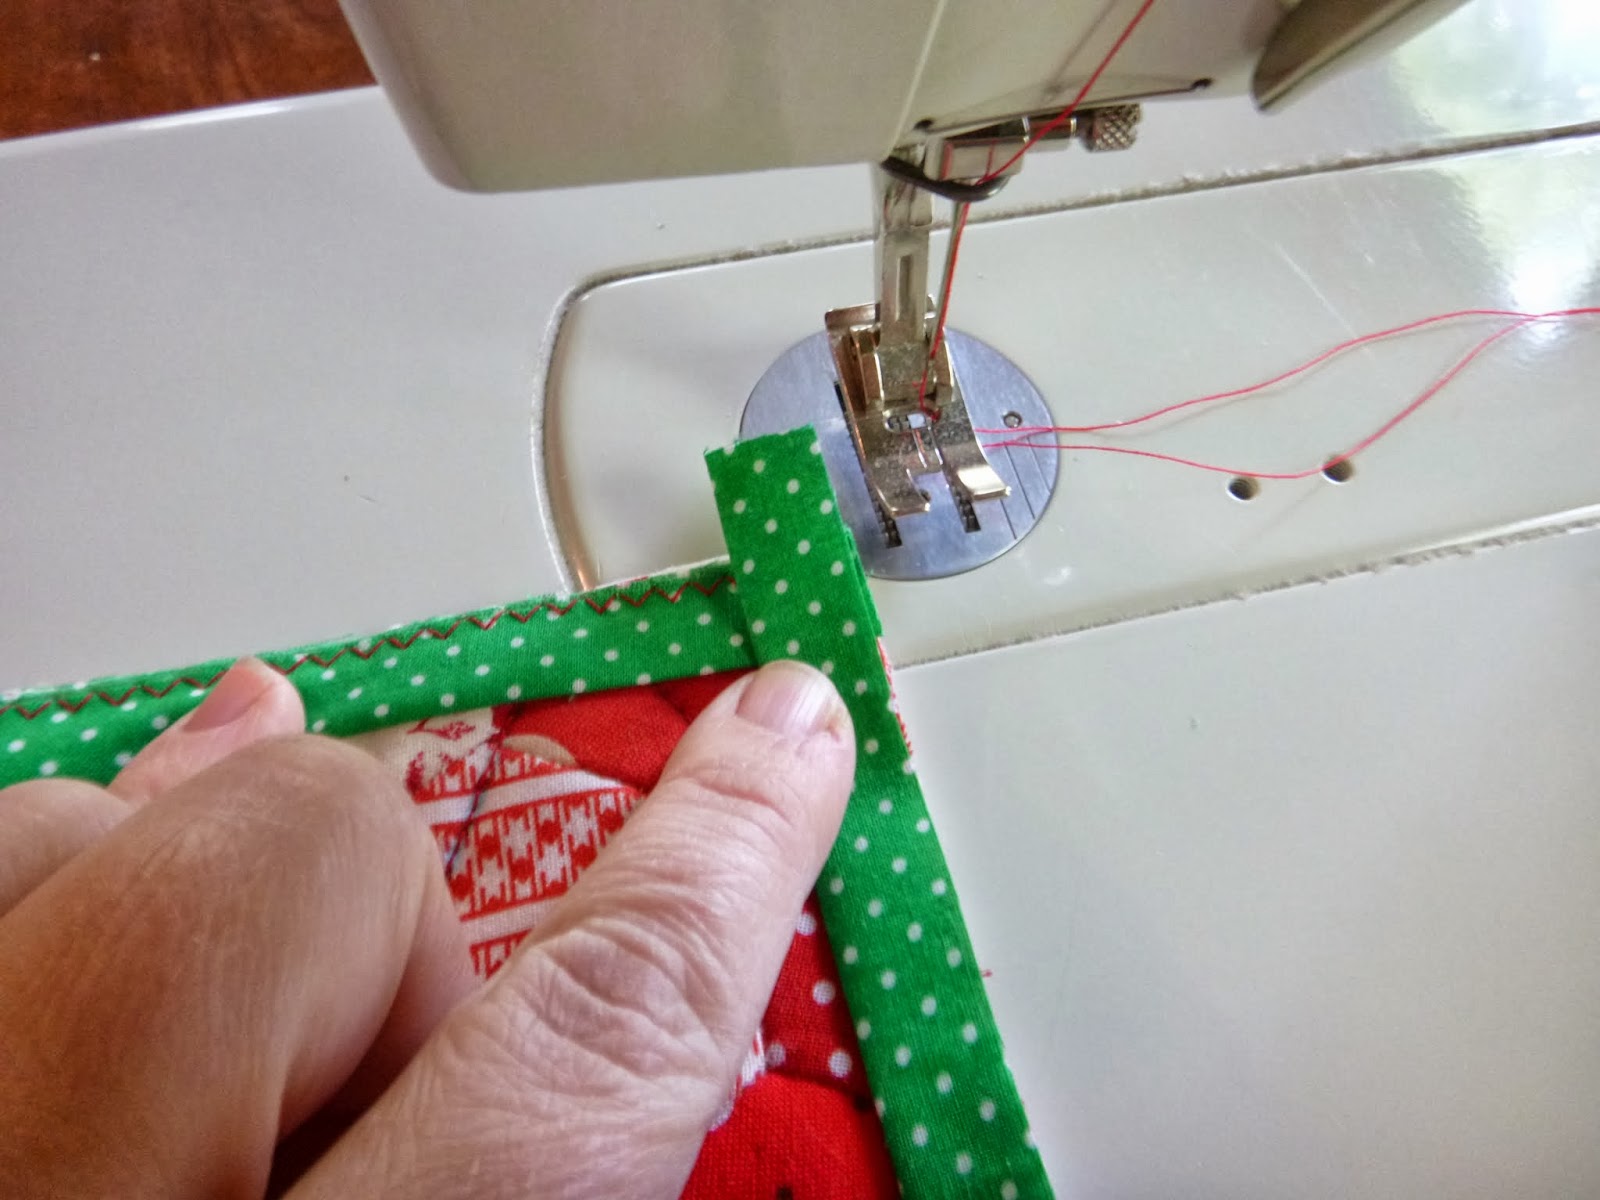
Repeat for all four sides. The flanges will overlap at the corners.
Trim off overhanging edges.
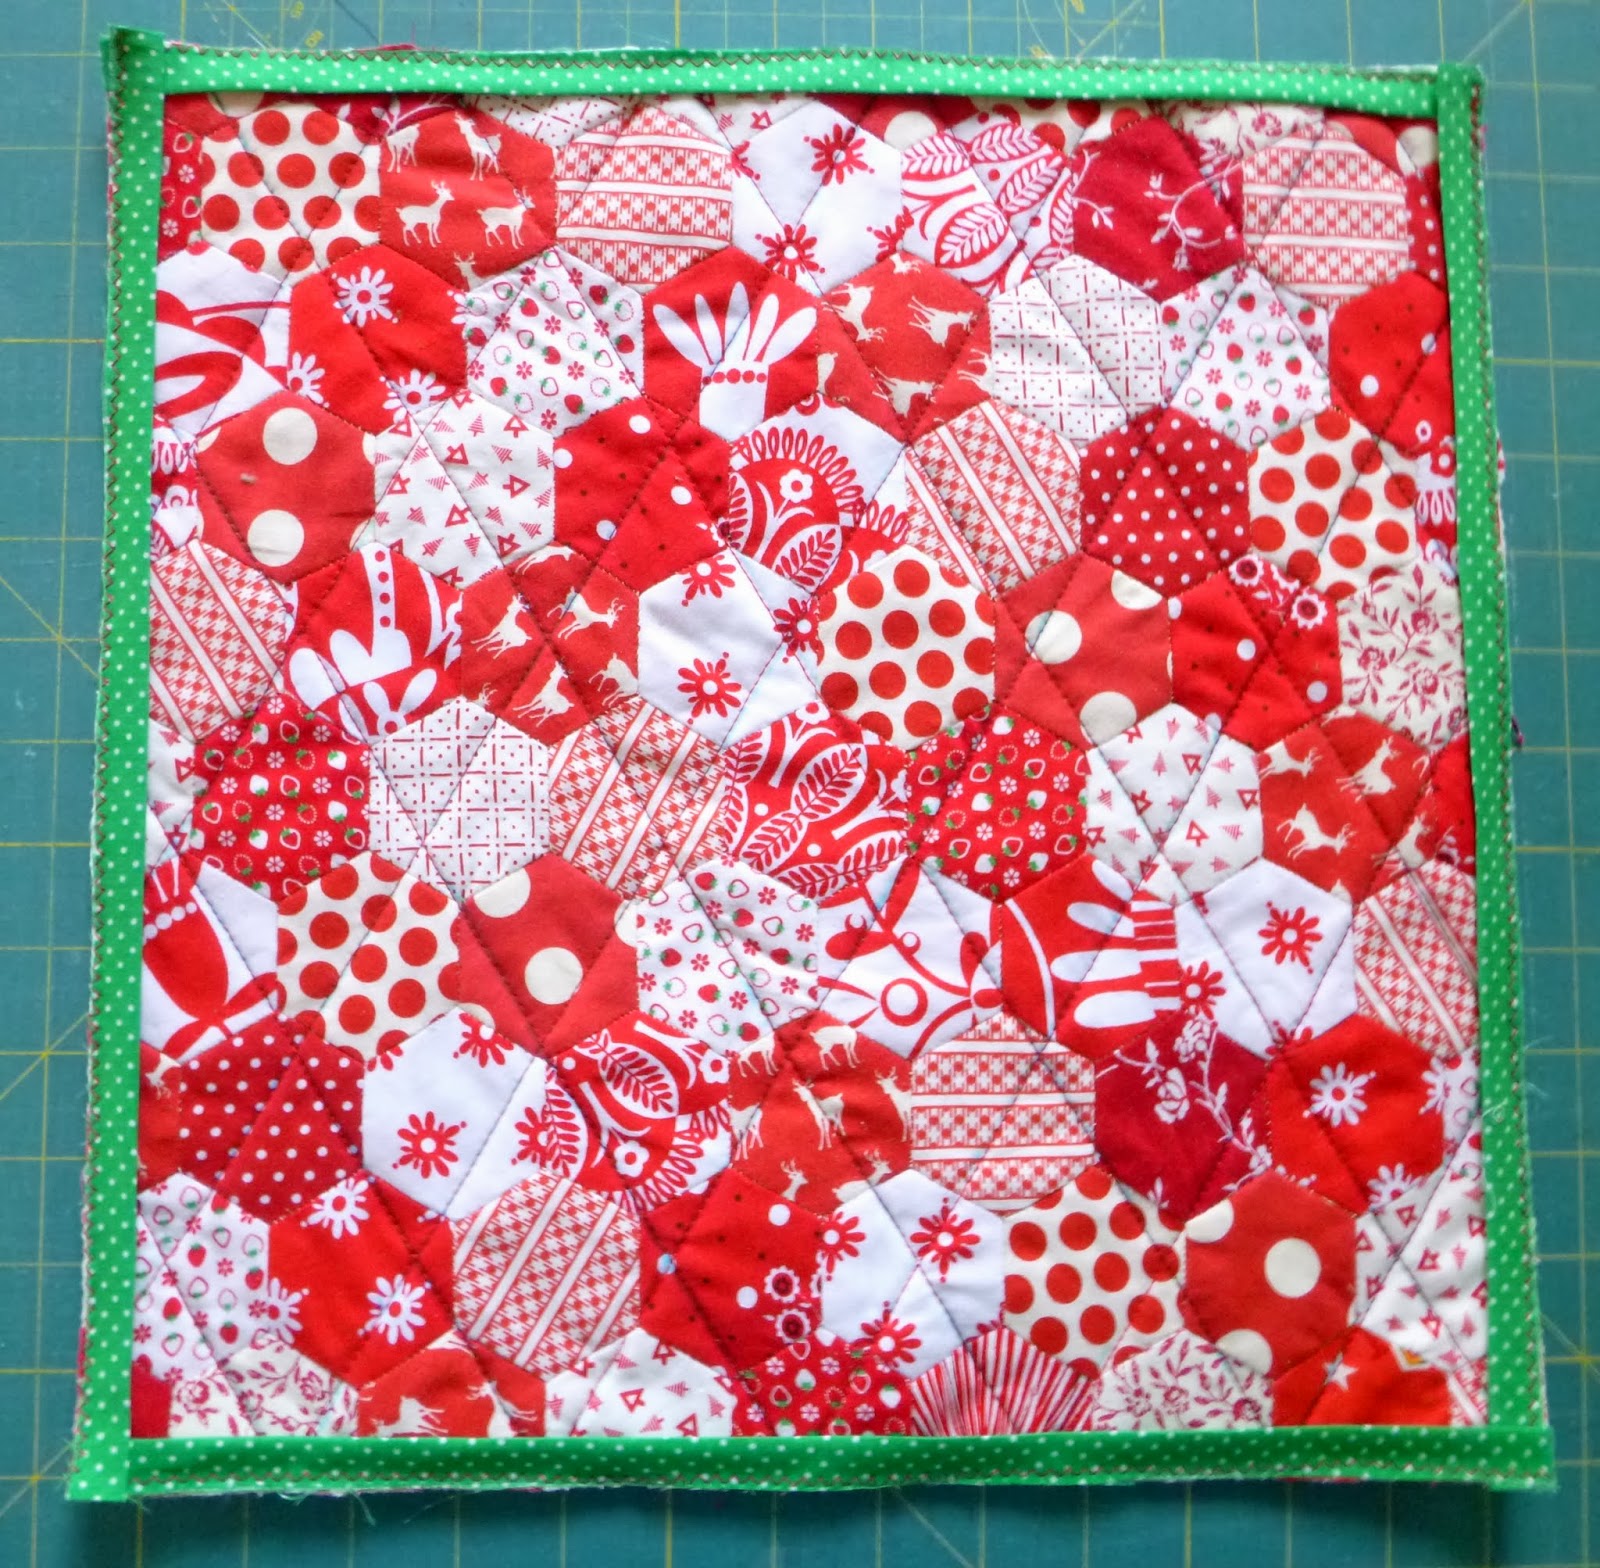
That is all there is to it! From here on out you ignore the flange and bind the quilt as normal. Check out Moda Bake Shop Basics: Binding for a detailed step-by-step binding tutorial.
![]()
One great quilt with an extra pop of color and contrast at the binding!
I hope you try using flange binding in your future quilt projects. It is a great look - and so easy!
Leila Gardunia
{Sewn by Leila}
![]()
Posted in: