Welcome to Moda Fabrics!
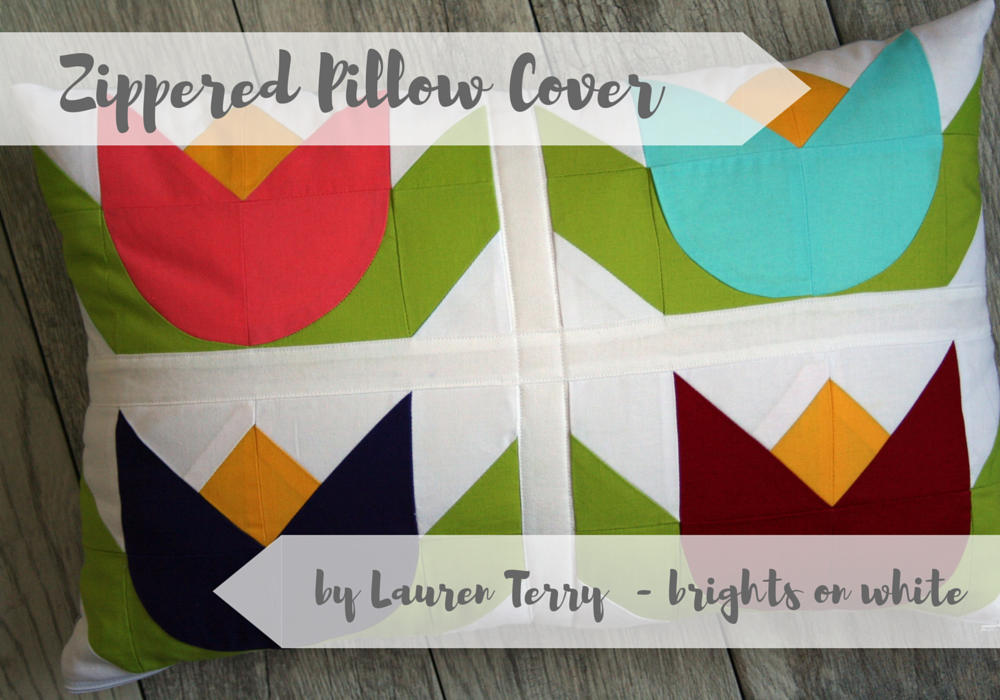
Bake Shop Basics: Zippered Pillow Cover
Bake Shop Basics: Zippered Pillow Cover
Published:
Aug 6 2016 - 23:00

Fun facts about me: my middle name is Elizabeth. I love walking up mountains until my legs hurt, "reading" audio books while I quilt, listening to my daughter tell me about Dinosaur Train and going on dates with my husband.
If you like free fabric, head over to my blog {Brights on White} to enter the giveaway! I'll also have a pretty great quilt-along happening this fall. If you have a little boy who loves trains (like I do) it'll be for you. Meanwhile, I'll show you how to add a zipper to make a beautiful pillow cover. I love this for short projects and gifts. I'll often just make one quilt block and then turn it into a pillow cover.
![]()
You'll need:
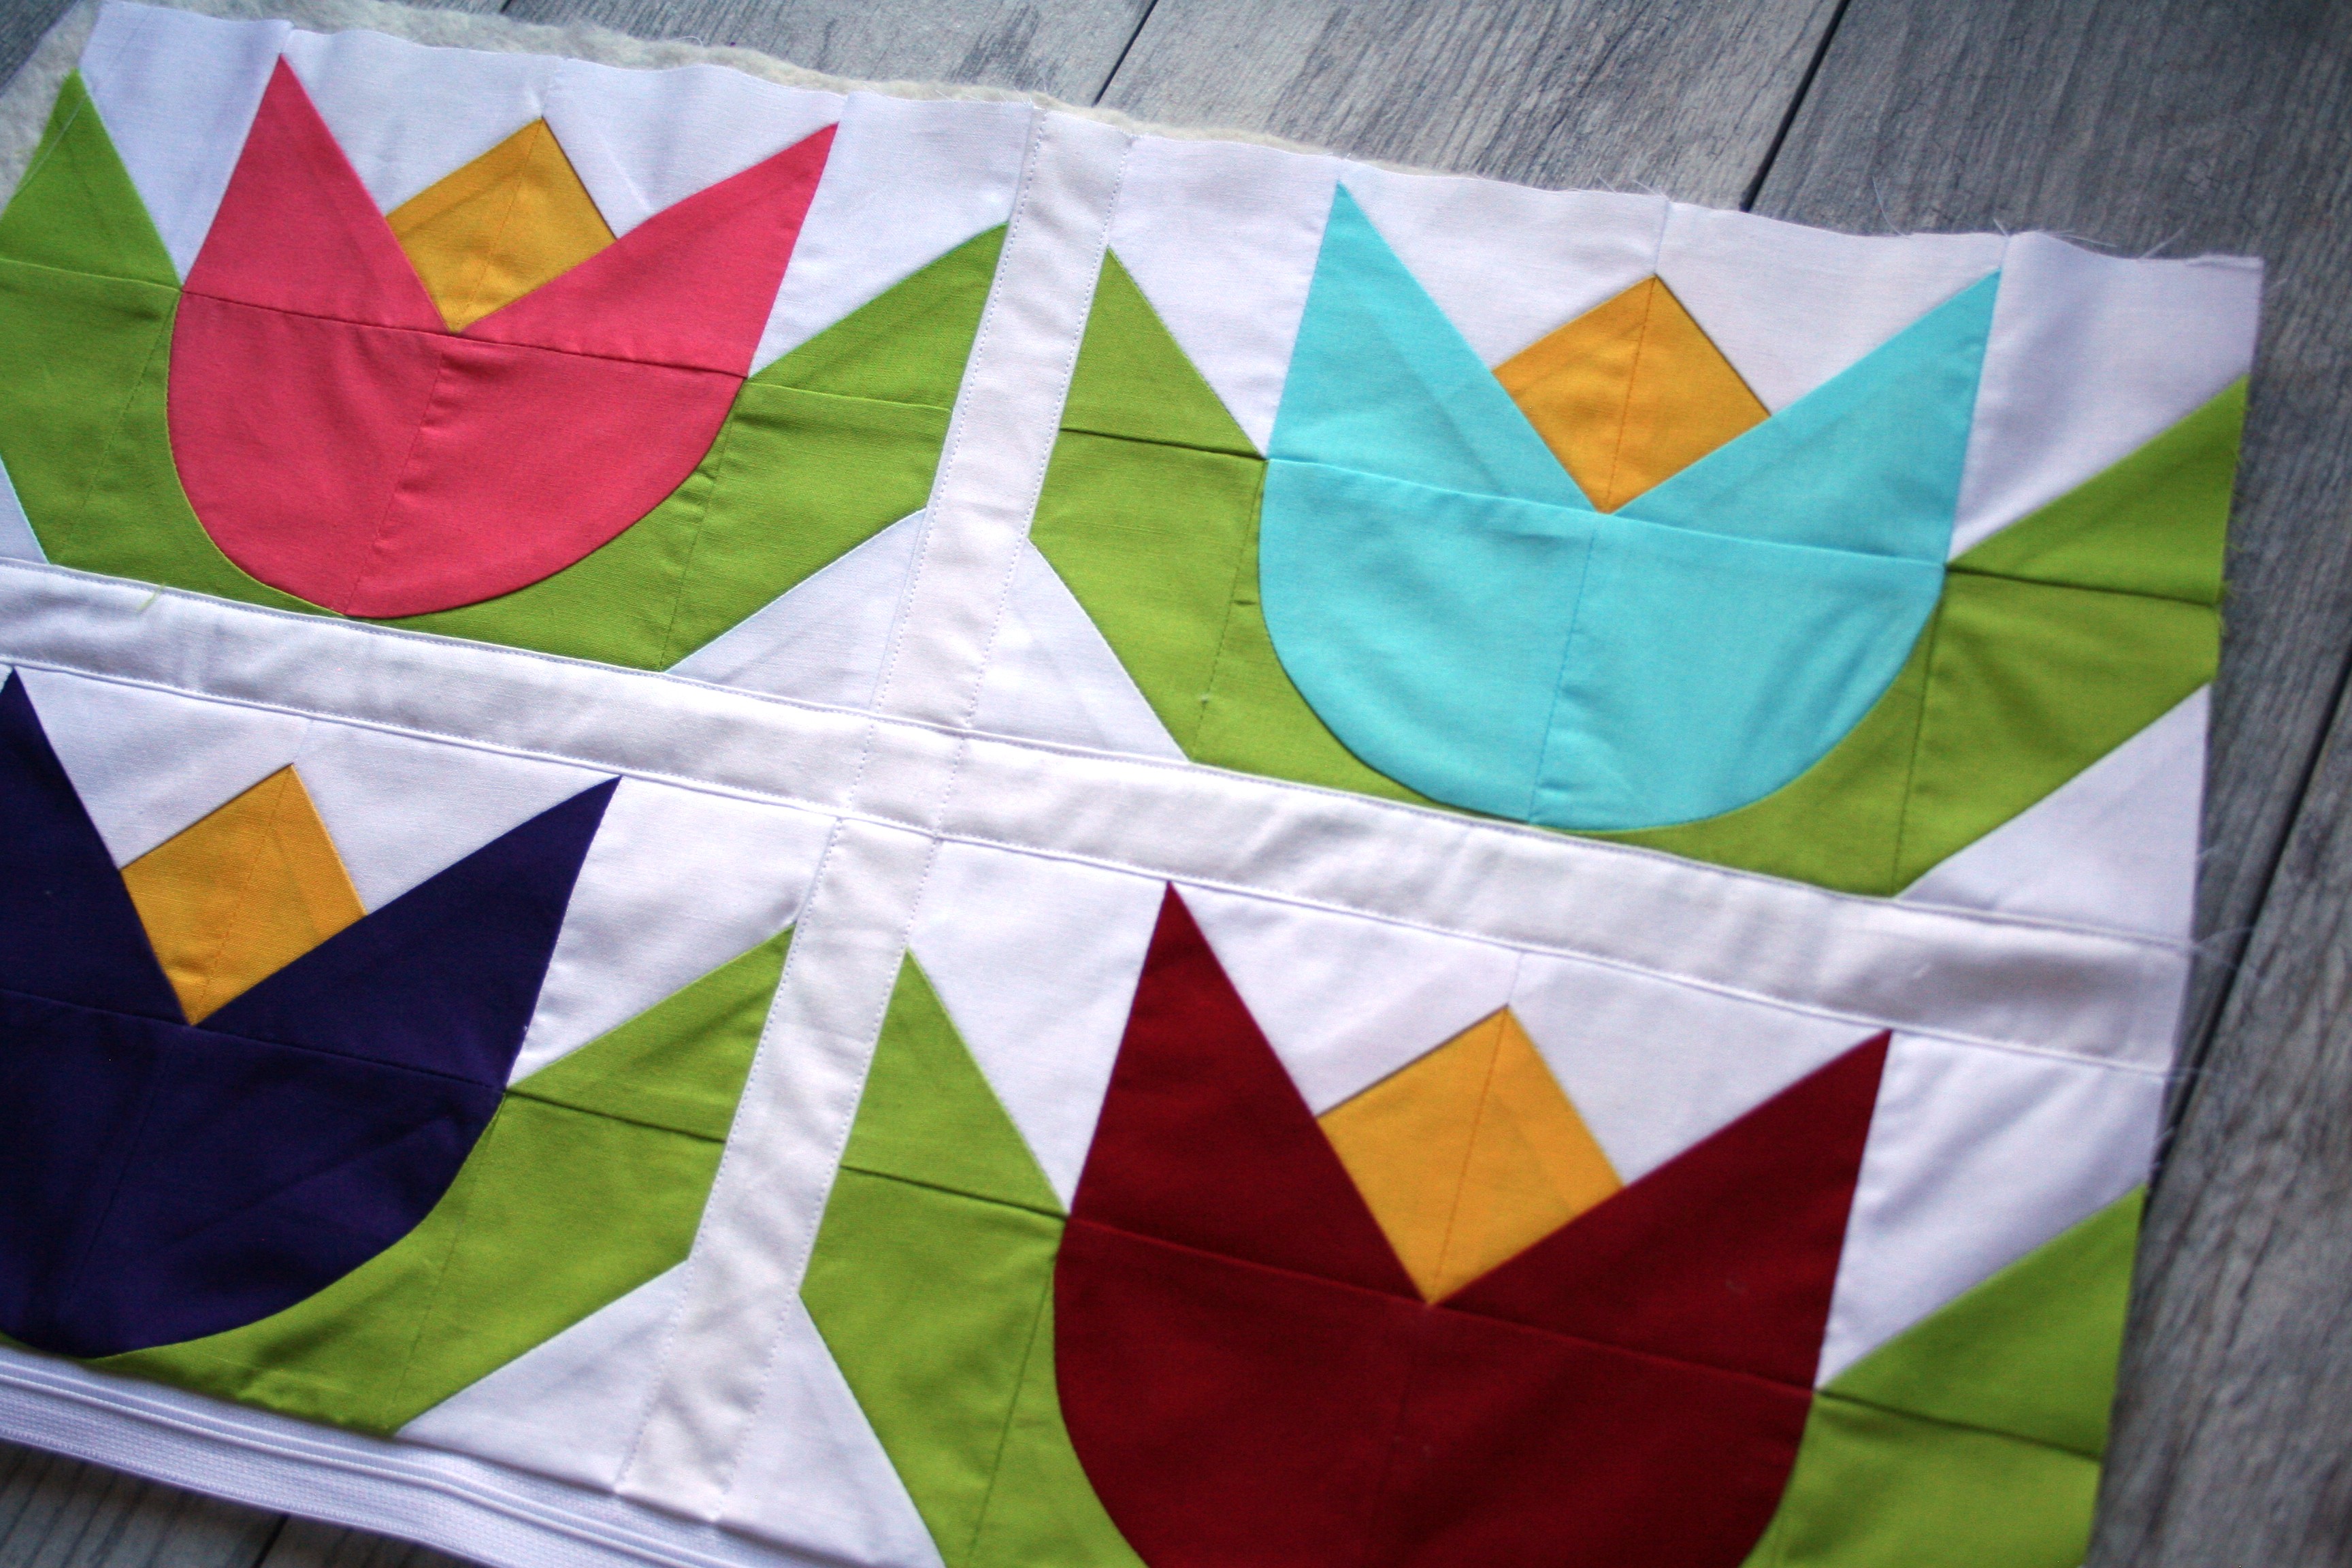
-Whatever you're going to use as your pillow cover front. This can just be a square of fabric or a quilt block
-A piece of batting, backing and lining at least 1 inch bigger than the pillow cover front
-A zipper that is bigger than the space that you want your opening to be.
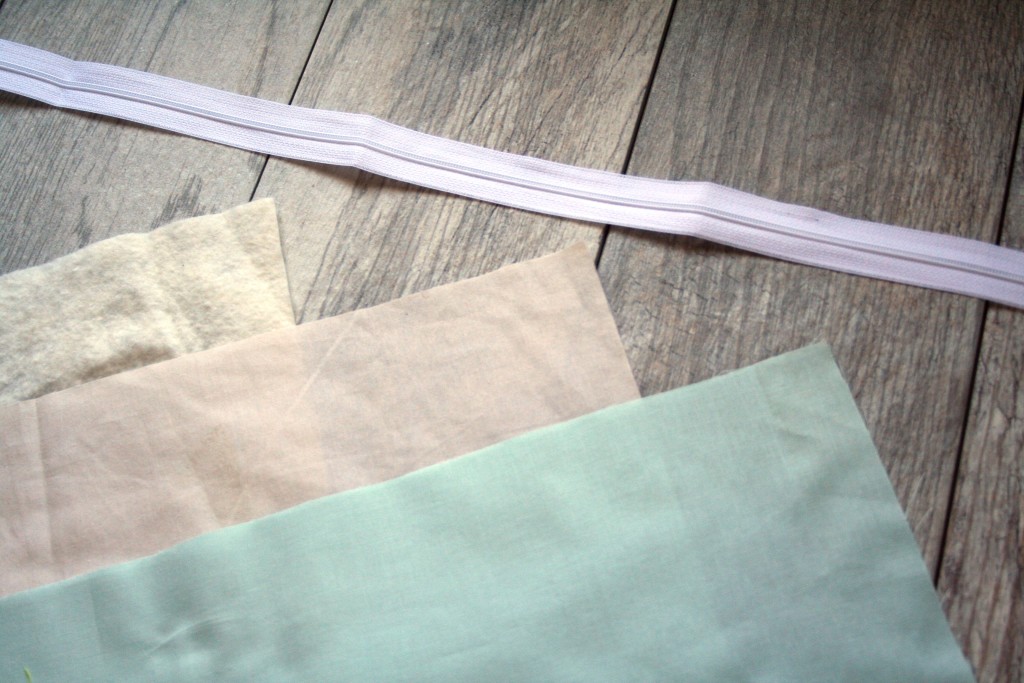
*Note: My Pillow Cover is made from the pattern Lotus Blossom which you can find in my Etsy Shop.
![]()
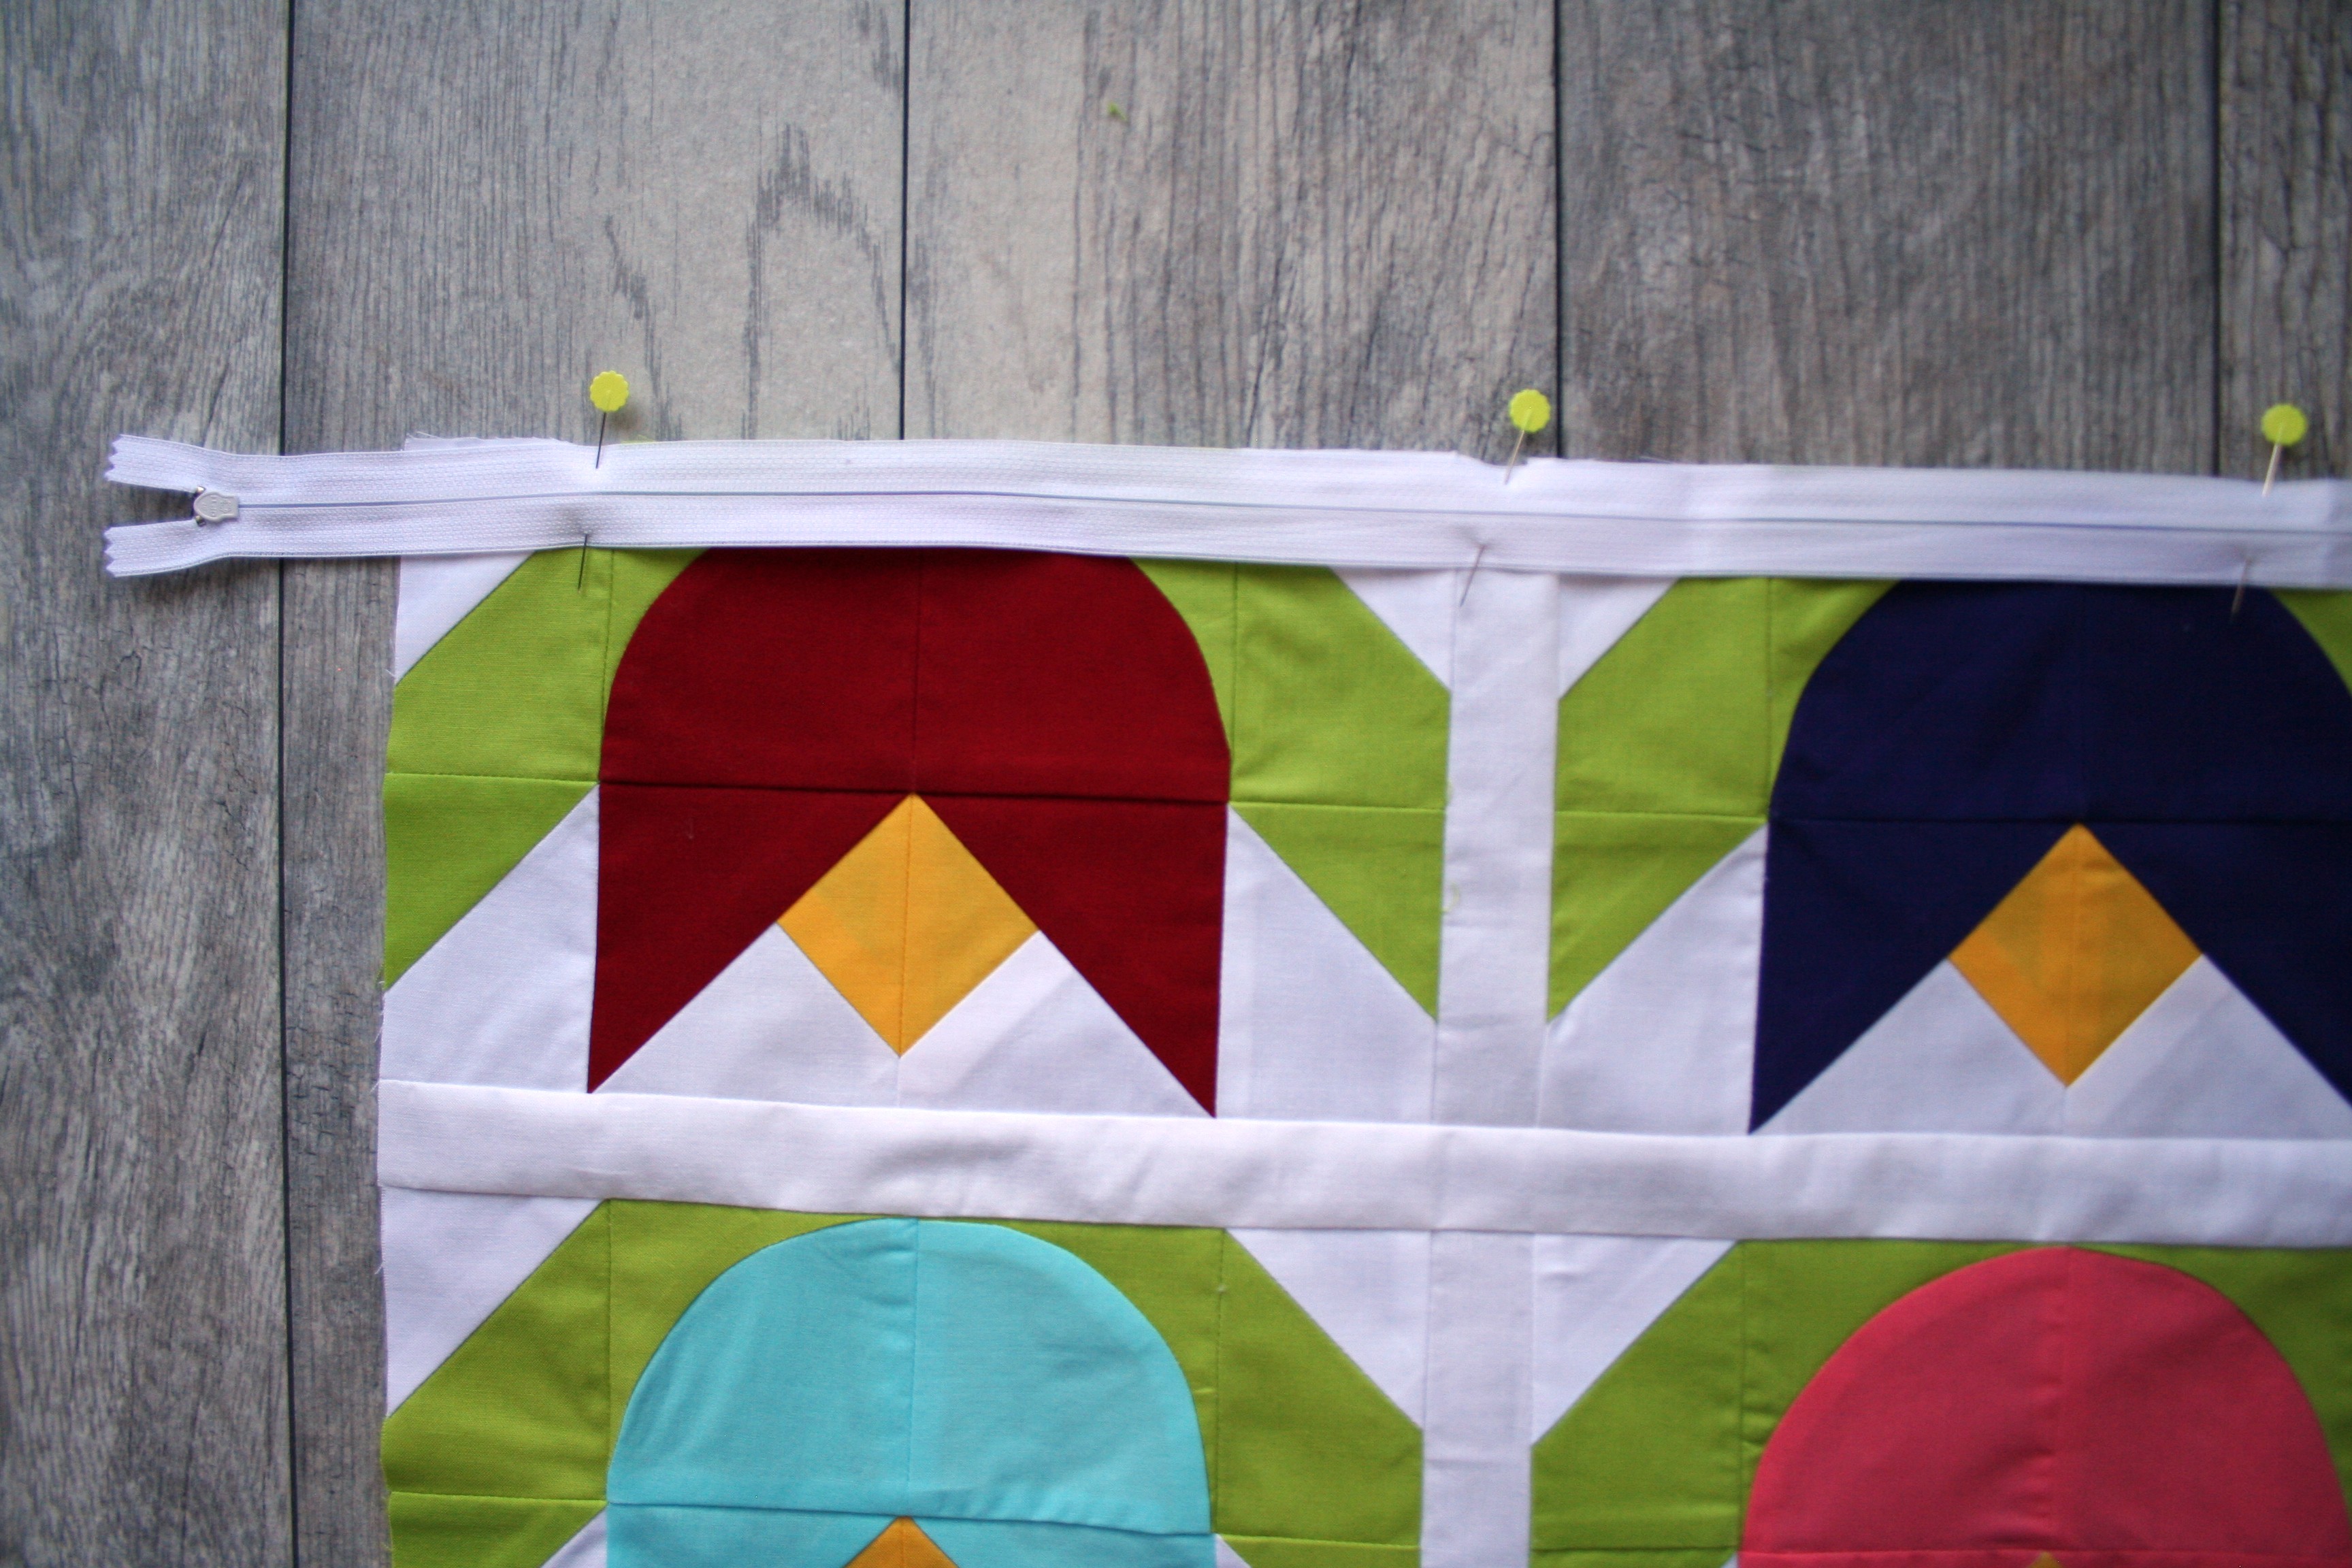
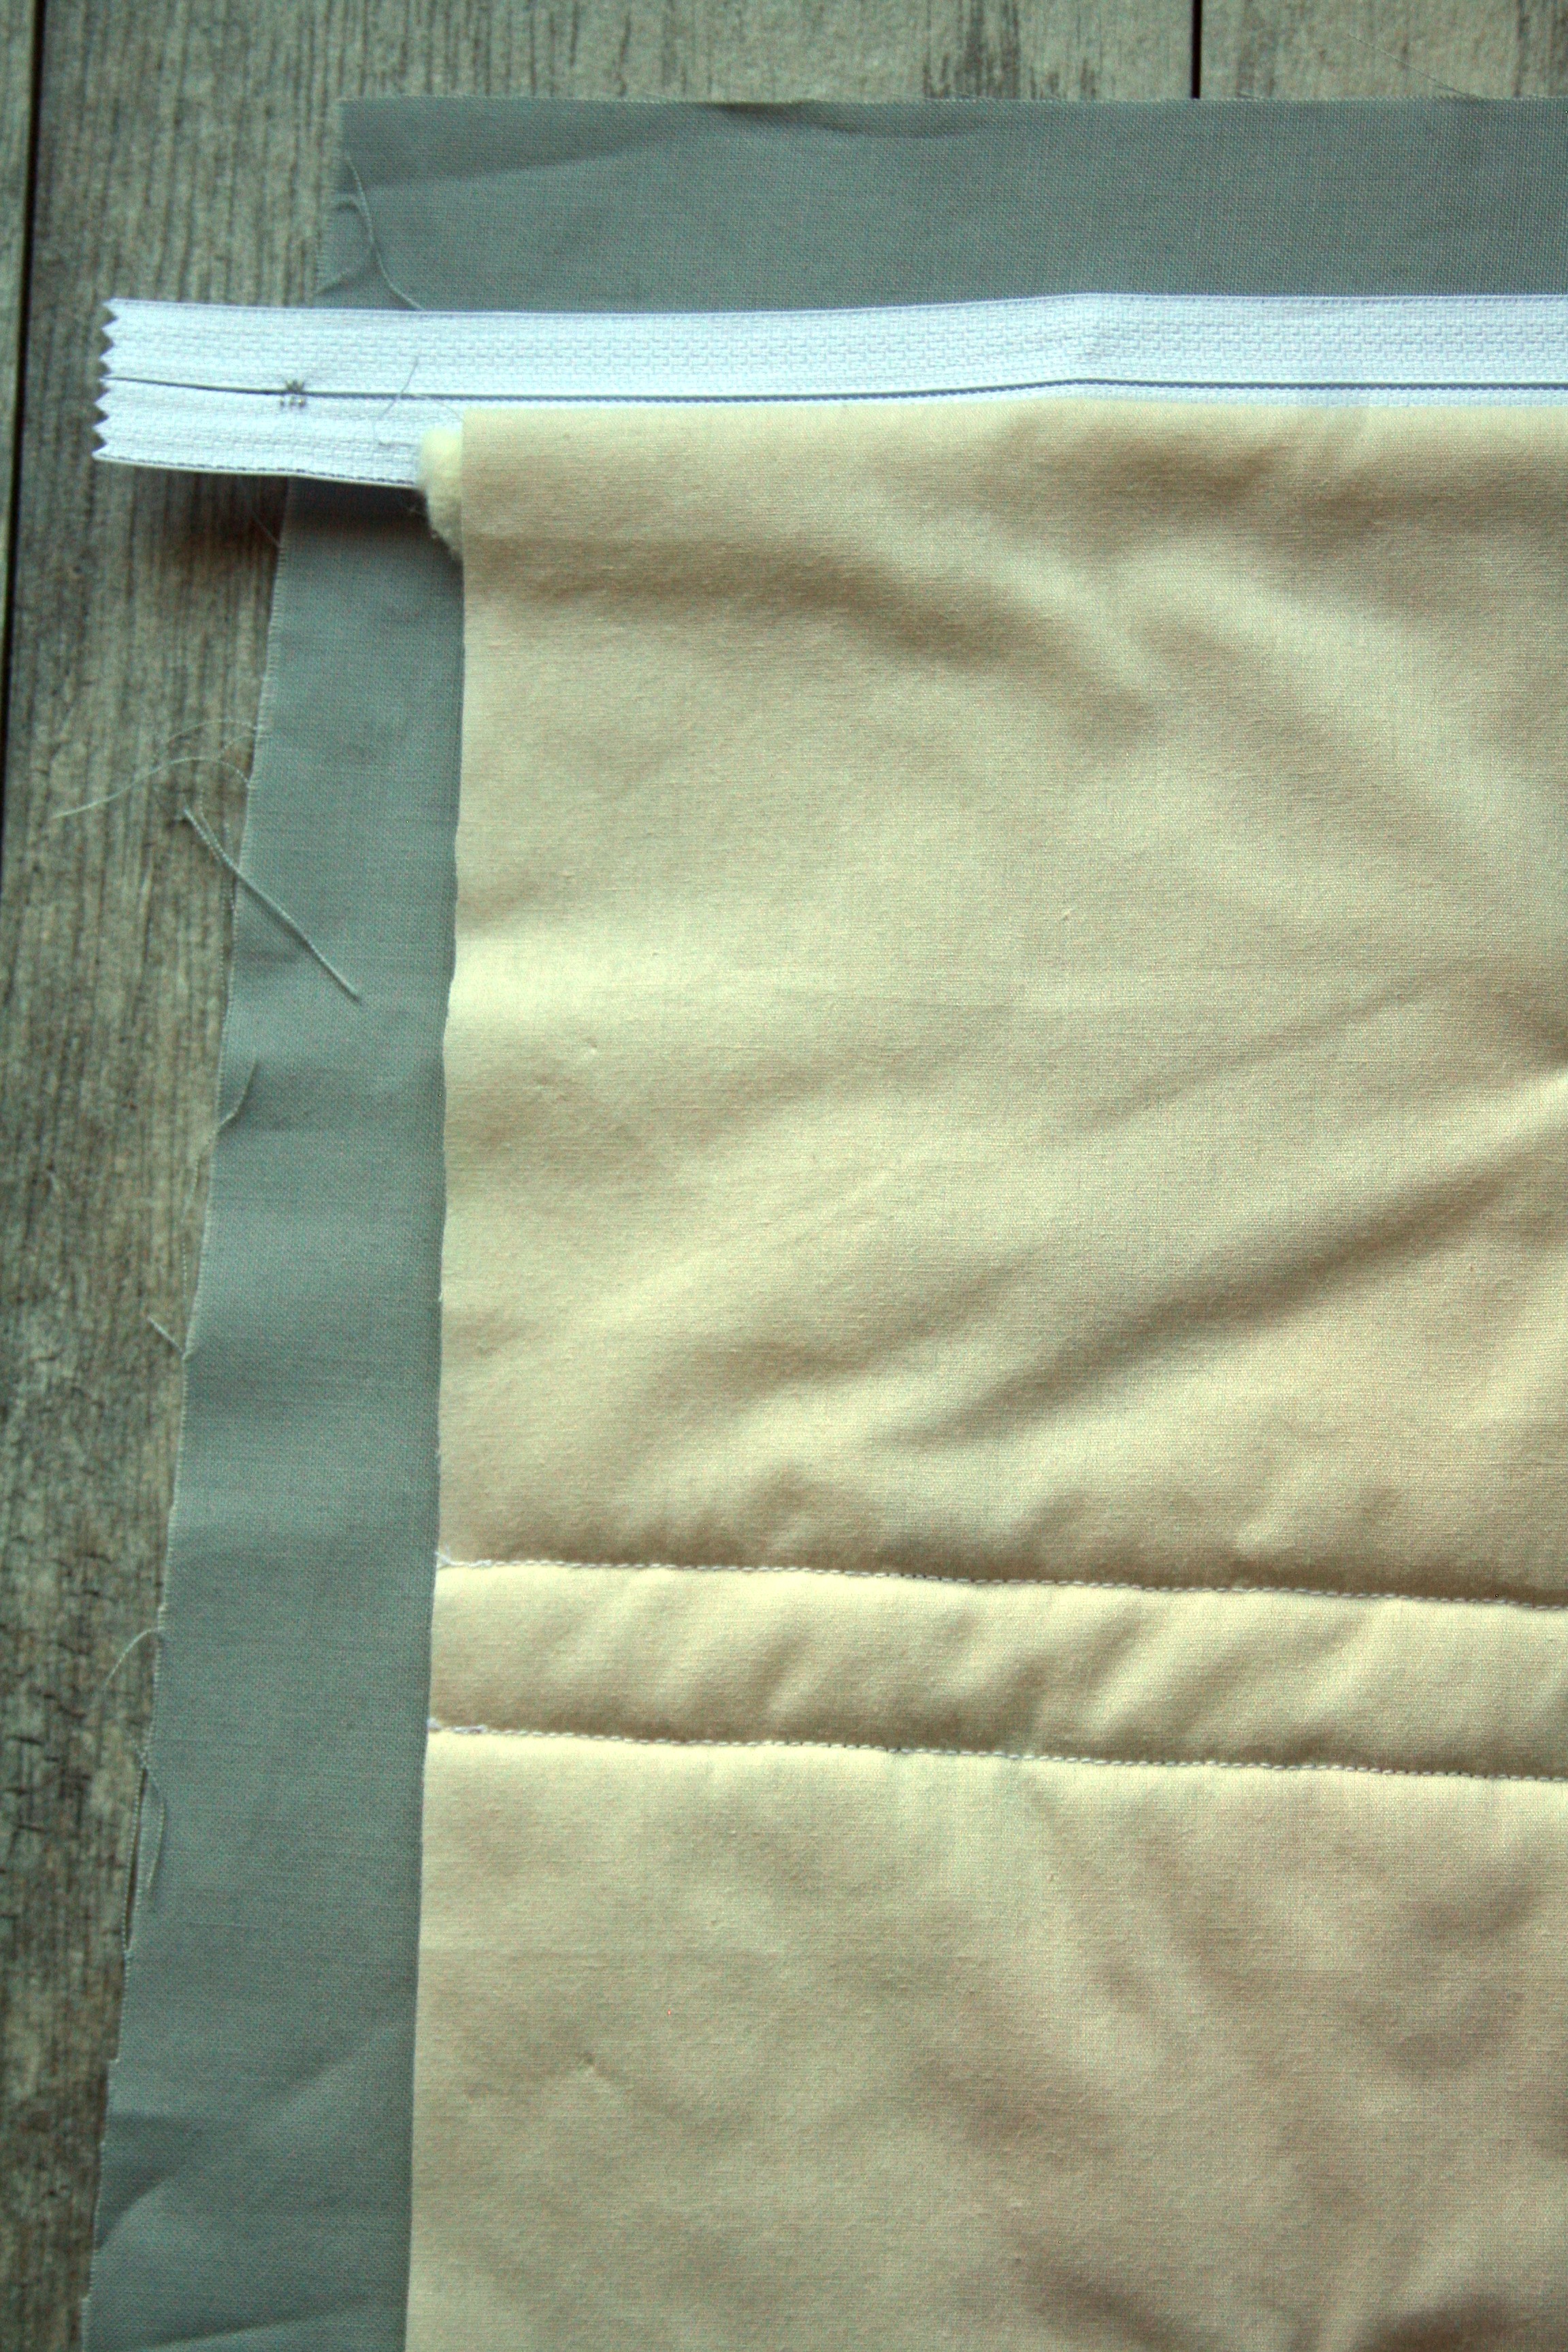
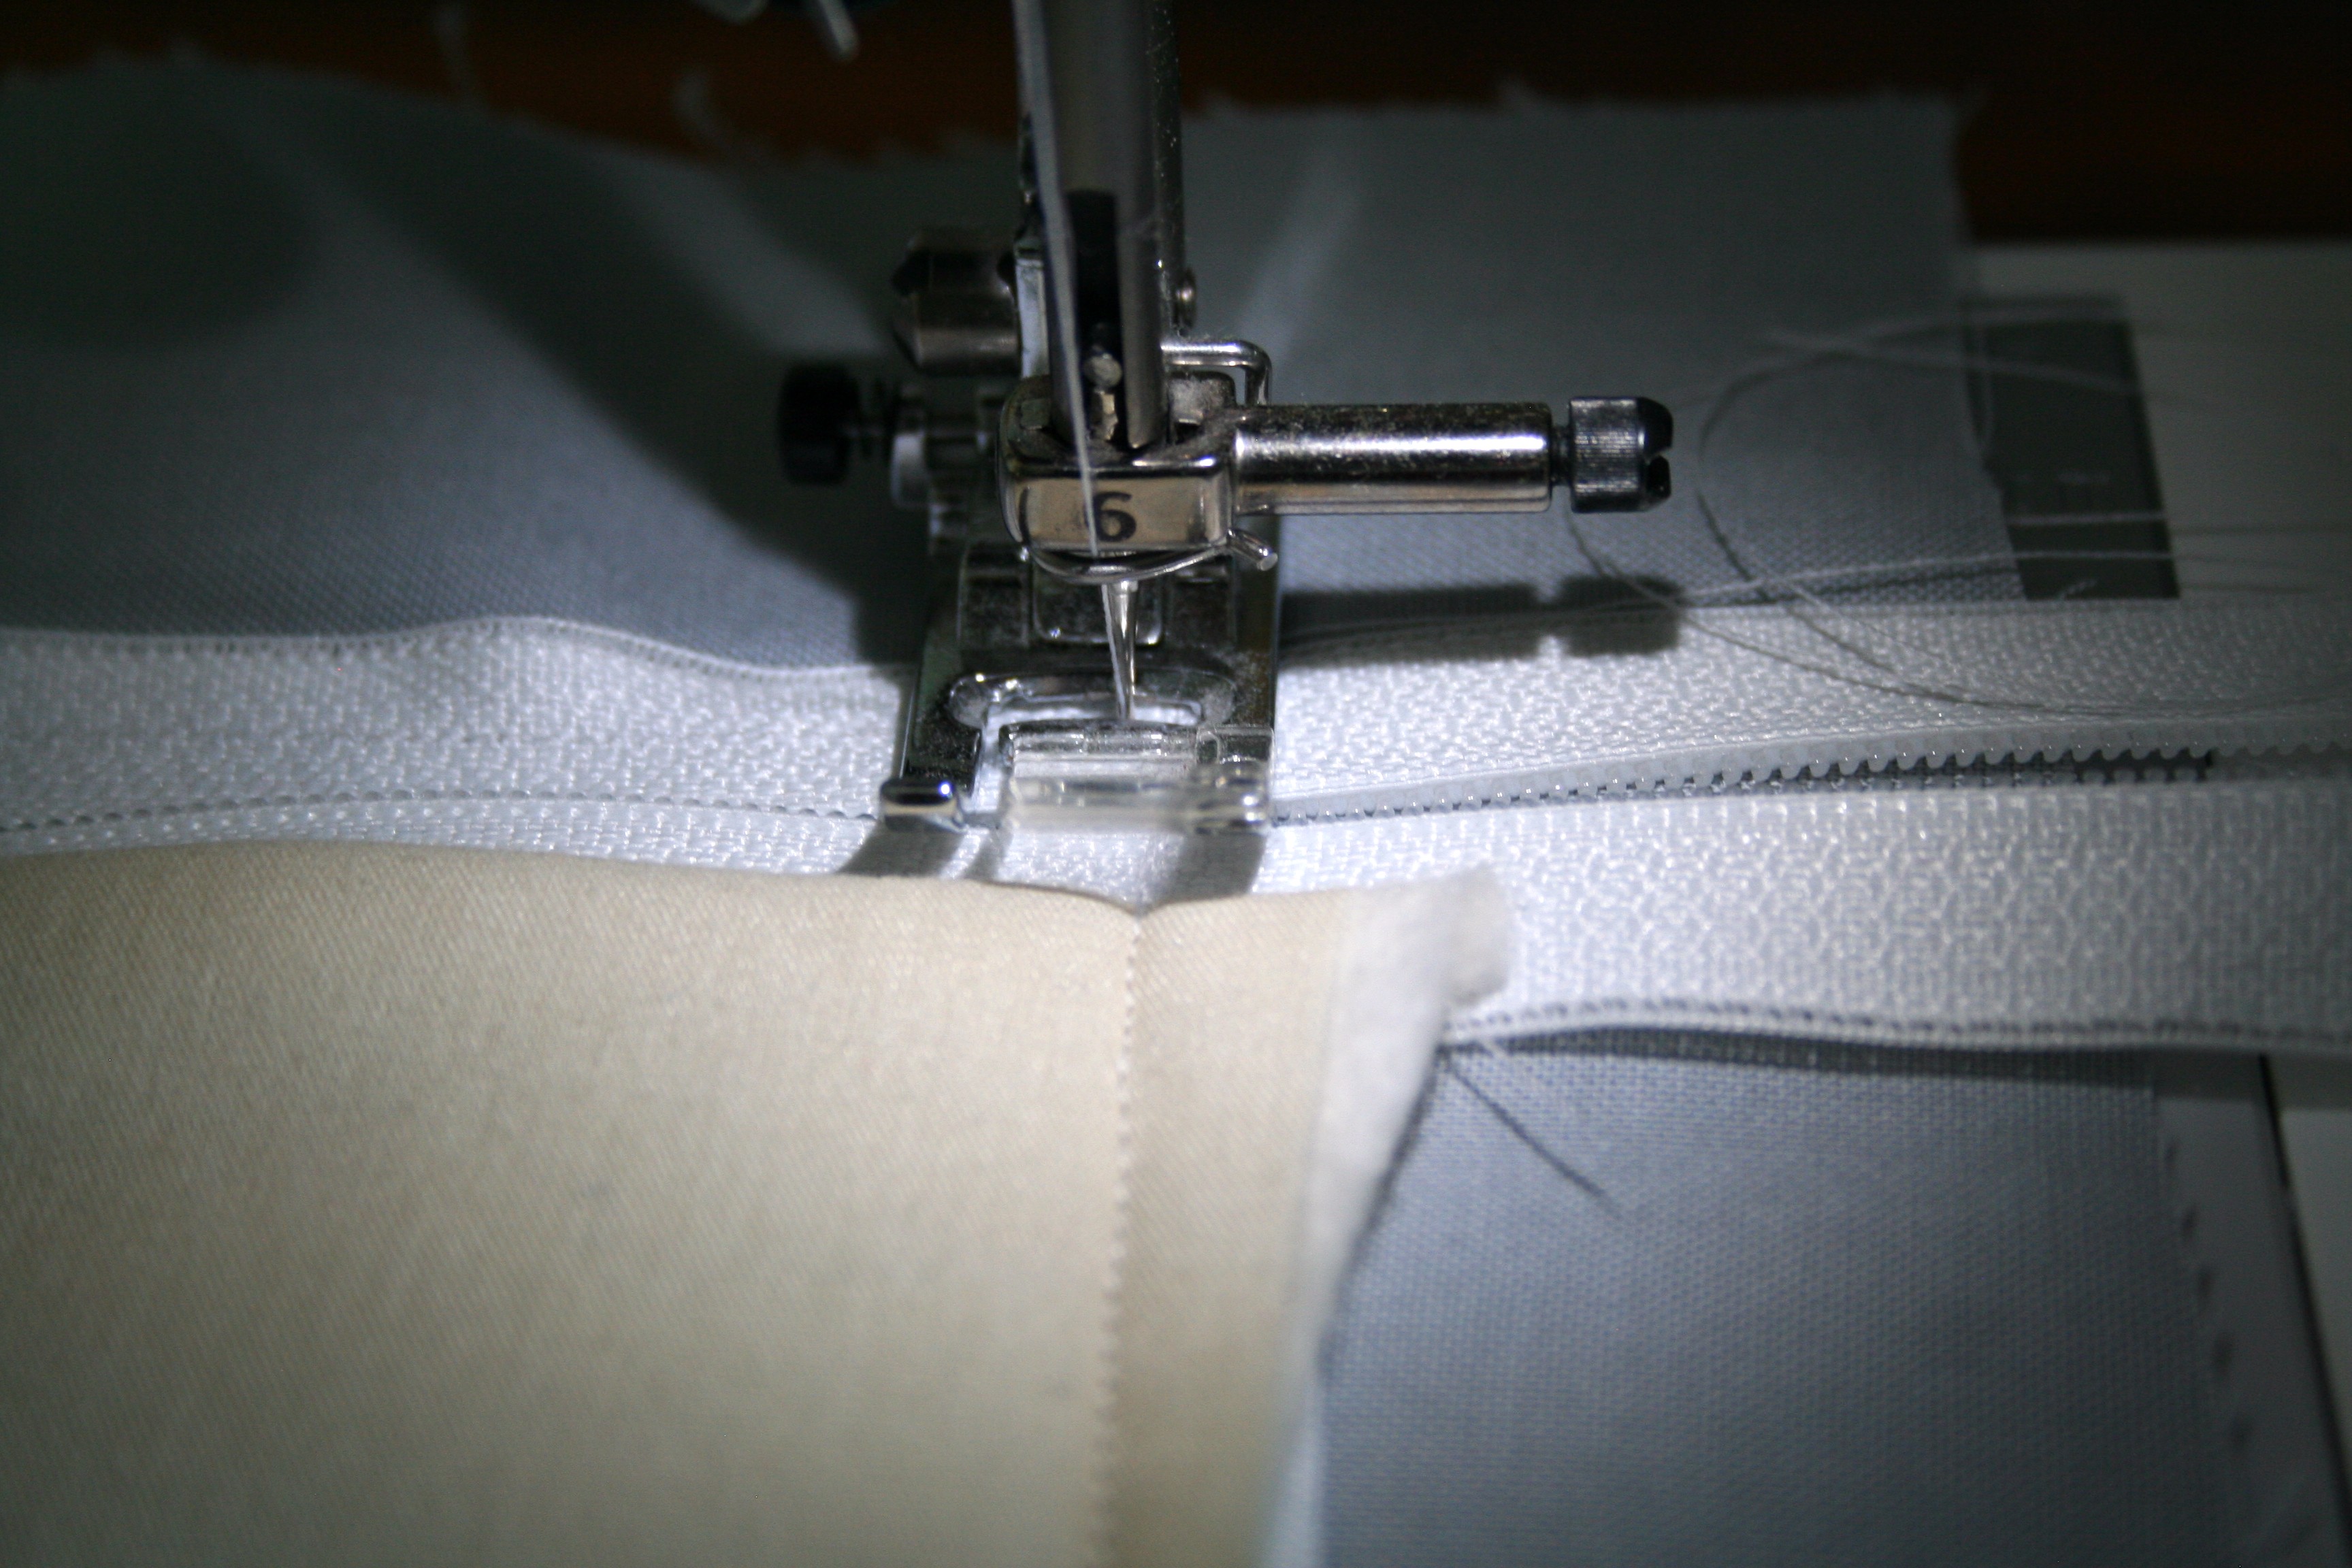
Place your pillow cover face up. Then, place the zipper face down on top. Pin.
Next, place your lining face down and pin.
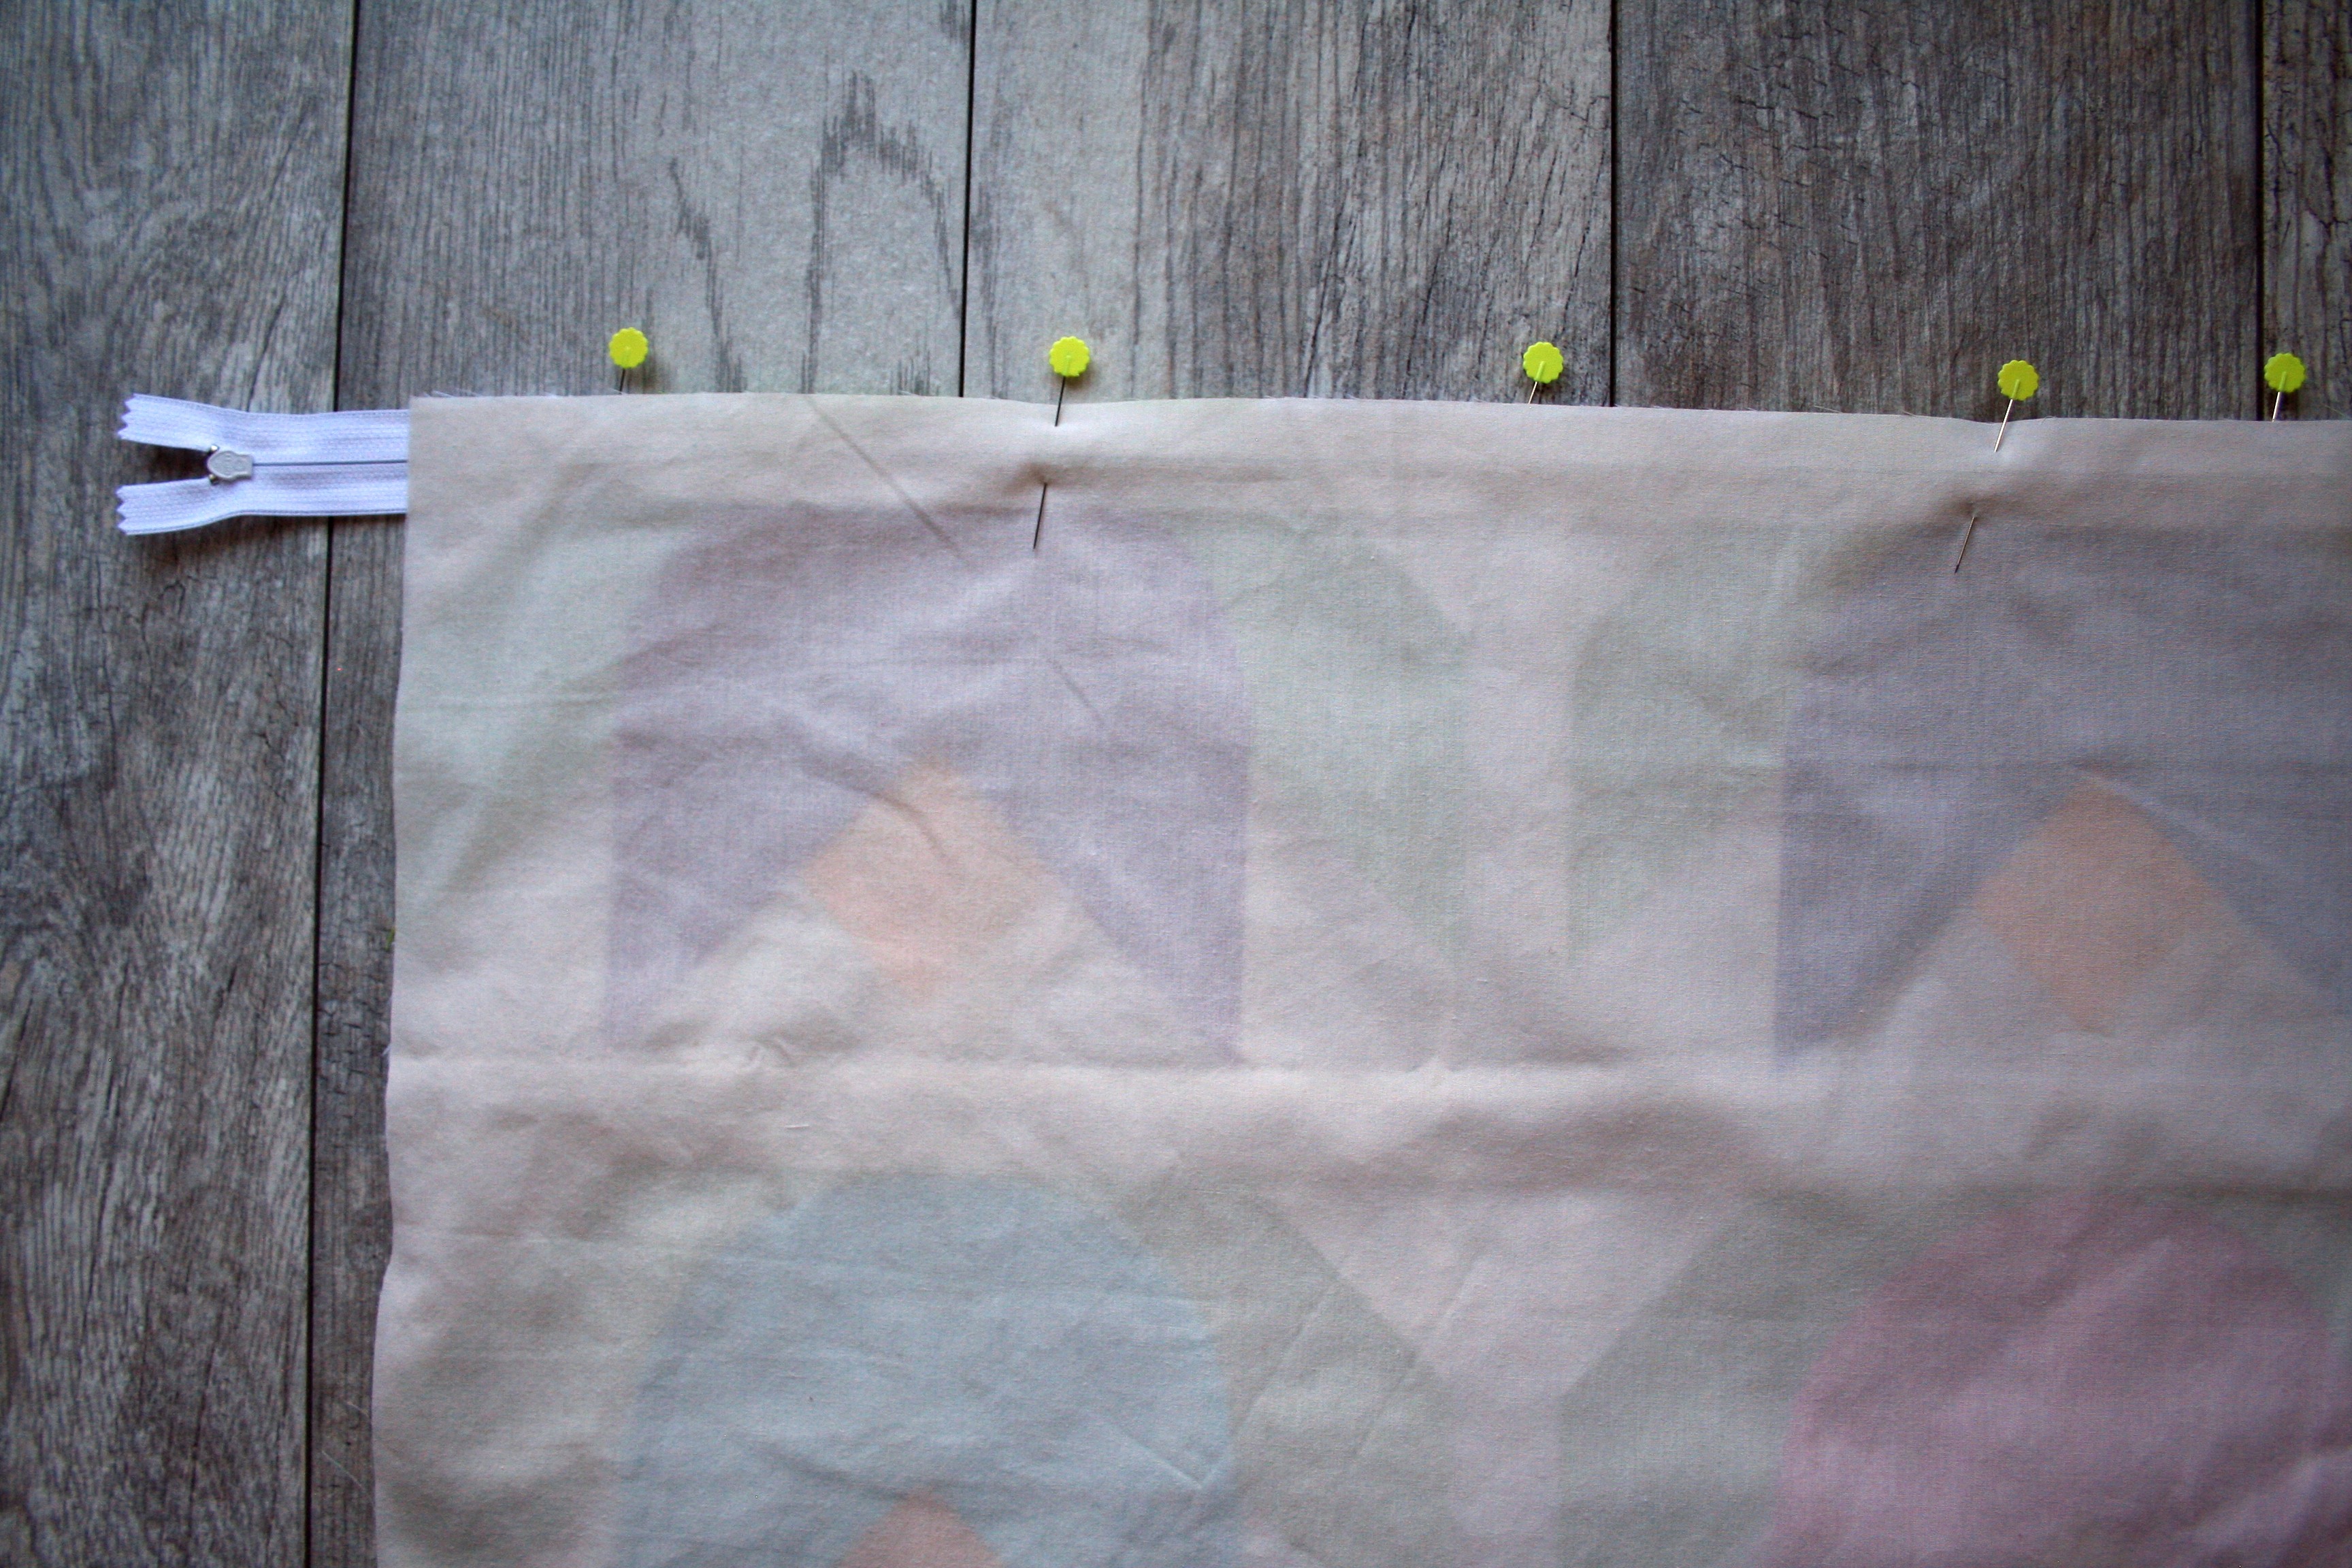
Last, put the batting on top and pin.
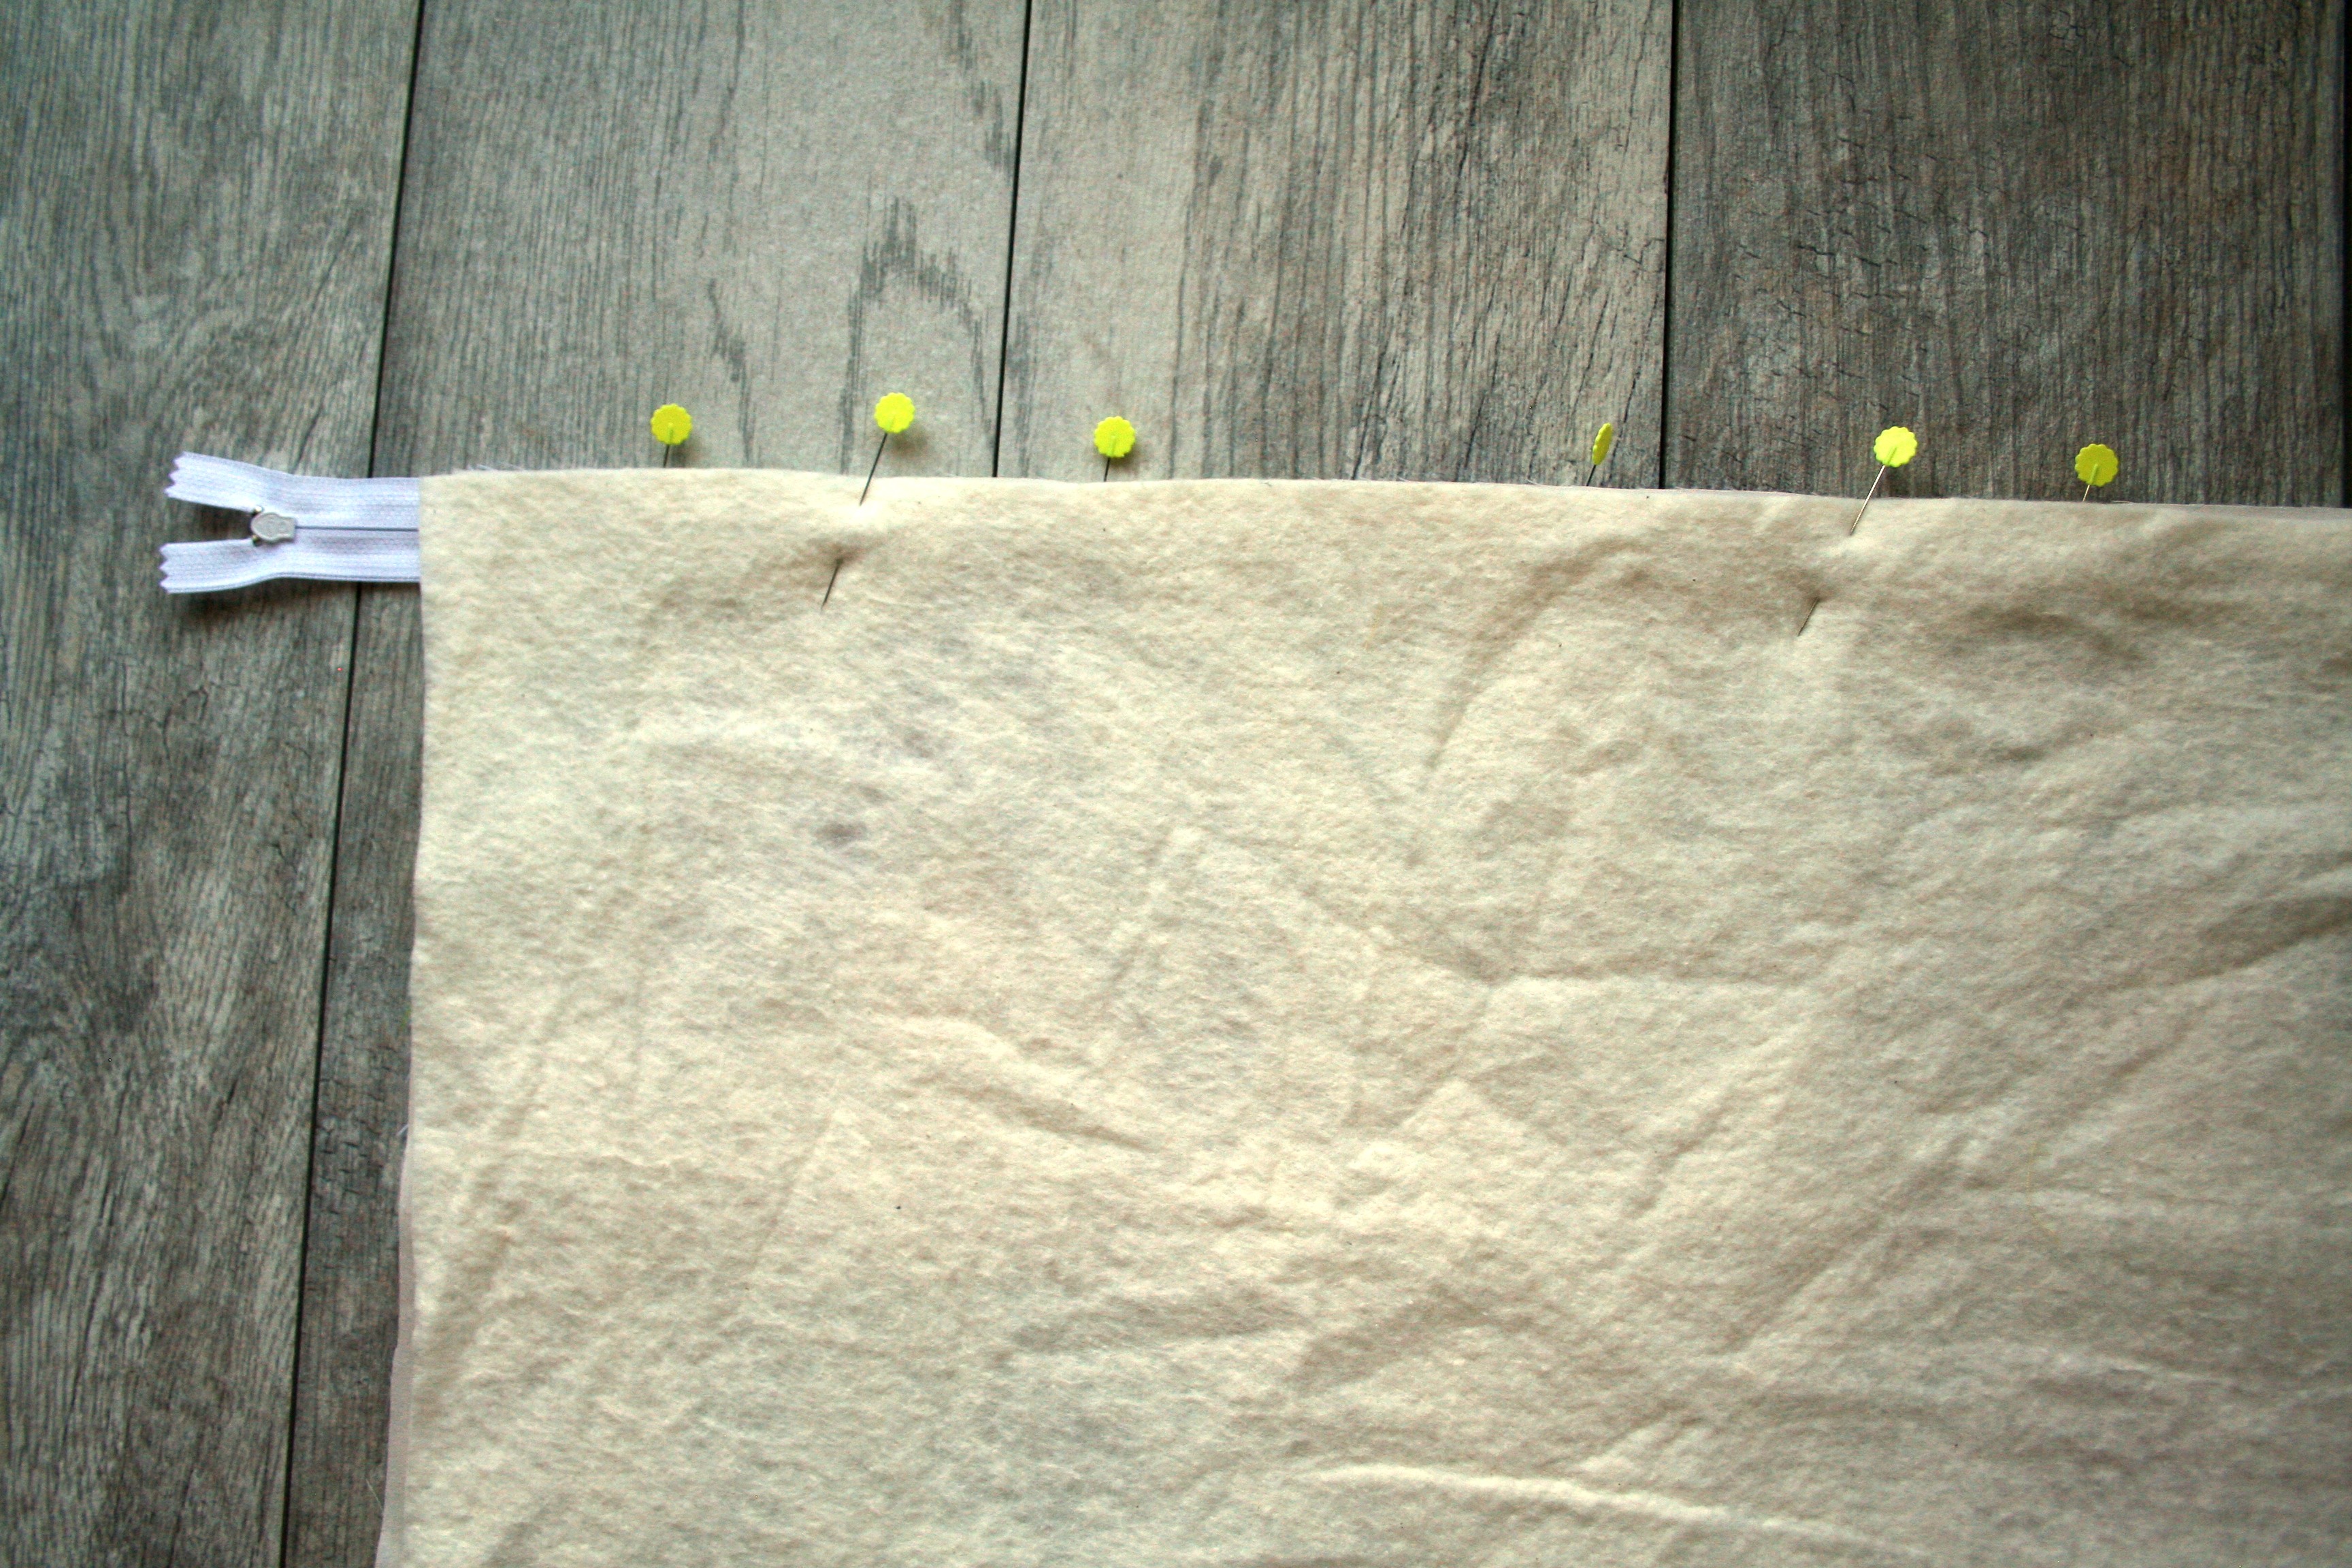
All the layers should be flush.
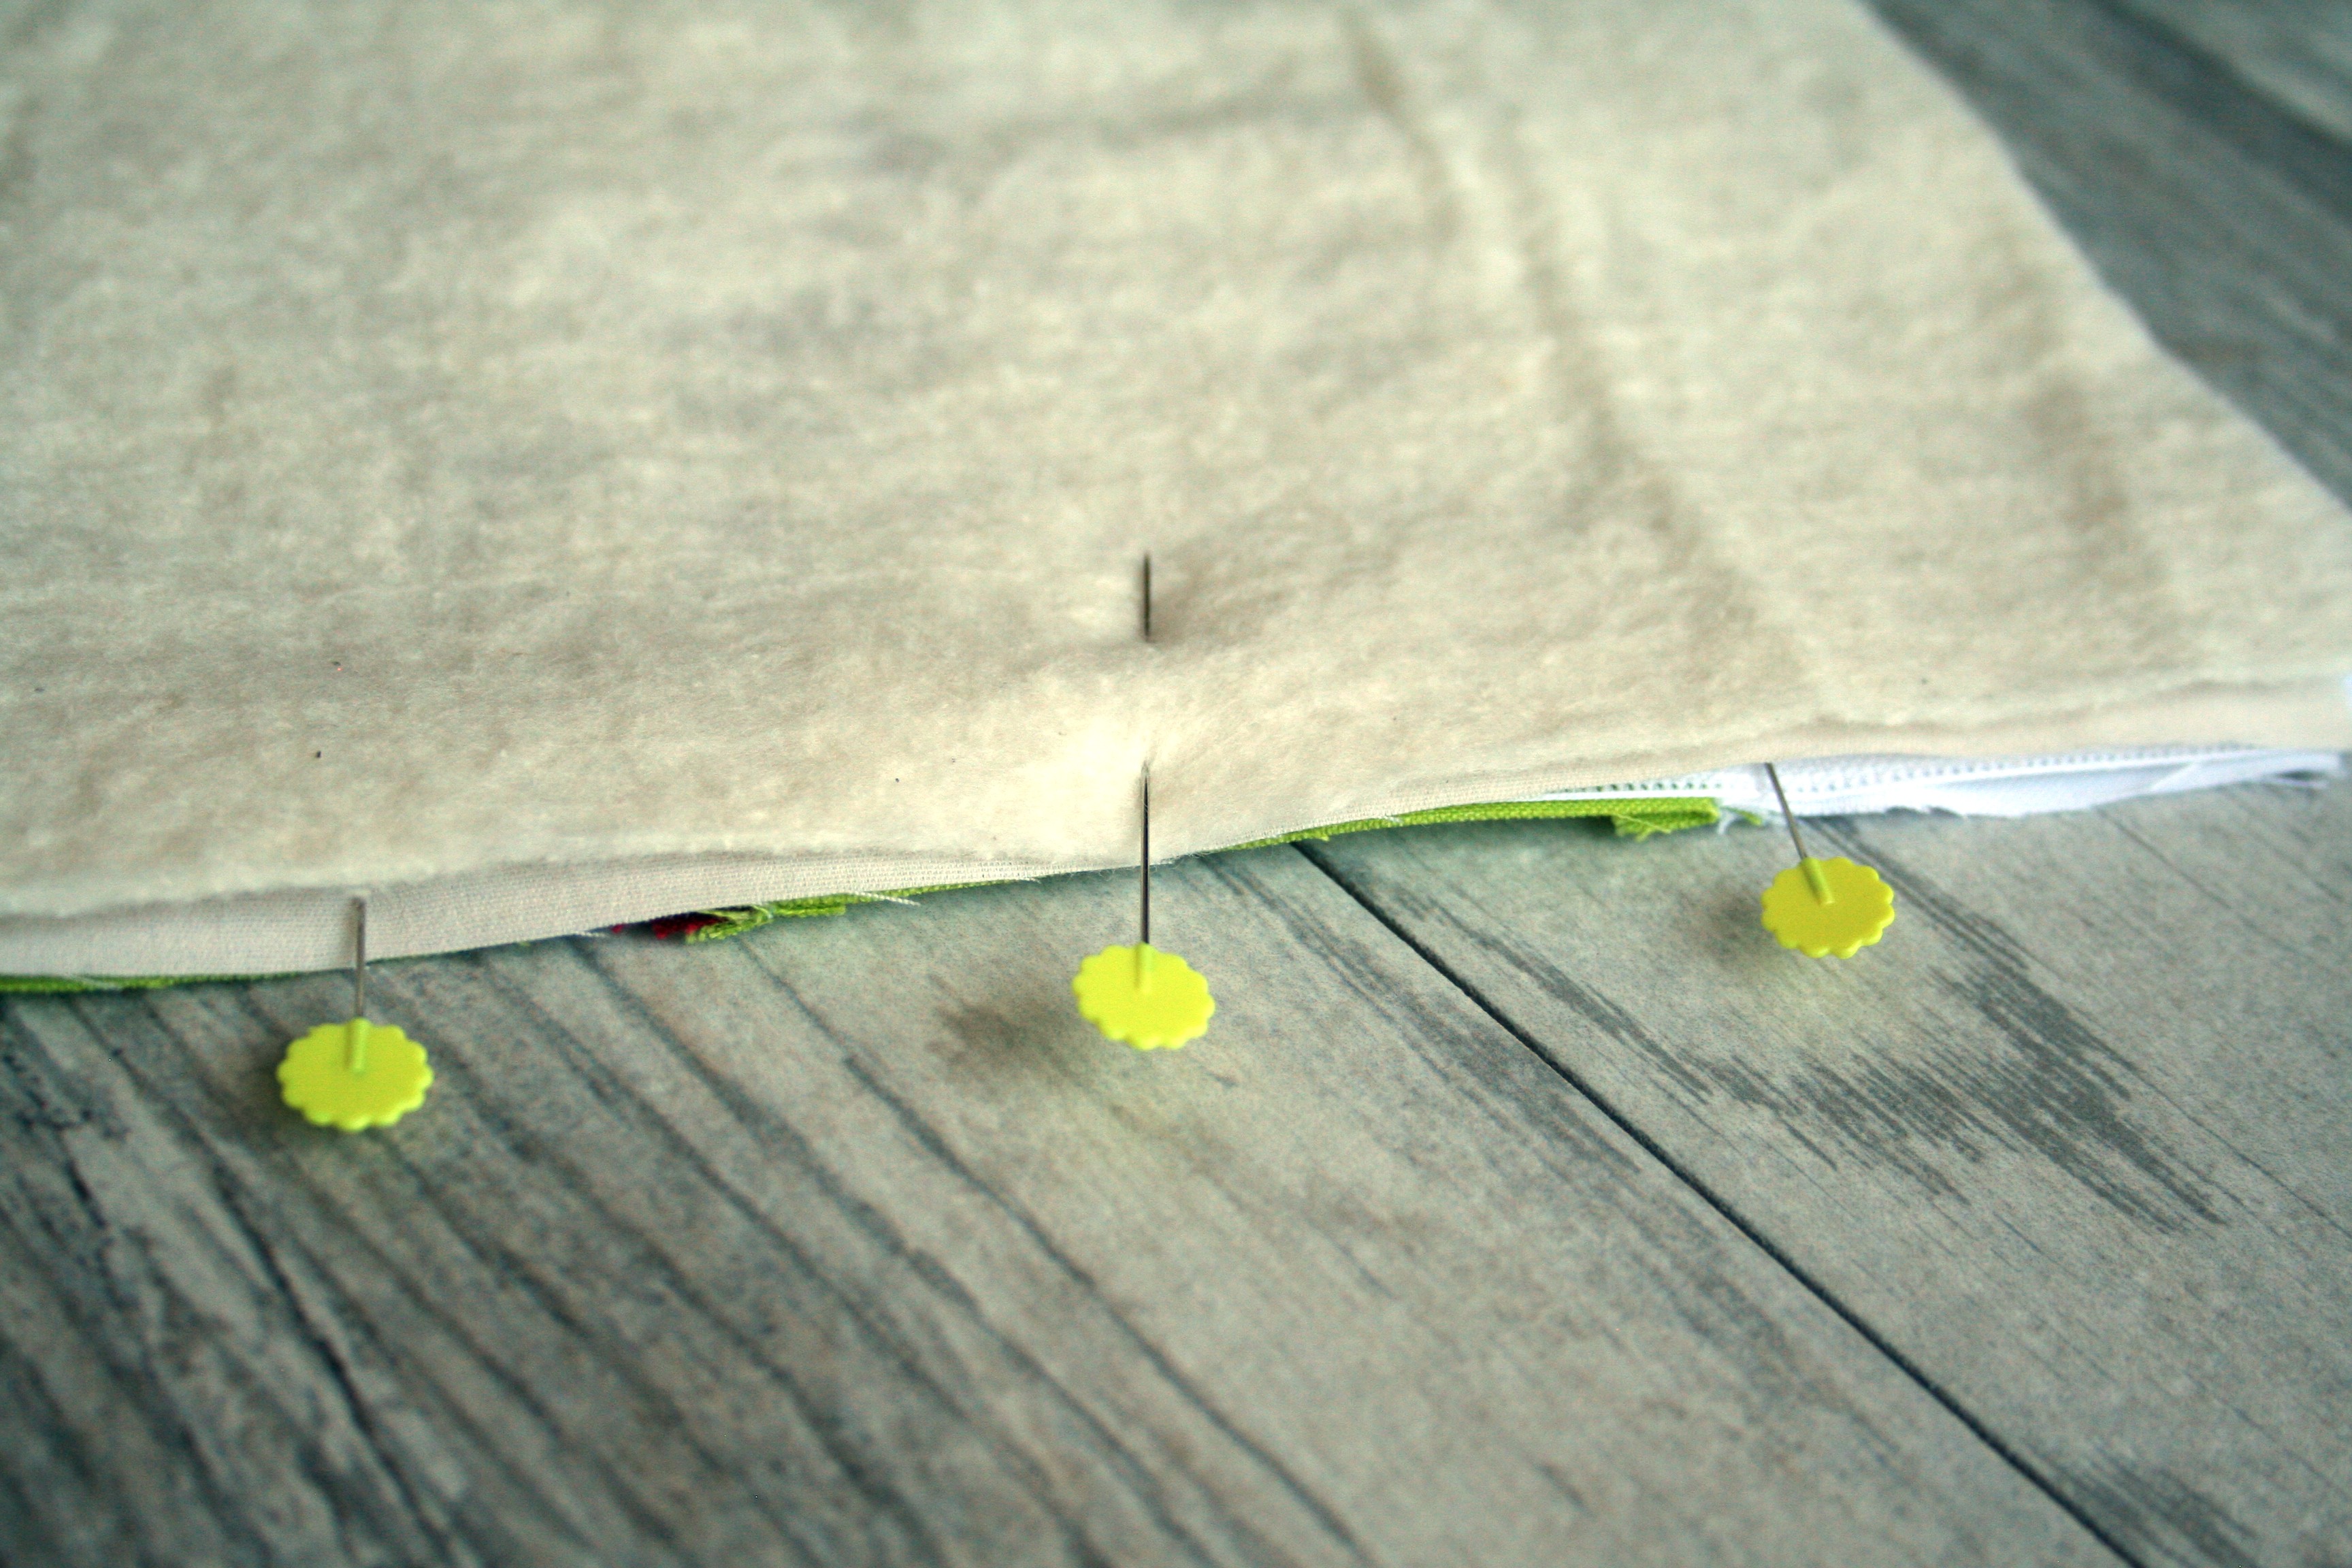
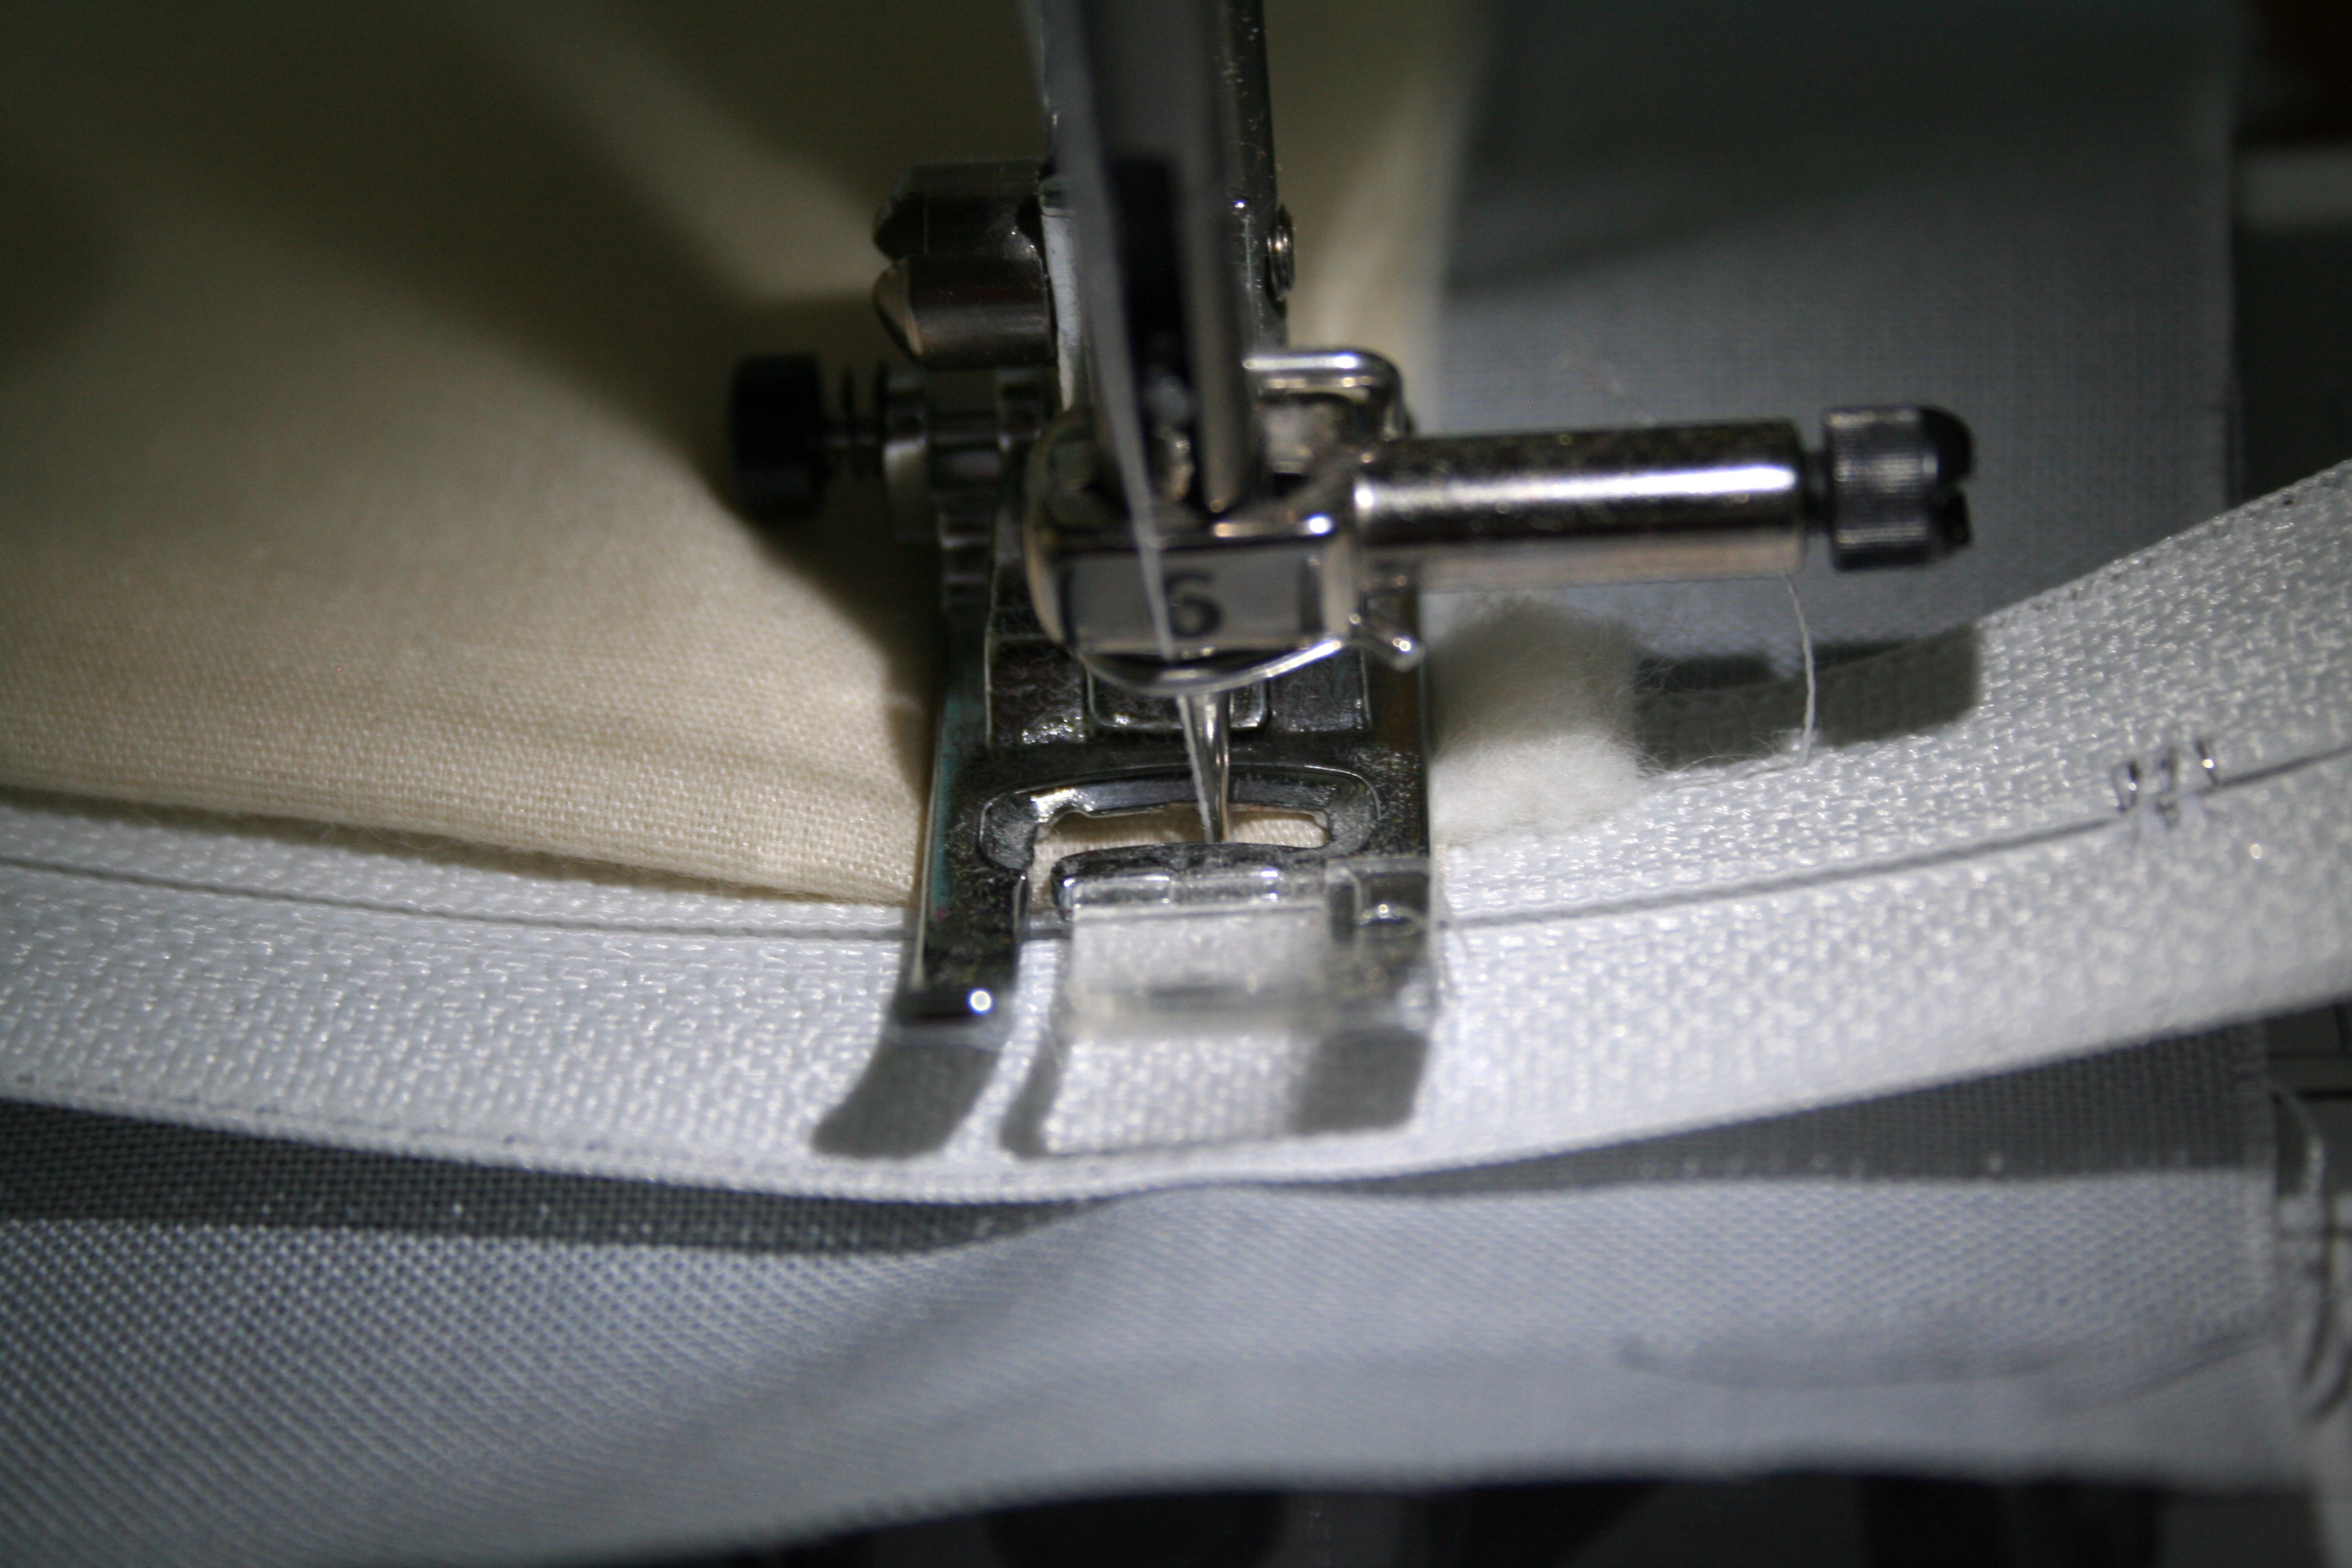
Sew a 1/4" across the top of all layers (you should probably switch to a zipper presser foot).
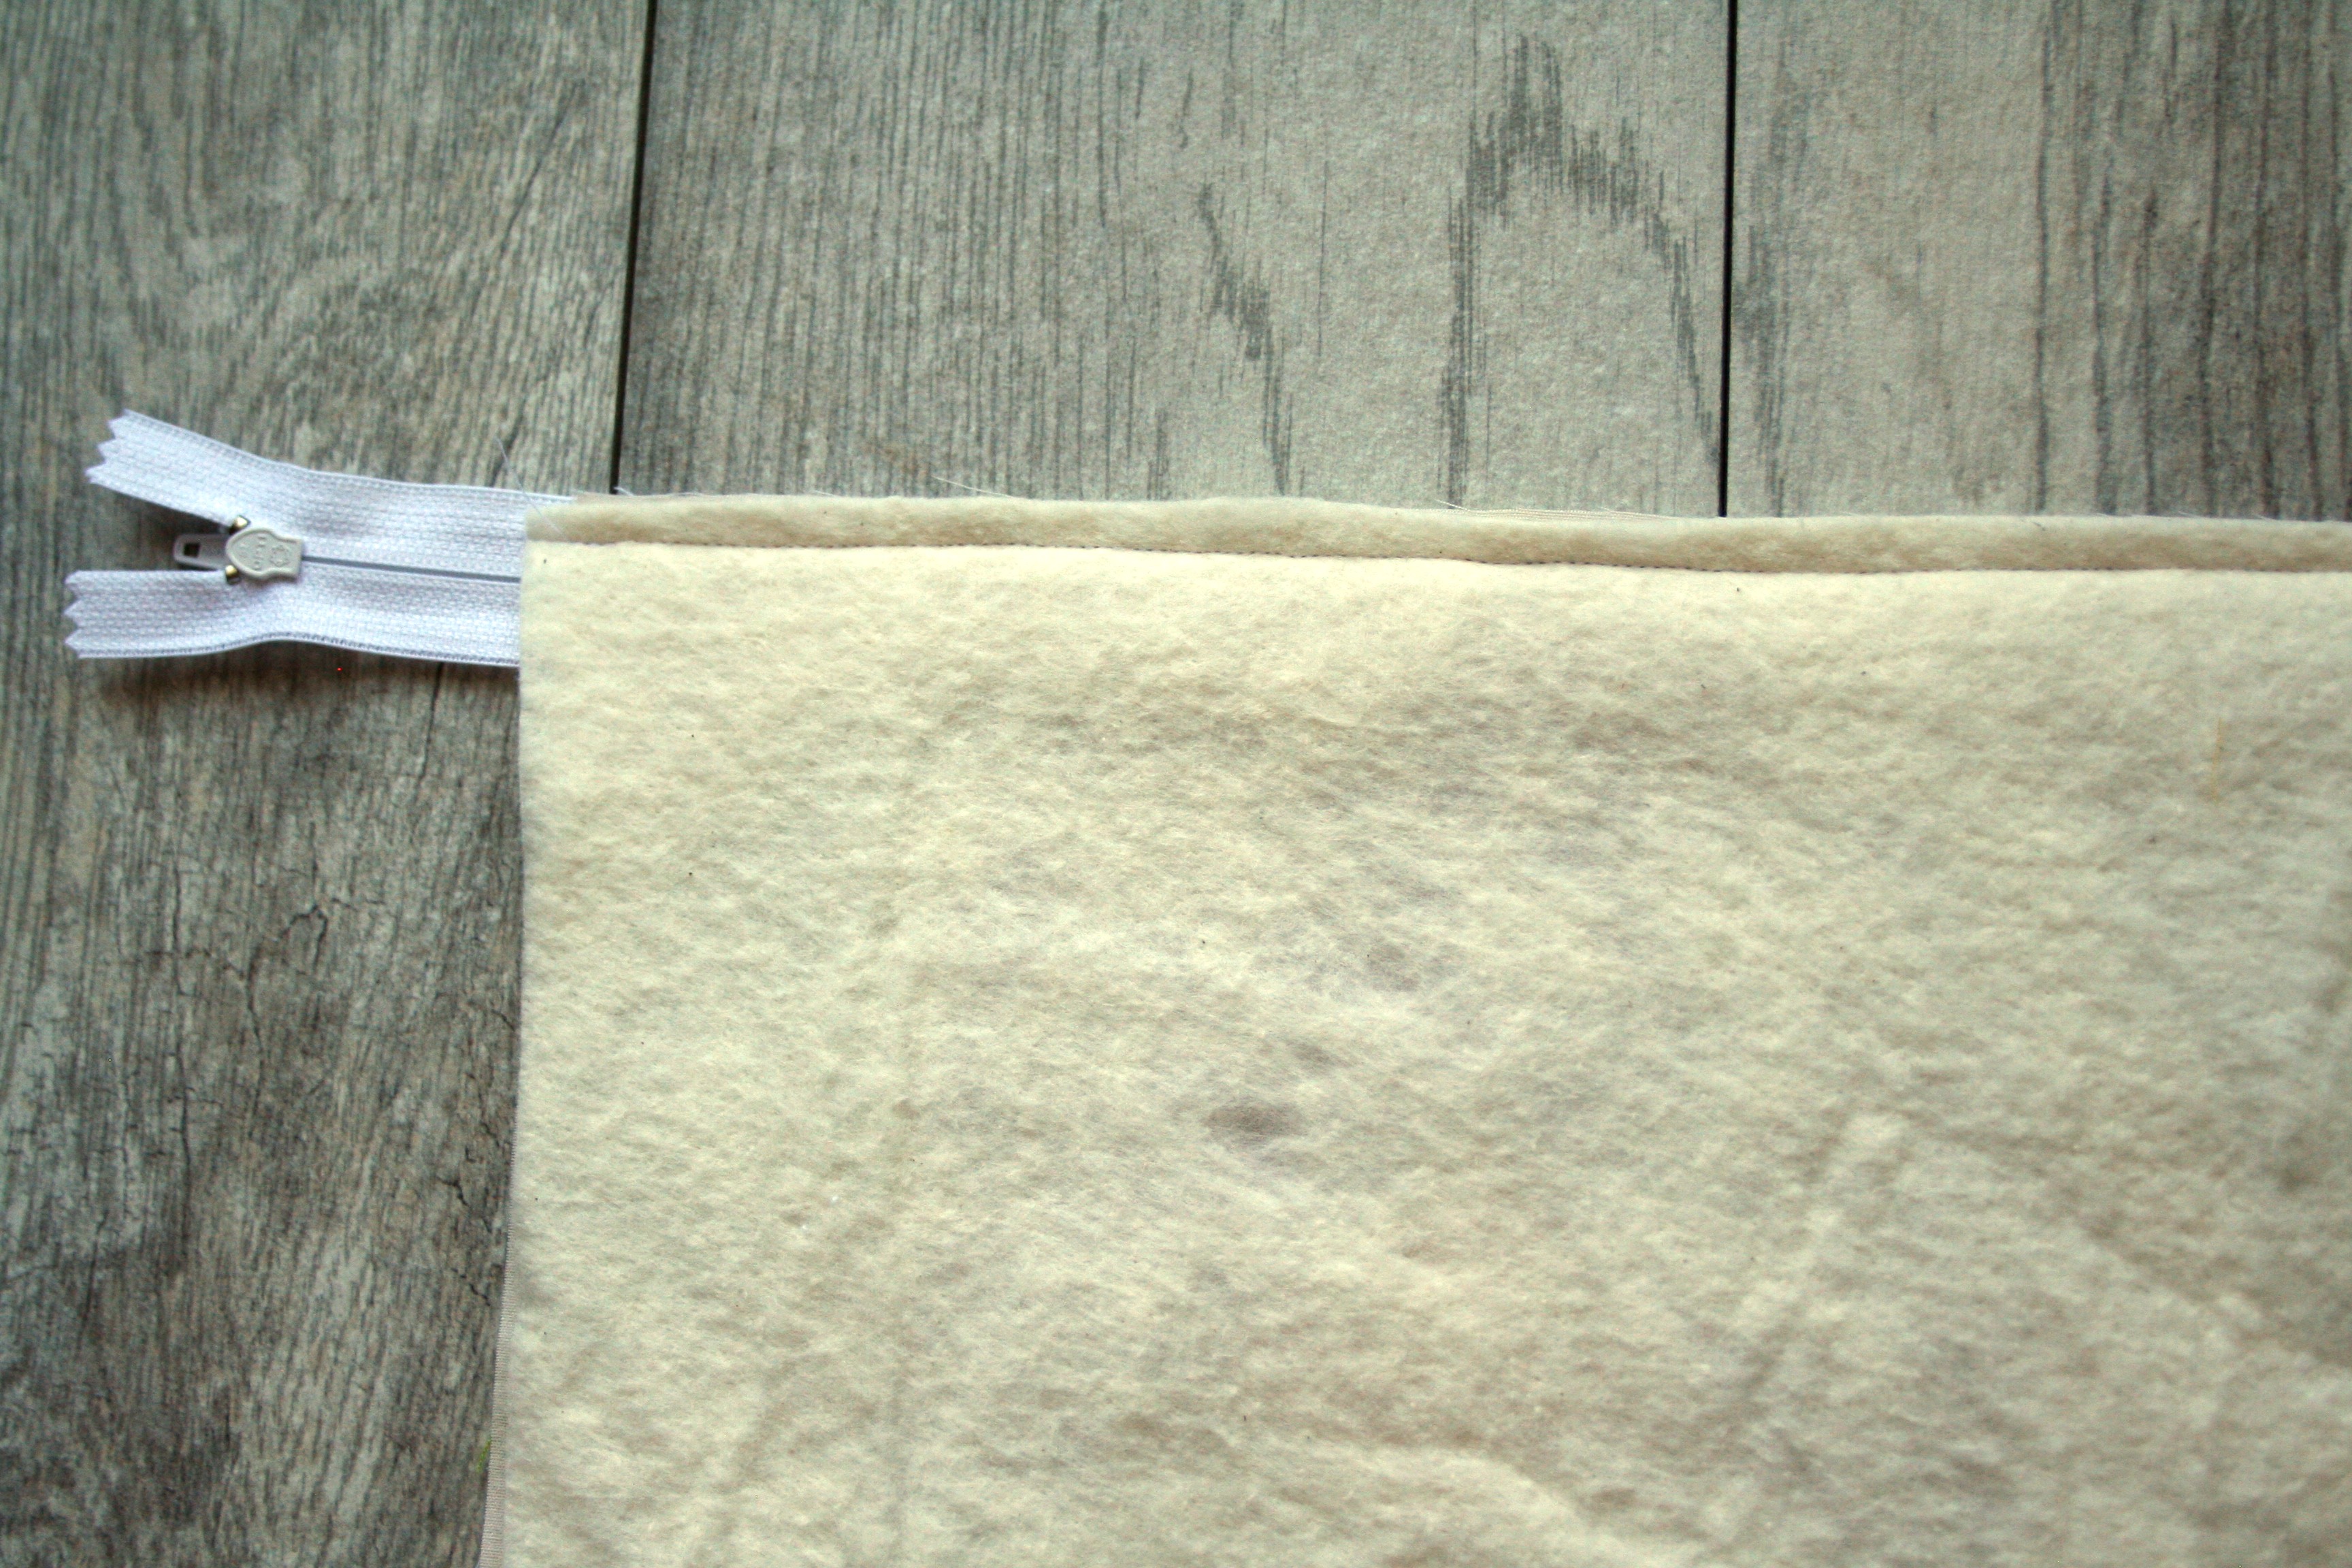
Lift the batting and lining layer up...

And fold it around to the back.
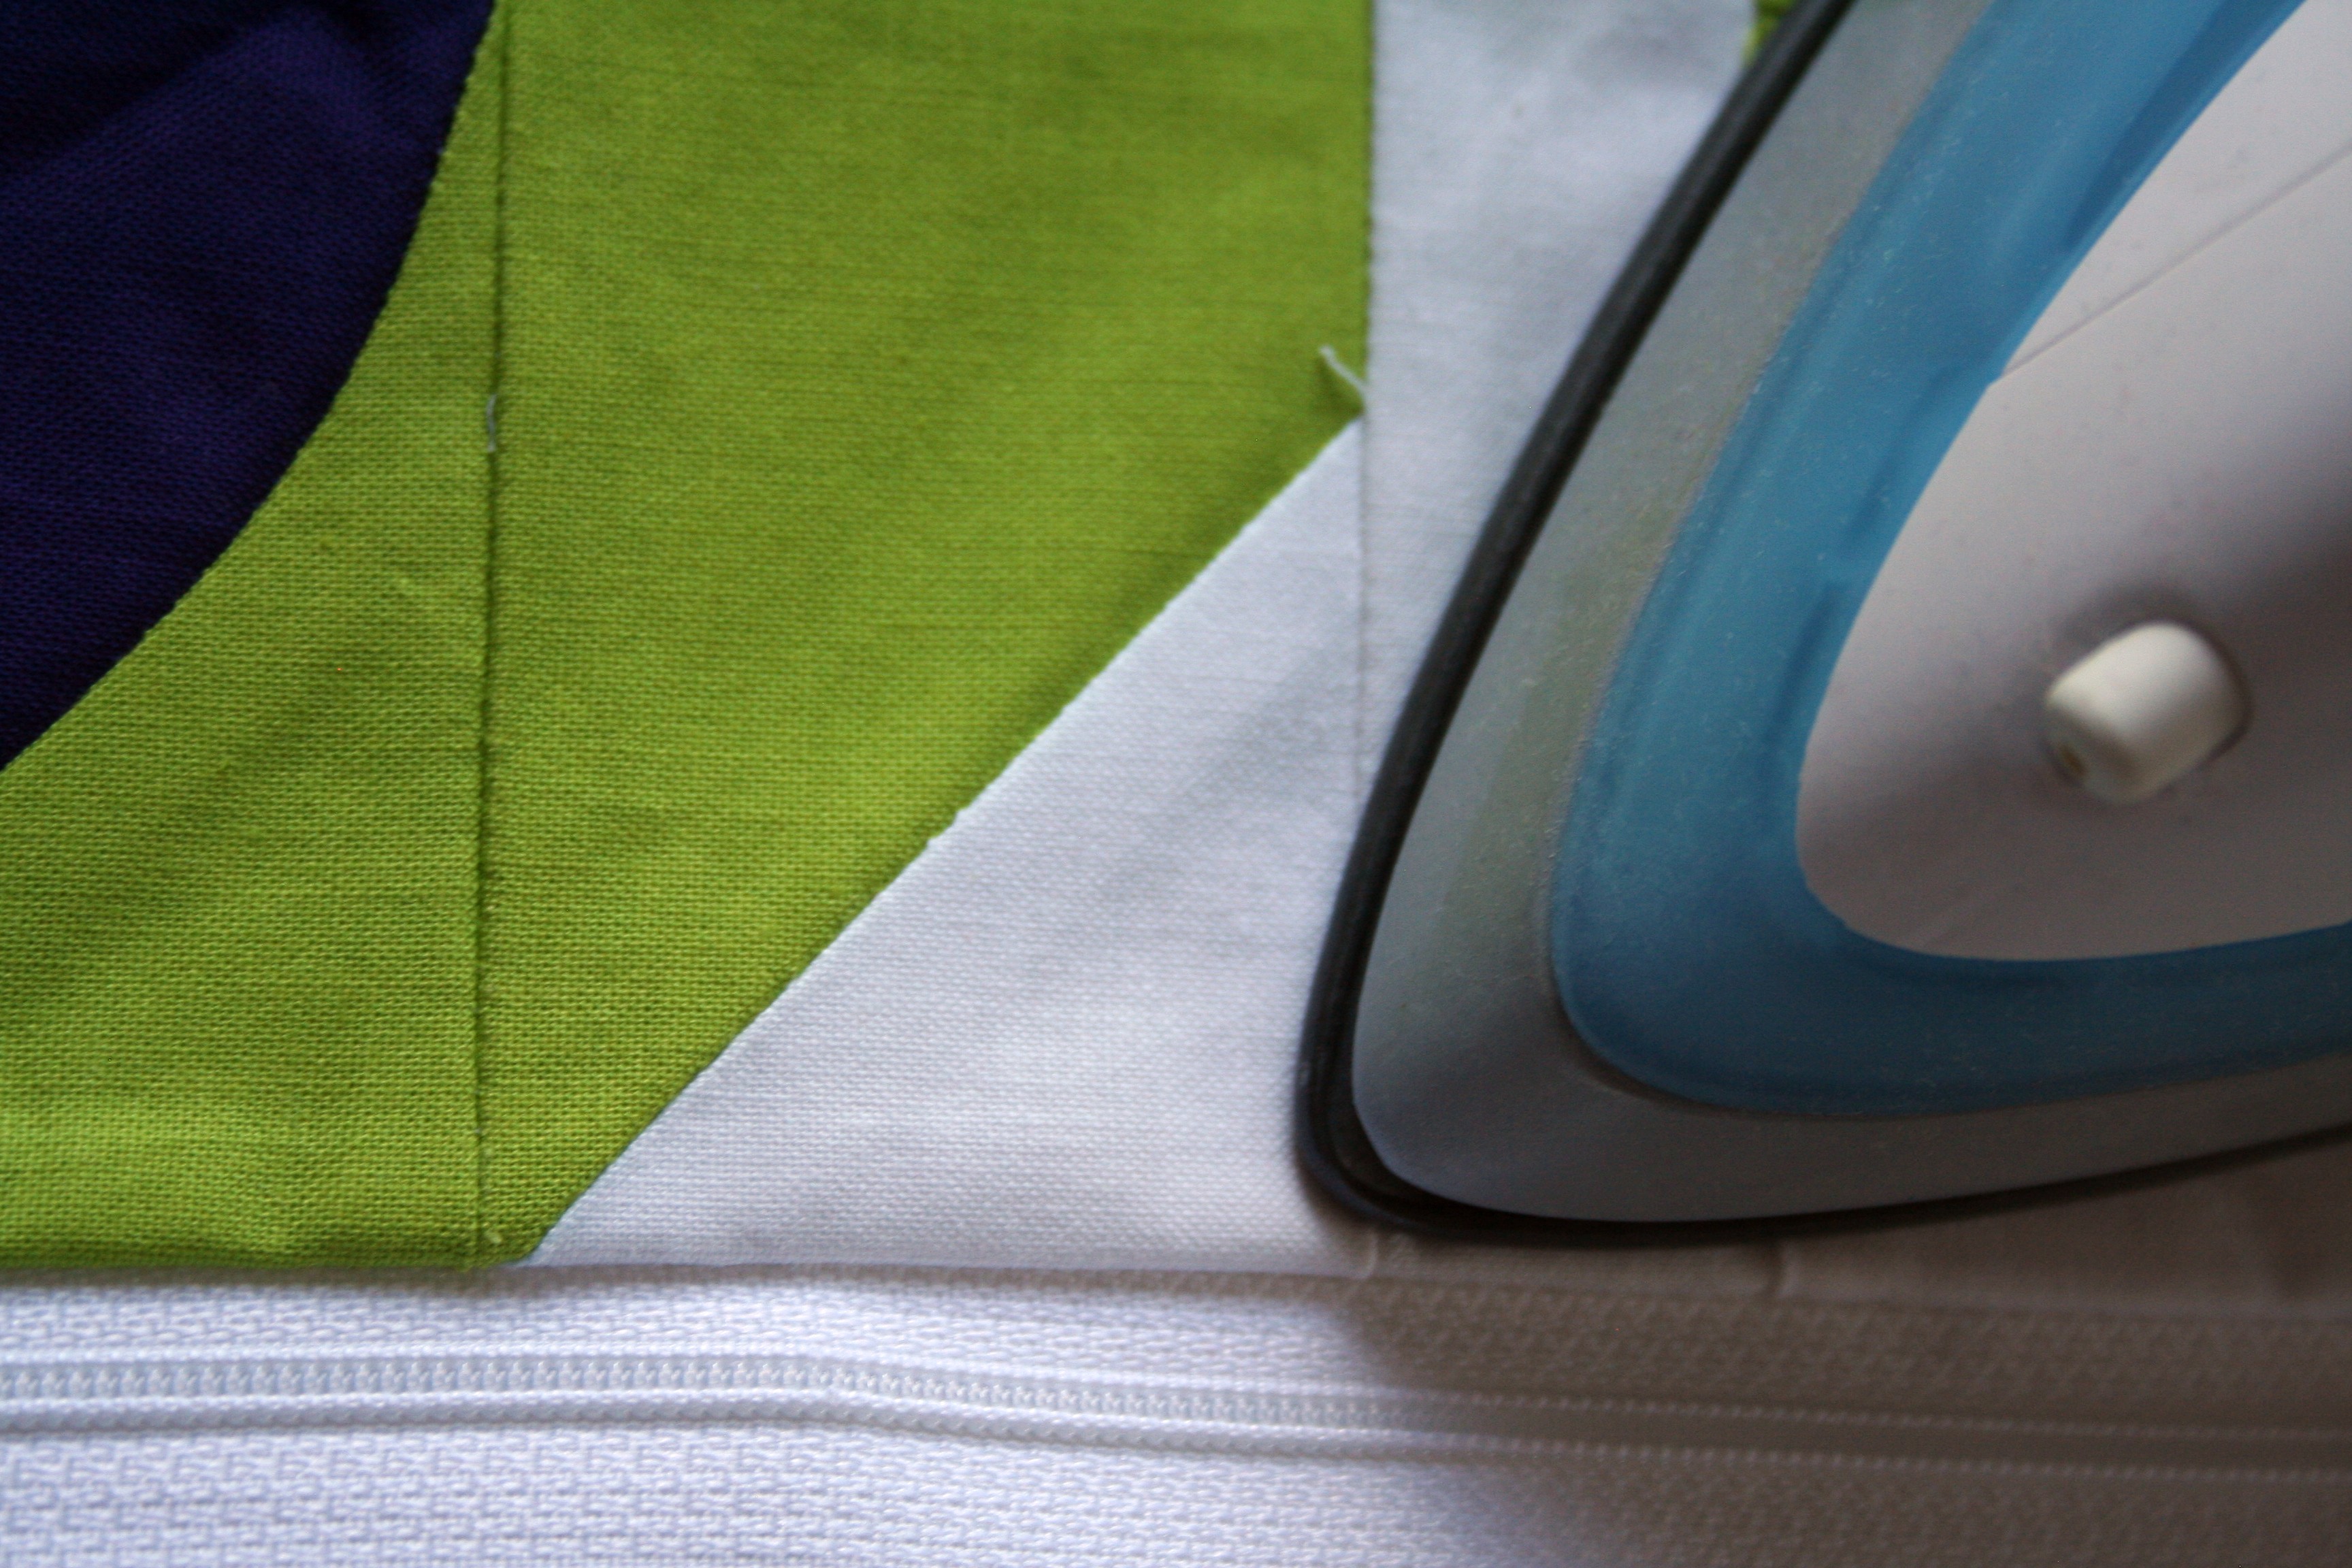
Carefully press along the seam to help the zipper lay flat, but if you're using a polyester zipper, don't touch the part that zips (it'll melt it shut...learned that the hard way).
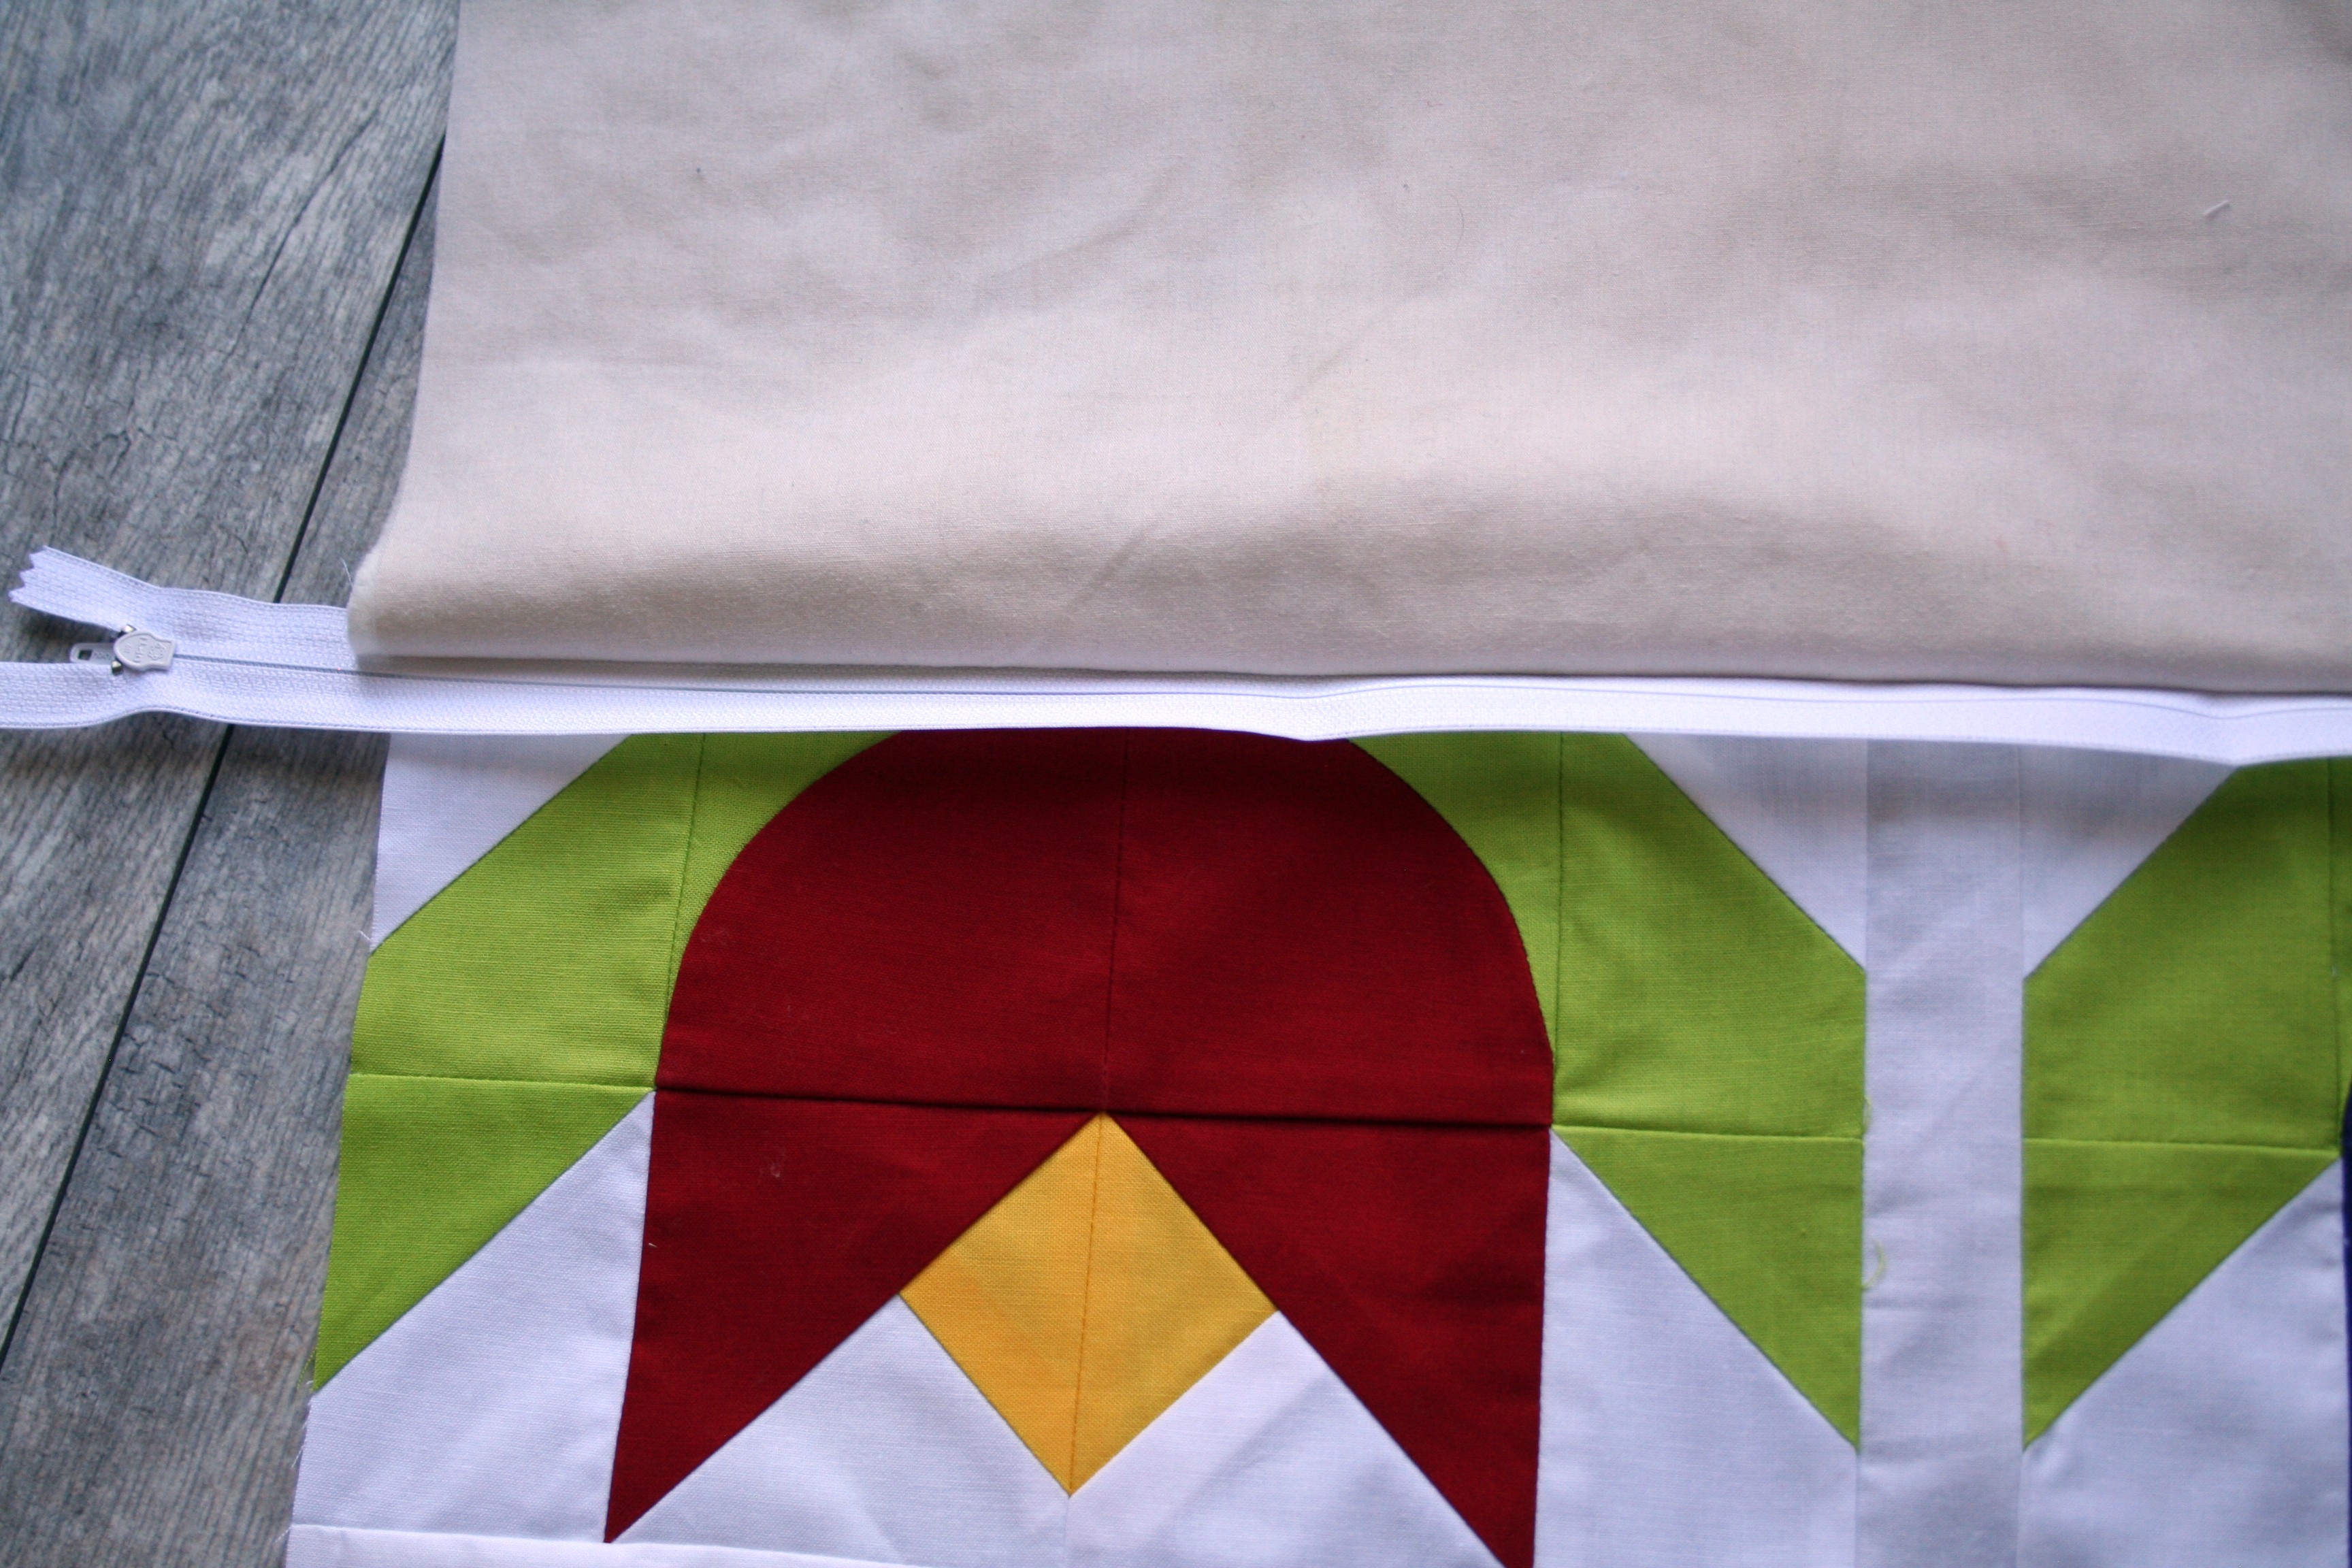
Now trim the edges so that the lining and batting are the same size as your pillow cover front. If you're going to do any quilting of the front, now is the time to do it. I often to some hand stitching or simple straight line quilting.
Open the zipper halfway and place a pin where the one side will be closed.
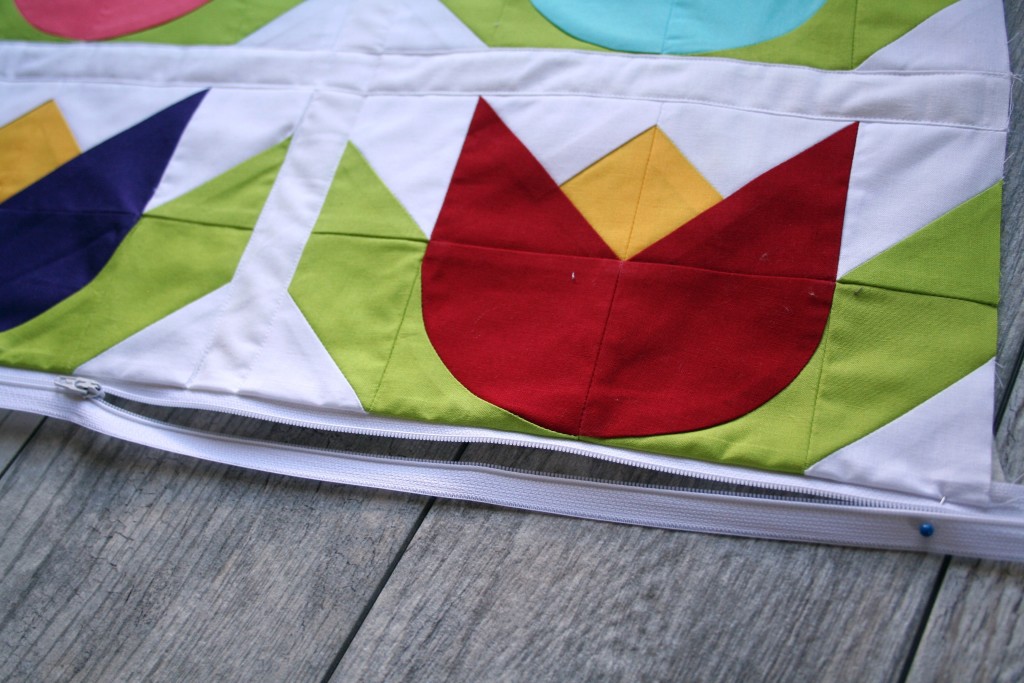
Put the backing on top with right sides together and pin. It needs to be just a little bigger than the front. We'll trim it after you sew.
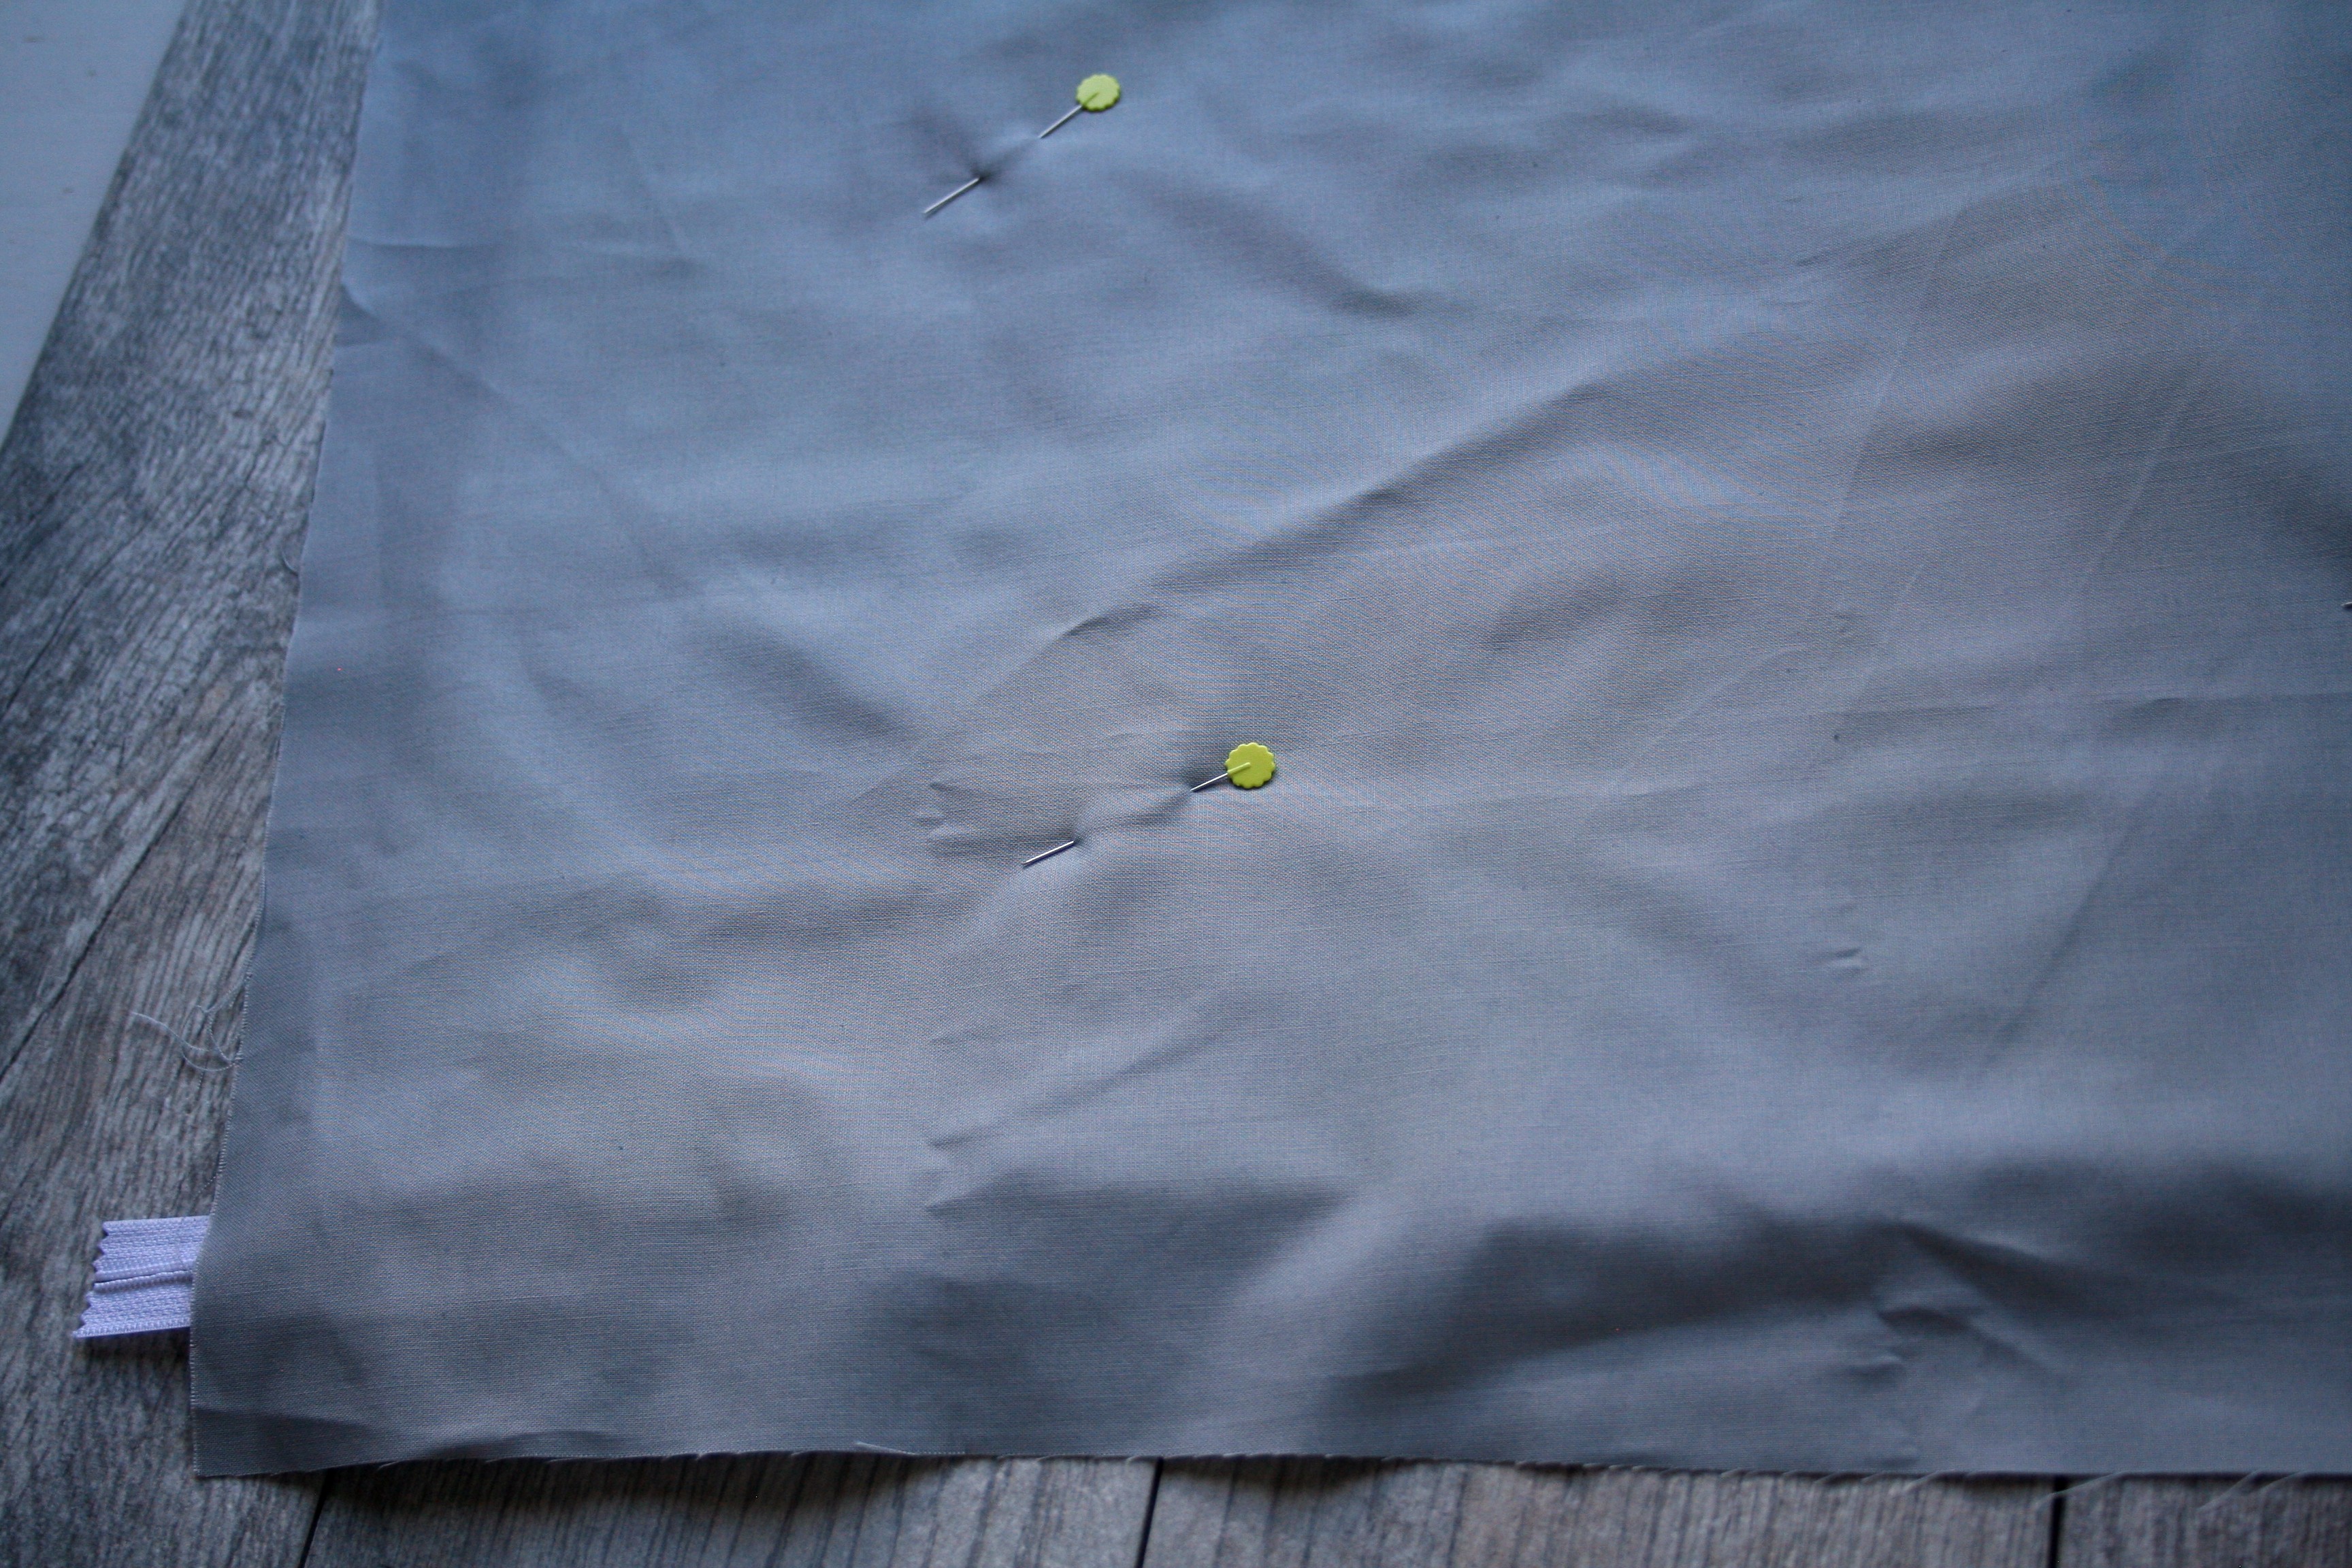
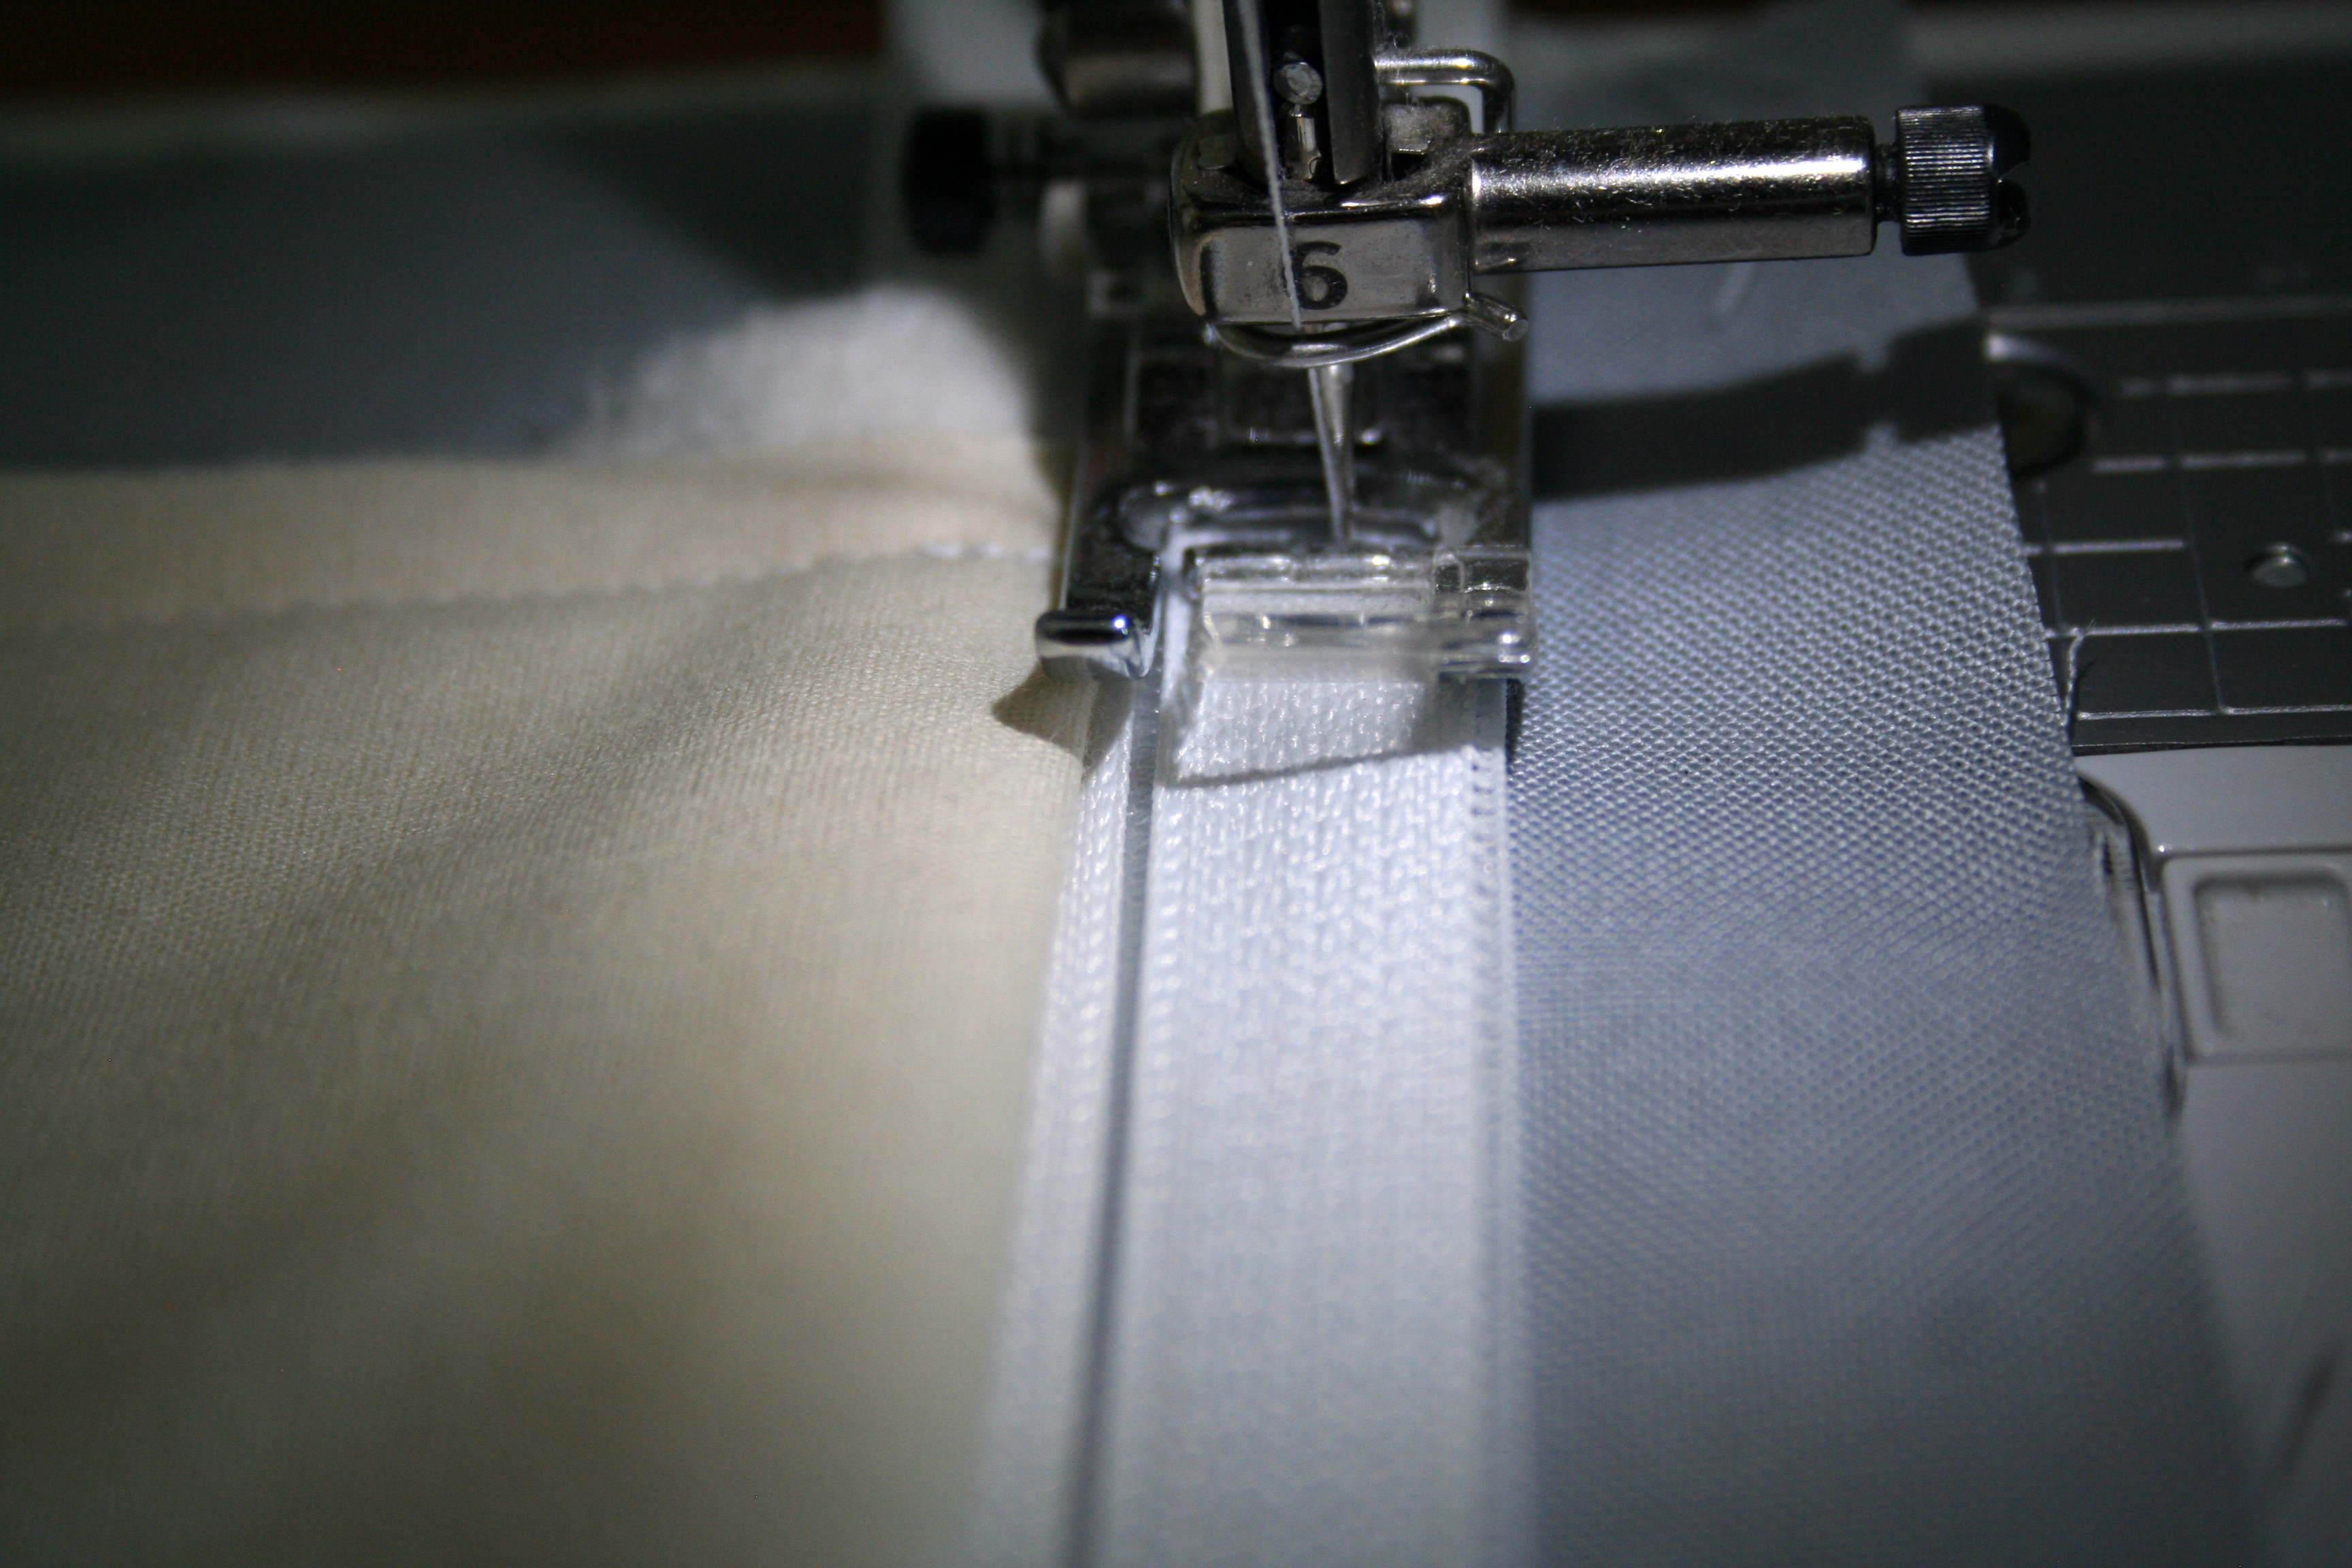
Turn the piece over so you can see where the pillow front is and sew a 1/4" all the way around.
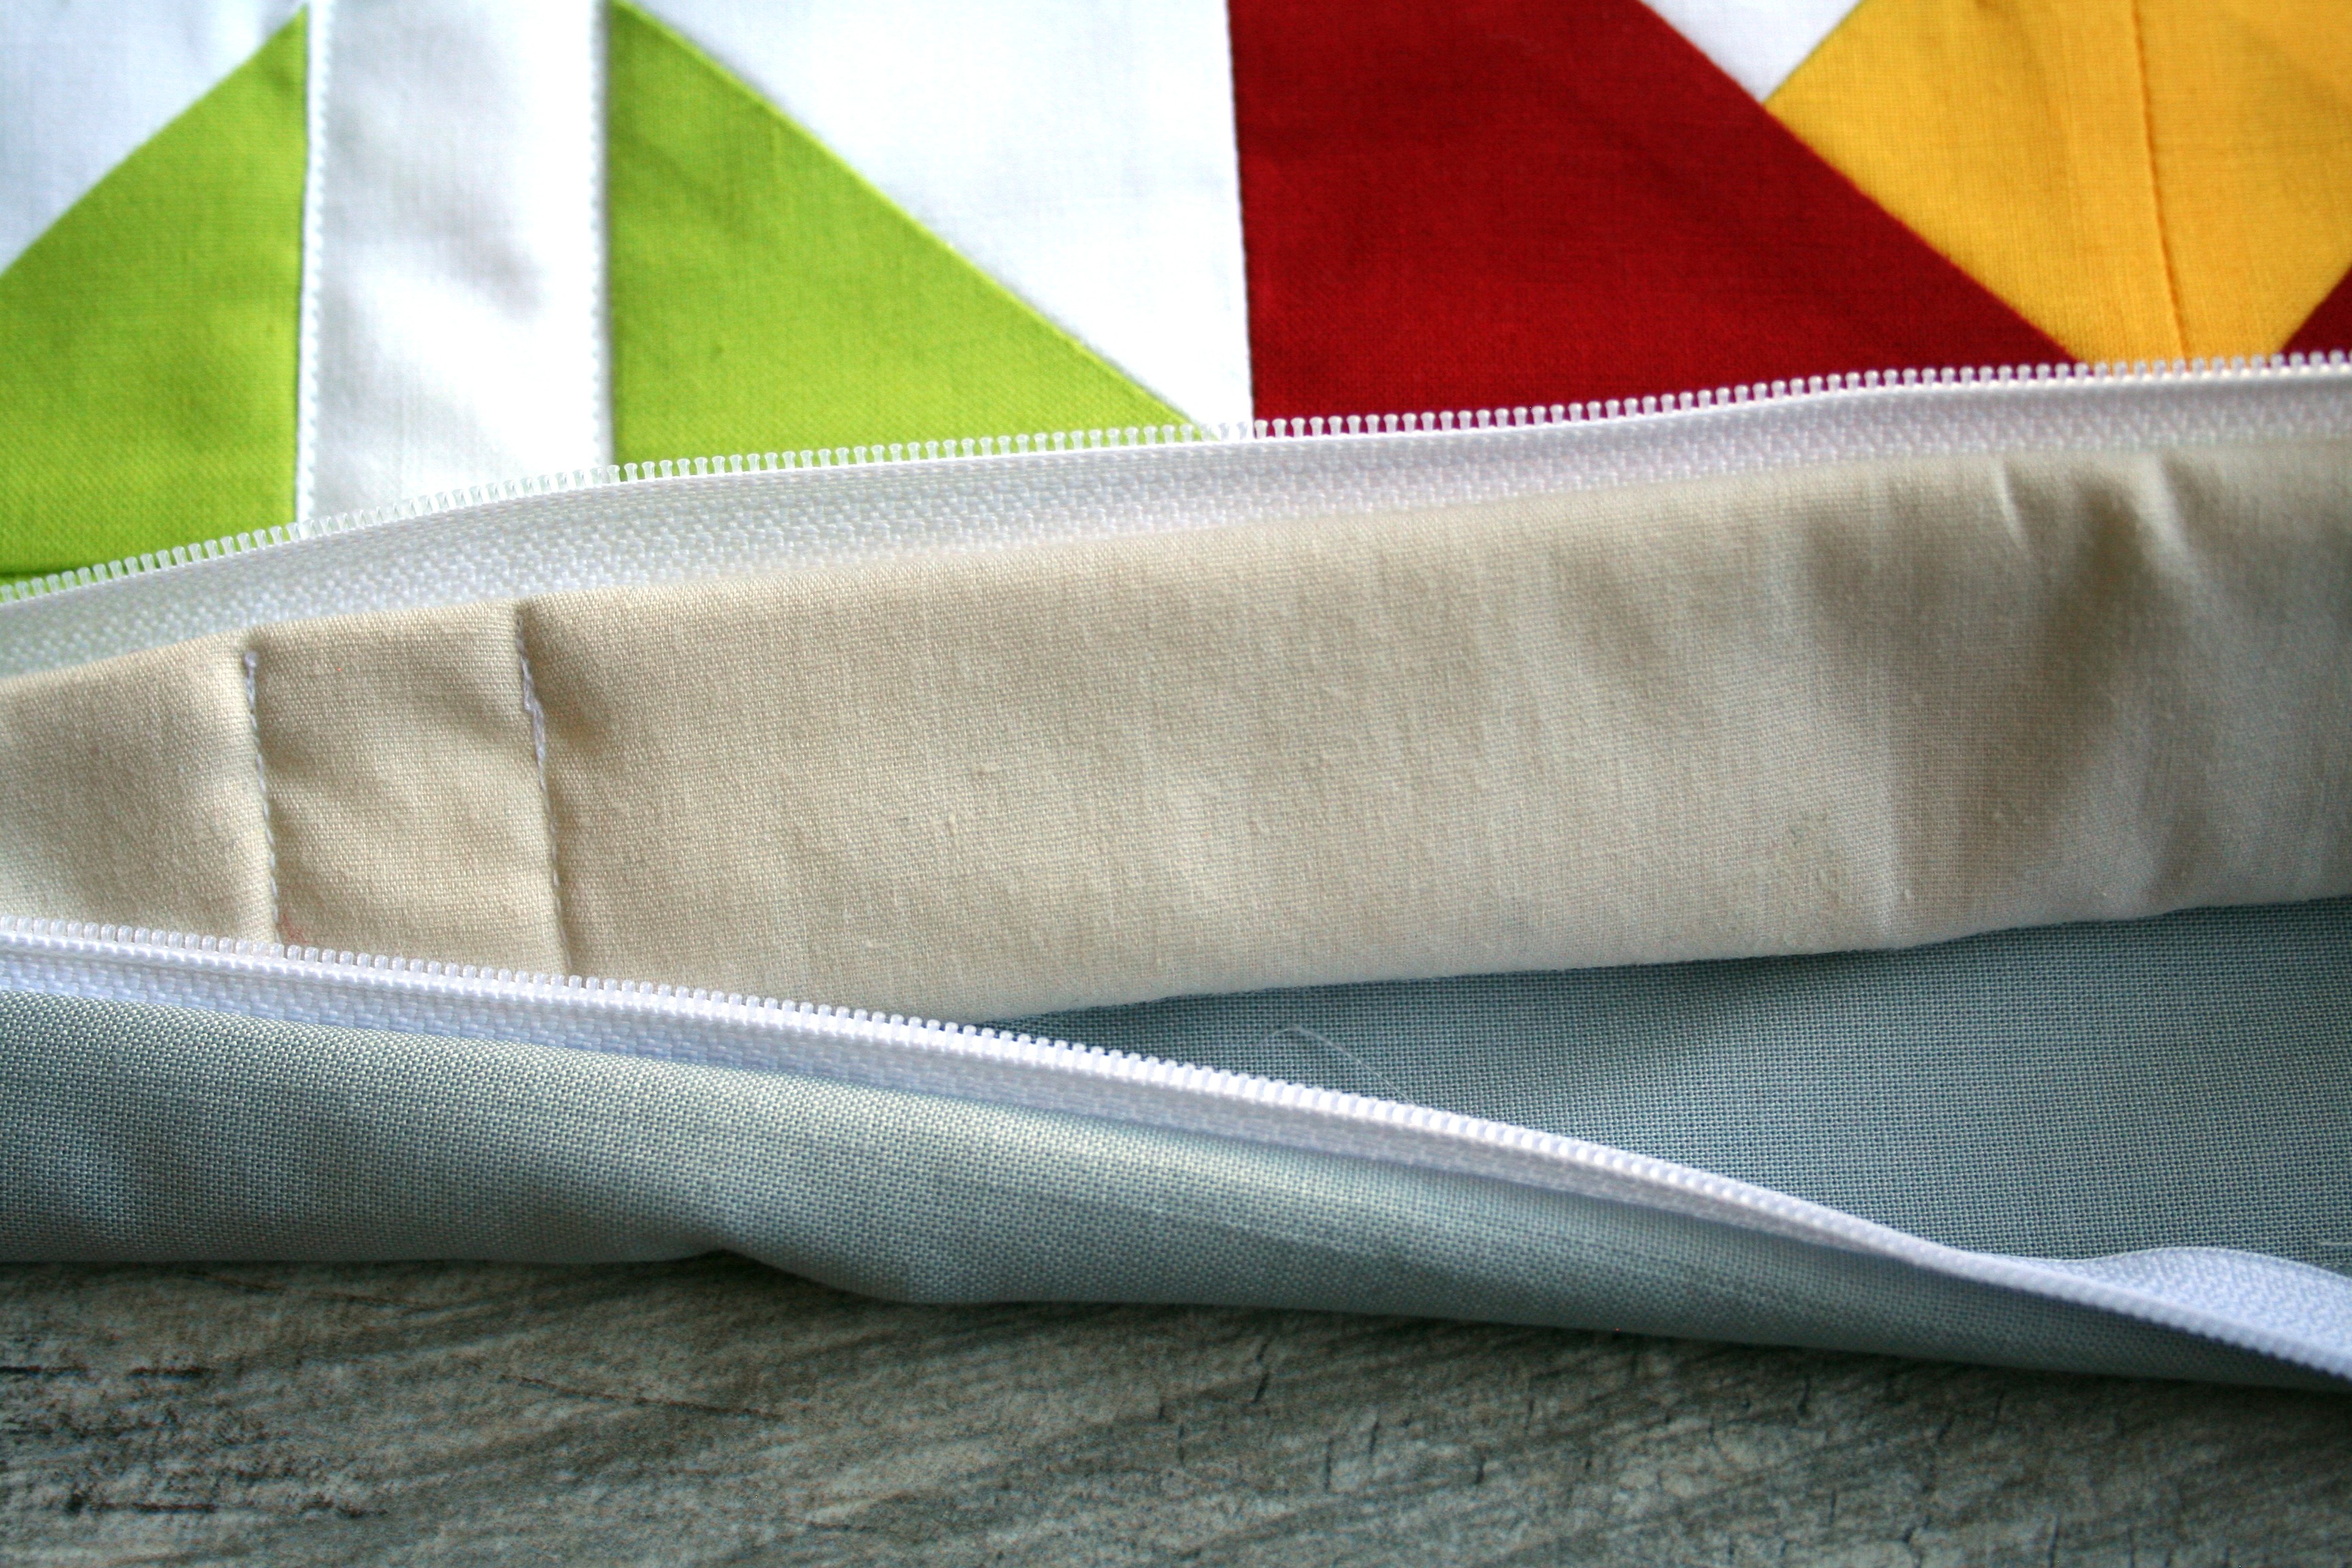
Be sure to slowly sew back and forth over both ends of the zipper. The thread that you sew there will be the stops for the zipper.
When you come to the zipper head, just stop an inch before it, back stitch, and take the piece off the machine. Move the zipper head down 2 inches, and put the piece back in the machine, then continue sewing all the way around.
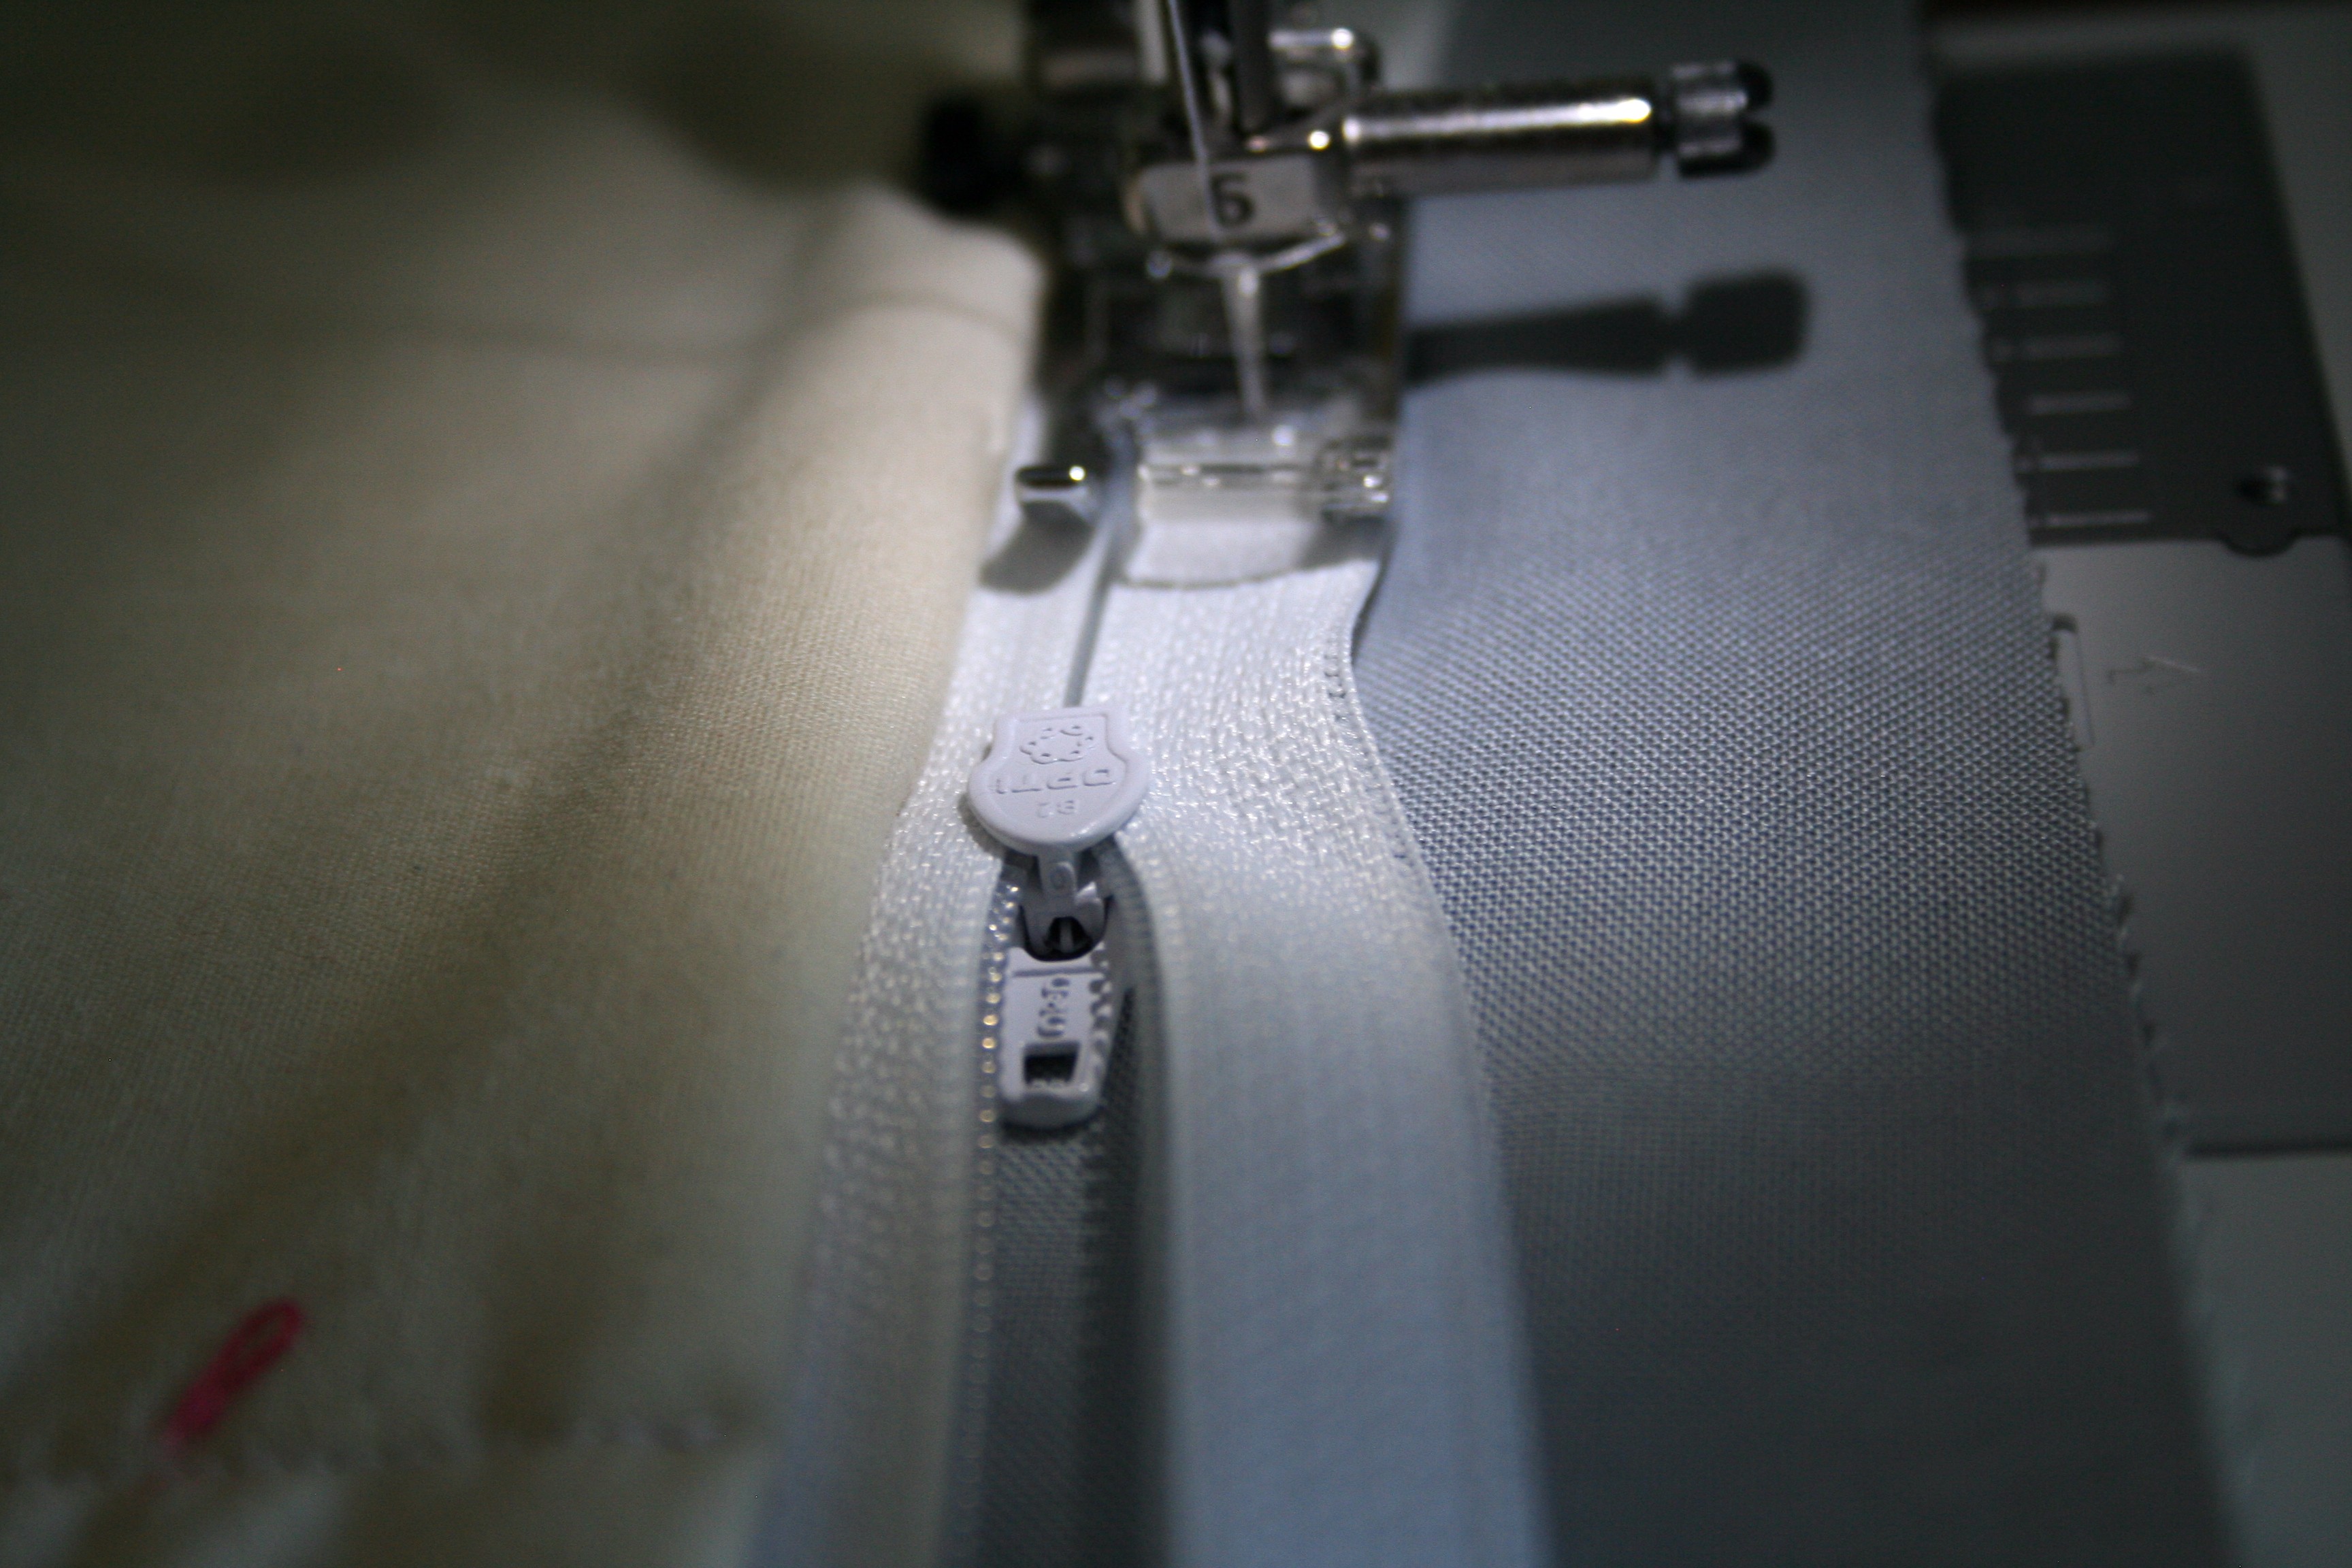
Again, sew back and forth a few times when you're at the edge of the zipper:
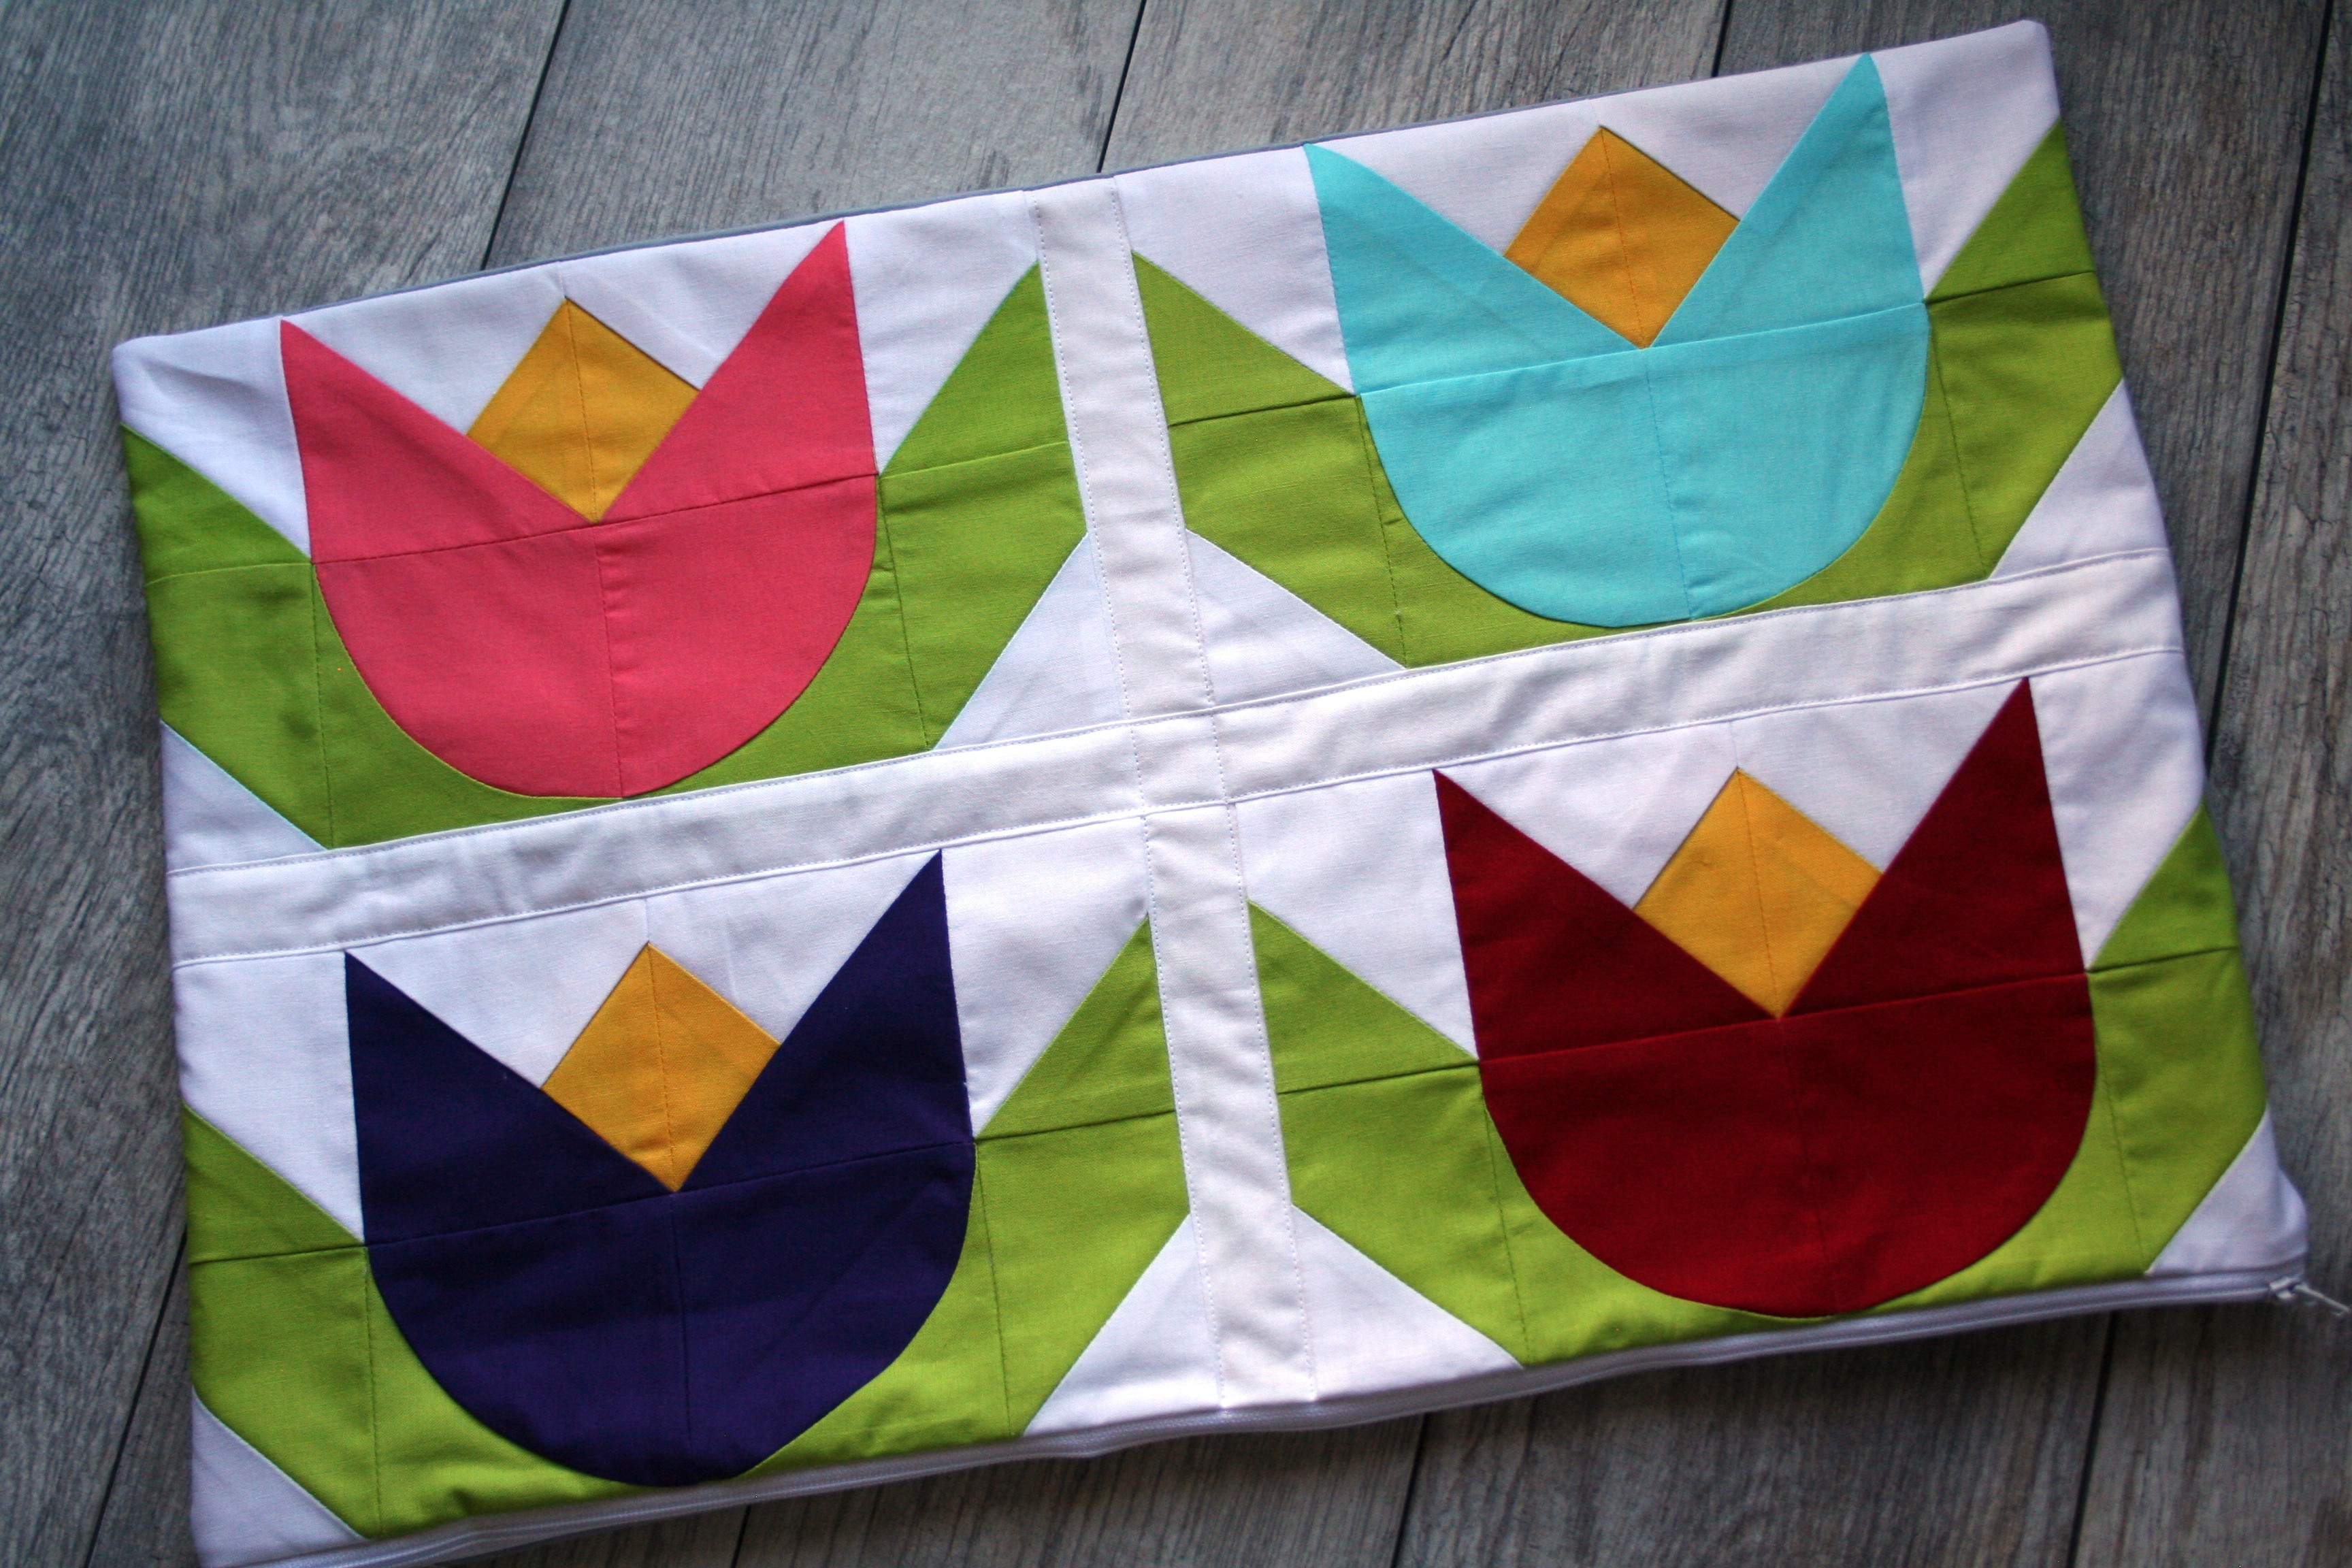
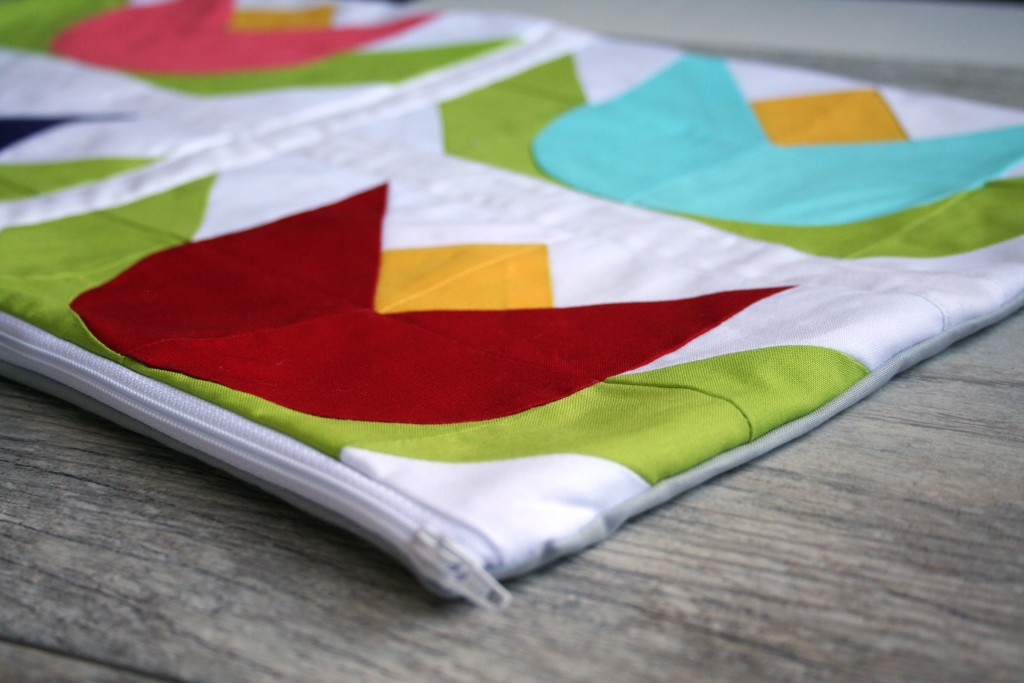
When you're done, trim the edges and turn right side out.

![]()
Ta da! Lined, beautiful and after you've done it once it goes really fast the next time. It looks so professional without all the hassle.
For more tutorials, check out my blog! Thanks for reading.
Lauren Terry
Posted in: