Welcome to Moda Fabrics!
Bake Shop Basics: Free Motion Quilting on Home Machines
Bake Shop Basics: Free Motion Quilting on Home Machines
Published:
Sep 9 2016 - 23:00

Greetings Moda Bake Shop followers -- it's Karen from Karen's Quilts, Crows & Cardinals Blog and Redbird Quilt Co.
It's been a while since I've prepared a recipe for the Bake Shop. I'm excited to be cooking up this Bake Shop Basics short series focused on Free Motion Quilting (FMQ) with domestic machines.
Do you quilt on your home machine? Do you find yourself struggling with the process?
I've been quilting on a home machine for several years and find great joy and satisfaction in creating and quilting my own quilts.
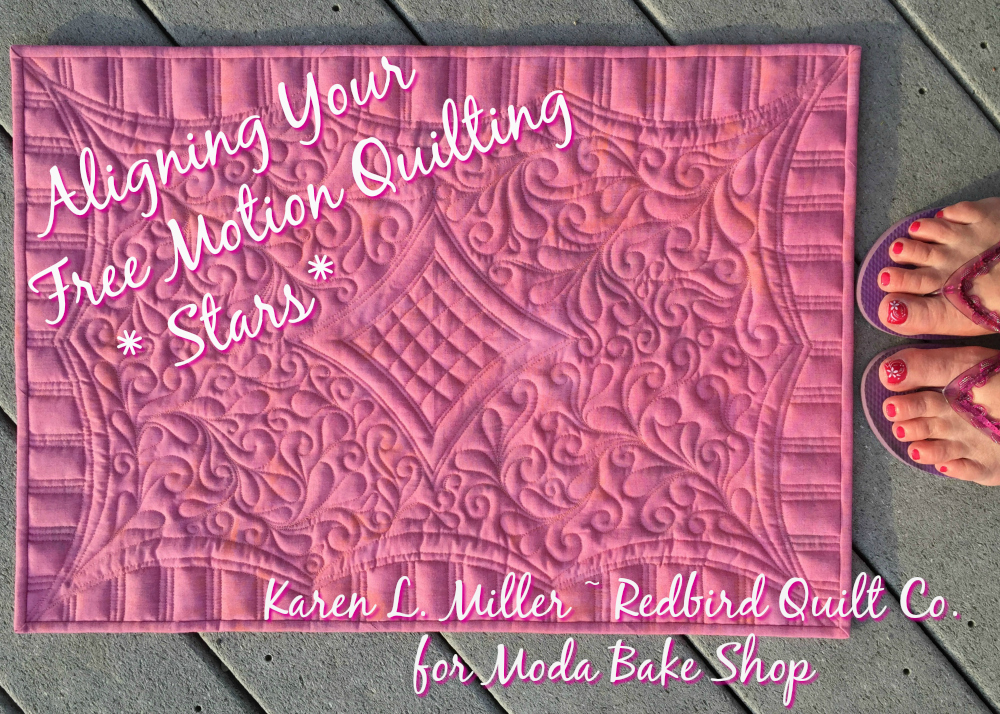
Additionally, I'm fortunate to travel the States and share my love of quilting with Guilds and at Quilt Shops. Along the way I'm often asked to share my "Aligning Your Free Motion Quilting Stars" lecture & trunk show. It's a fun and informative way to look at free motion quilting...Align the Stars and watch your FMQ skills improve!!
Today I'll share a few Star Alignment thoughts with you while sharing projects quilted on my home sewing machine.
 Redbird and Berries Mini Quilt for Moda Bake Shop
Let's get started...
Machine maintenance: It may seem obvious but...be sure your machine is clean and serviced. Having a machine that is lint and dust free, oiled (if necessary) and putting down sweet looking straight stitches gives you a solid foundation to begin free motion quilting.
Do you avoid cleaning the bobbin area? Well...avoidance is futile! I tend to clean under my bobbin and feed dog area after each bobbin { or two ;) } Use a small brush, a pipe cleaner, or a mini vac to reach into those hard to see places.
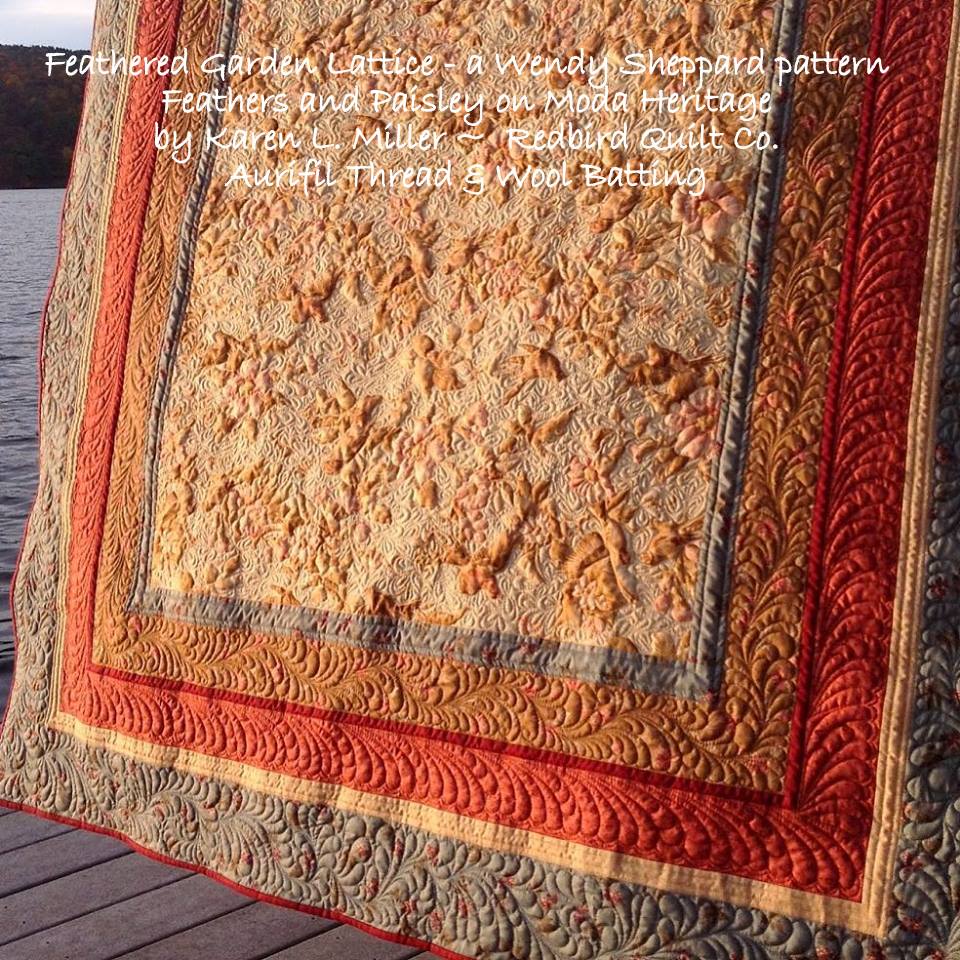 Feathered Garden Lattice - Inspired by: Garden Lattice by Wendy Sheppard - Recreating Antique Quilts
If you've not had your machine in for servicing lately, do think about getting it to an authorized technician for a good cleaning, oiling (as applicable) and repair. During my last service they discovered my bobbin casing was completely worn out and needed to be replaced.
NO WONDER my machine wasn't making nice stitches.
Needles: We often pay little attention to the type, size, and age of the needle we have in our machine. However, for free motion quilting it's extremely important to pay attention to these factors. Have you changed your needle lately? Guidelines suggest we should be putting a new needle in our machine every 8 hours of stitching! Additionally, if you hit a pin, bend, or bump a needle, be sure to replace it straight away. A fresh, straight, sharp needle makes a world of difference when Free Motion Quilting.
A new needle is a great $1.25 investment!!

When you reach for a new needle, consider the needle type and size. TYPE: For Free Motion Quilting I find using a Microtex Sharp, a Top Stitch, or a Quilting Needle works best. Do you embroider on your home machine? Yes? Be sure then, when switching from embroidery to quilting, to swap your embroidery needle for one of the above choices. SIZE: If you're using a fine weight thread, needle size 75/11 or 80/12 should work perfectly. Use the smallest size eye that will accommodate the thickness of your thread without shredding or breaking it.
DID YOU KNOW: Most thread manufacturers share recommended needle sizes for their various thread sizes. You'll find an abundance of information on their web sites. General thought: Avoid the use of Universal or Embroidery needles when free motion quilting.
In summary, if you're having trouble with your stitch quality, thread breakage or skipped stitches, be sure to consider your needle selection, size and age.
 Cone Flower Needle Turn Applique & FMQ by Redbird Quilt Co.
Tension: One great step toward aligning your free motion quilting stars is determining when and becoming comfortable with adjusting your machine tension. On my home machine with 50Wt cotton thread top and bobbin, it's necessary to set my top tension to a higher (tighter) number when FMQing . It's good practice to start at the "default" or recommended value for top tension (the same tension you use to piece) and adjust from there. Ideally you want your top and bobbin thread to meet and lock in the middle of the quilt sandwich (in the batting) . If your bobbin thread is showing on the quilt top, you may need to lower the top tension -- or -- if your bobbin thread is laying flat on the back of your fabric, you may need to increase (set to higher number) your top tension. If tension is a big concern we can address more symptoms and solutions in another post. For now though, get your machine manual out and begin to get comfortable with adjusting your TOP tension setting -- it's a critical component to successful FMQ stitches.
 A Quilter's Doodles with Needle & Thread by Redbird Quilt Co.
Thread: Ahhh thread...one of my favorite topics. I promise I won't play Quilt Police today, but I do want to share my personal experience when it comes to thread. I try to match top and bobbin thread color. Doing this helps avert {cover-up ;) } the slightest of tension issues because they are less noticeable. Maybe you call that cheating, but I call it smart. If you have a major tension issue (bobbin thread lying flat, eyelashes on the back, etc.), you'll want to fix the tension issue before continuing; however, you can sneak by with slight tension issues by choosing to use the same color thread in the top and bobbin.
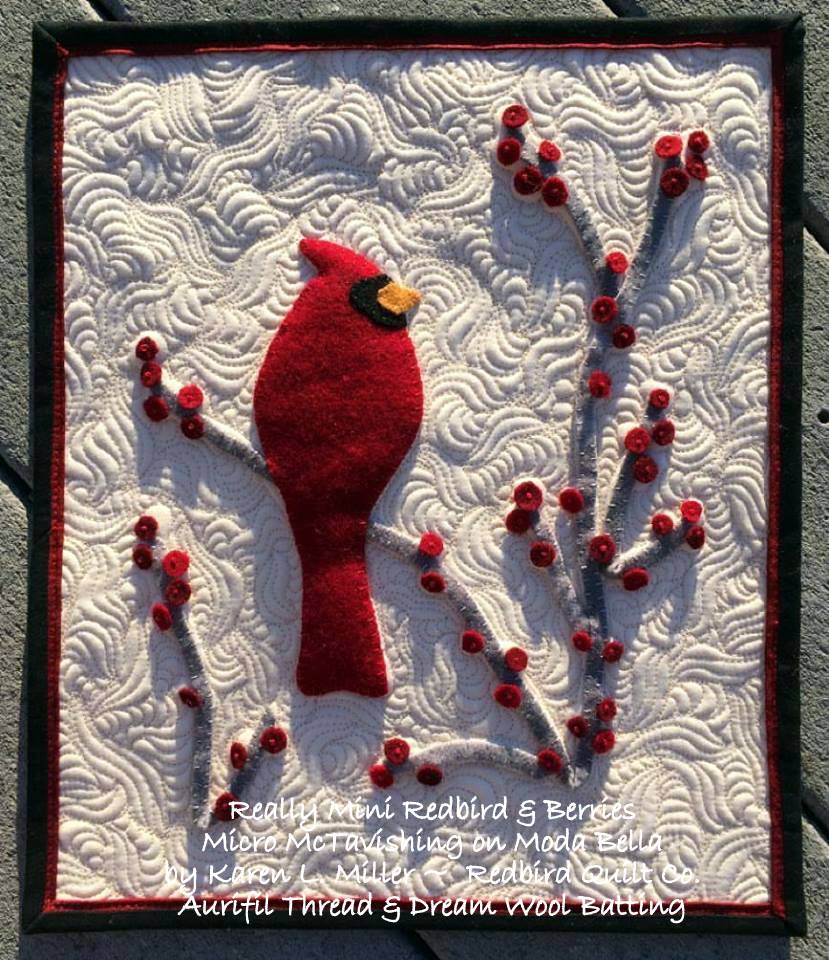 Really Mini Redbird & Berries -- Mini Wool version of Redbird & Berries for Moda Bake Shop
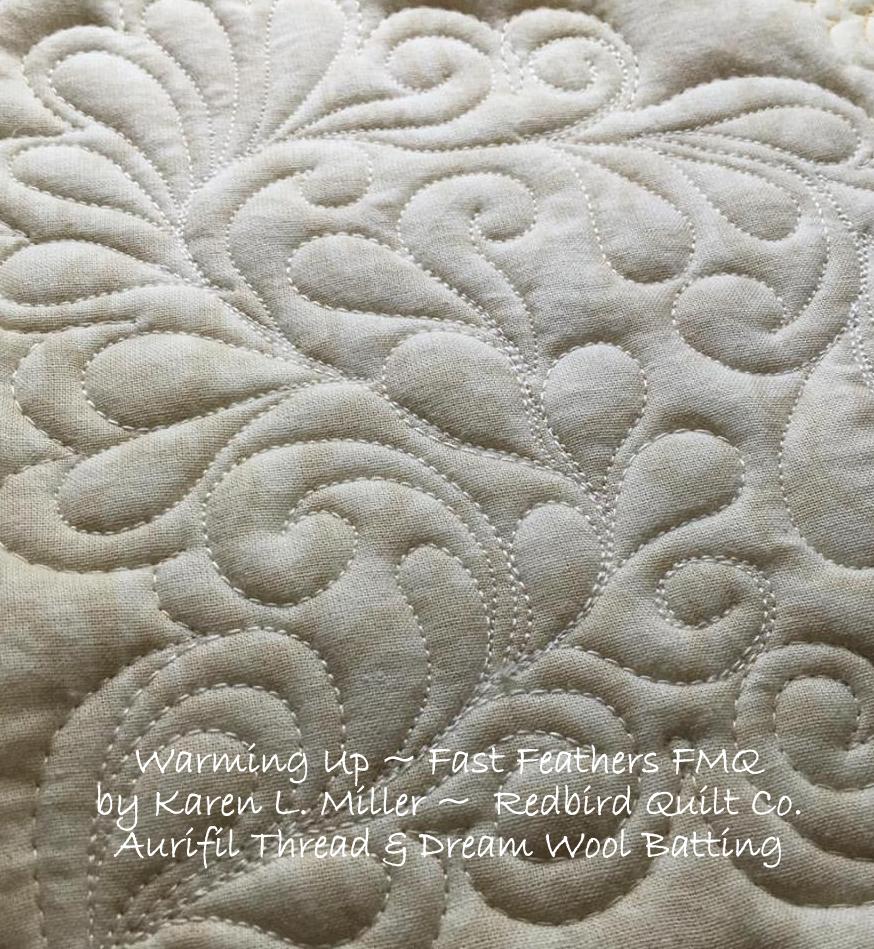
Now let's talk thread type and weight. Of course there is a huge variety of awesome threads available today; personally I prefer 100% cotton thread. I've been using it for several years, and it's never failed me. Honestly, I'm partial to Aurifil thread because I find 50Wt Aurifil to be fine, yet strong, and with very little lint. I can use the 50wt thread for piecing, hand (or machine) applique, and free motion quilting. It's my go-to choice for FMQ.

I know many quilters who use other brands and types of thread with fantastic results -- with that in mind, find what works best for YOU, YOUR style, and YOUR machine, and make a go of it. In a follow-on post we'll talk a bit about different weight threads and how thread should be drawn from the spool. In summary though, most often Aurifil 50Wt thread fits MY Style and allows me to stitch dense machine quilting with little lint and minimal thread build up on backtracking. For me, finding and using Aurifil thread helped me align another star of my "quilty" adventures.
 Heart's Content Pillow for Moda Bake Shop
Batting: Another favorite topic that we could spend all day talking about - batting...I'll cut right to the chase. I love to have my machine quilting shine with texture and definition. Because of this I lean toward using 100% Wool Batting. Wool batting is soft, fluffy, doesn't retain fold marks, provides warmth, and the needle just glides through it during quilting. If your goal is to show off the quilting on a quilt, try it out by making a small quilt or wall hanging using 100% wool batting. I know you'll love it.
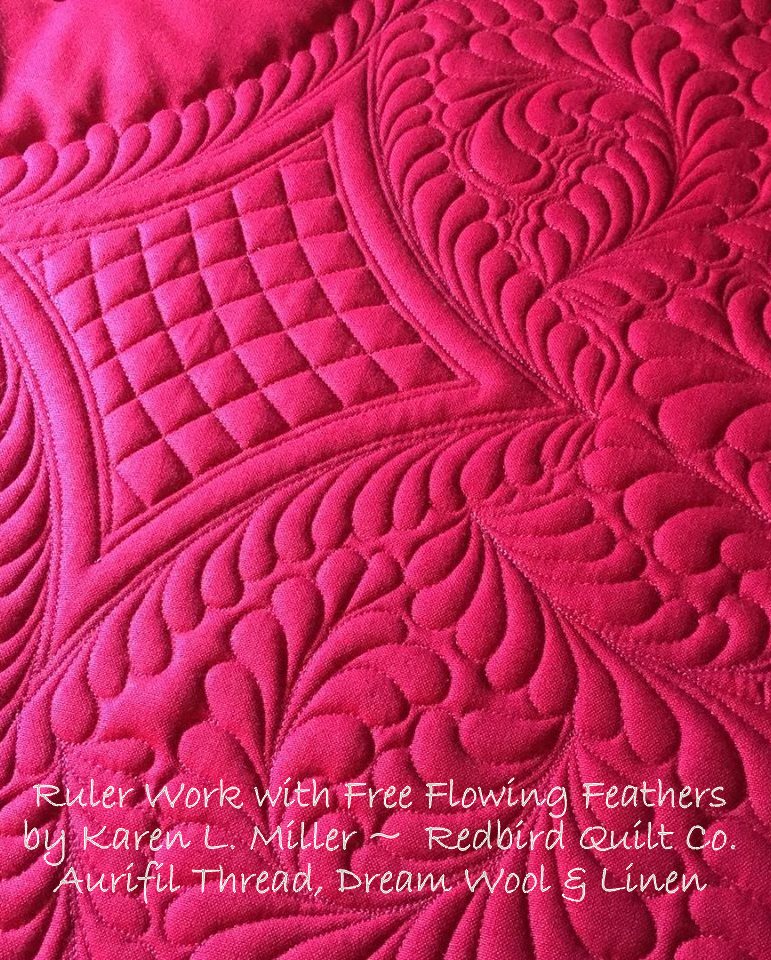 Ruler Work using The QP Curve Templates
Many varieties of batting are available on the market -- you can learn more about each by visiting the manufacturers website or discussing the choices with your friends at a local quilt shop or guild. When choosing batting always consider the purpose of the quilt, the importance of the quilting, and be sure to investigate shrinkage rates and the effect on your completed quilt.
Gloves: Having trouble controlling the quilt sandwich? I absolutely LOVE using quilting gloves. Machingers brand gloves are my favorite. They have fingers with grip, are NOT too heavy or bulky, and won't make your hands sweat or feel uncomfortable. I recommend you purchase the smallest size that fit your hands. Avoid an oversize pair that leaves excess fabric in the fingertip area. Mine are snug so I can change a bobbin and re-thread a machine without removing them.

Quilting Foot: Do you struggle to quilt well-rounded shapes and smooth curves? If so, consider the quilting or darning foot that you're using. Many machines come with a square or rectanglar quilting foot. Personally I find a rounded quilting foot to be a great asset when echo stitching, making pebbles, or quilting feathers. The shape of the foot lends itself to making well rounded motifs. Additionally, a rounded foot can give you equal distance from needle to foot edge in all directions, therefore acting as a consistent echoing guide.
Another thing to consider when choosing a quilting foot is the type of quilt you're working on. If I'm quilting around hand stitched applique (wool or cotton), I'll use a closed-toe rounded foot so the toe will NOT catch on the applique stitches. Otherwise, I love the open-toe quilting foot (horseshoe shape) as it allows for better visibility of the quilt top and stitching path.
 Chevron with a Twist for Moda Bake Shop
I often use acrylic templates to stitch long-arm style designs with my domestic machine. When doing this be sure to use a foot with a 1/4" rise {a ruler foot} so that the acrylic template will not slide under or over the foot. These are just a few things to consider when selecting a quilting foot.
 Chevron Shuffle for Moda Bake Shop
Stitching area -- flat, flush surface: Are you wrestling with your quilt top? If possible...arrange to have your machine bed flush with your work space. So often I see beautiful machines sitting on top of a table. This may be fine for piecing or embroidery, but when you're free motion quilting, having a 3" to 4" drop from the machine bed to your work space works against having consistent stitches and smooth motif transitions.
 Chevron with a Twist for Moda Bake Shop
When your quilt top drops off the edge of the machine bed or extension table, you normally have to drag or tug it back -- this can be a prescription for failure. Have space and/or $$ constraints? I can relate!! I use a portable quilting table (there are several on the market) designed for the machine to drop inside and allow the machine bed to be flush with the table top. The clear acrylic insert that came with my machine bridges the gap between the machine and the portable quilting table. For extra quilt support, position temporary tables to the front and side of the portable quilting table. You can see and read more about my stitching area setup in this blog post.
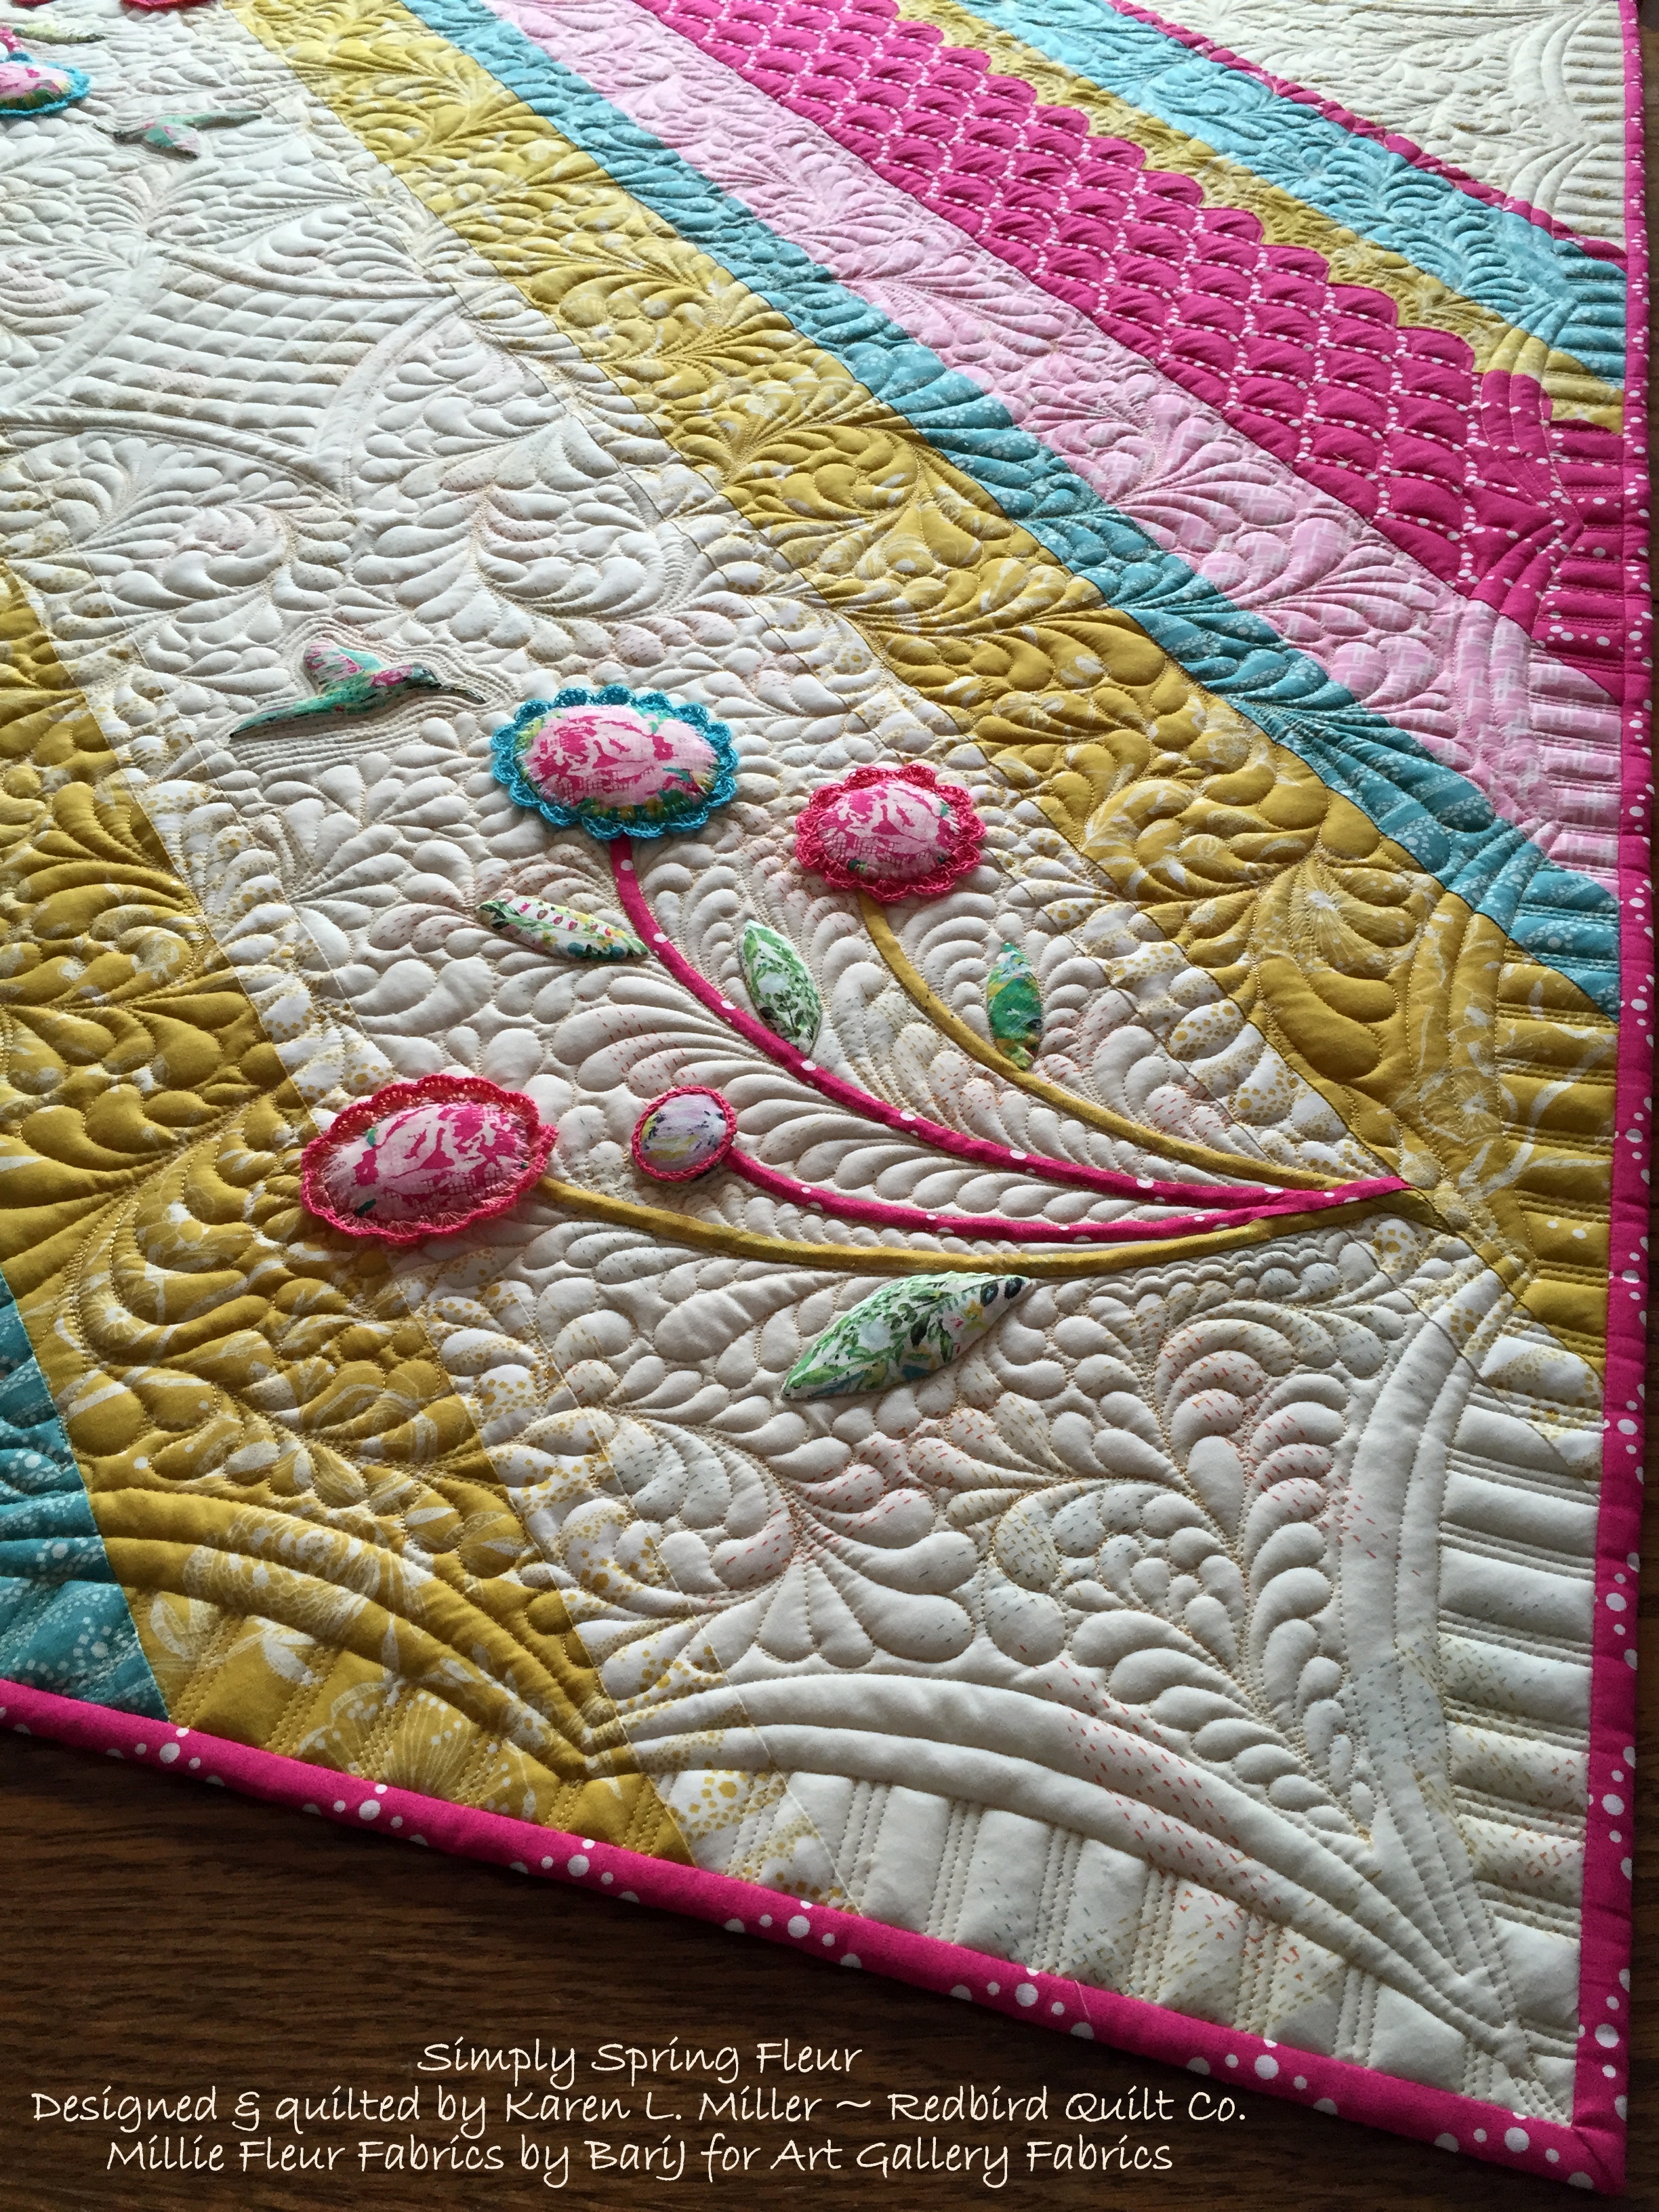 Simply Spring Fleur an Original Design by Redbird Quilt Co. using The QP Curve & QP Edge Templates
Oh, and here's some good news!! There's a new "Weightless Quilter" system available through United Notions that lifts the quilt top above the machine bed while you're quilting. Stay tuned for more information on that. I'm test driving it soon!!
 A Quilter's Doodles with Needle and Thread by Redbird Quilt Co.
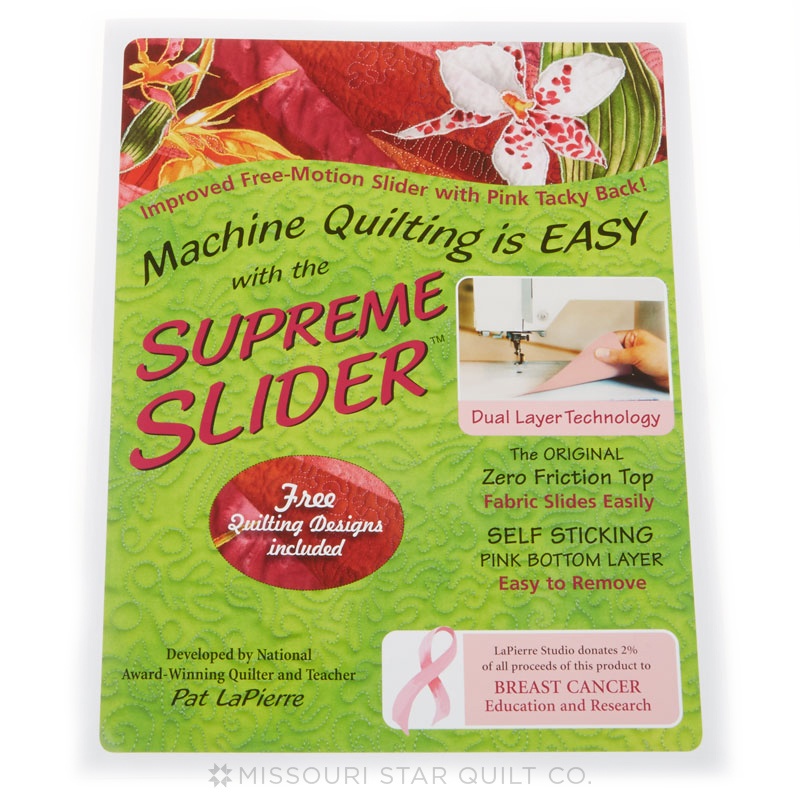
Ease of Quilt Movement: Is your quilt top dragging across the machine bed? This problem can be solved a variety of ways. Personally I choose to use a Supreme Slider™ -- a Teflon™ like mat that rests on the machine bed with a hole at the needle position. The Slider works to bridge the gaps between machine and extension table and allows the quilt to move easily across the bed. If you're struggling to move your quilt sandwich across the bed of your machine consider using a Supreme Slider™ (Regular or Queen size).
 Additionally, (or alternatively) consider using silicone spray to polish the top of your machine, extension table and cabinet area. Silicone sprays are non-greasy and create a smooth surface for ease of moving the quilt top while quilting.
 Foot pedal placement & stability: Are you chasing your foot pedal around the floor? Isn't that the most frustrating activity? Unfortunately it results in inconsistent machine speed, wreaking havoc with your stitch length and motifs. Consider getting a non-slip mat for under your machine foot. There are several brands on the market - some work better on carpet and some on non-carpeted floors. Consult with your friends and reach out to your local quilt shop for more information. Keeping your foot pedal stable and at a height that allows your foot to rest flat (no tippy-toes) is just one more star to align in your "quilty" adventures.
Machine Speed: While we're talking stitch consistency, I recommend beginner Free Motion Quilters set their machine speed down from full throttle to half throttle or less. Doing this allows them to focus on the quilt design and stitches while pressing the pedal to the metal and having your machine stitch at comfortable rate. It's one less thing to worry about while learning a new motif or technique.
 Wooly Ivory Baltimore - Inspired by Wendy Sheppard's Ivory Baltimore - Recreating Antique Quilts
Your Body Movement: Are you playing Twister® with your quilt top? I just love to Twist and Shout but NOT when I am free motion quilting. Recently I've noticed more and more beginner quilters twisting their shoulders and hands as a way to move into a corner or round a bend on their quilt top. My general belief is that you have better control of the quilt top (resulting in better stitches and motifs) by moving the entire top with both hands synchronously, keeping your shoulders square and hands moving in unison on the quilt top.
 A Quilter's Doodles with Needle & Thread - Redbird Quilt Co.
Some final thoughts...
- Drop or cover your feed dogs
- Wind a few bobbins
- Have great lighting
- Baste, baste, baste
- Begin by bringing the bobbin thread to the top
- Always stop with the needle in the down position
- Stop stitching while re-positioning your hands
- Take regular breaks -- get up and stretch
- Play music, have a glass of wine, sew outdoors -- just relax
- Take your time and enjoy the process...
 Cone Flower Needle Turn Applique & FMQ by Redbird Quilt Co.
Will this galaxy of information help Align YOUR Free Motion Quilting Stars?
I would love to hear your feedback and/or requests for new content in the comments.
Stay tuned -- in a few weeks we'll get together and do some simple quilting on a table topper.
In the meantime, be sure to follow my Blog, Facebook, or Instagram for upcoming events, inspiration and information.
Happy Quilting!
Karen L. Miller
{karensquiltscrowscardinals.blogspot.com}
Posted in: