Warehouse Closed On July 4th
Pyramid Bean Bag Toss Game
Pyramid Bean Bag Toss Game
Published:
Apr 2 2017 - 23:00
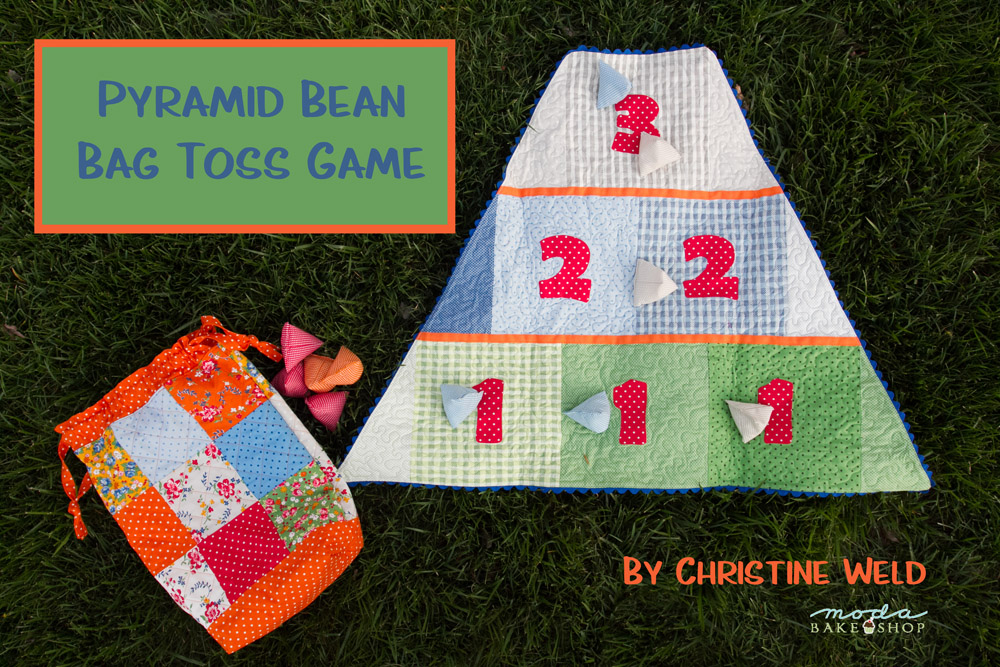

I love making gifts for the special people in my life, especially the little ones. I make a lot of quilts, of course, but I also enjoy smaller projects. Today's project is a game that is fun for all ages.
This project is a great scrap buster. You can use parts of leftover layer cake squares or gather some scraps and fat quarters. This project would look adorable done in scrappy fabrics! I used the geometric prints from American Jane’s bright and cheerful new line, Spring-a-Ling. The line also has some beautiful florals!
This project finishes at 28" by 38" and includes a handy carrying bag to keep all the pieces neatly stored.
![]()

22 layer cake squares (or equivalent yardage or scraps)
Fusible web (such as Heat and Bond Light or Wonder Under)
Weighted stuffing beads (about 3 cups; I used Poly Pellets by Fairfield)
Ribbon (optional)
2 packages of Jumbo Rick Rack, 2½ yards
Measuring cup
Funnel
Batting: one piece at least 34" by 43" and two pieces each at least 16" by 7"
1¼ yards backing fabric for playing mat
1 yard fabric for bag
Printed instruction sheet (in Printer Friendly file)
![]()
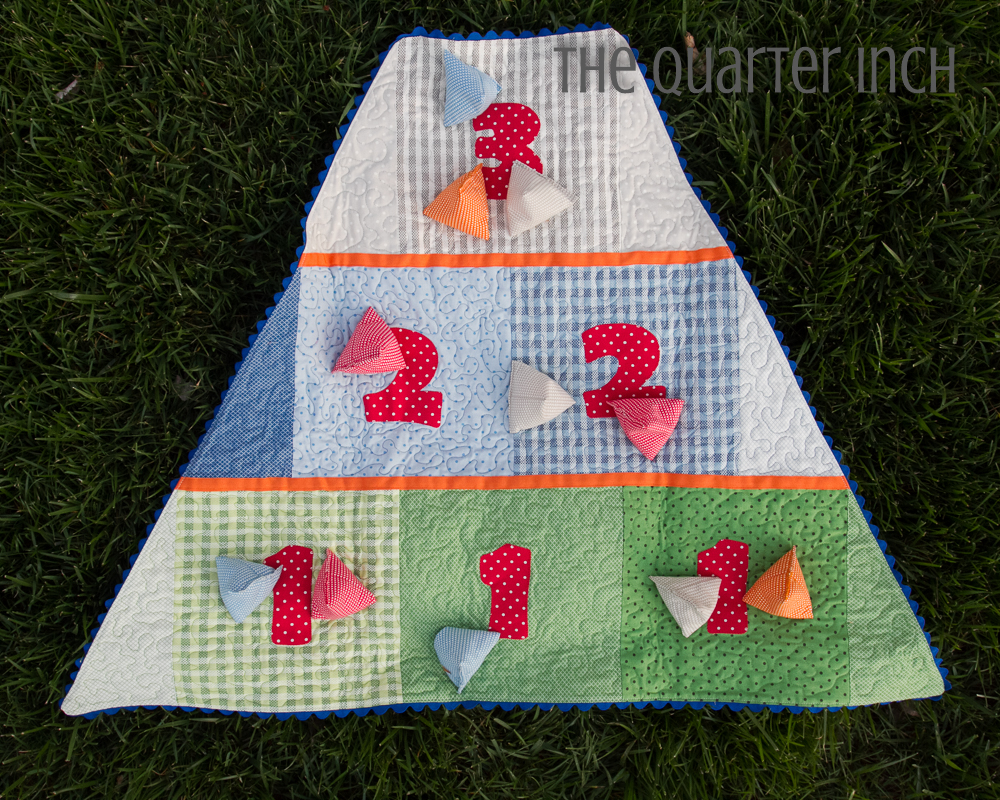
There are three parts to this project: the playing mat, the stones, and the carrying bag.
Playing Mat
Select the layer cake squares for the playing mat. You will need 12 10" squares: three squares for the top row, four for the second, and five for the third. I chose to color code each row, that is, make the first row all gray, the second all blue, and the third all green.
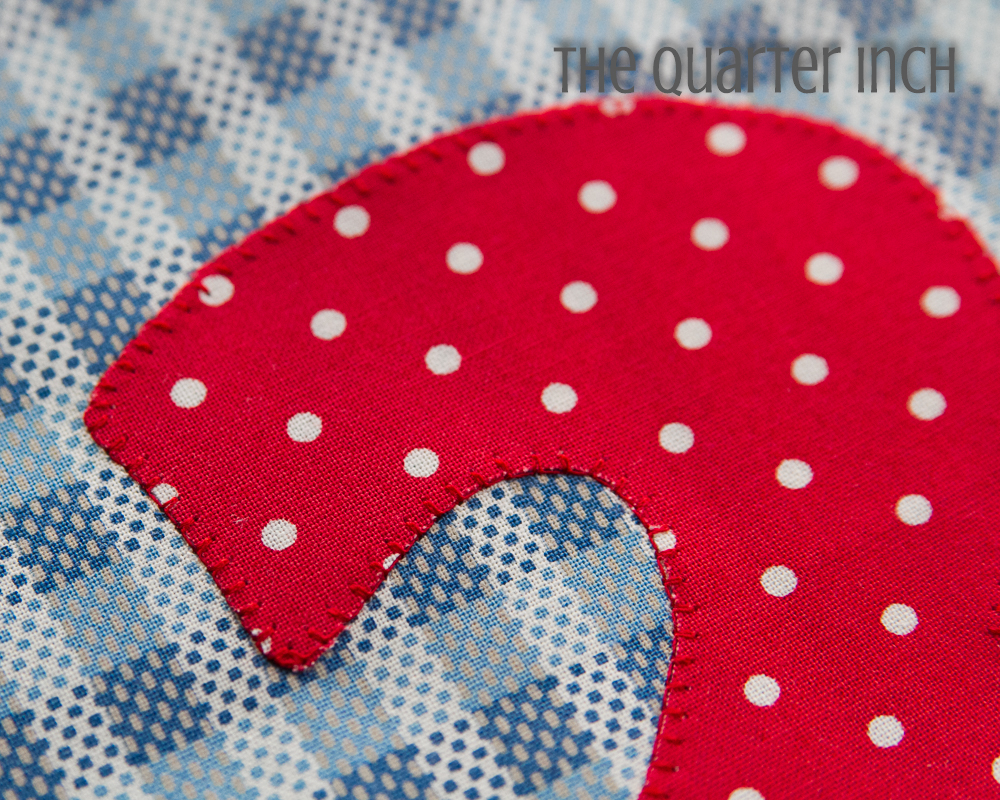
Select another layer cake square (or scraps) to use for the point value numbers. Trace the numbers on fusible web (see the PDF for the pattern). You will need three number ones, two number twos and one number three. You should be able to fit them all on one layer cake square.
Fuse numbers to the center of each square.
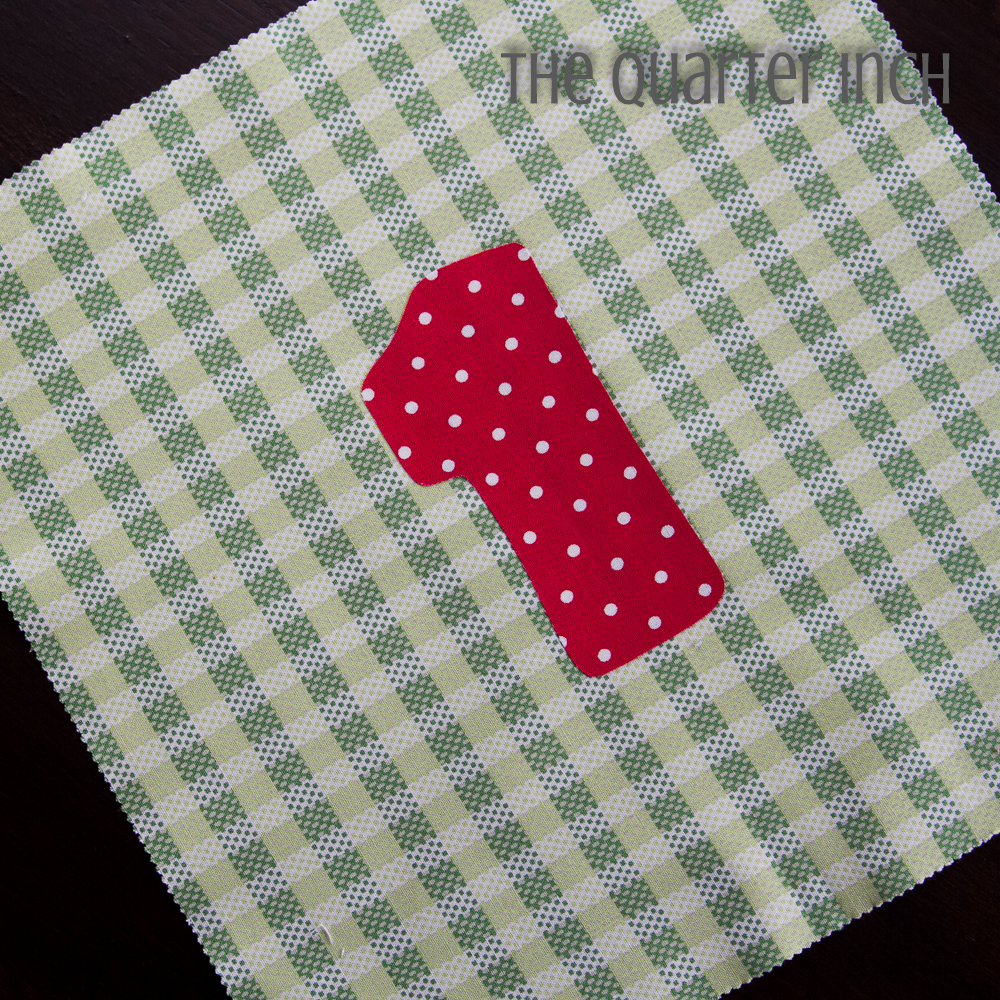
If desired, blanket stitch or zig zag stitch around each number.
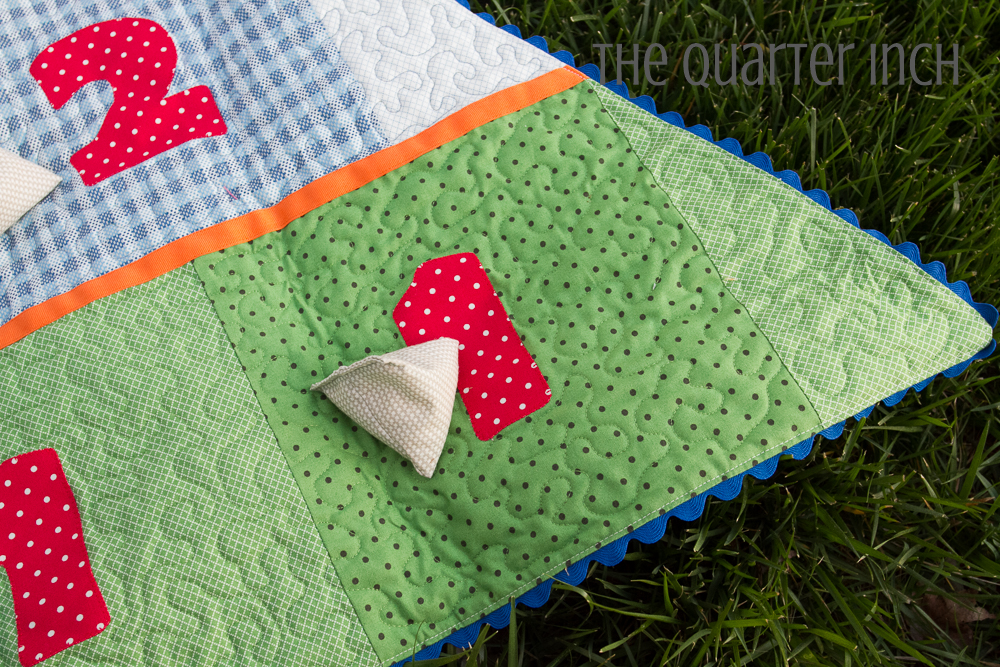
Sew three squares for the top row with the square with the number three in the middle. Sew four squares for the second row with the two squares with the number two in the middle. Sew five squares together for the third row with the three squares with the number one in the middle. Sew the three rows together in a pyramid shape, centering each row on the row below.
Using a long ruler, trim the edges so that the sides are straight. Be sure to trim ¼” past the seam.
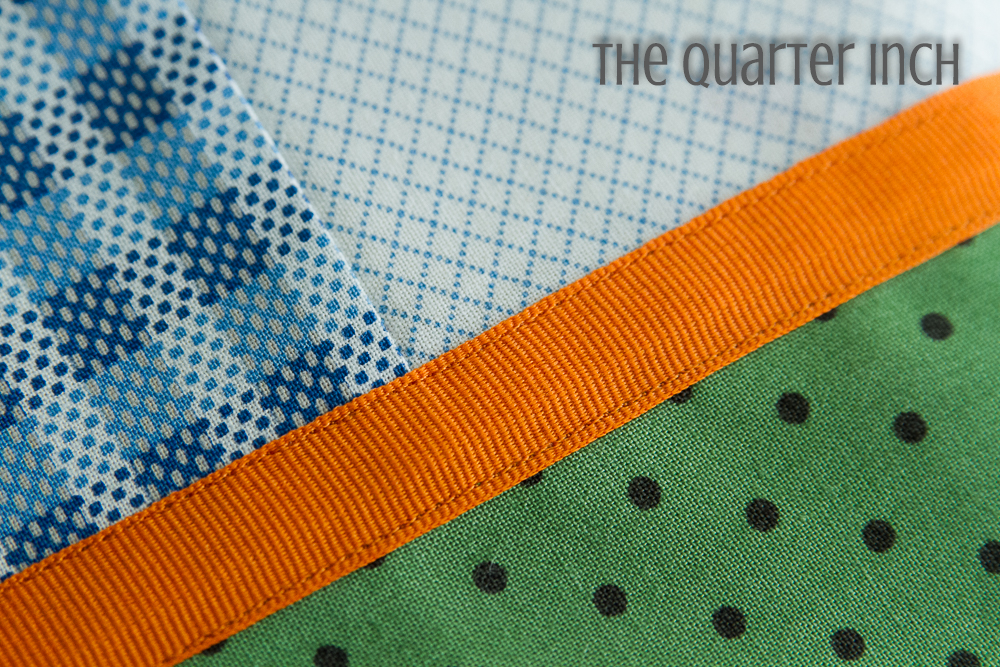
If desired, stitch a ribbon on the horizontal seams to delineate the rows.
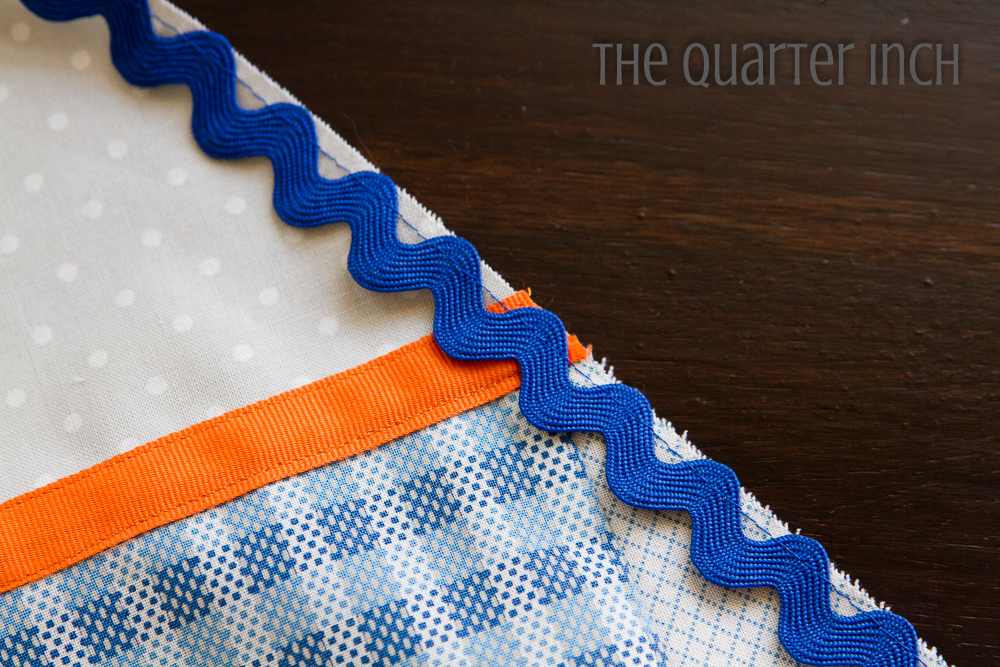
Line the edge of the rick rack up to the unfished edge of the playing mat. Pin in place. Baste the rick rack to the edges of the playing mat using a long stitch, 1/8" from the edge.
For a quick finish, I chose to complete the playing mat using the pillowcase method (stiching closed and then turning right side out) rather than quilting the three layers and then adding binding.
Layer the backing, batting, and top as follows:
1-Batting
2-Backing, right side up
3-Top, right side down
Baste the three layers together.
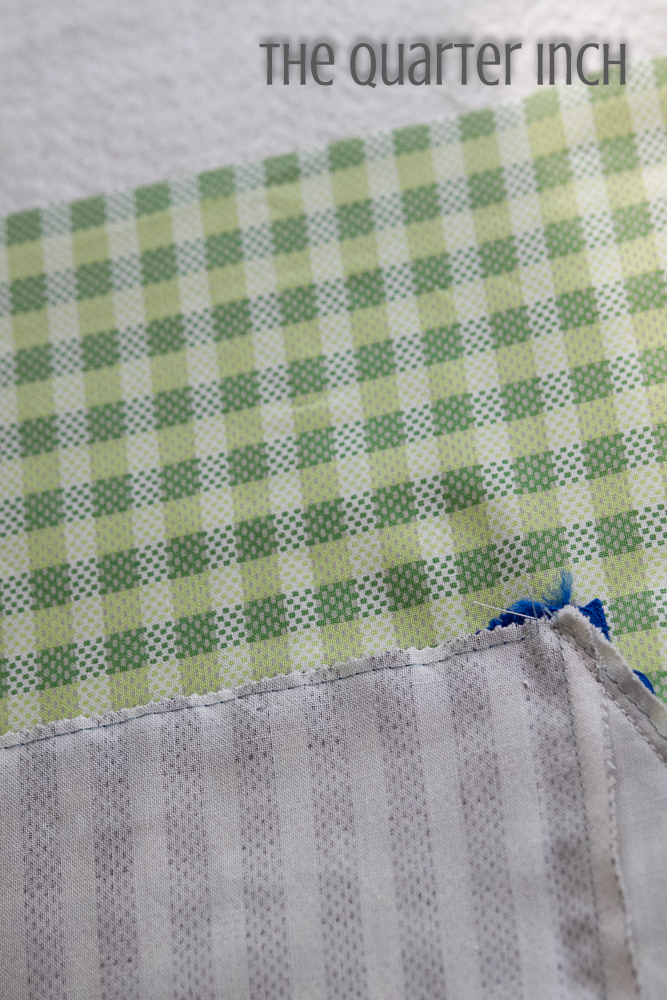
Sew along the edges, using a ¼” seam. Leave the top open for turning.
Trim the backing and batting flush with the edge of the playing mat.
Trim corners to reduce bulk.
Remove the basting and turn the playing mat right side out. Press the edges.
Stitch along the edge using a 1/8” seam. This will sew the top closed.
Quilt as desired. I used a meander stitch.
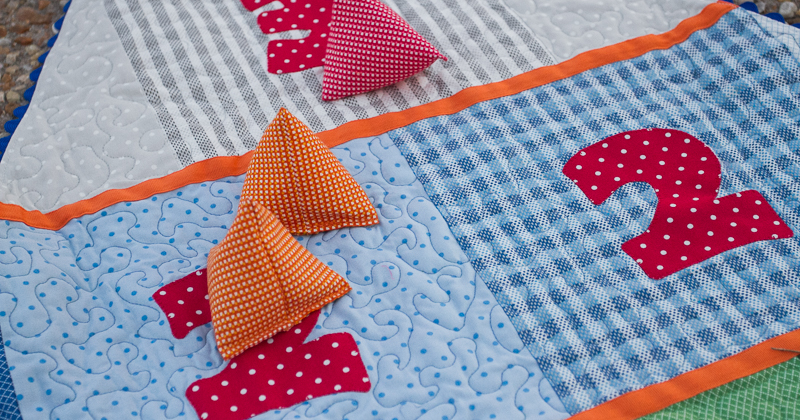
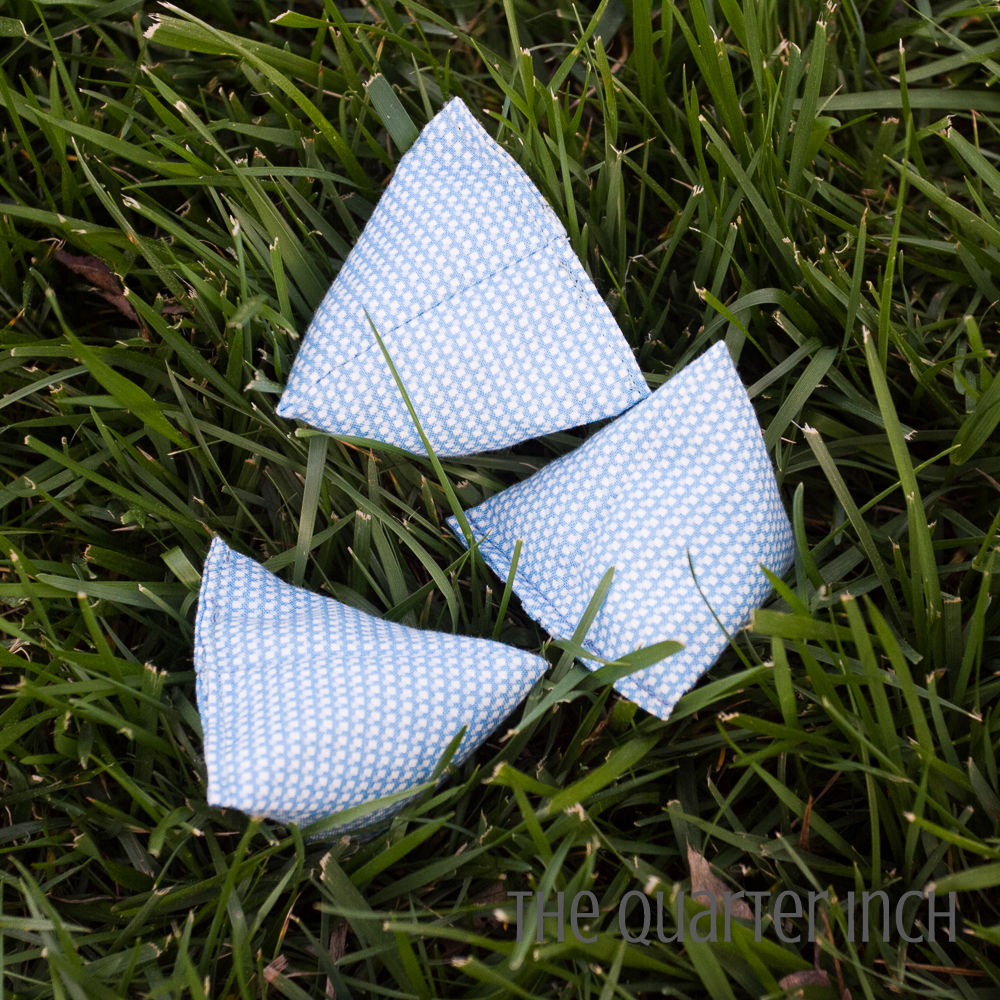
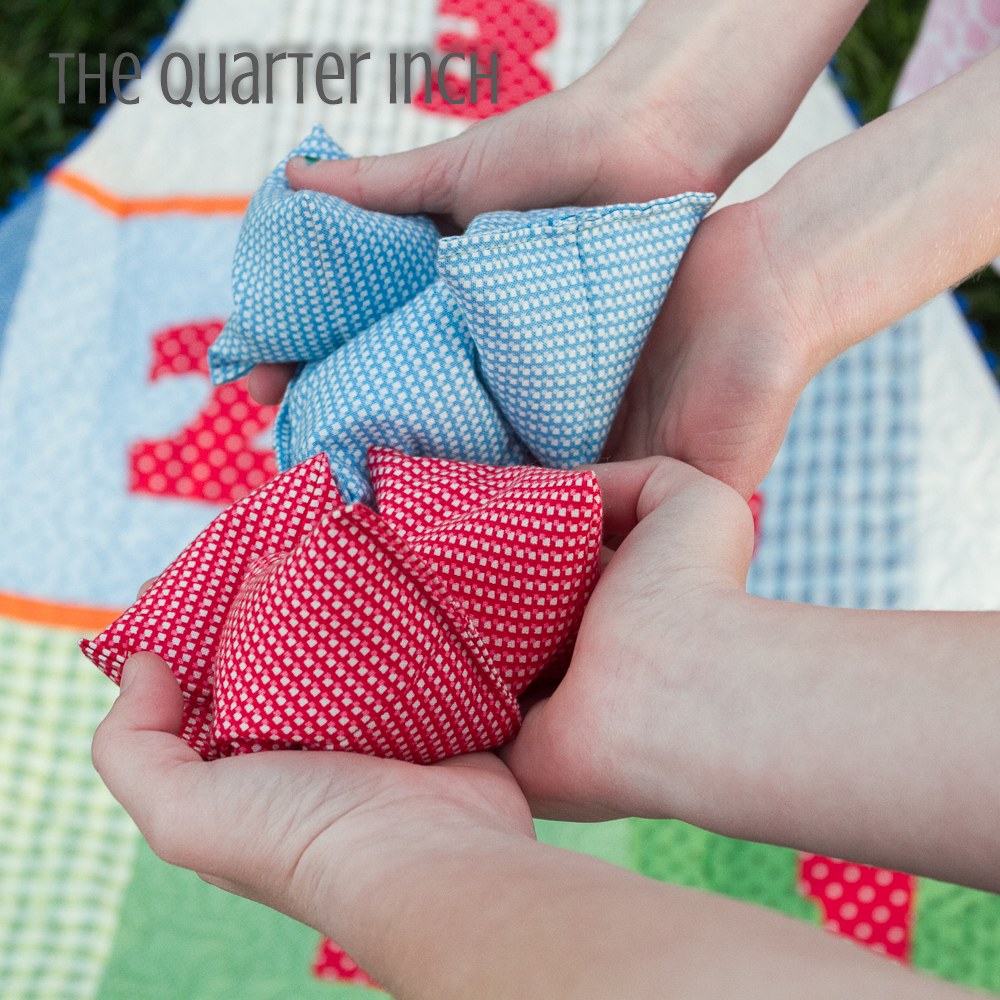
Tossing Stones
Take four layer cake squares, each a different color.
From each layer cake, cut three 3 ½” by 6 ½” rectangles.

Fold ½” over on the top and bottom
Fold in half, right sides together, with folds on the outside.

Stitch up each side, leaving the top open. Backstitch at the beginning and end.
Press seams open. Turn so right sides are facing out.
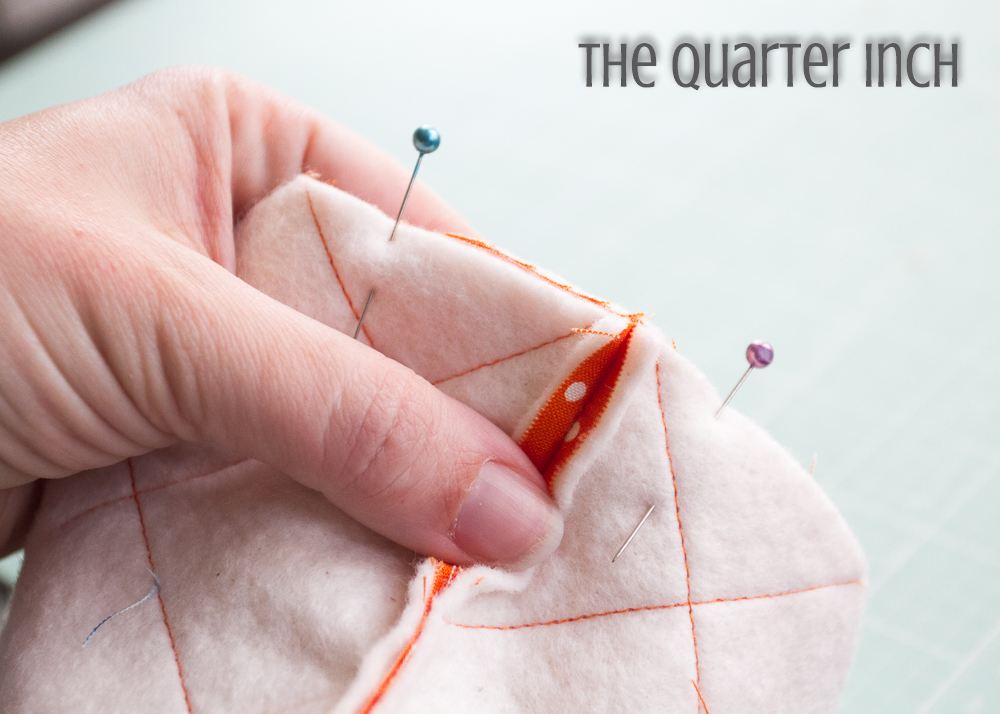
Pinch the top so that the two seams meet in the middle, forming a pyramid shape.
Pin in place and stitch closed 1/8” from the edge, leaving a small opening at the end. Be sure to backstitch at the beginning and the end for durability.
Using a funnel, fill with weighted stuffing beads. I used ¼ cup of beads in each stone. Stitch the opening closed. Tip: Don’t overfill the stones. It’s much easier to stitch them closed if you have a bit of space to work with!
Make three stones of each color, for a total of 12 stones.
Carrying Bag
Now that your game is all done, you need a bag to hold everything!
Cut a total of 18 5" squares. You can cut four from a square of layer cake fabric or use leftover charm pack squares.
From the yardage for the carrying bag, cut the following:
Two 14" by WOF pieces. Subcut the first into two 14" by 5" pieces and two 14" by 4 ½" pieces. Subcut the second into two 14" by 18 ½" pieces
Two 2 1/2" by WOF pieces
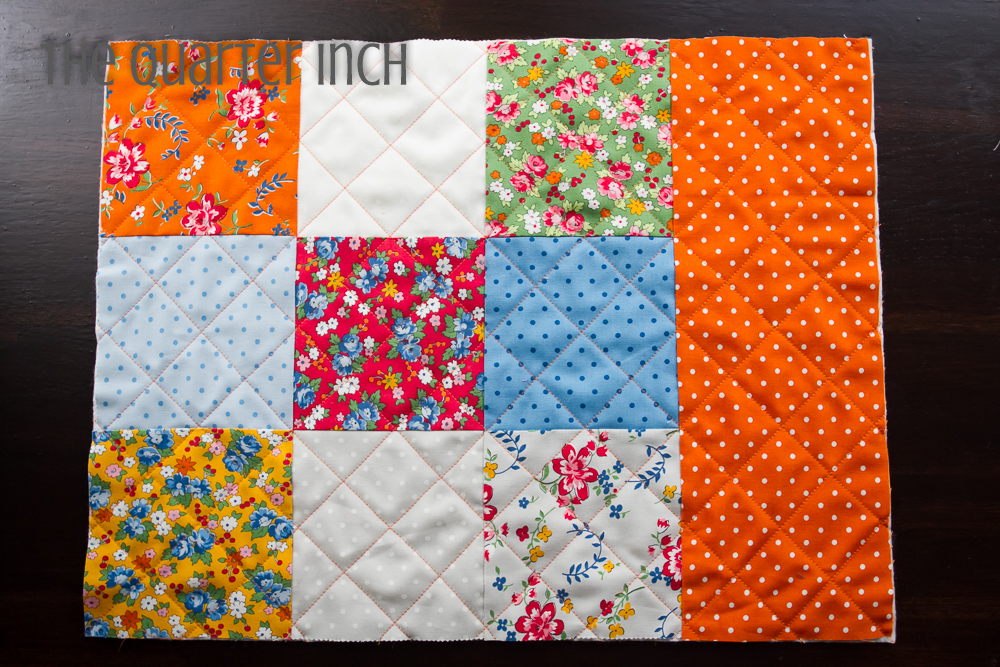
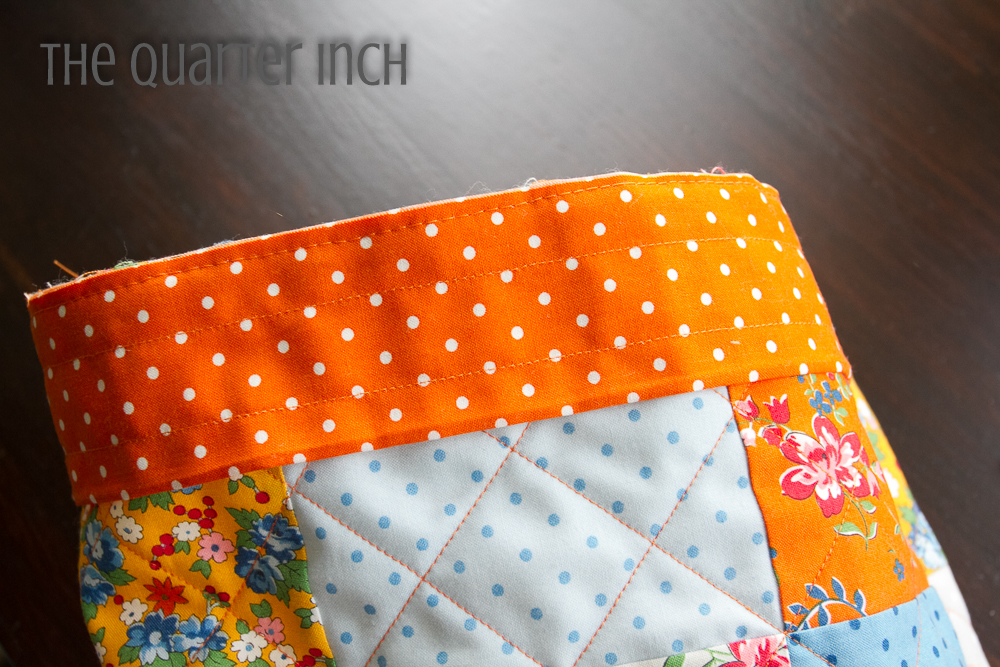
Bag Front
Make two nine patches using the 5" squares. Add a 14" by 5" piece to the bottom of each nine patch.
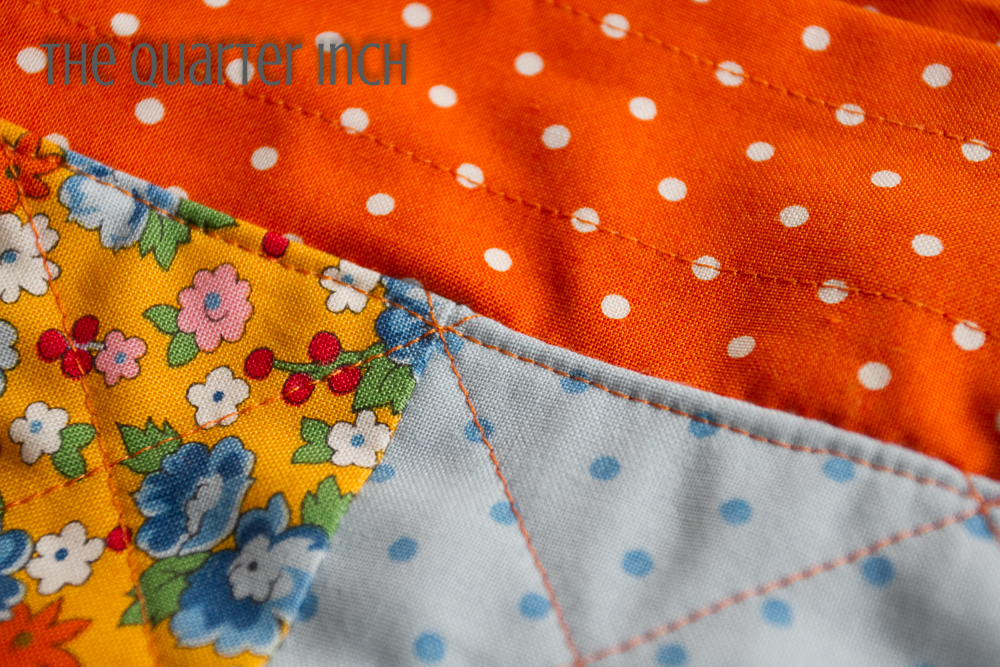
Layer each front piece with a piece of batting at least 16" by 7". Quilt as desired. I quilted the pieces using a crosshatch pattern.
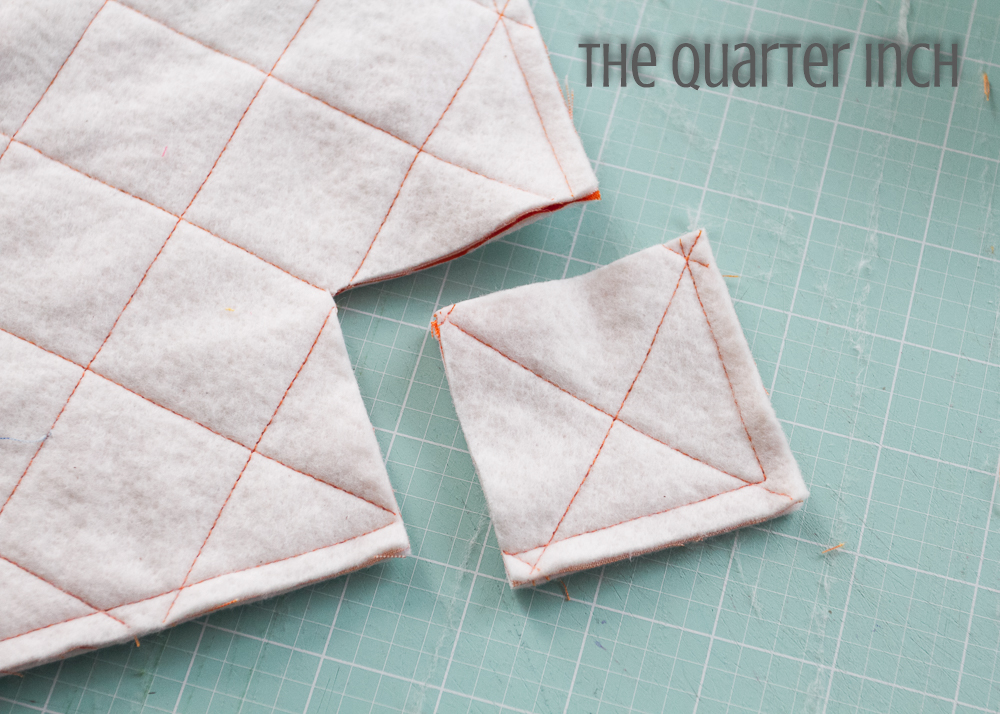
Place the two pieces right sides together. Sew the sides and bottom of the bag using a ¼" seam. Make sure the piece of yardage (the orange polka dot piece in mine) is on the bottom.
Box the bottom of the bag by cutting a 2 ½" square from both bottom corners.
Press seams open.
Line up the seams. Pin closed.
Stitch closed using a 1/4" seam. Backstitch at the beginning and end.
Bag Lining
To make the lining for the bag, take the two 14" by 18 ½" pieces of yardage.
With right sides together, sew the sides and bottom using a ¼" seam.
Box the bottom by cutting a 2 ½" square from both bottom corners. Press seams open. Line up the seams. Pin and stitch closed.
Fold the top down a quarter inch and press. Set aside.
Bag Flaps
Take the two 14" by 4 ½" pieces of fabric.
Fold the ends in ¼". Stich 1/8" away from each edge.
Fold each piece in half lengthwise.
Stich ½" from the top and 3/4" from the bottom to create a channel for the ties.
Bag Ties
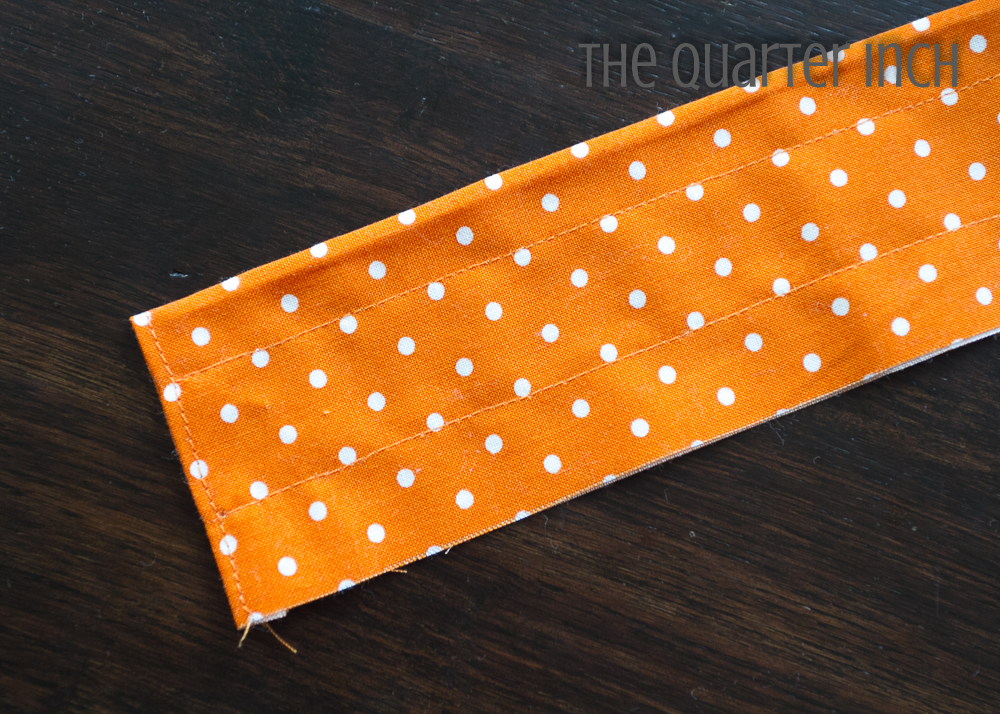
Take the two 2 ½" by WOF strips. Fold ends in ¼". Stitch 1/8" from folded edge.
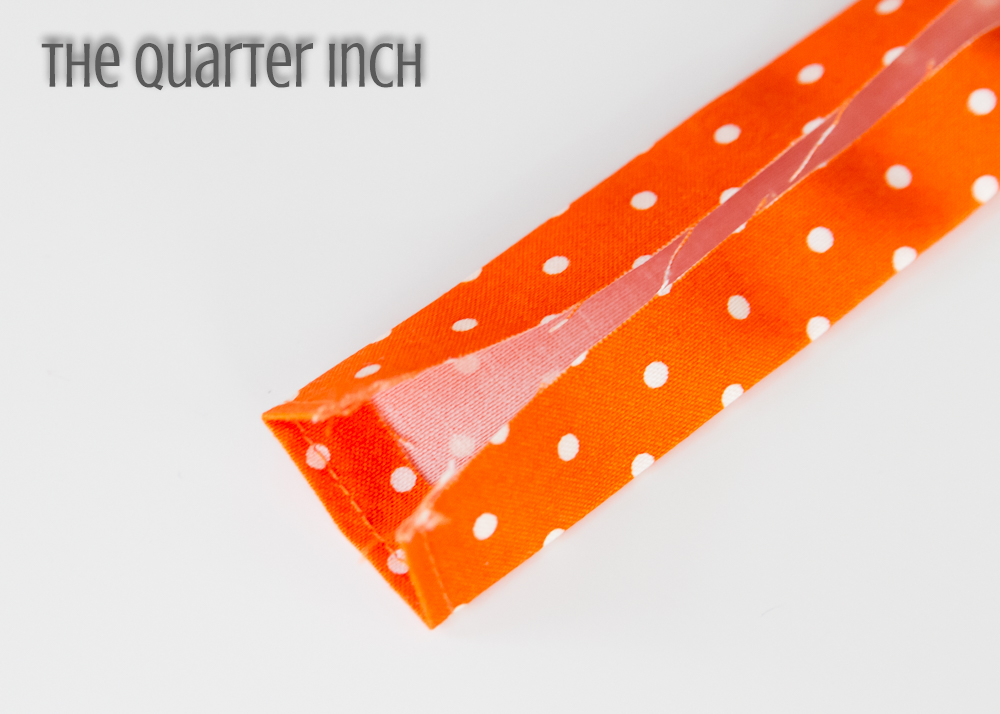
Fold in half lengthwise, then fold edges to meet in the center. Press.
Stitch 1/8" on each side.
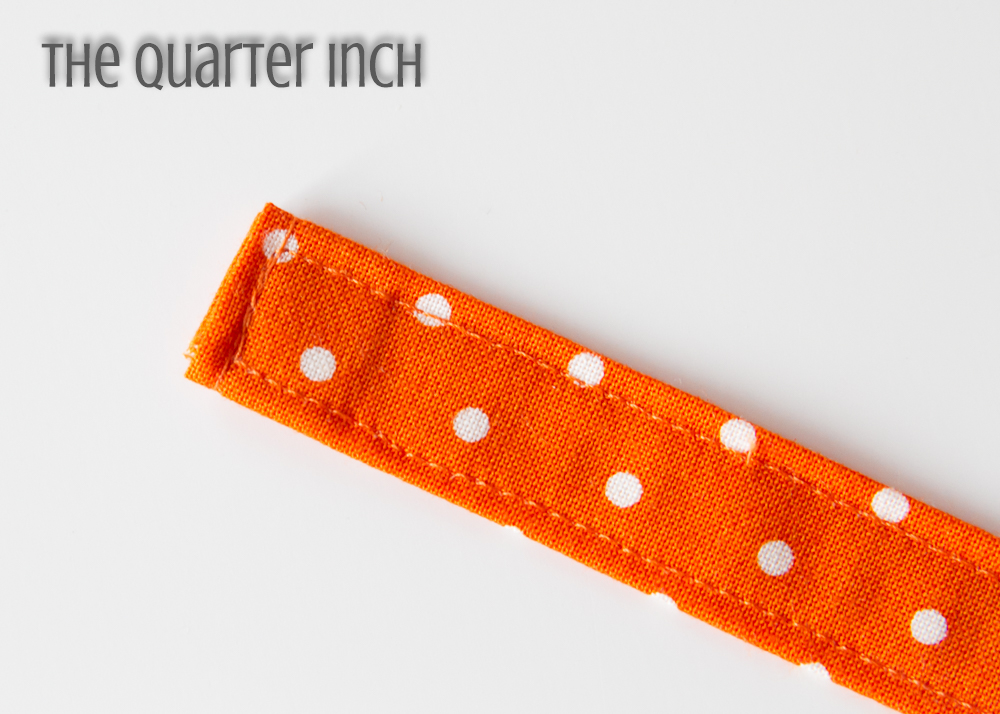
Repeat for the other tie. Set aside.
Assembling Bag
Line up the raw edges of the bag flaps and the top of the outside of the bag. Using a long stitch length, baste the bag flaps to the outside piece, 1/8" away from the edge.
Nestle the lining in the bag.
Fold the flaps up. Pin lining, aligning with the top of the outside of the bag. Note: You won't be able to see the outside of the bag as the flap will be in between the layers, but you can use the basting line as a guide. The lining should cover the basting.
Working from the front of the bag, slowly stitch 1/8" away from the edge of the front. This stitching should catch the lining on the inside of the bag.
Using a loop turner or similar tool, thread the bag ties through the channels in the flap. One tie should start and end on one side, and the other should start and end on the opposite side. Knot the ends together.
Playing Instructions
The game is for two to four players. Each player gets three tossing stones of the same color. Players take turns tossing their stones on the game mat from the same point in front of the mat. For every stone that lands on the mat, the player receives the number of points listed on the mat (three points for the top area, two for the middle section, and one for the bottom section). The player with the highest point total wins!
![]()
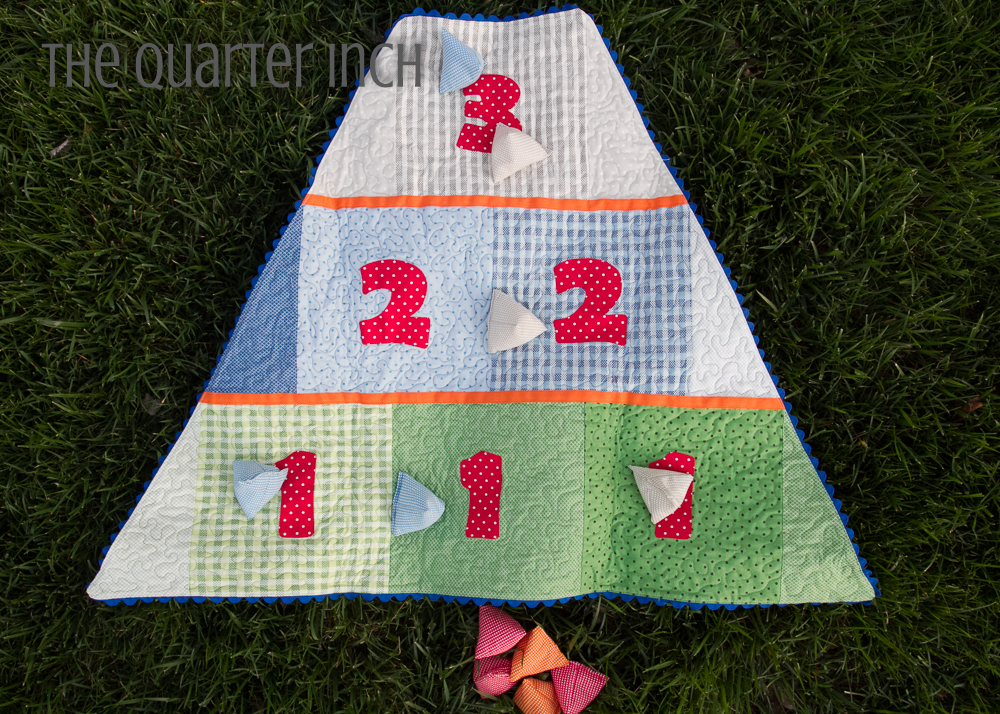
The playing mat finishes at 28" by 38". I hope the little people in your life have lots of fun with this game!
Christine Weld
![]()
Posted in:
Comments