Welcome to Moda Fabrics!
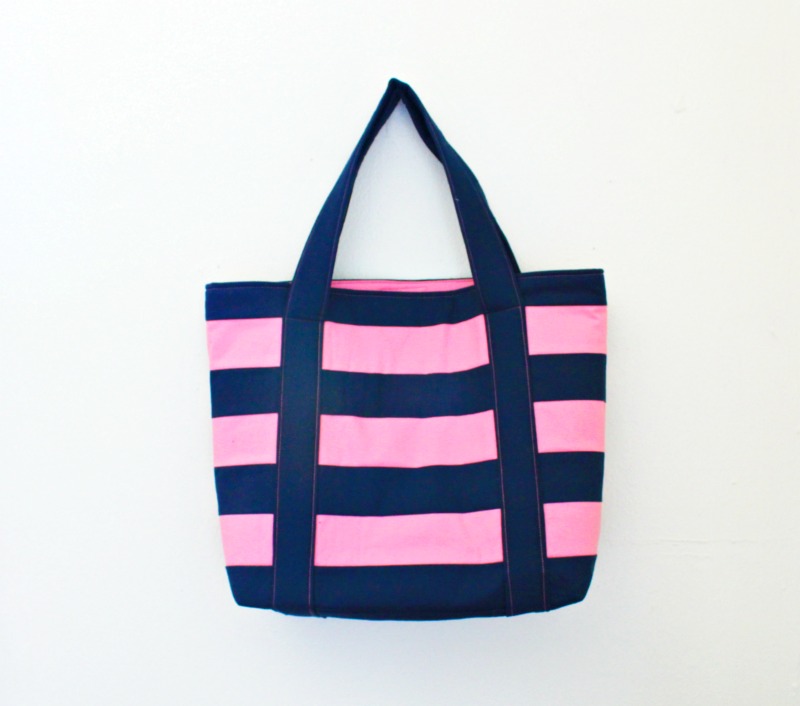
Jelly Roll Market Tote
Jelly Roll Market Tote
Published:
Jul 9 2017 - 23:00


Catch more fun tutorials and patterns on my blog at hungryhippiesews.com or find me sewing away on Instagram @sewhungryhippie
This bag finished is approx 14"H x 18"W x 4" deep
![]()

1 Jelly Roll Moda Bella Navy
1 Jelly Roll Moda Bella 30's pink
3/4 yard Moda Bella 30's pink for lining
Two pieces fusible fleece interfacing or quilt batting measuring 18" x 19" plus straps (2) at 1/1/4" x 50"
Two pieces SF101 interfacing for lining measuring 17.5" x 19" *SF101 is a woven interfacing - it's great stuff for giving body and strength to your bag.
![]()
Seam allowance 1/4" unless specified otherwise.
1. Cut jelly roll strips at 19" lengths, a total of 10 Navy blue and 6 Pink.
2. Sew alternating jelly roll strips together along the long edges, starting with navy. Each exterior of the bag will have eight strips, with two navy strips at the bottom.

3. Press fusible fleece to the wrong side of these exterior pieces, or use batting pieces as interfacing and baste around all edges to hold in place.

4. Cut lining pieces from Moda pink at 17.5 " h x 19" w
Press SF101 interfacing to wrong sides, then set aside.
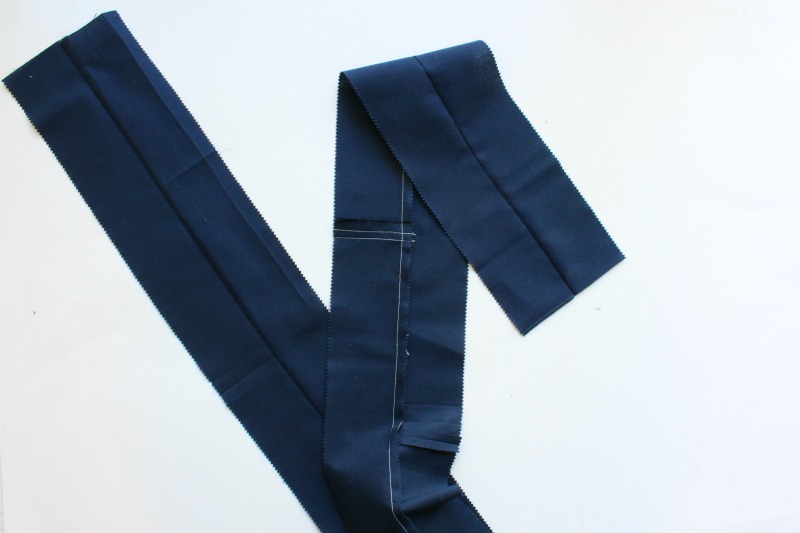
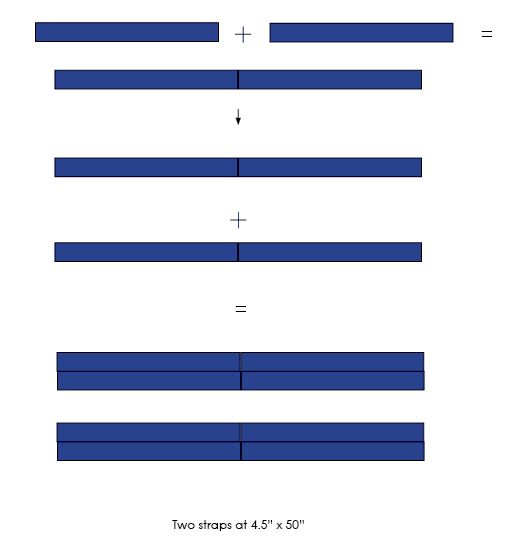
5. Straps
Sew two jelly roll strips of Moda Bella Navy together at short ends, trim to 50" long. Repeat.
Sew these lengths of jelly roll strips RST along long edges, to create one long strap at 4.5" wide x 50" long.
Repeat to make another strap. See diagram illustration:
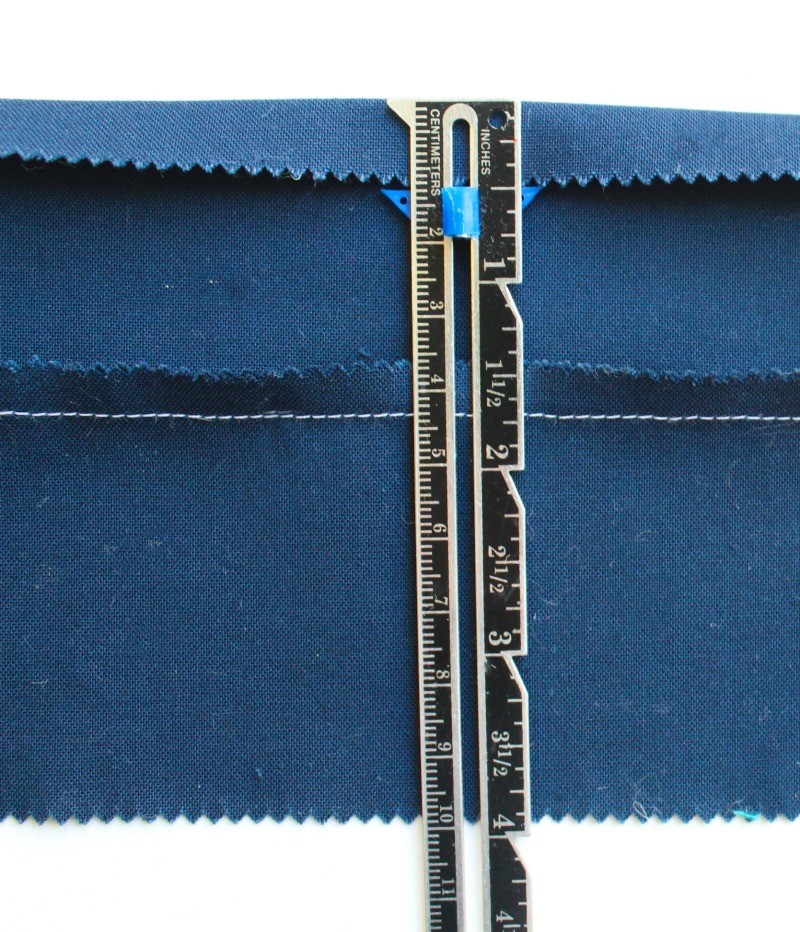
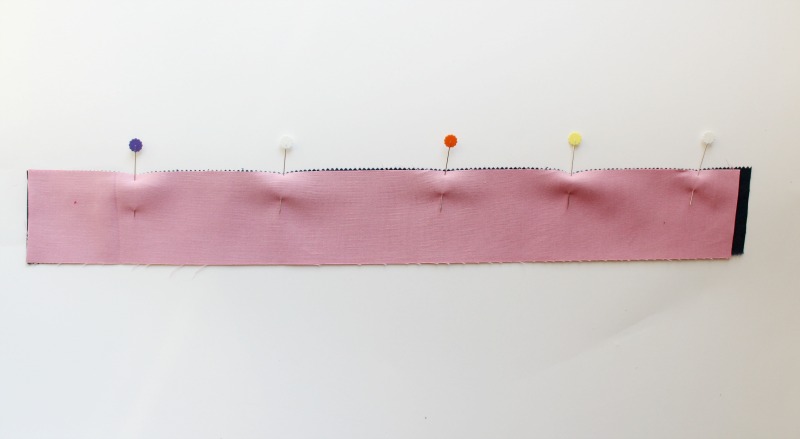
6. Fold 1/2" in on BOTH long edges of each strap and press well. (Photo above shows just one side folded in.)

7. Tuck batting or fusible fleece strip into one folded edge. It should fit just right, nestling securely as we bring the other folded edge over to meet the first. Wonder clip or pin in place.

8. Top stitch along each long edge, closing the open edge as you sew.

9. Place one strap onto body of bag, 4" from side raw edge, bottom edges flush.

*Be sure the strap is not twisted. Sew along each edge of strap, stopping at bottom of top navy strip, pivoting and sewing across and down the other side.

Repeat to attach second strap to other body piece.

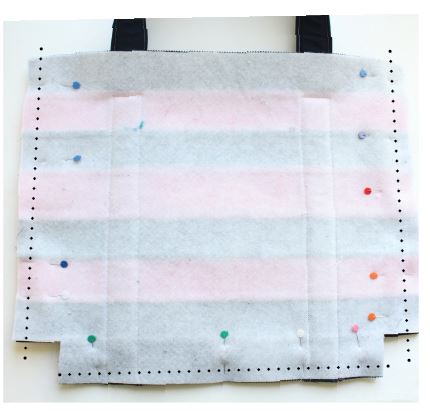
10. Cut 2" squares out of each bottom corner, for both exterior body pieces.

11. Place exterior bag pieces RST making sure to match strips accordingly. Nest the seams and pin well. Sew along sides and bottom at 1/2" seam allowance. *You may want to baste first to check accuracy of strip matching.

12. Repeat steps 10 & 11 for lining pieces, leaving a 6" opening in the bottom for turning out later.
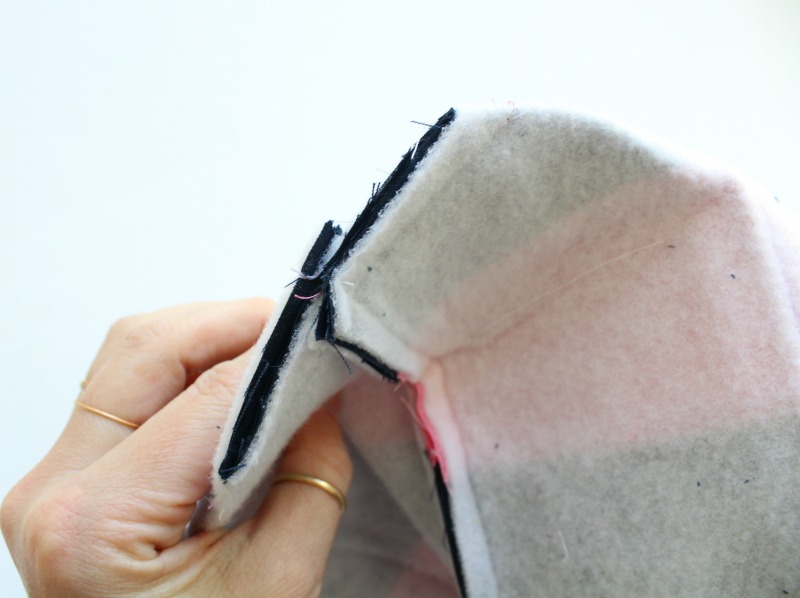
13. Pinch/pull side seam and bottom seam of boxed corner together, pin in place, and sew across the boxed edge at 1/2" seam allowance. Zig zag stitch within the seam allowance for added strength. Repeat for remaining corners (lining too).


14. Place lining into exterior bag, right sides together. **Right side of lining facing out, right side of exterior is facing in towards lining. Tuck the straps down inside so they aren't caught in sewing around the top. Pin well matching side seams, and sew around top of bag at 1/2" seam allowance.

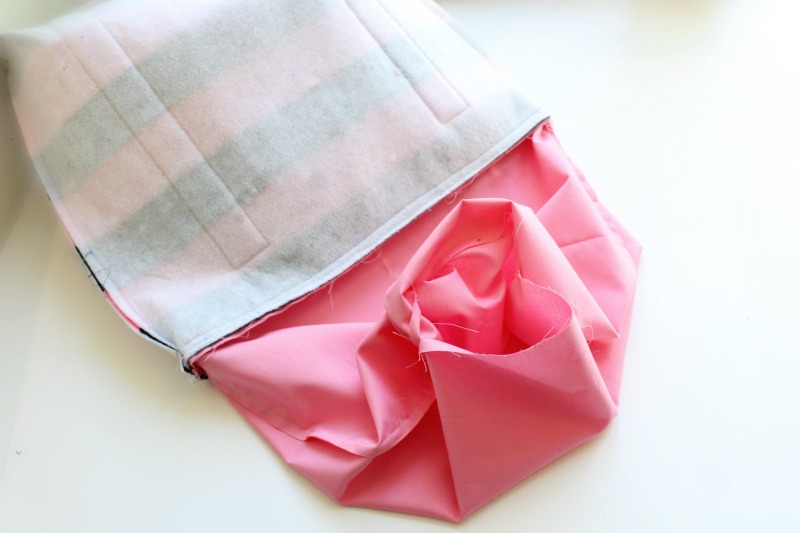
15. Pull bag right sides out through opening in lining and push lining back down into bag, press well. You may have to manipulate the top edge a little bit, coaxing it to lay flat- pressing not ironing.
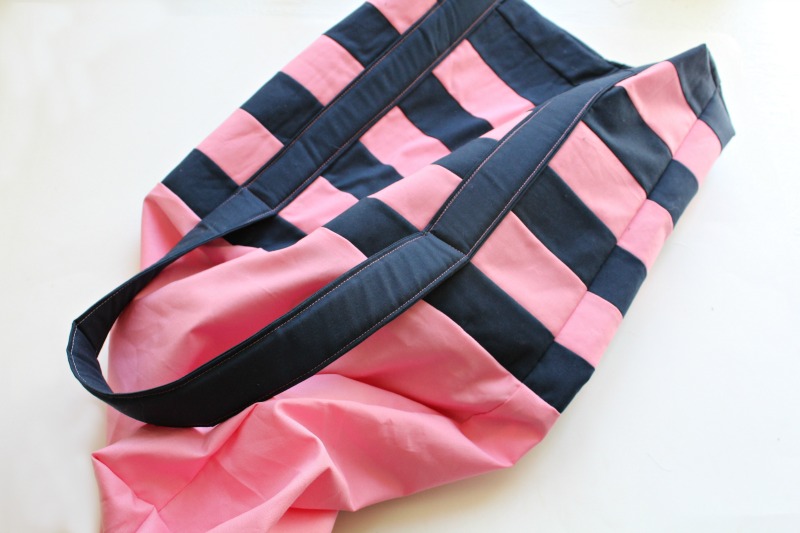
16. If desired, top stitch around the top of bag. Hand sew lining opening closed.
![]()

You do it! Great work- now sew 100 more so we can all stop using plastic bags. :)
Remember "done" is better than "perfect"- a piece of wisdom I picked up from my Quilting Bee friend Trish Frankland. If your strips aren't matching perfectly it's okay! A jelly roll is a lot of gorgeous fabric that will yield many bags, so practice again. These bags make great gifts for Teachers, Librarians, Friends, and Co Workers. Have fun Makers!
Natalie Santini
www.hungryhippiesews.com
![]()
Posted in:
Comments