Welcome to Moda Fabrics!
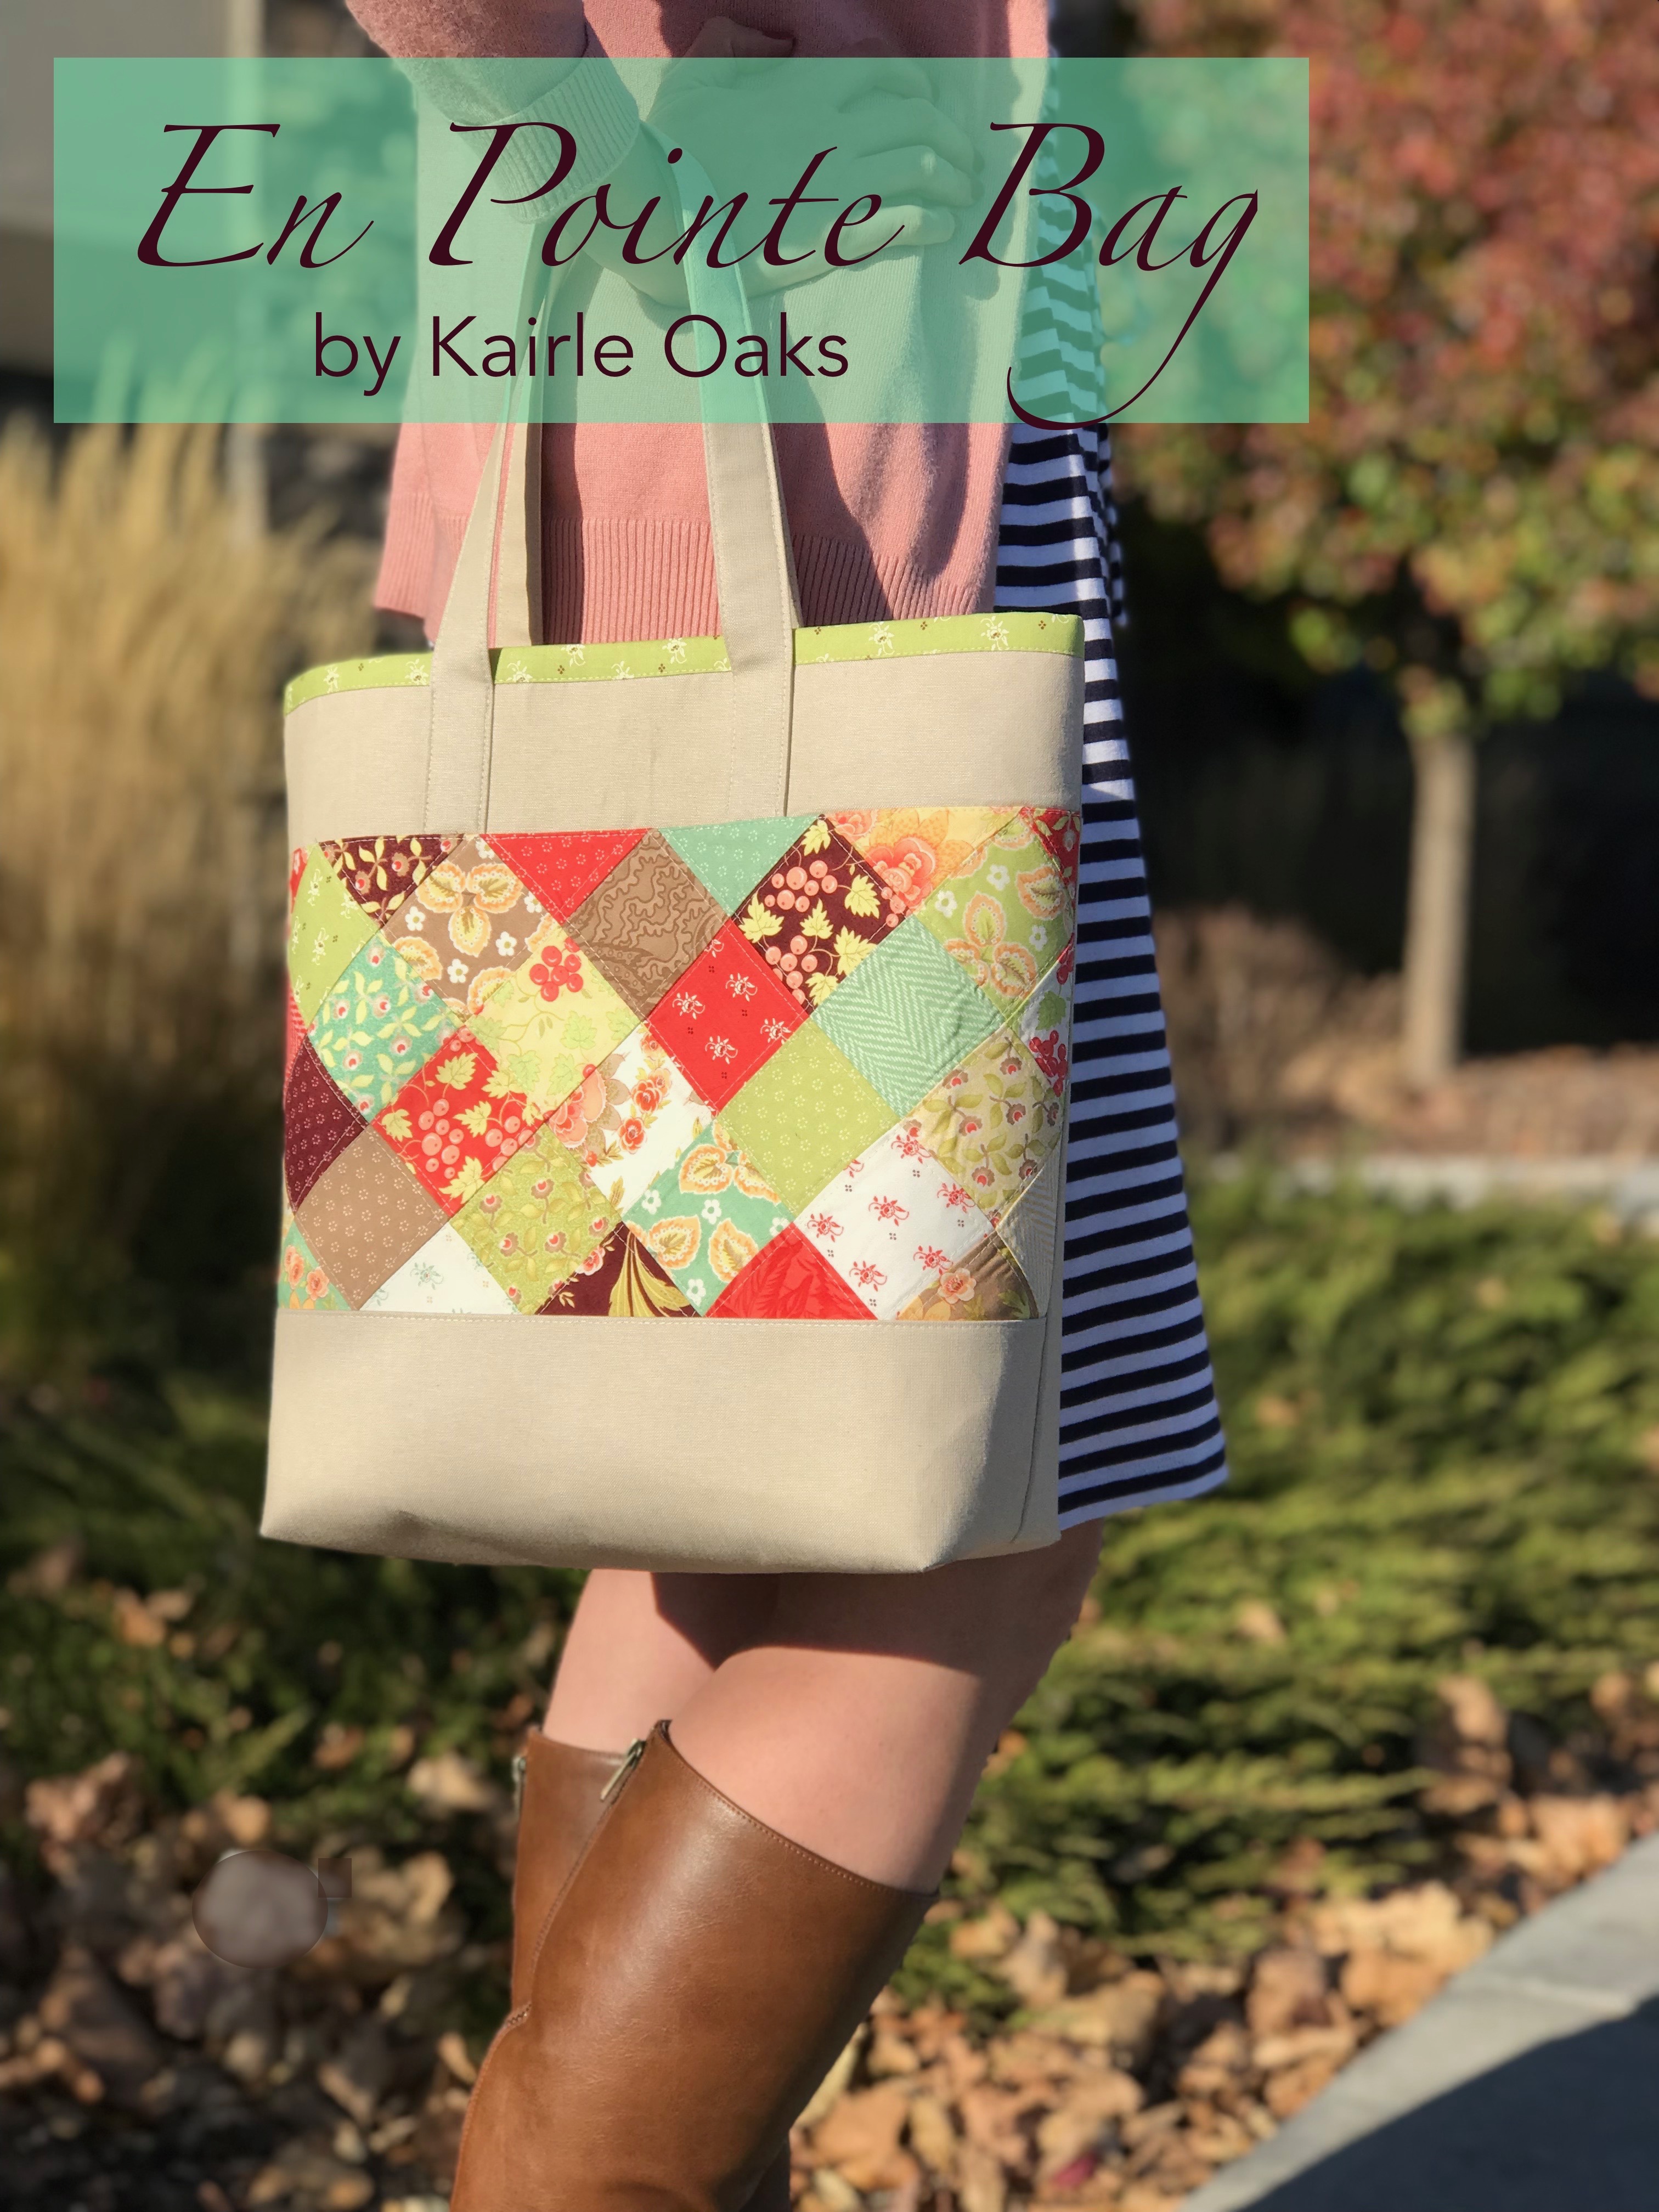
En Pointe Bag
En Pointe Bag
Published:
Nov 18 2017 - 23:00
![]()
It's that time of year when everyone is on the go. I love having a bag hanging by my back door that I can quickly grab and take with me as I run errands. The En Pointe Bag is the perfect size for your wallet, phone, and all of the little odds and ends that you will pick up along your way. You'll be surprised at how fast this bag goes together. You'll be so happy with your own bag that you'll want to make one for all of your friends.
This bag finishes 11" W x 13-1/2" H x 4" D.
![]()
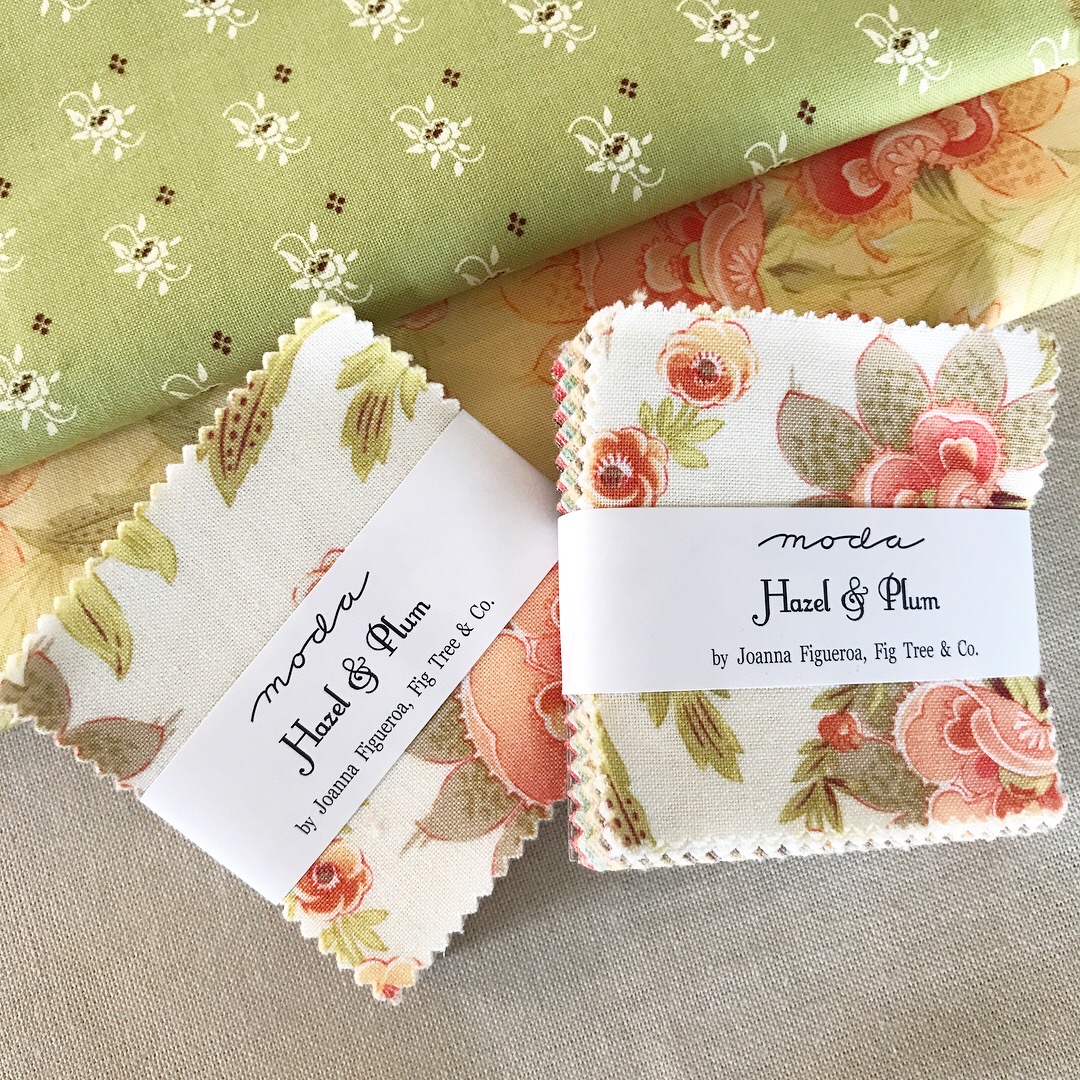
1 Hazel & Plum Mini Charm Pack {by Fig Tree & Co.}
2/3 yards Moda Cross Weave Sand {12119-51}
1/2 yard Large Floral Print for lining and pocket {20290-14}
2-1/2" x Width of Fabric Small Print for binding {20293-18}
1 yard Pellon 809 Decor-Bond {44" wide}
![]()
Please read through the instructions completely before you begin. All seam allowances are 1/4", unless otherwise stated.
Note: Other than the straps and the pocket, all pieces are cut 16-1/2" wide. I found the best use of my fabric was to cut the straps first, close to each selvage, and then make two 16-1/2" cuts from the top to the bottom of my fabric. I then sub-cut the pieces to the correct height.
From Moda Cross Weave, cut for bag:
- (2) 4" long x 24" wide for straps (cut from length of fabric, close to selvages)
- (2) 3" high x 16-1/2" wide (top band)
- (1) 6-1/2" high x 16-1/2" wide (bag front)
- (1) 13-1/2" high x 16-1/2" wide (bag back)
From Large Floral Print, cut for bag lining and pocket:
- (2) 16-1/4" high x 16-1/2" wide
- (1) 15" high x 9-1/2" wide
From Small Print, cut for binding:
- (1) 2-1/2" x width of fabric
From Pellon 809 Decor-Bond, cut:
- (2) 2" X 24" (straps)
- (1) 7-3/4" x 16-1/2" (insert)
- (1) 7-1/2" x 9-1/2" (pocket)
- (2) 3" x 16-1/2" (top band)
- (1) 6-1/2" x 16-1/2" (bag front)
- (1) 13-1/2" x 16-1/2" (bag back)
- (2) 16-1/4" x 16-1/2" (lining)
Let's start by getting everything prepped! This will make the bag assembly quick and easy.
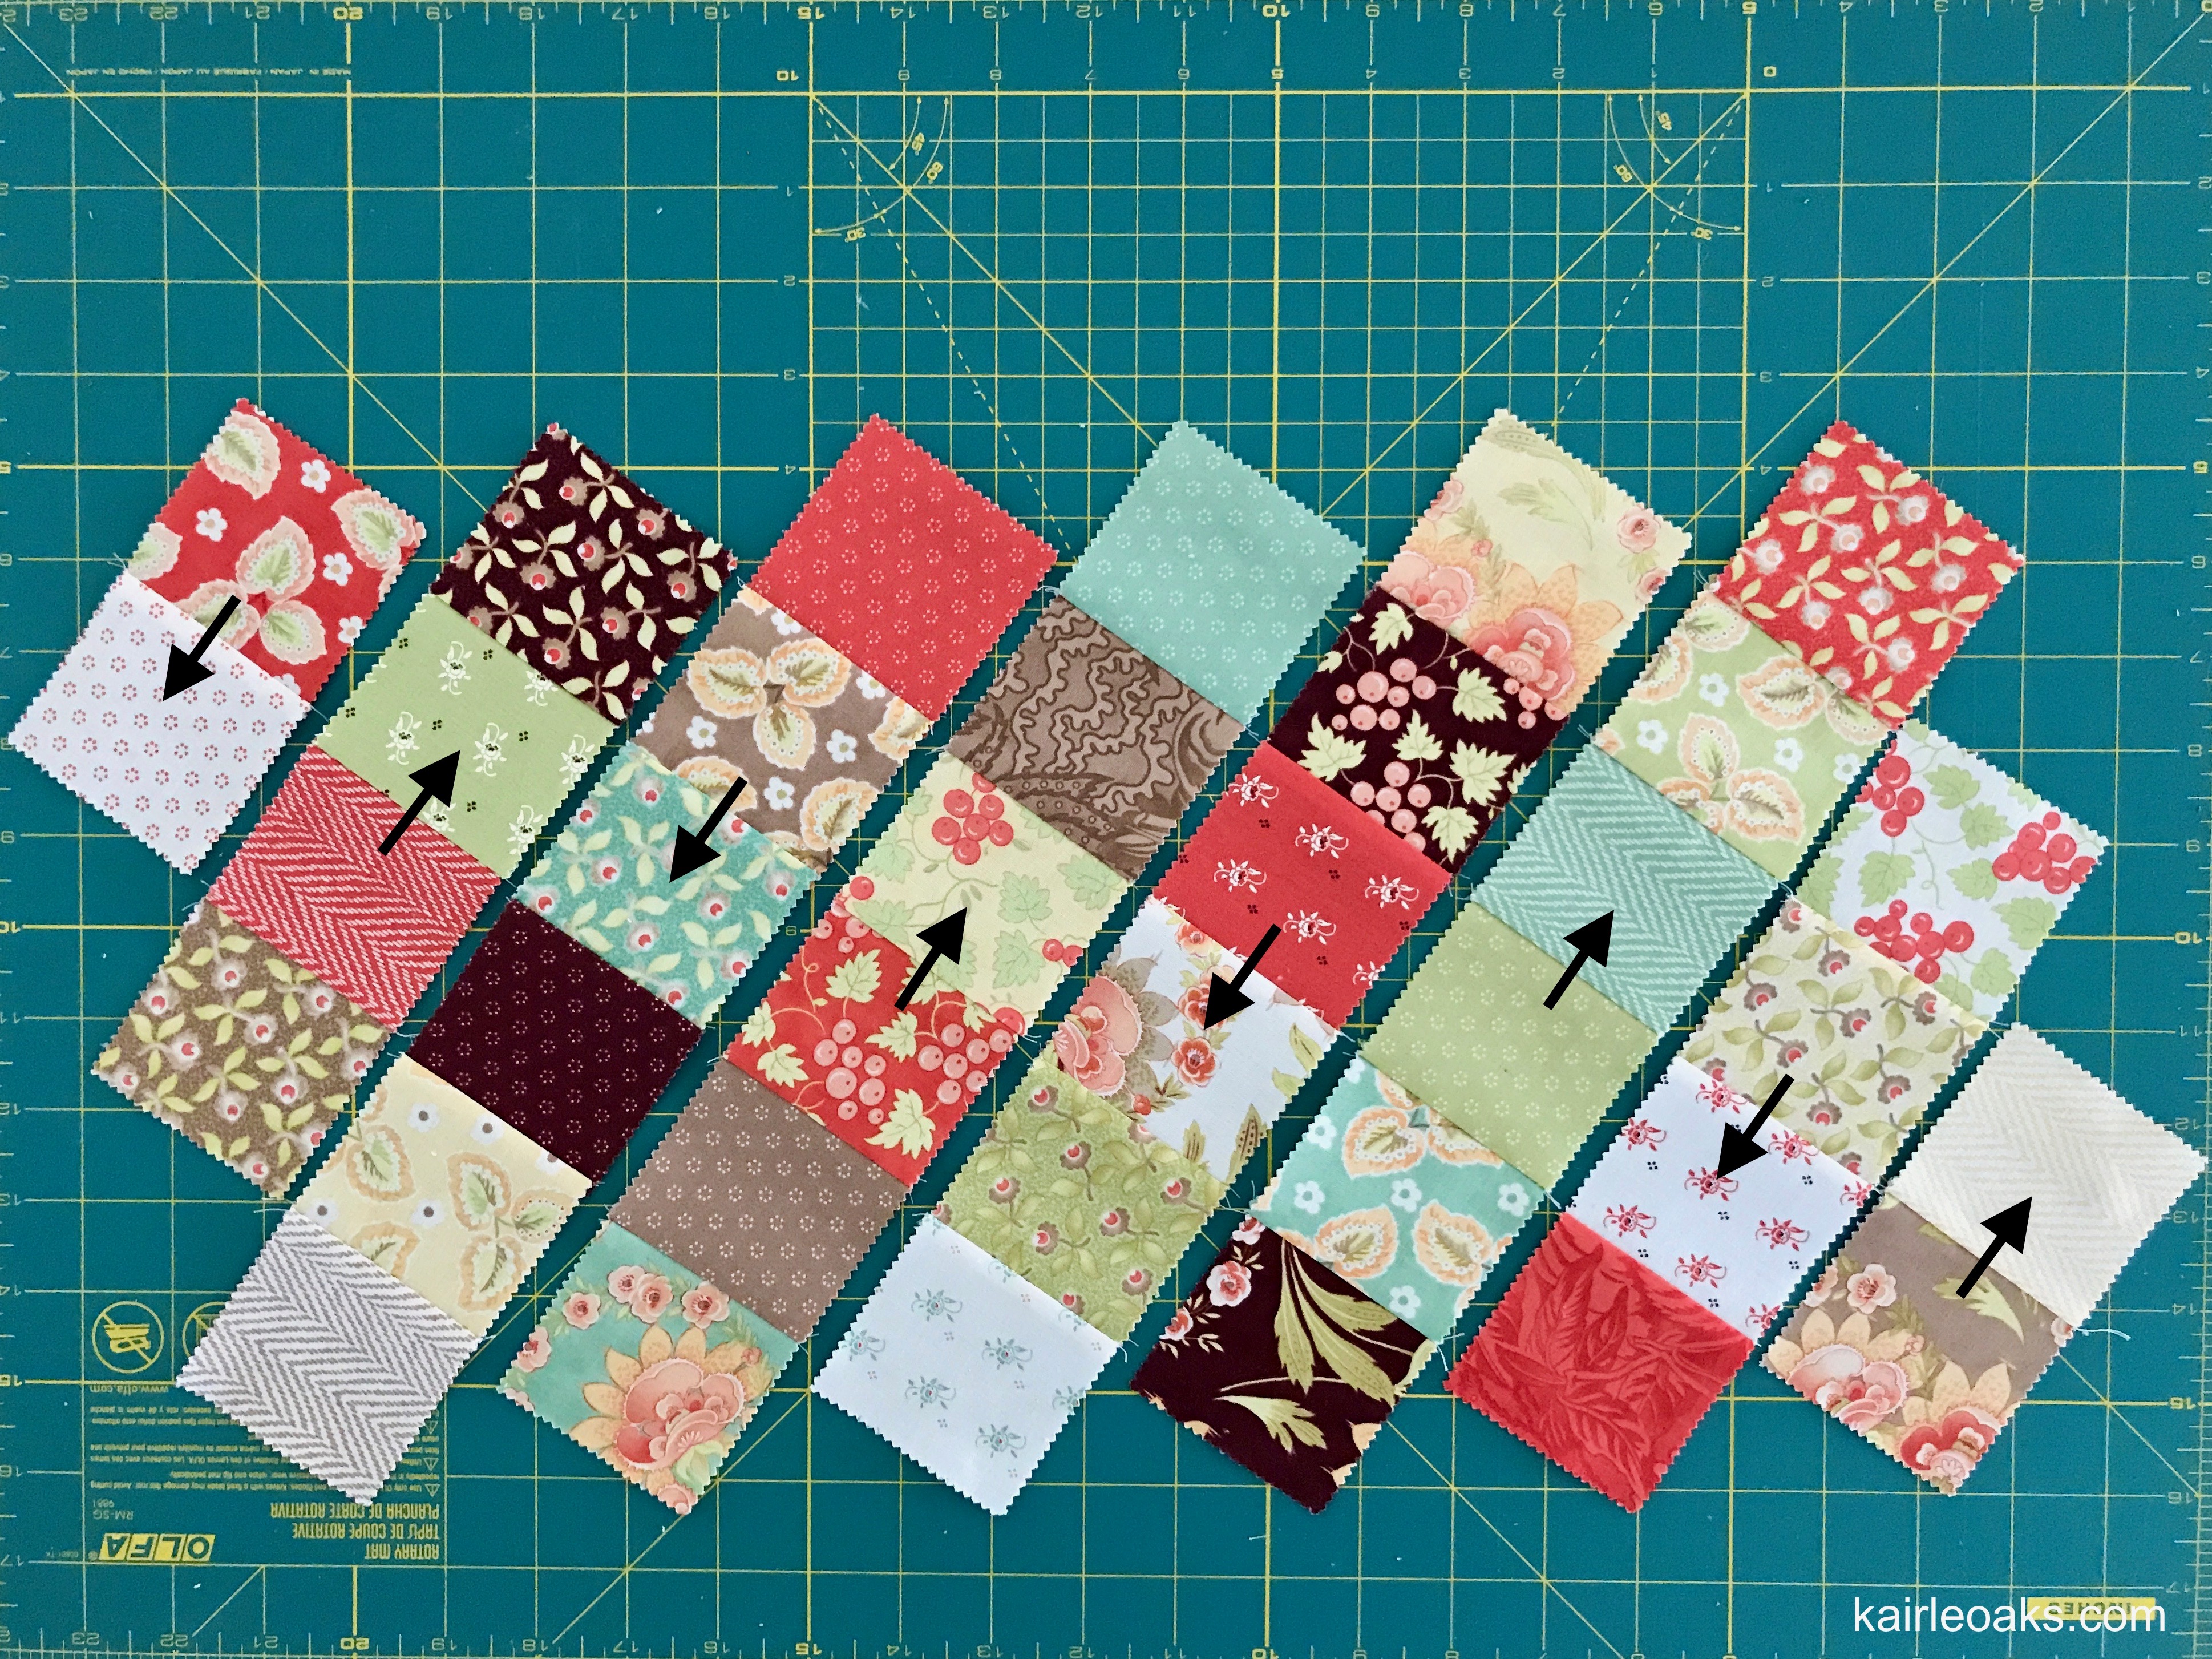
MINI CHARM INSERT
- Using 36 mini charms, randomly arrange, as depicted below.

- Stitch together in rows and press seams in the directions indicated by the arrows.
- Stitch rows together, nesting seams.
- Press.
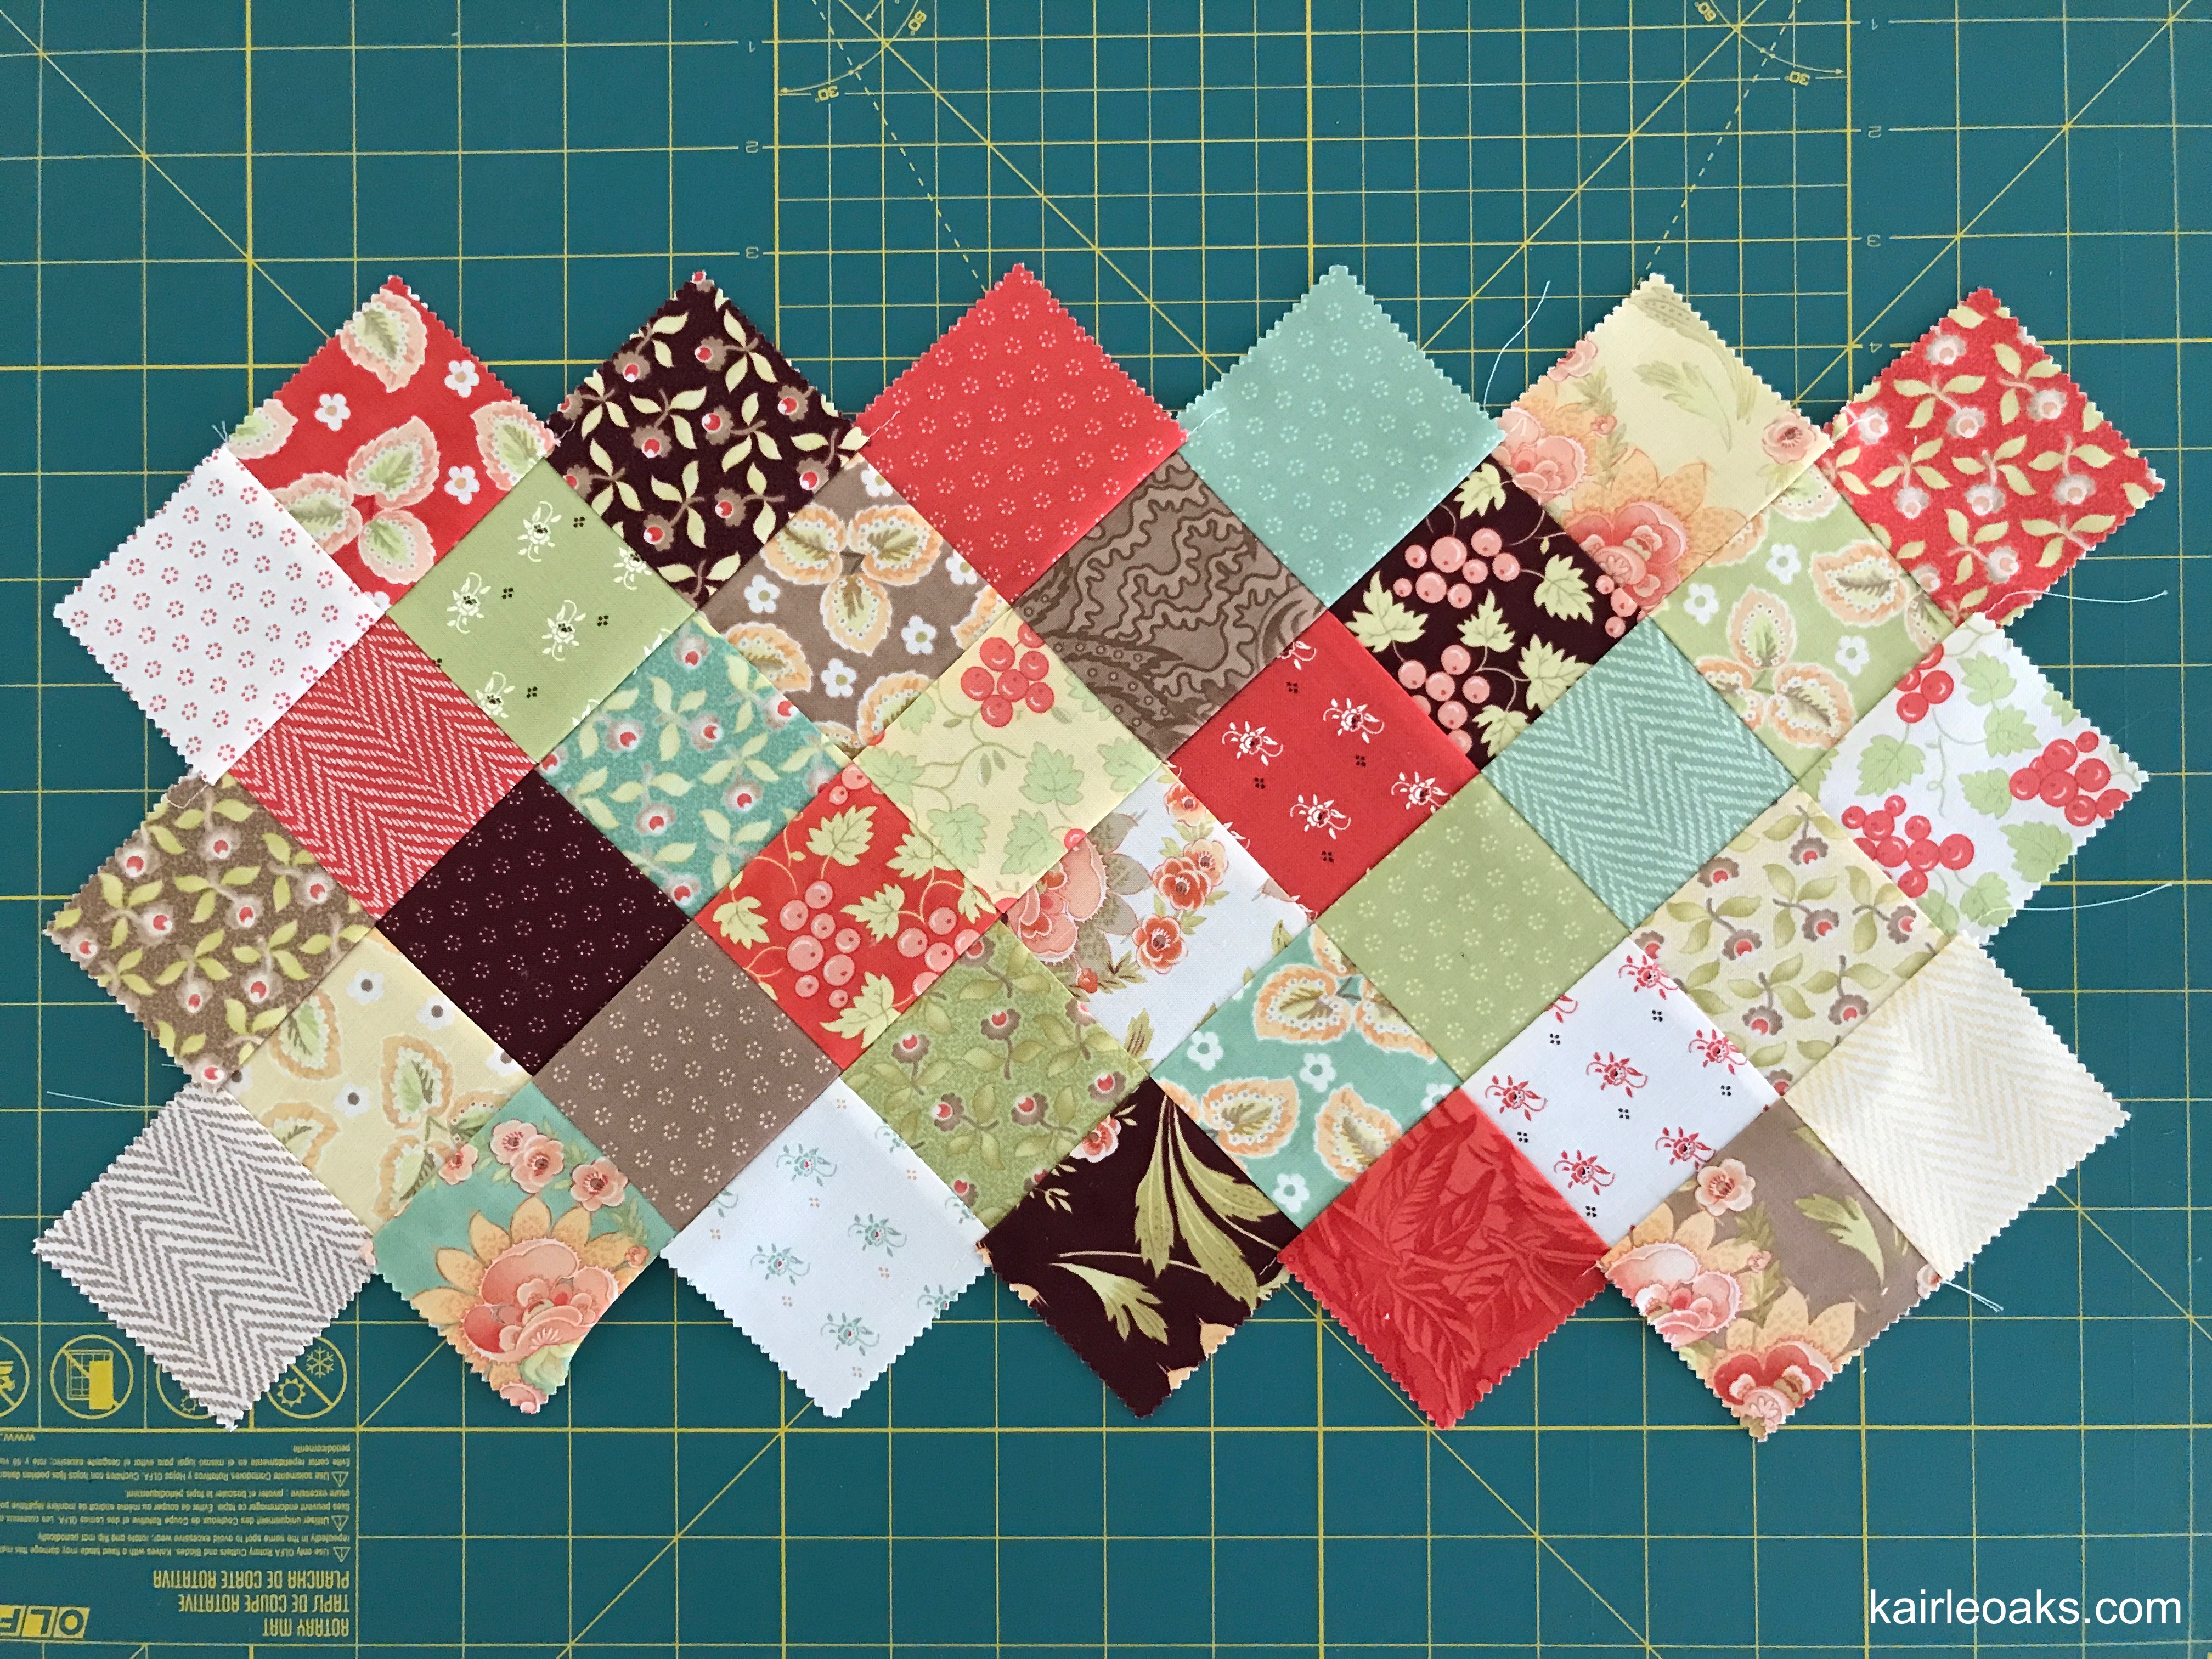
- Aligning the 1/4" mark on your ruler with the points where the fabrics meet (shown below), trim insert on all four sides.
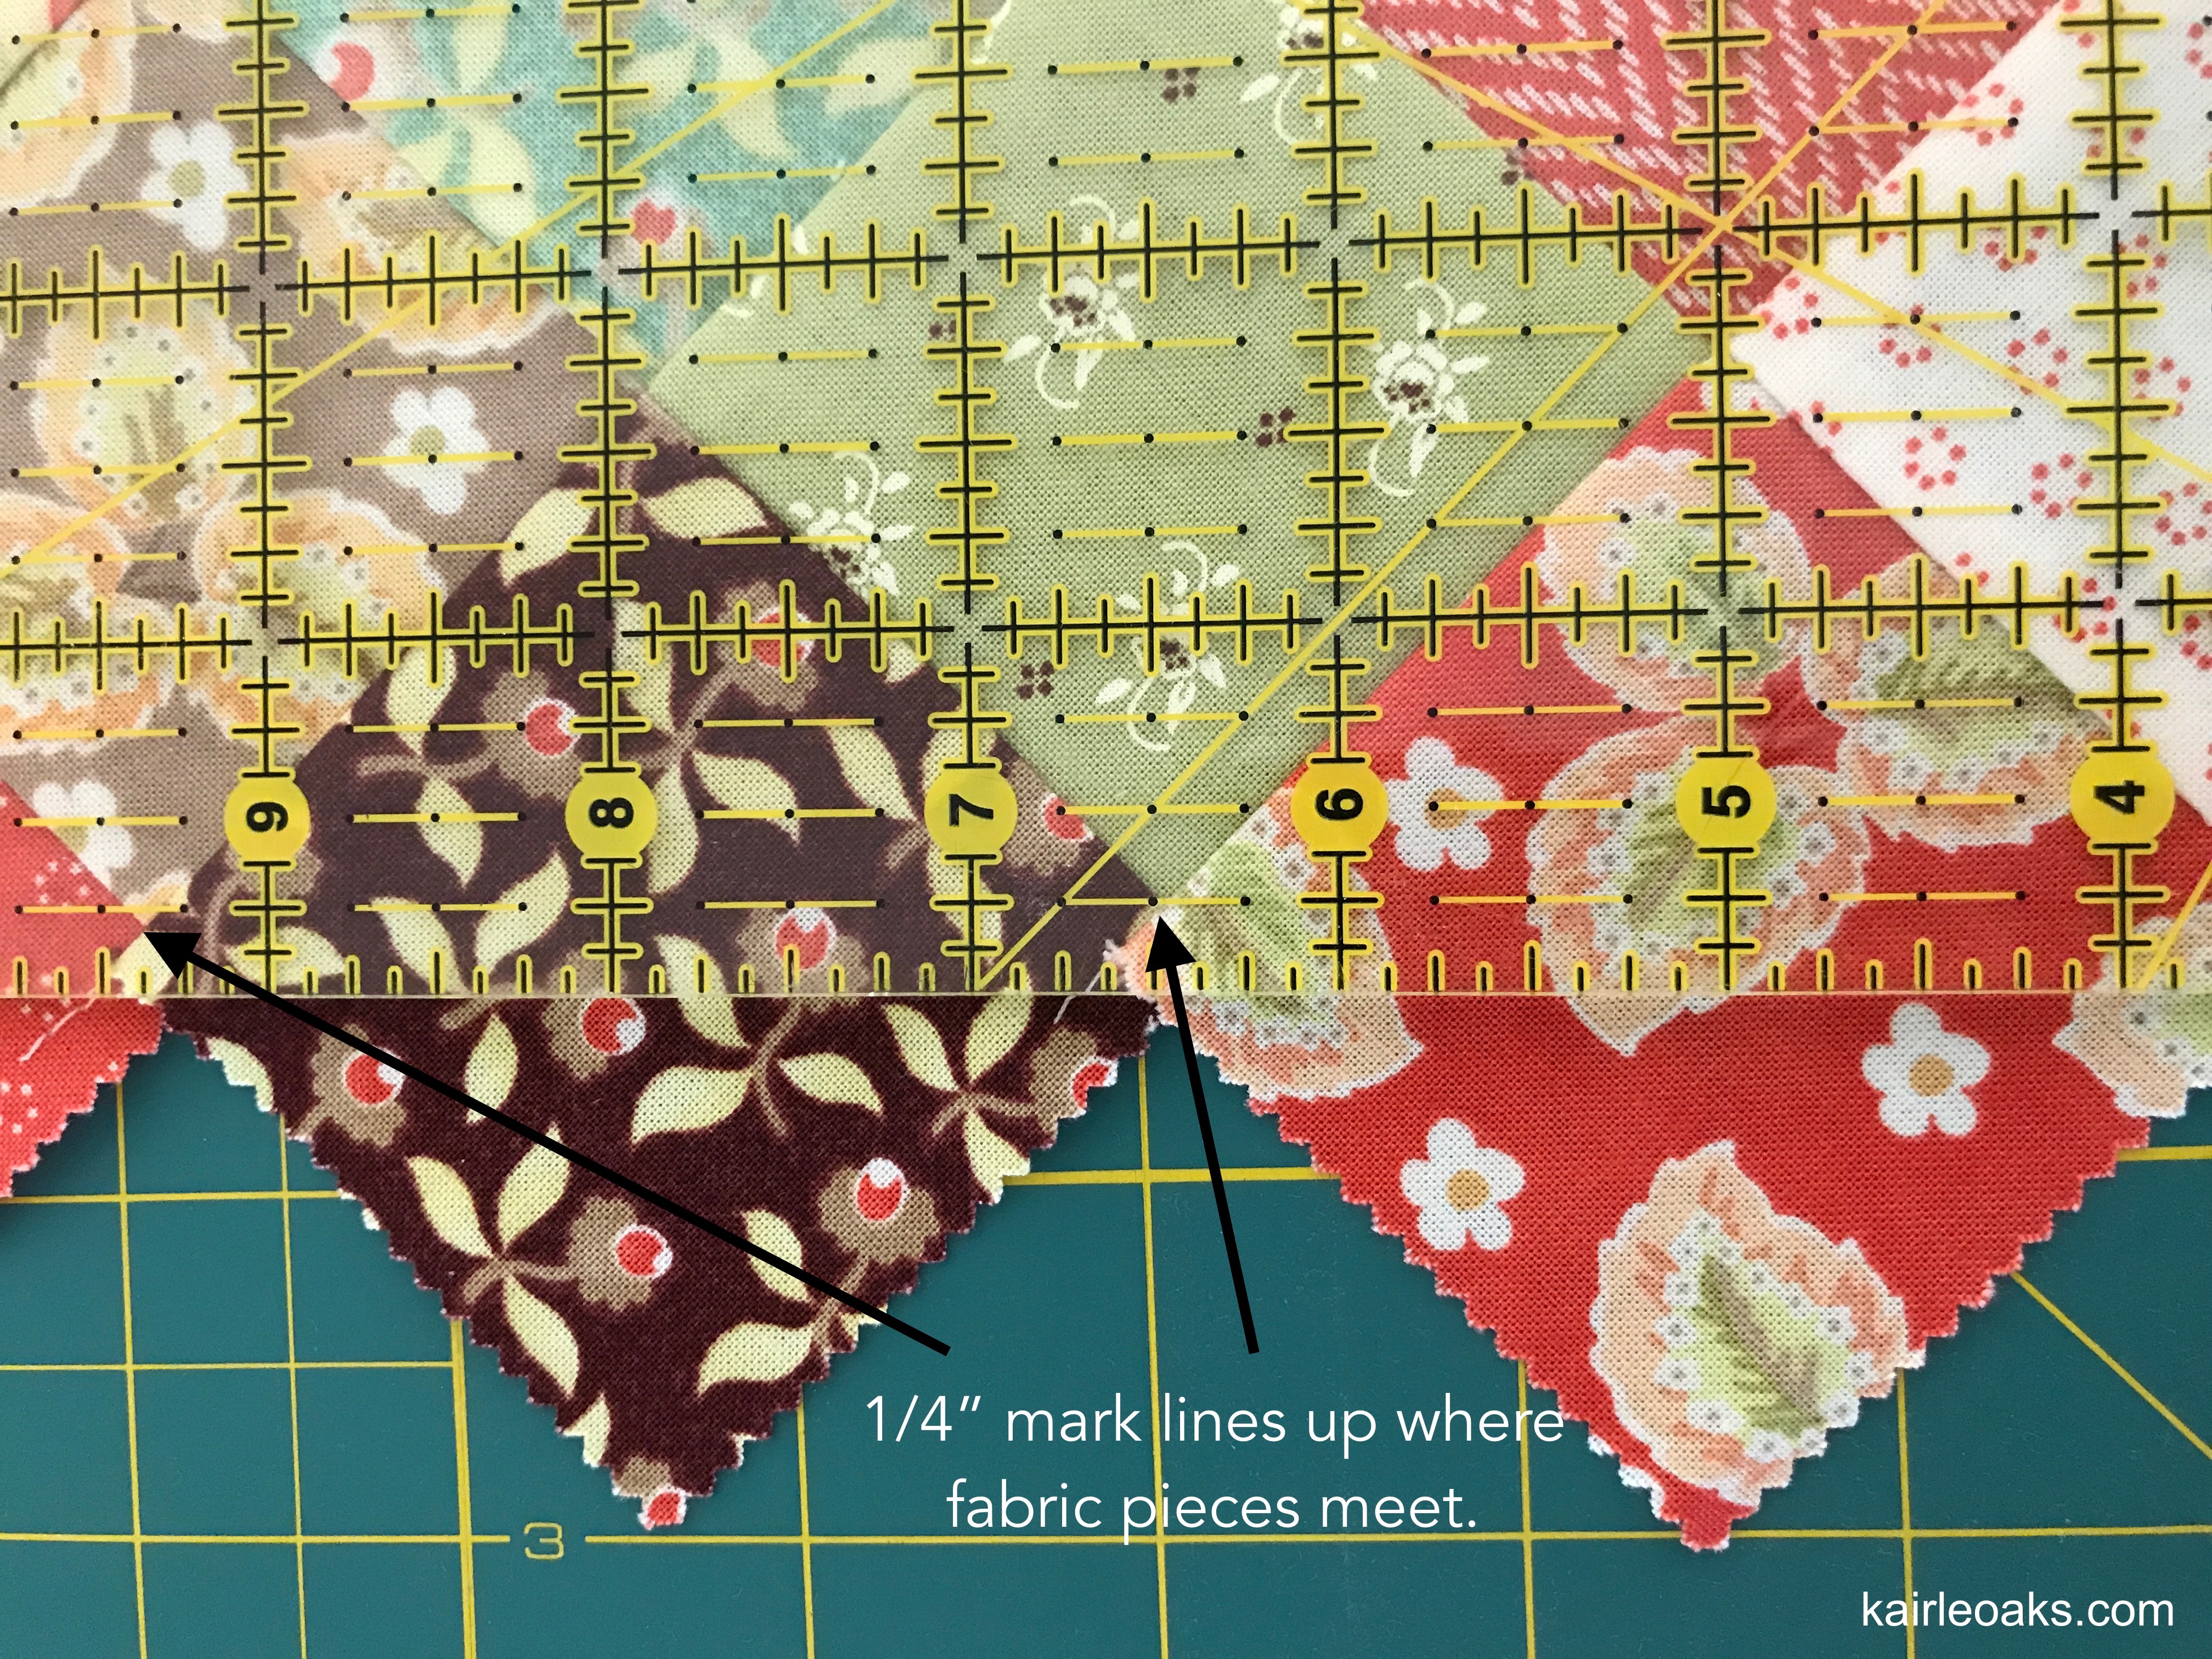
- Insert should measure 16-1/2' wide x 7-3/4" high.

STRAPS
- For each strap, press fabric lengthwise, right sides together.
- According to Pellon instructions, apply one strip of Decor-Bond to one side of strap (on wrong side).
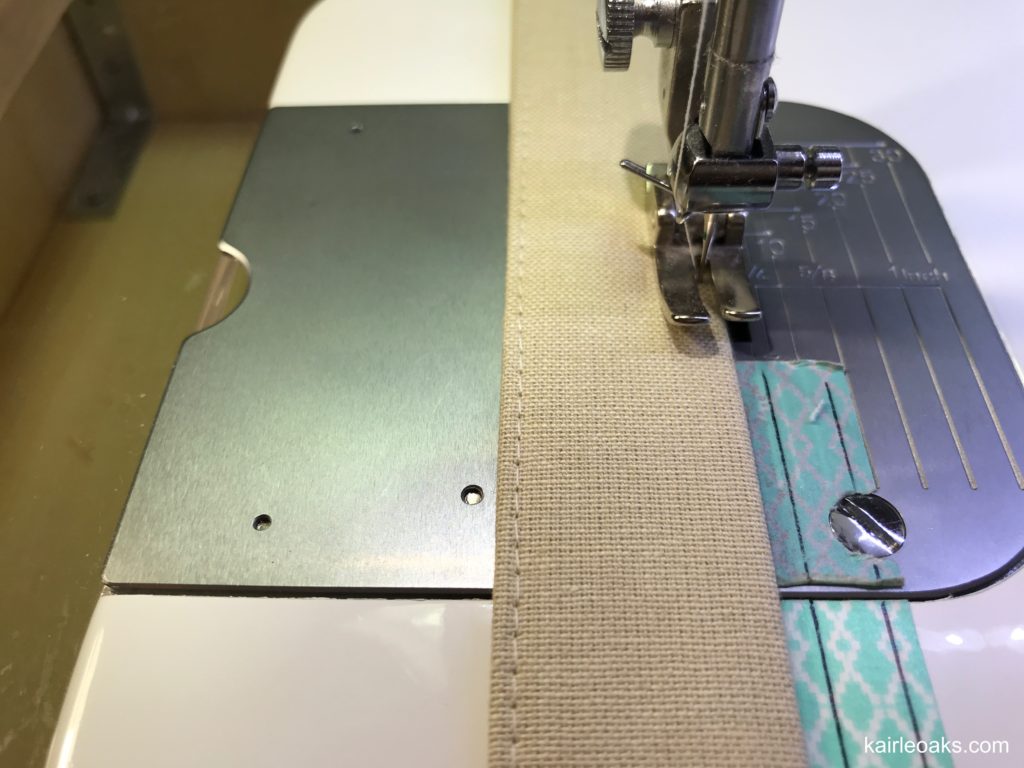
- Fold long edges in toward the crease and press, creating a strap.
- Stitch closely to the both edges of straps, as shown below.
- Fold pocket fabric in half, wrong sides together, and press.
- According to Pellon instructions, apply Decor-Bond to half of pocket fabric (on wrong side).
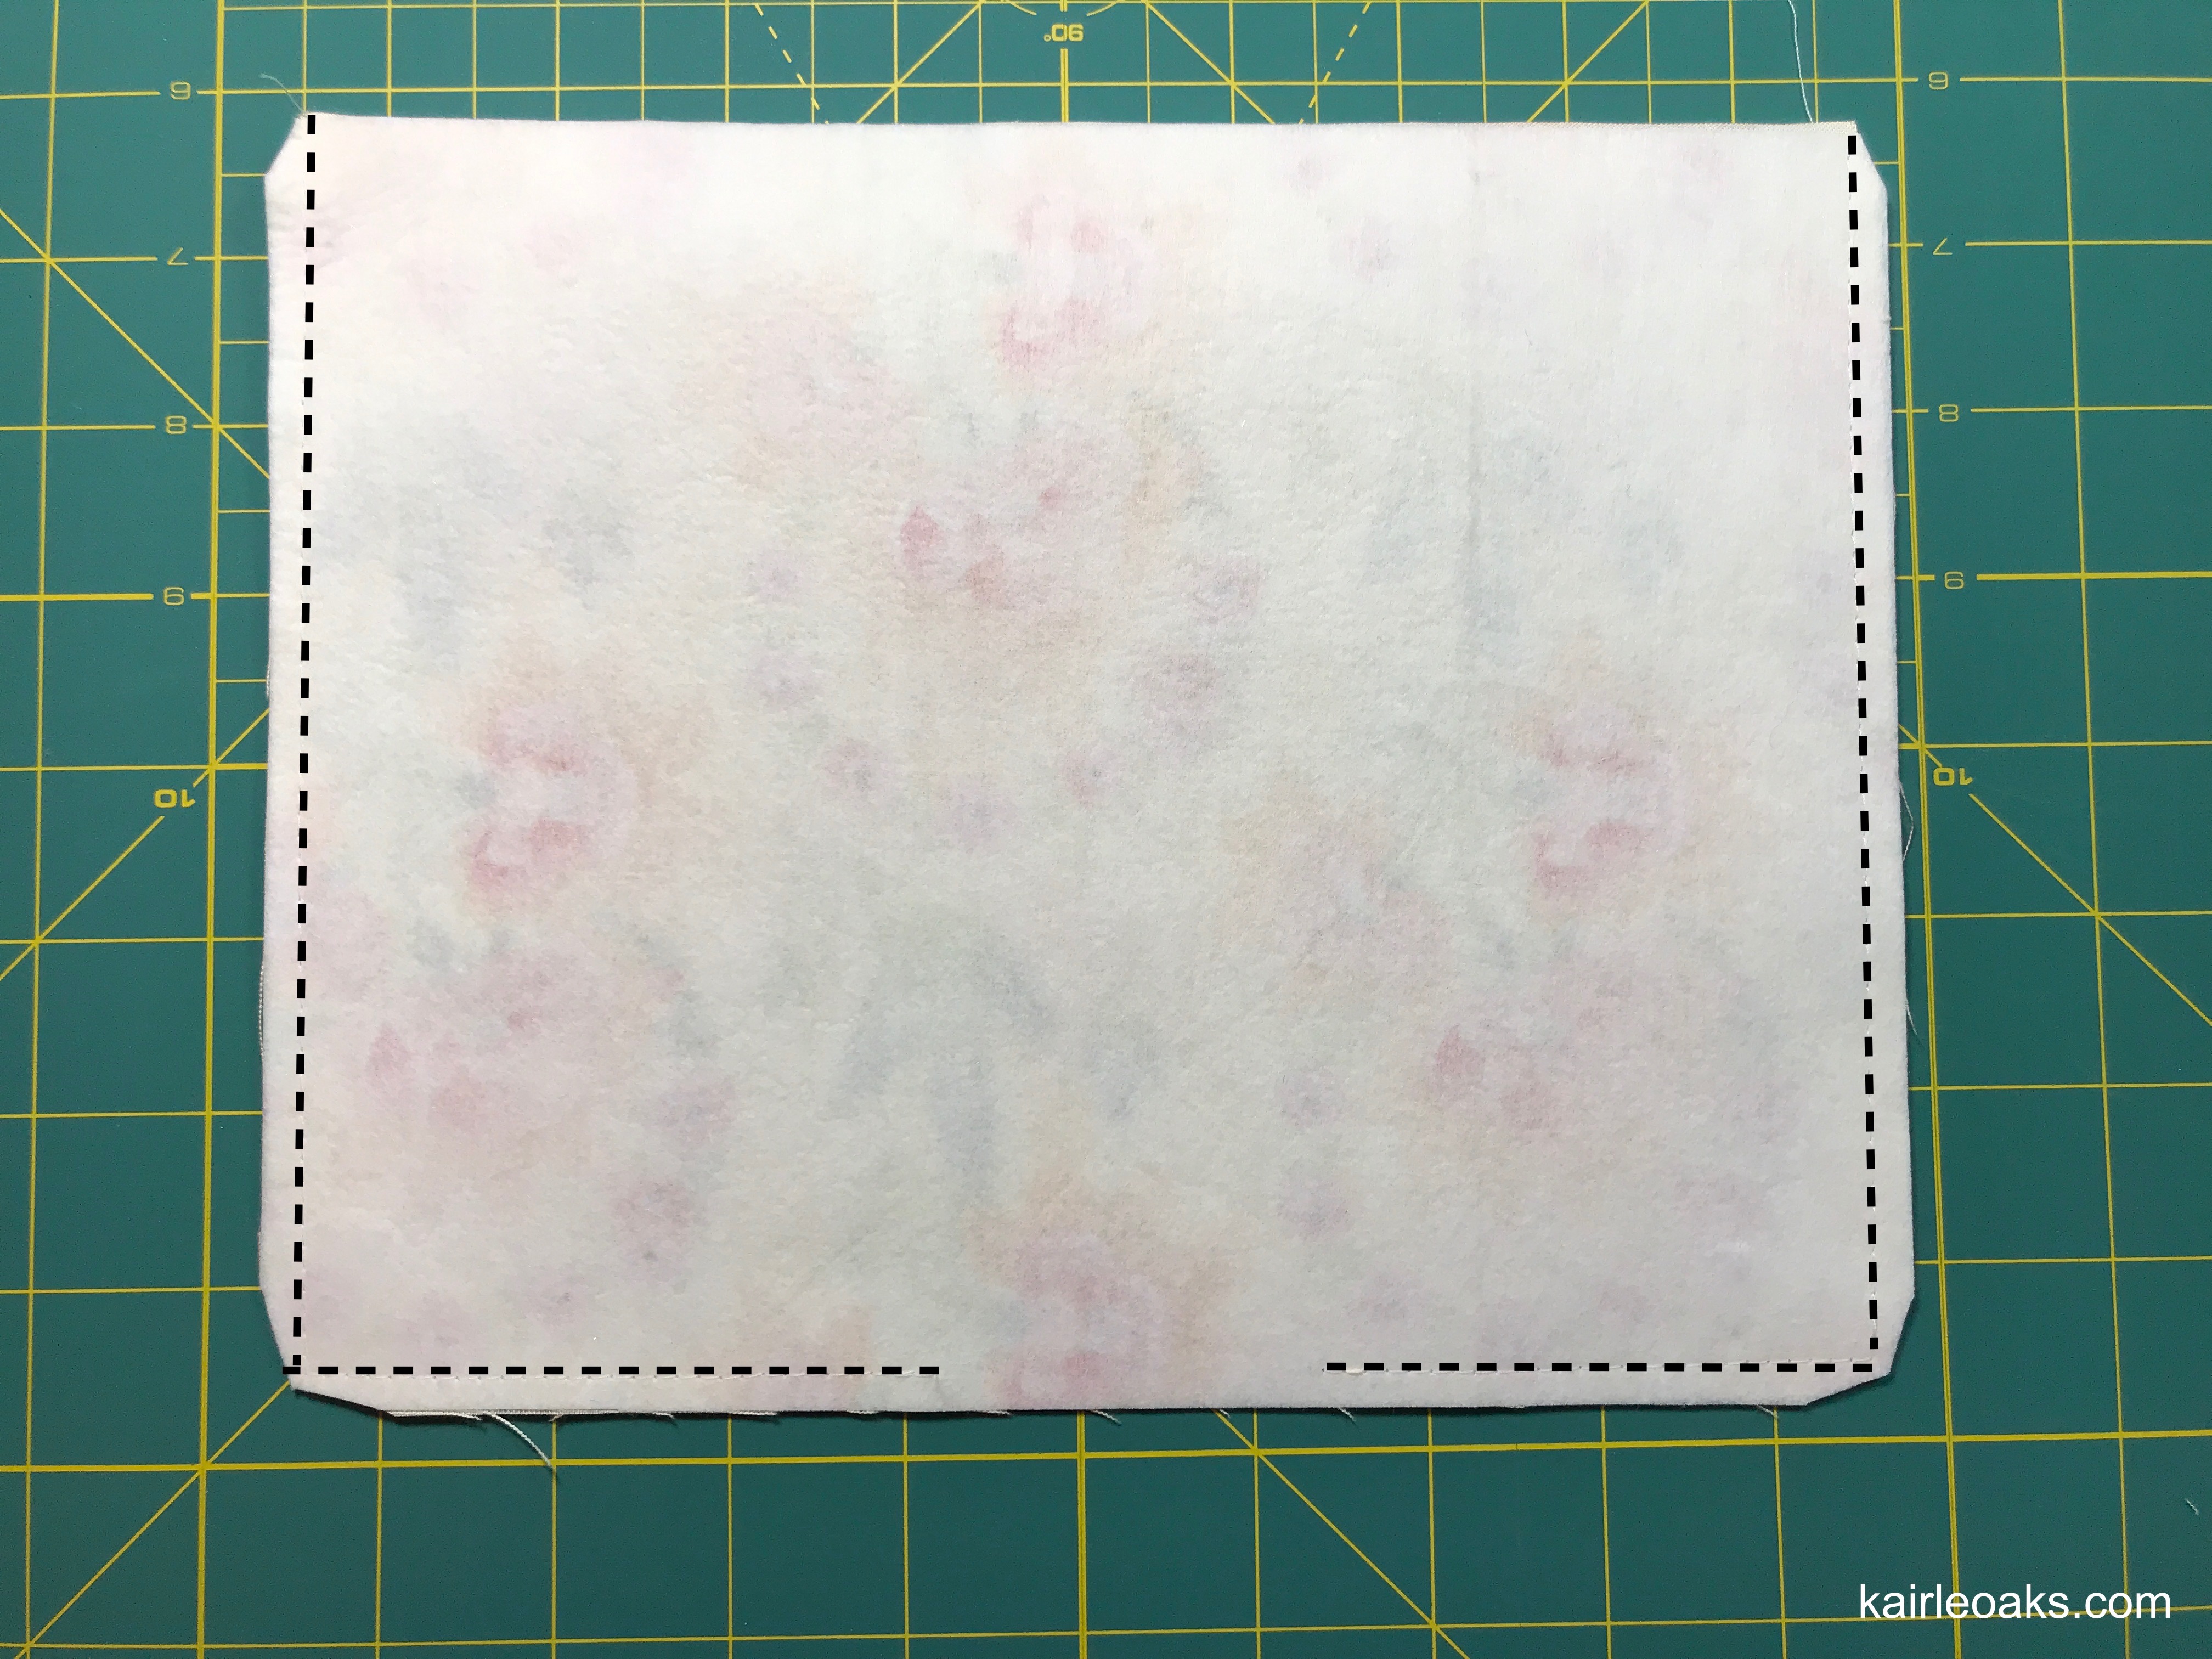
- Fold, right sides together, and stitch along the raw edges, leaving 1-1/2" space for turning.
- Trim corners, as shown below.
- Turn and press. You do not need to stitch the opening closed, as it will be stitched when you add the pocket to the lining.
- Edge stitch the top, 1/4" away from folded edge.
BAG INTERFACING
- According to Pellon instructions, apply remaining pieces of Decor-Bond to each of the corresponding bag and lining pieces. Each bag and lining piece has a Decor-Bond backing.
Now that everything is prepped and ready to go, let have some fun!
- Top stitch insert 1/4" from each side of seam allowance.
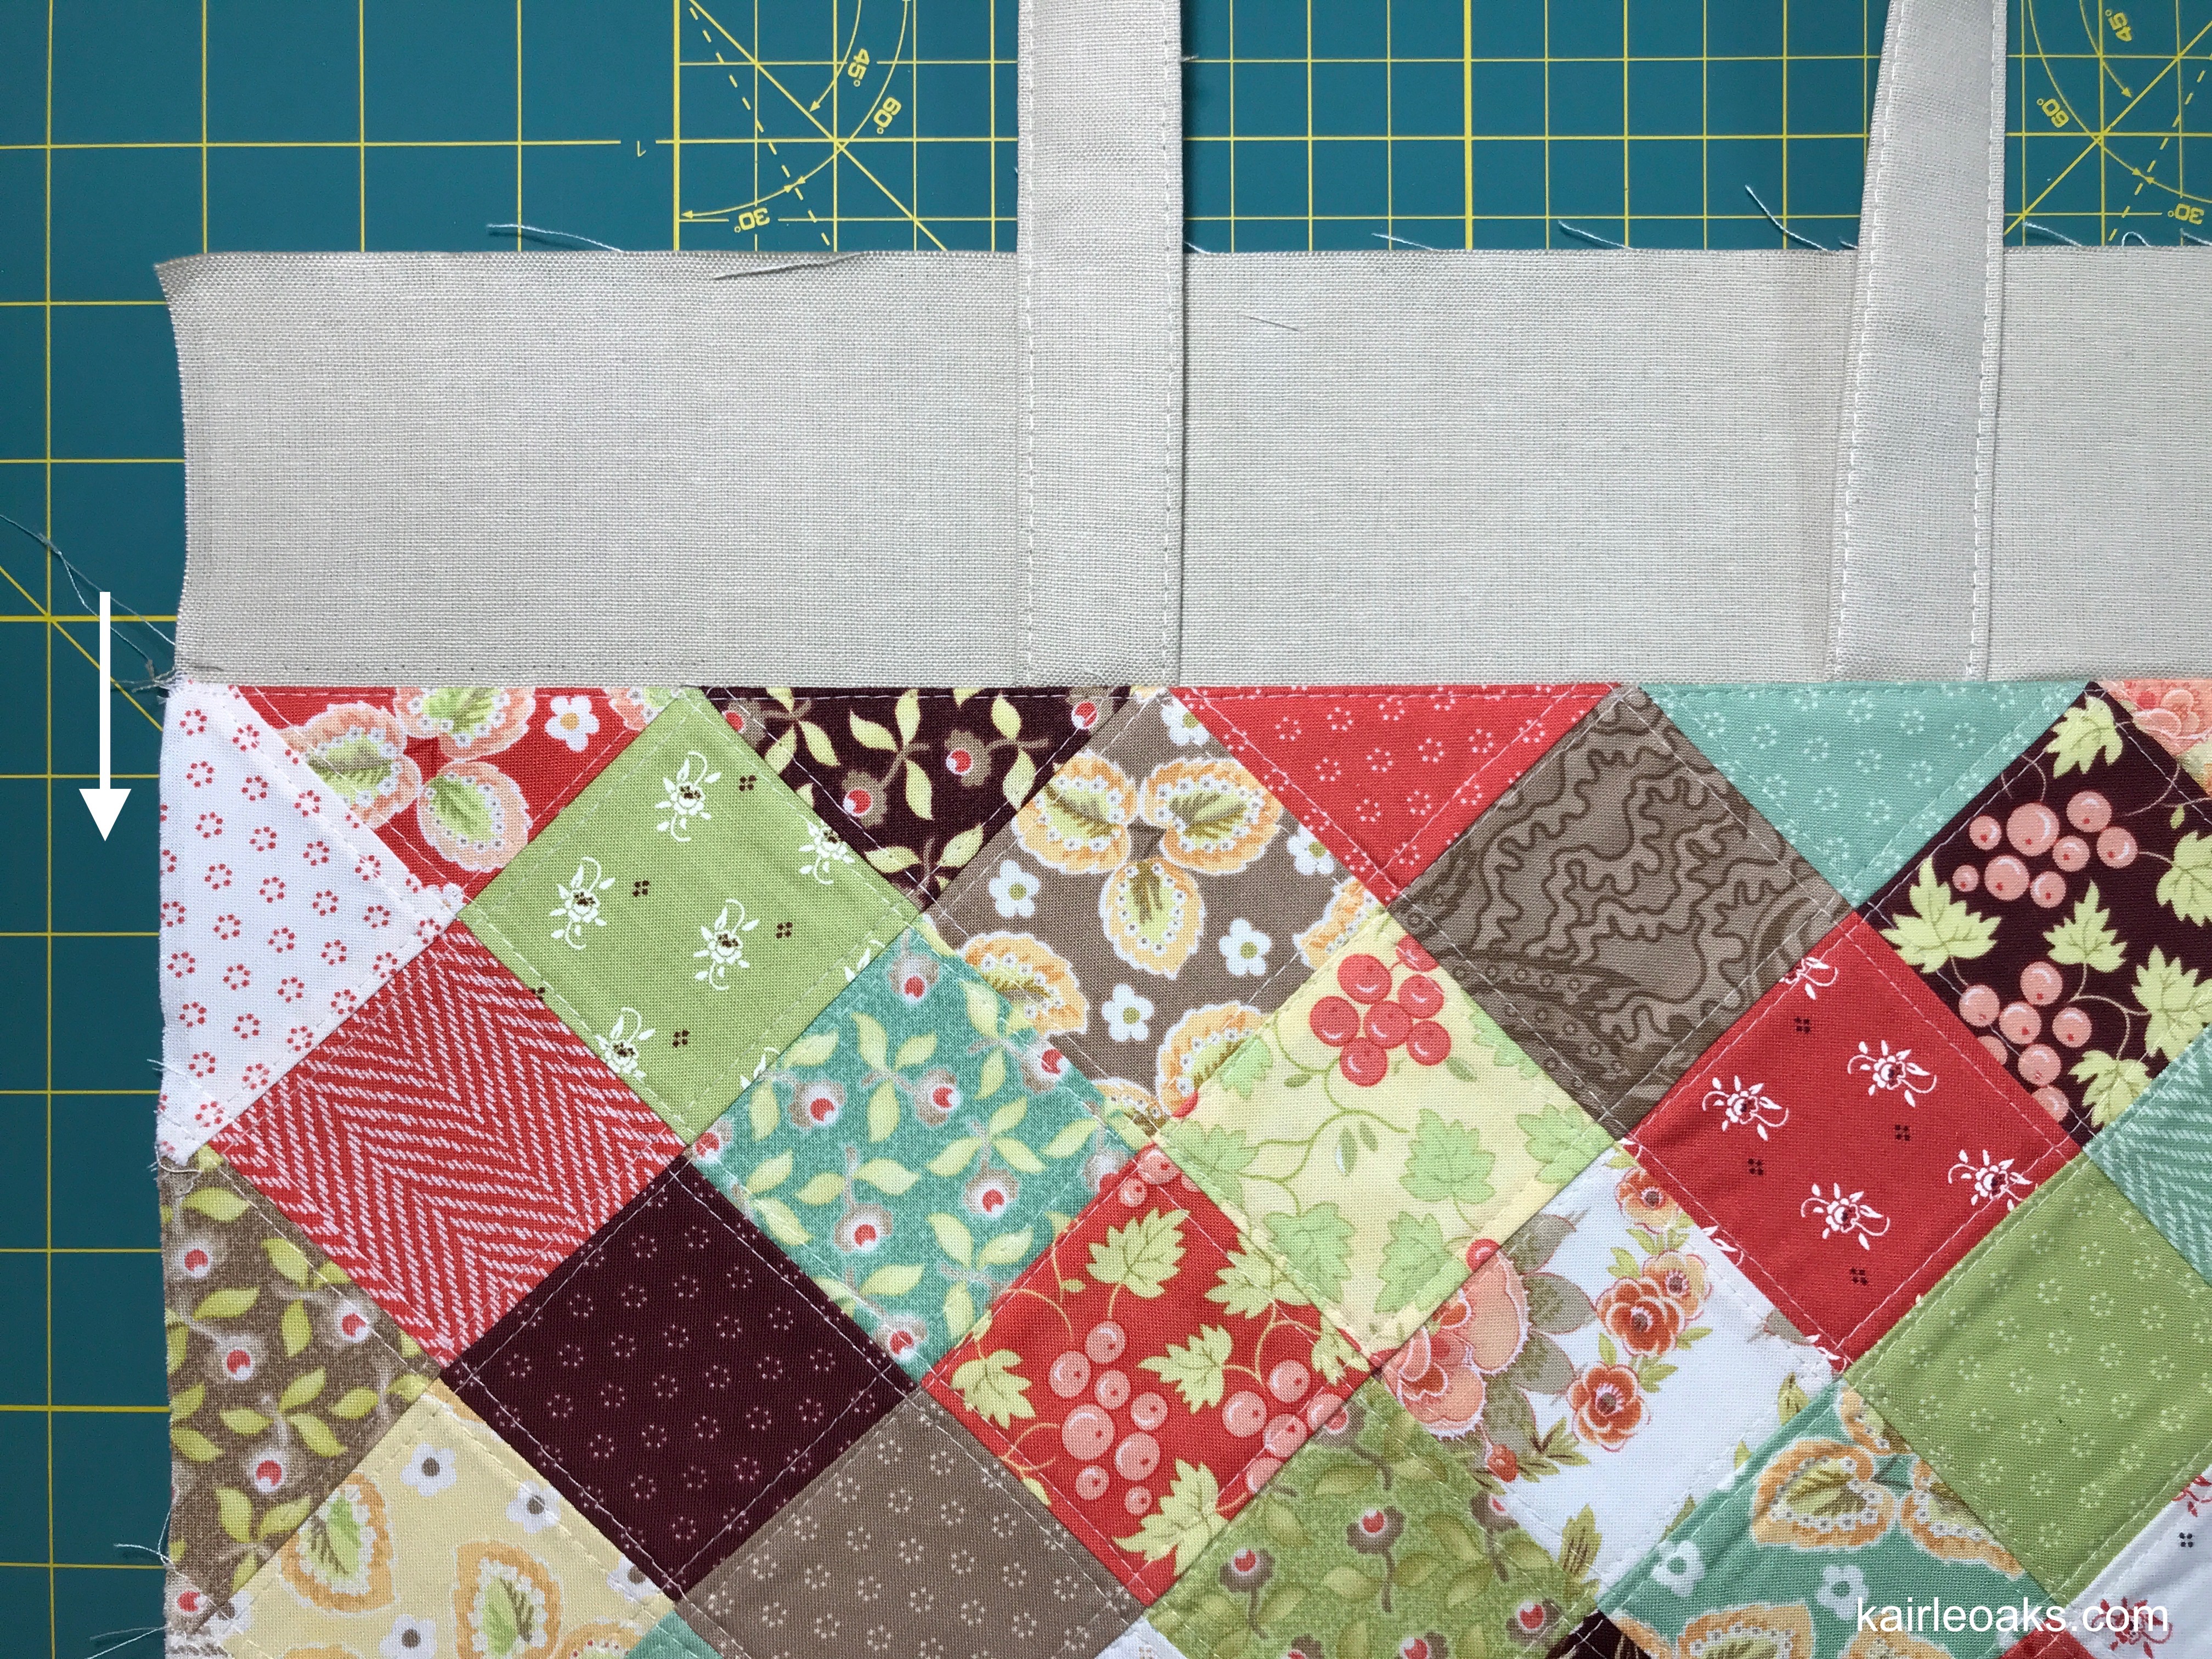
- Attach the lower piece of the bag front (6-1/2" x 12-1/2").
- Press toward the bottom and stitch close to the seam allowance, as shown below.


- Mark the center of the bag top with a pin. Measure 2" from center and pin the ends of one strap to each side (4" apart). Make sure that the strap is not twisted.
Note: The bag tops are turned upside down in the following two pictures.

- Repeat on bag back.

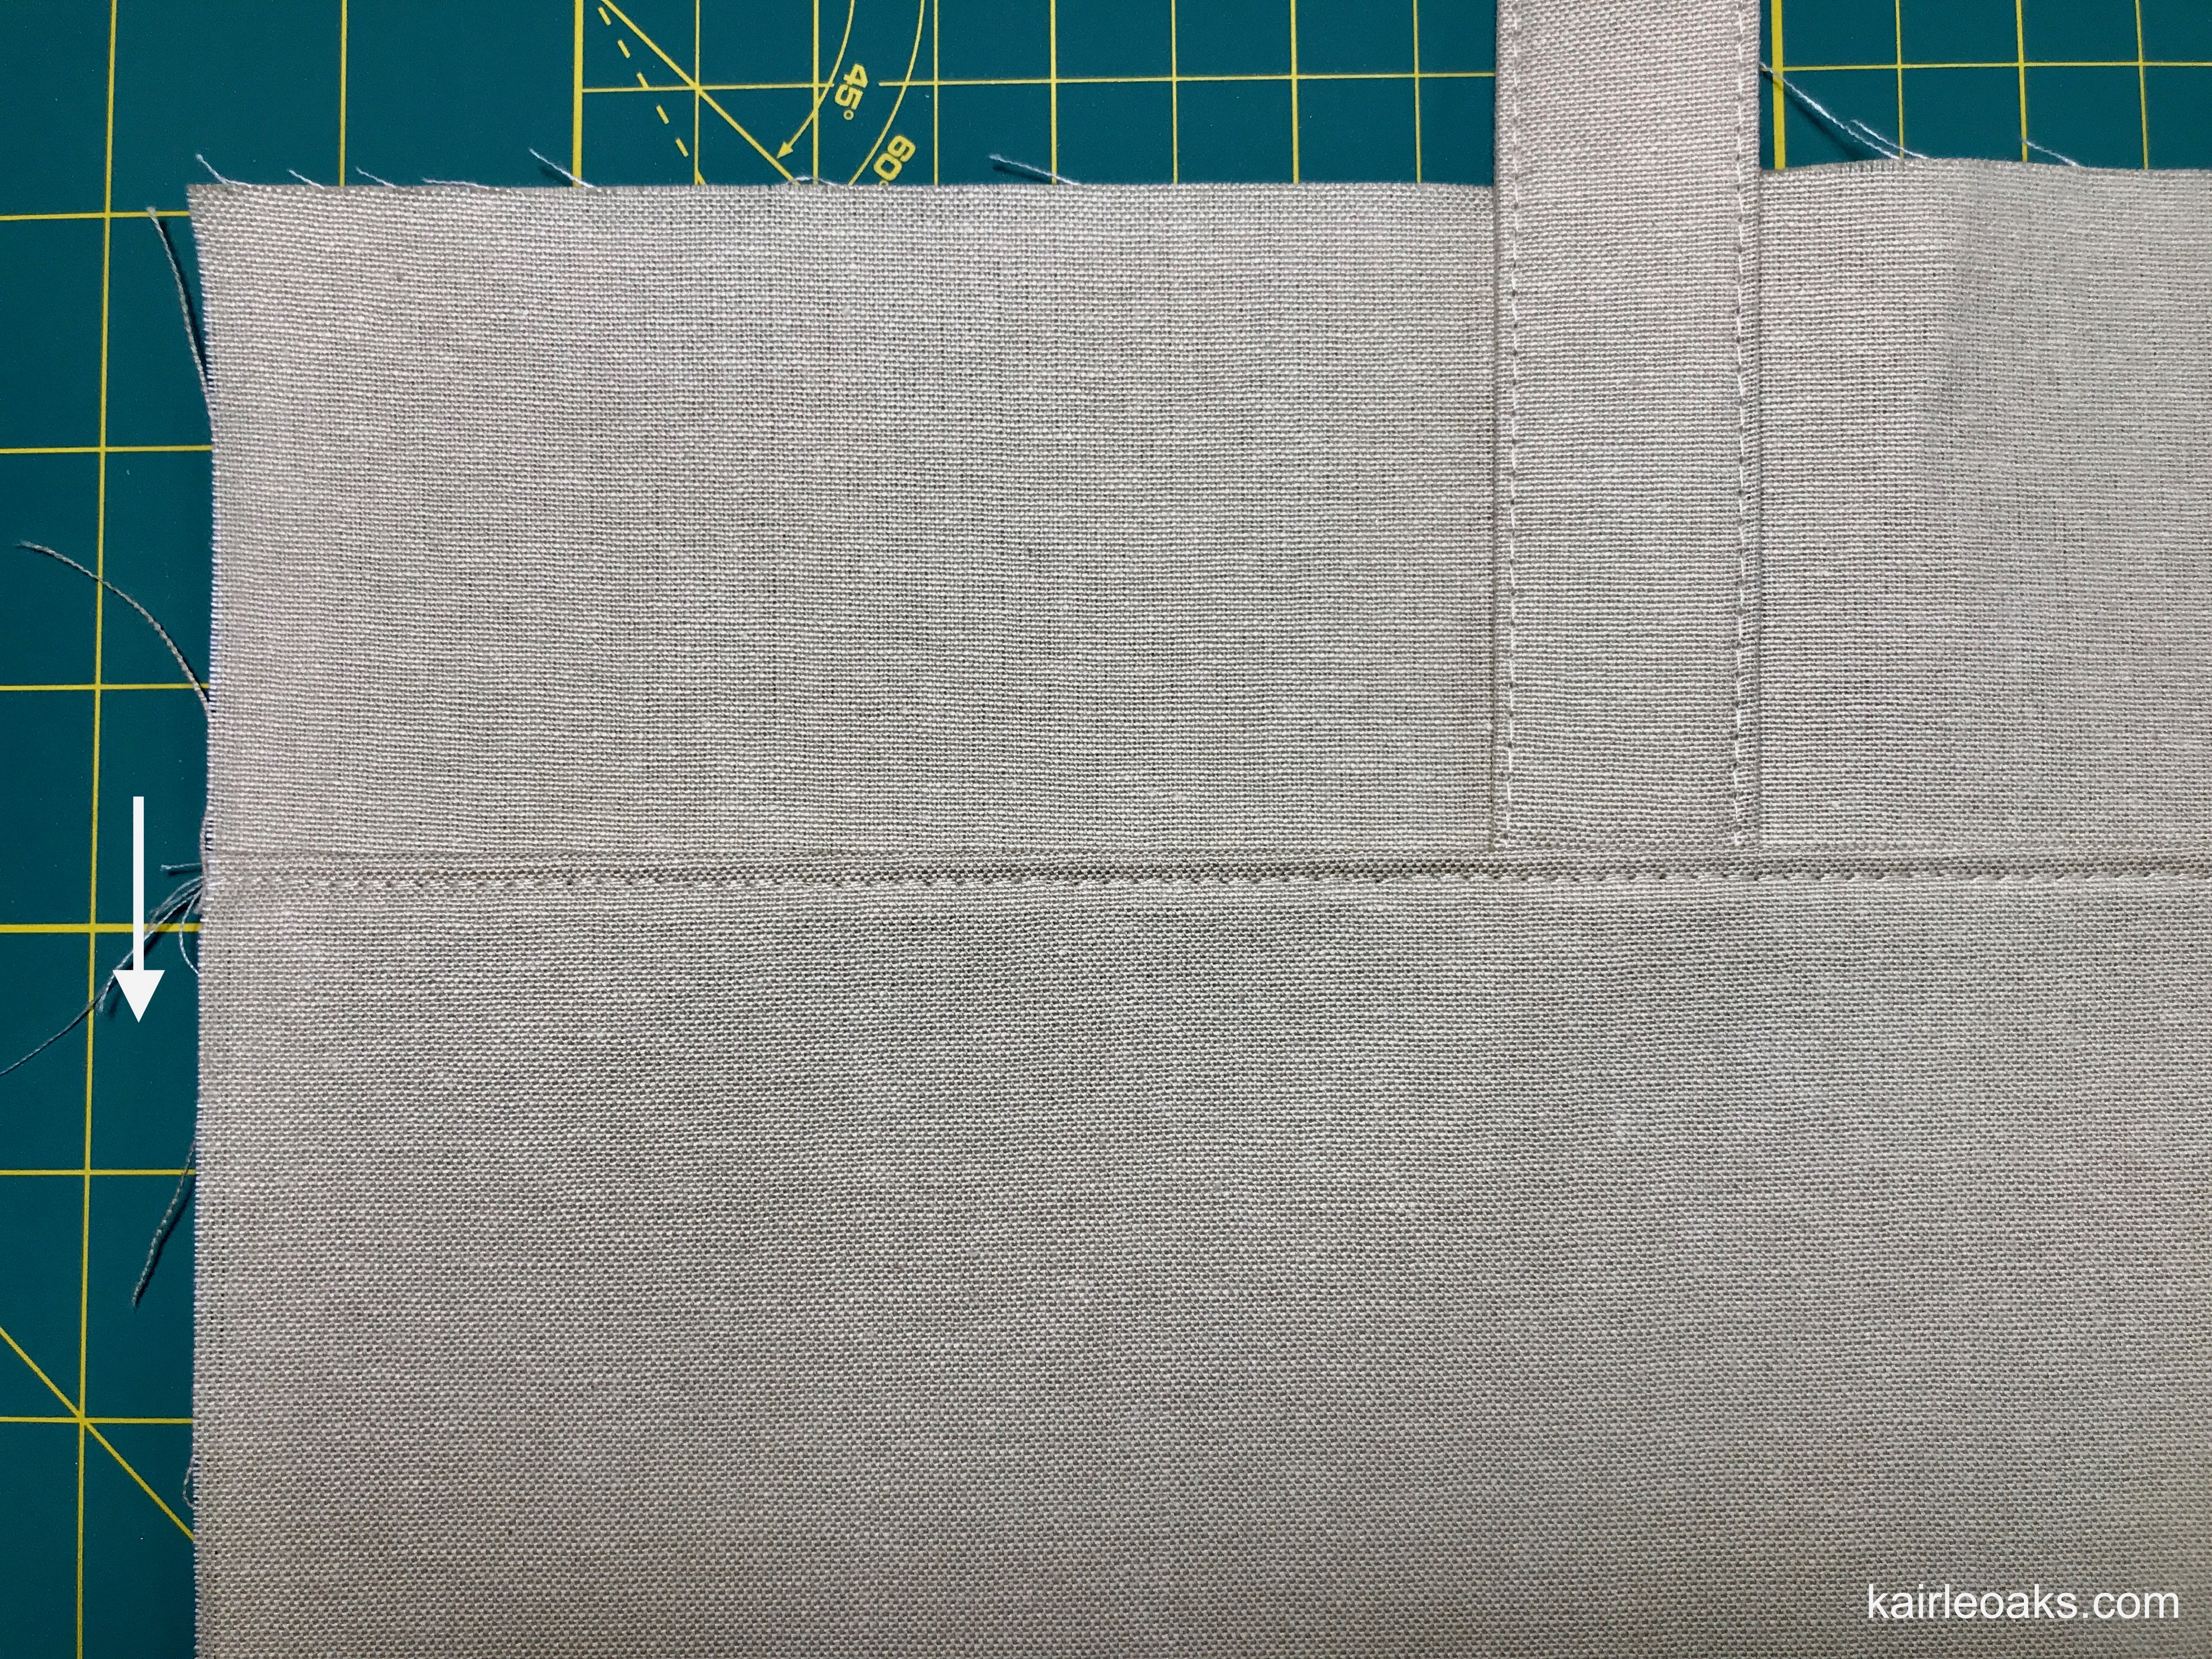
- Add bag bands (3" x 16-1/2") to the top of both the bag front (attaching to the insert) and bag back, right sides together.
- Stich, making sure to catch the straps in the seam allowance.
- Press seam allowance downward, as indicated by arrows.
- Top stitch close to the seam allowance, as shown, making sure to catch the ends of the straps with the stitching.
Note: Bag and lining pieces should now be 16-1/2" wide and 16-1/4" high. If they are off a little, now is the time to trim them up so that all four pieces are the same size.
- On the two bottom corners of the bag front and bag back, trace and cut a 2-1/4" square from each corner, as shown below.

- Repeat with both lining pieces.
- Place pocket on one of the lining pieces, 3" from the top and centered from side to side.
- Sew close to pocket edges, making sure that the opening on the lower edge of the pocket is caught in the stitching.

- Stitch the two lining pieces together on both sides and on the bottom of the lining.
- Repeat with bag front and back, making sure not to catch the straps in the seam allowance.

- Pinching the corners of the lining together, align the seam allowances and pin.
- Stitch across the raw edges, back stitching at the beginning and end.
- Press, but leave inside out.
- Repeat with the bag front and back.
- Turn bag right side out and press.

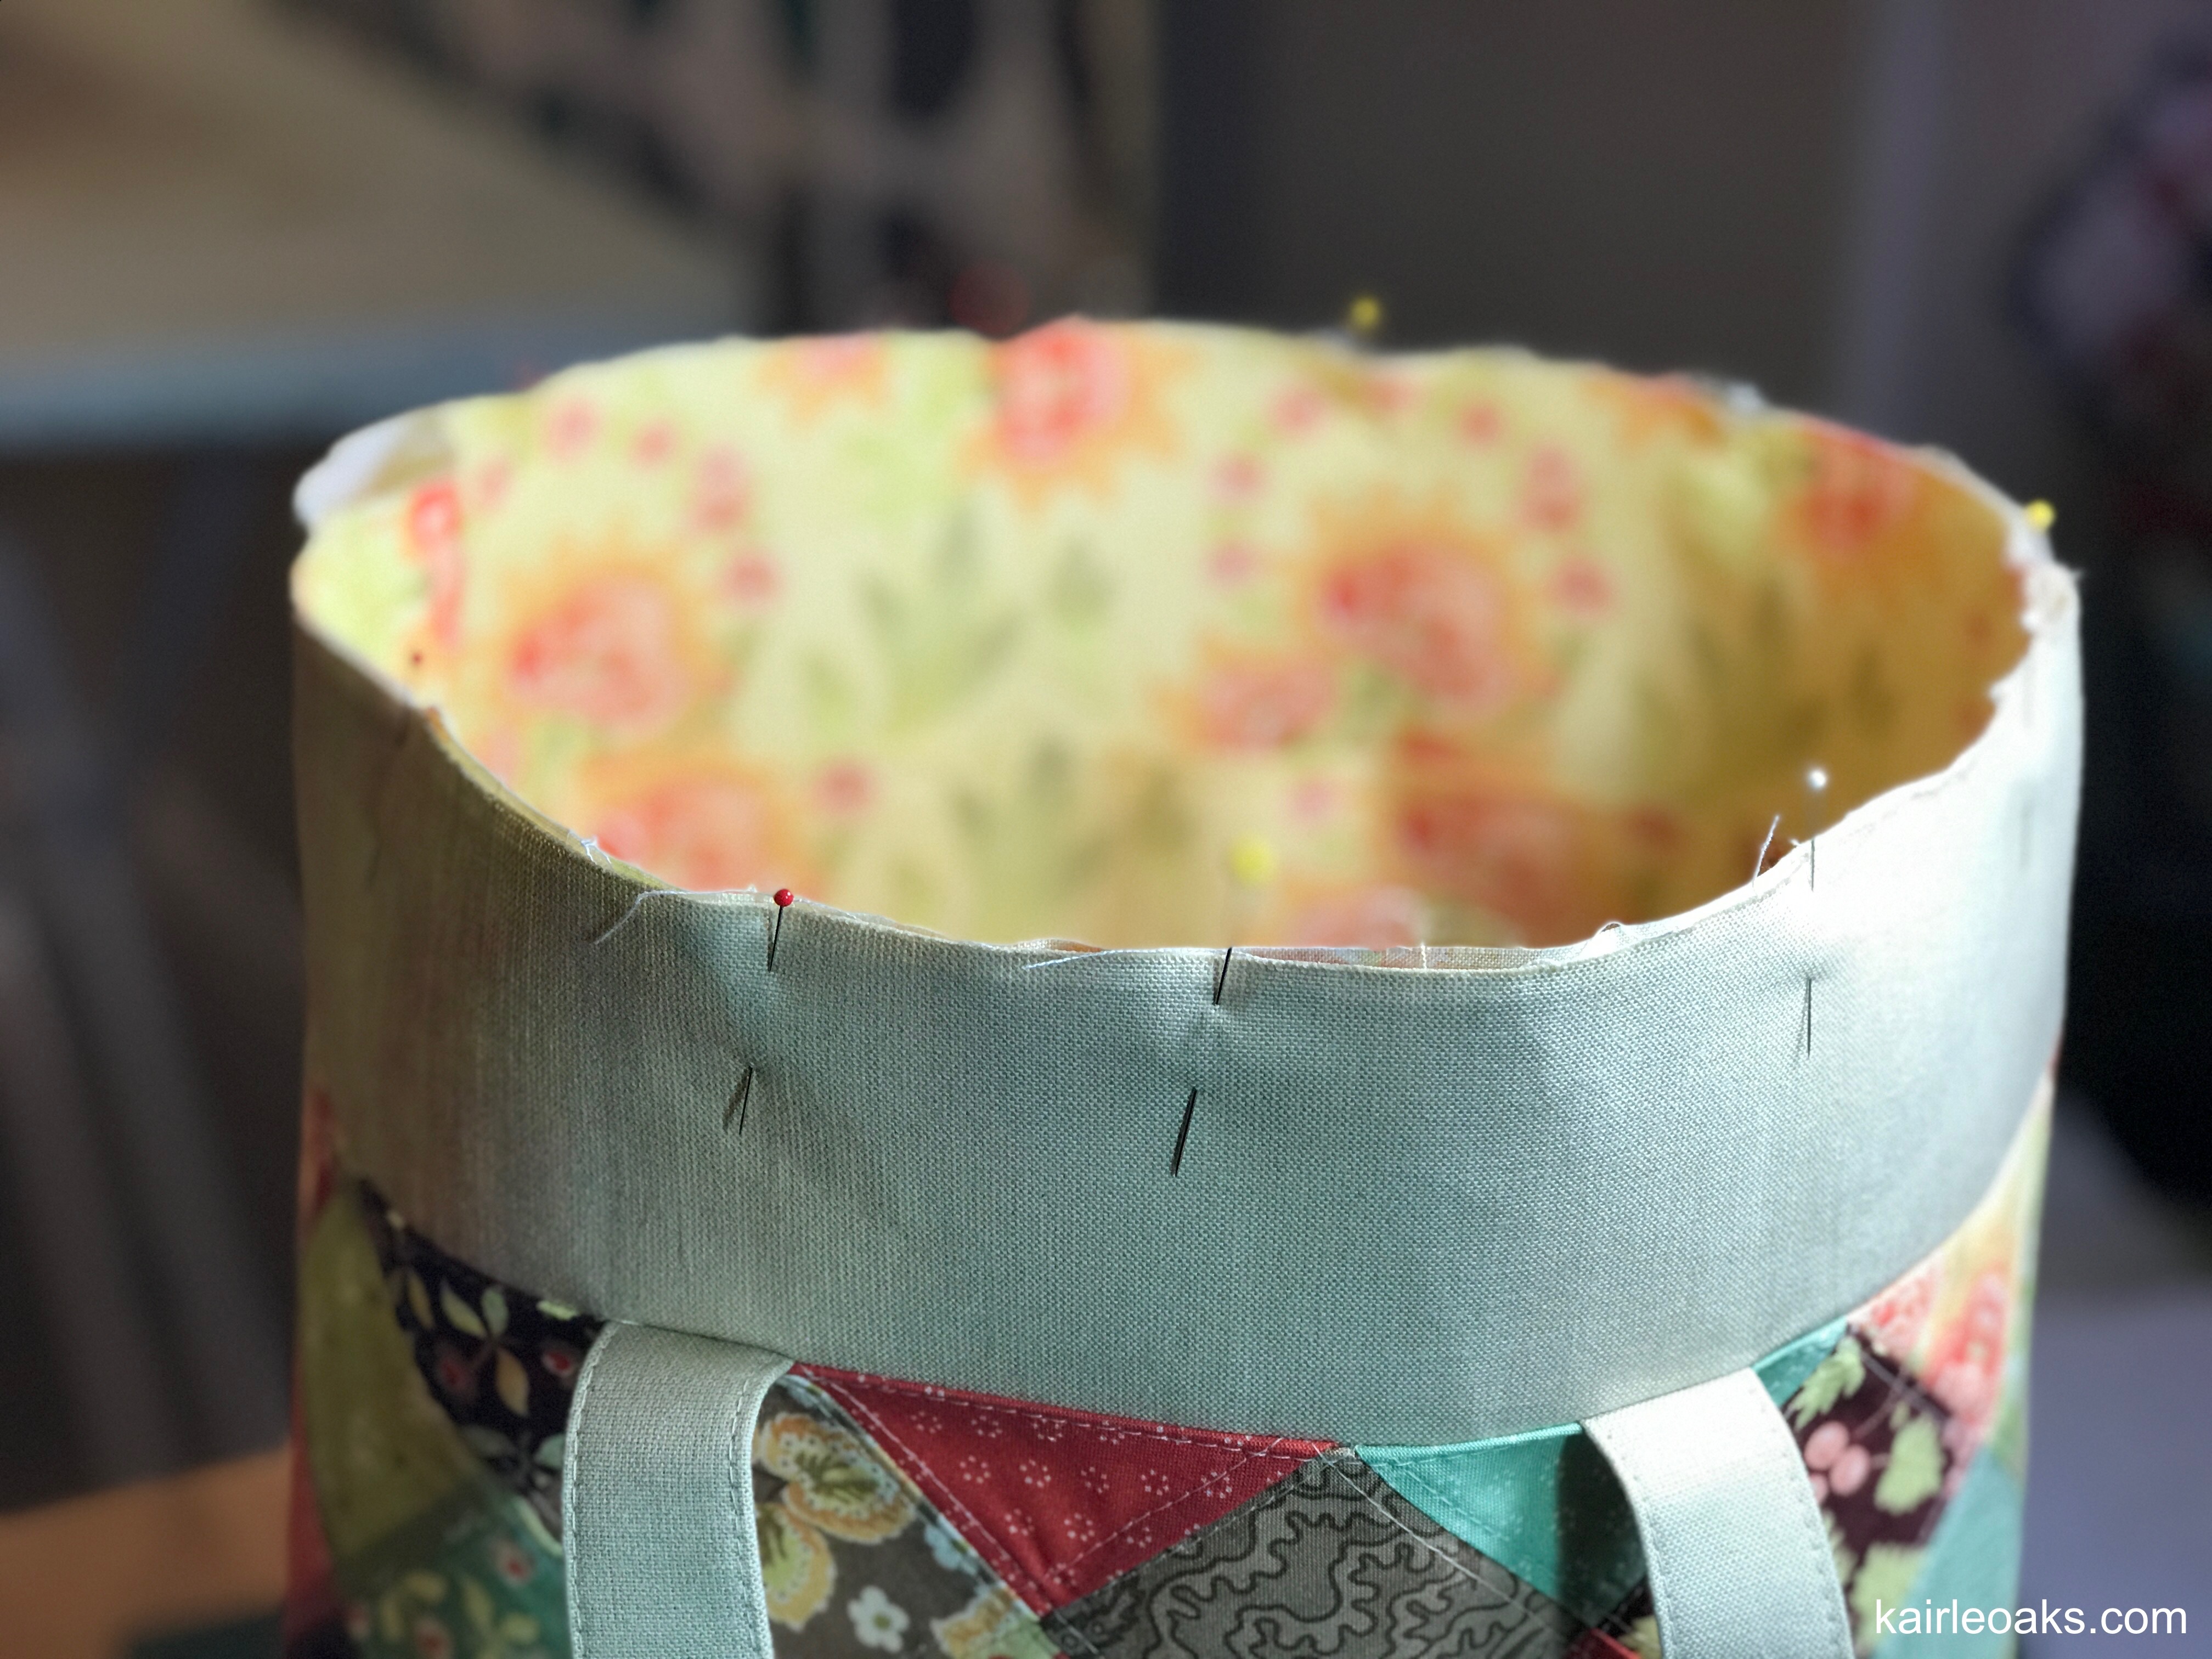
- Insert the lining into the bag, making sure that the pocket is at the backside of the bag.
- Align seams and pin together around raw edges.
- Baste the top edges together, close to the raw edge.
- With 2-1/2" binding strip, press wrong sides together, lengthwise.
- As you would for binding a quilt, attach the binding strip to the inside of the bag, aligning raw edges at the top.
- Start on the back of the bag, so that the binding seam is in the back. If you're really cleaver, you can line your binding seam up with one of the straps, so that it will not show when the bag is finished.
NOTE: If you have never bound a quilt, and the above instructions are unfamiliar to you, you can easily search the internet for instructions on how to bind a quilt.

- This is what it will look like once the binding is attached.

- Fold binding over the raw edges of the bag.
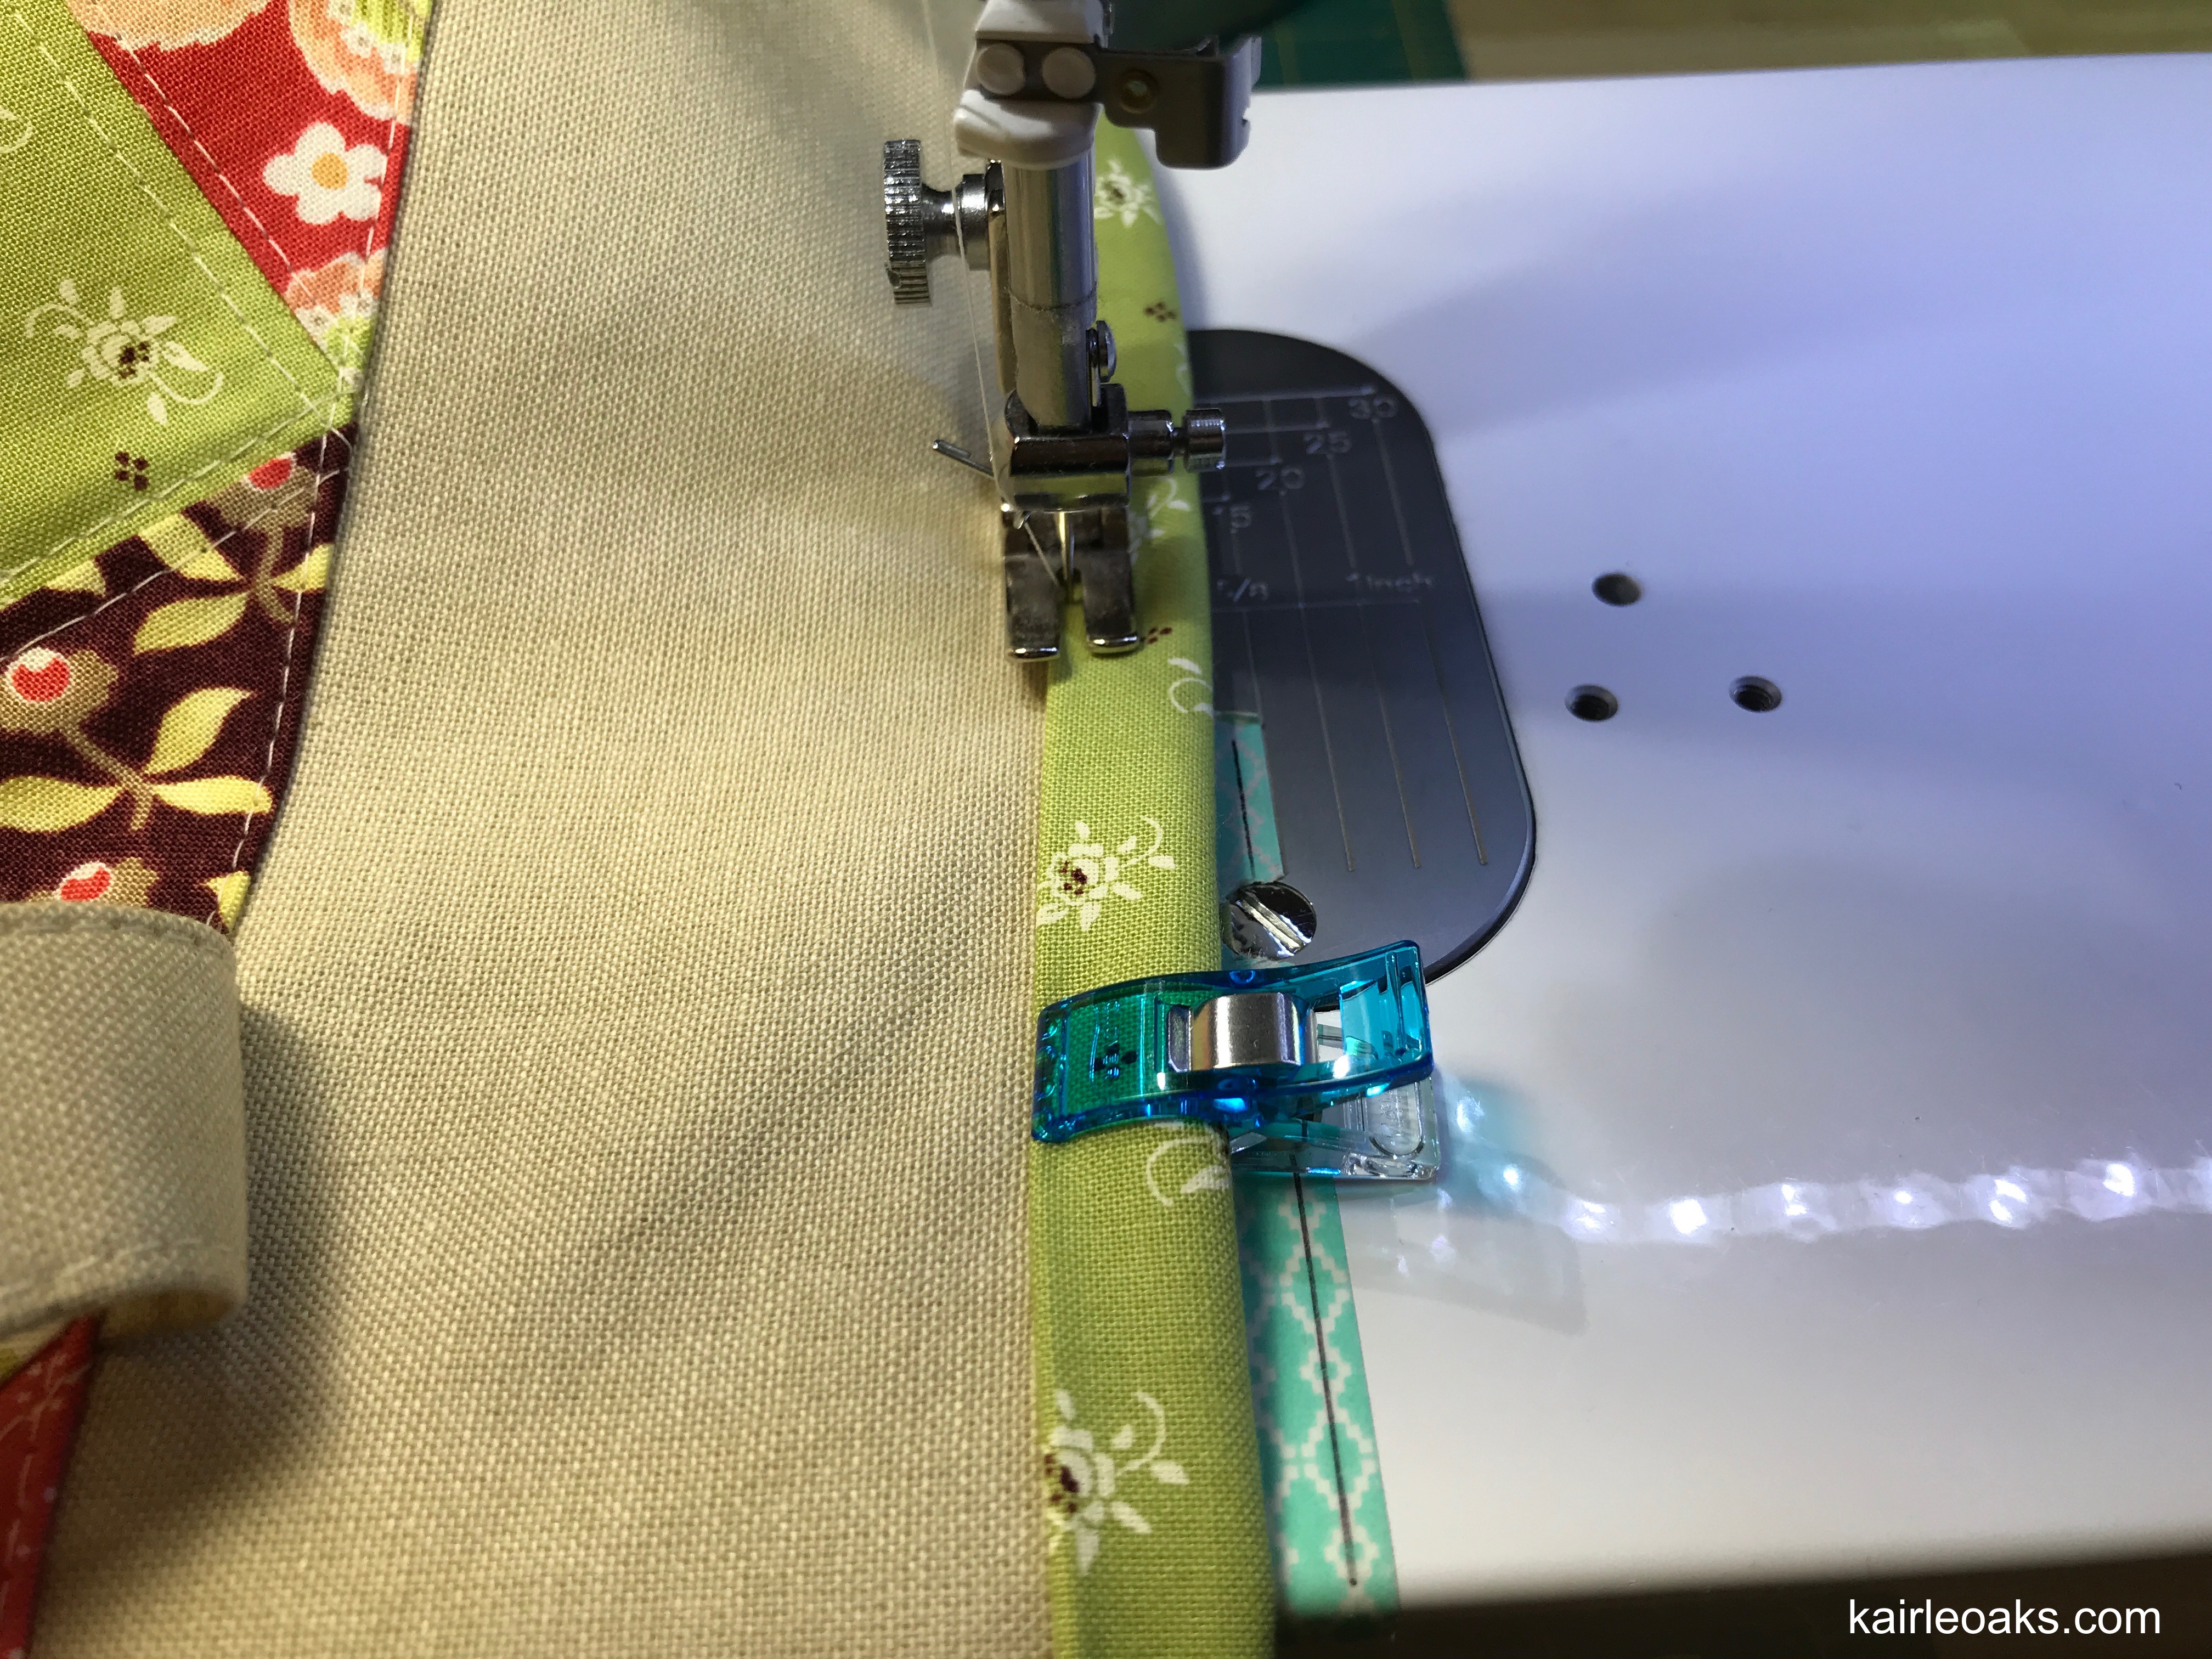
- Use clips or pins to hold in place.
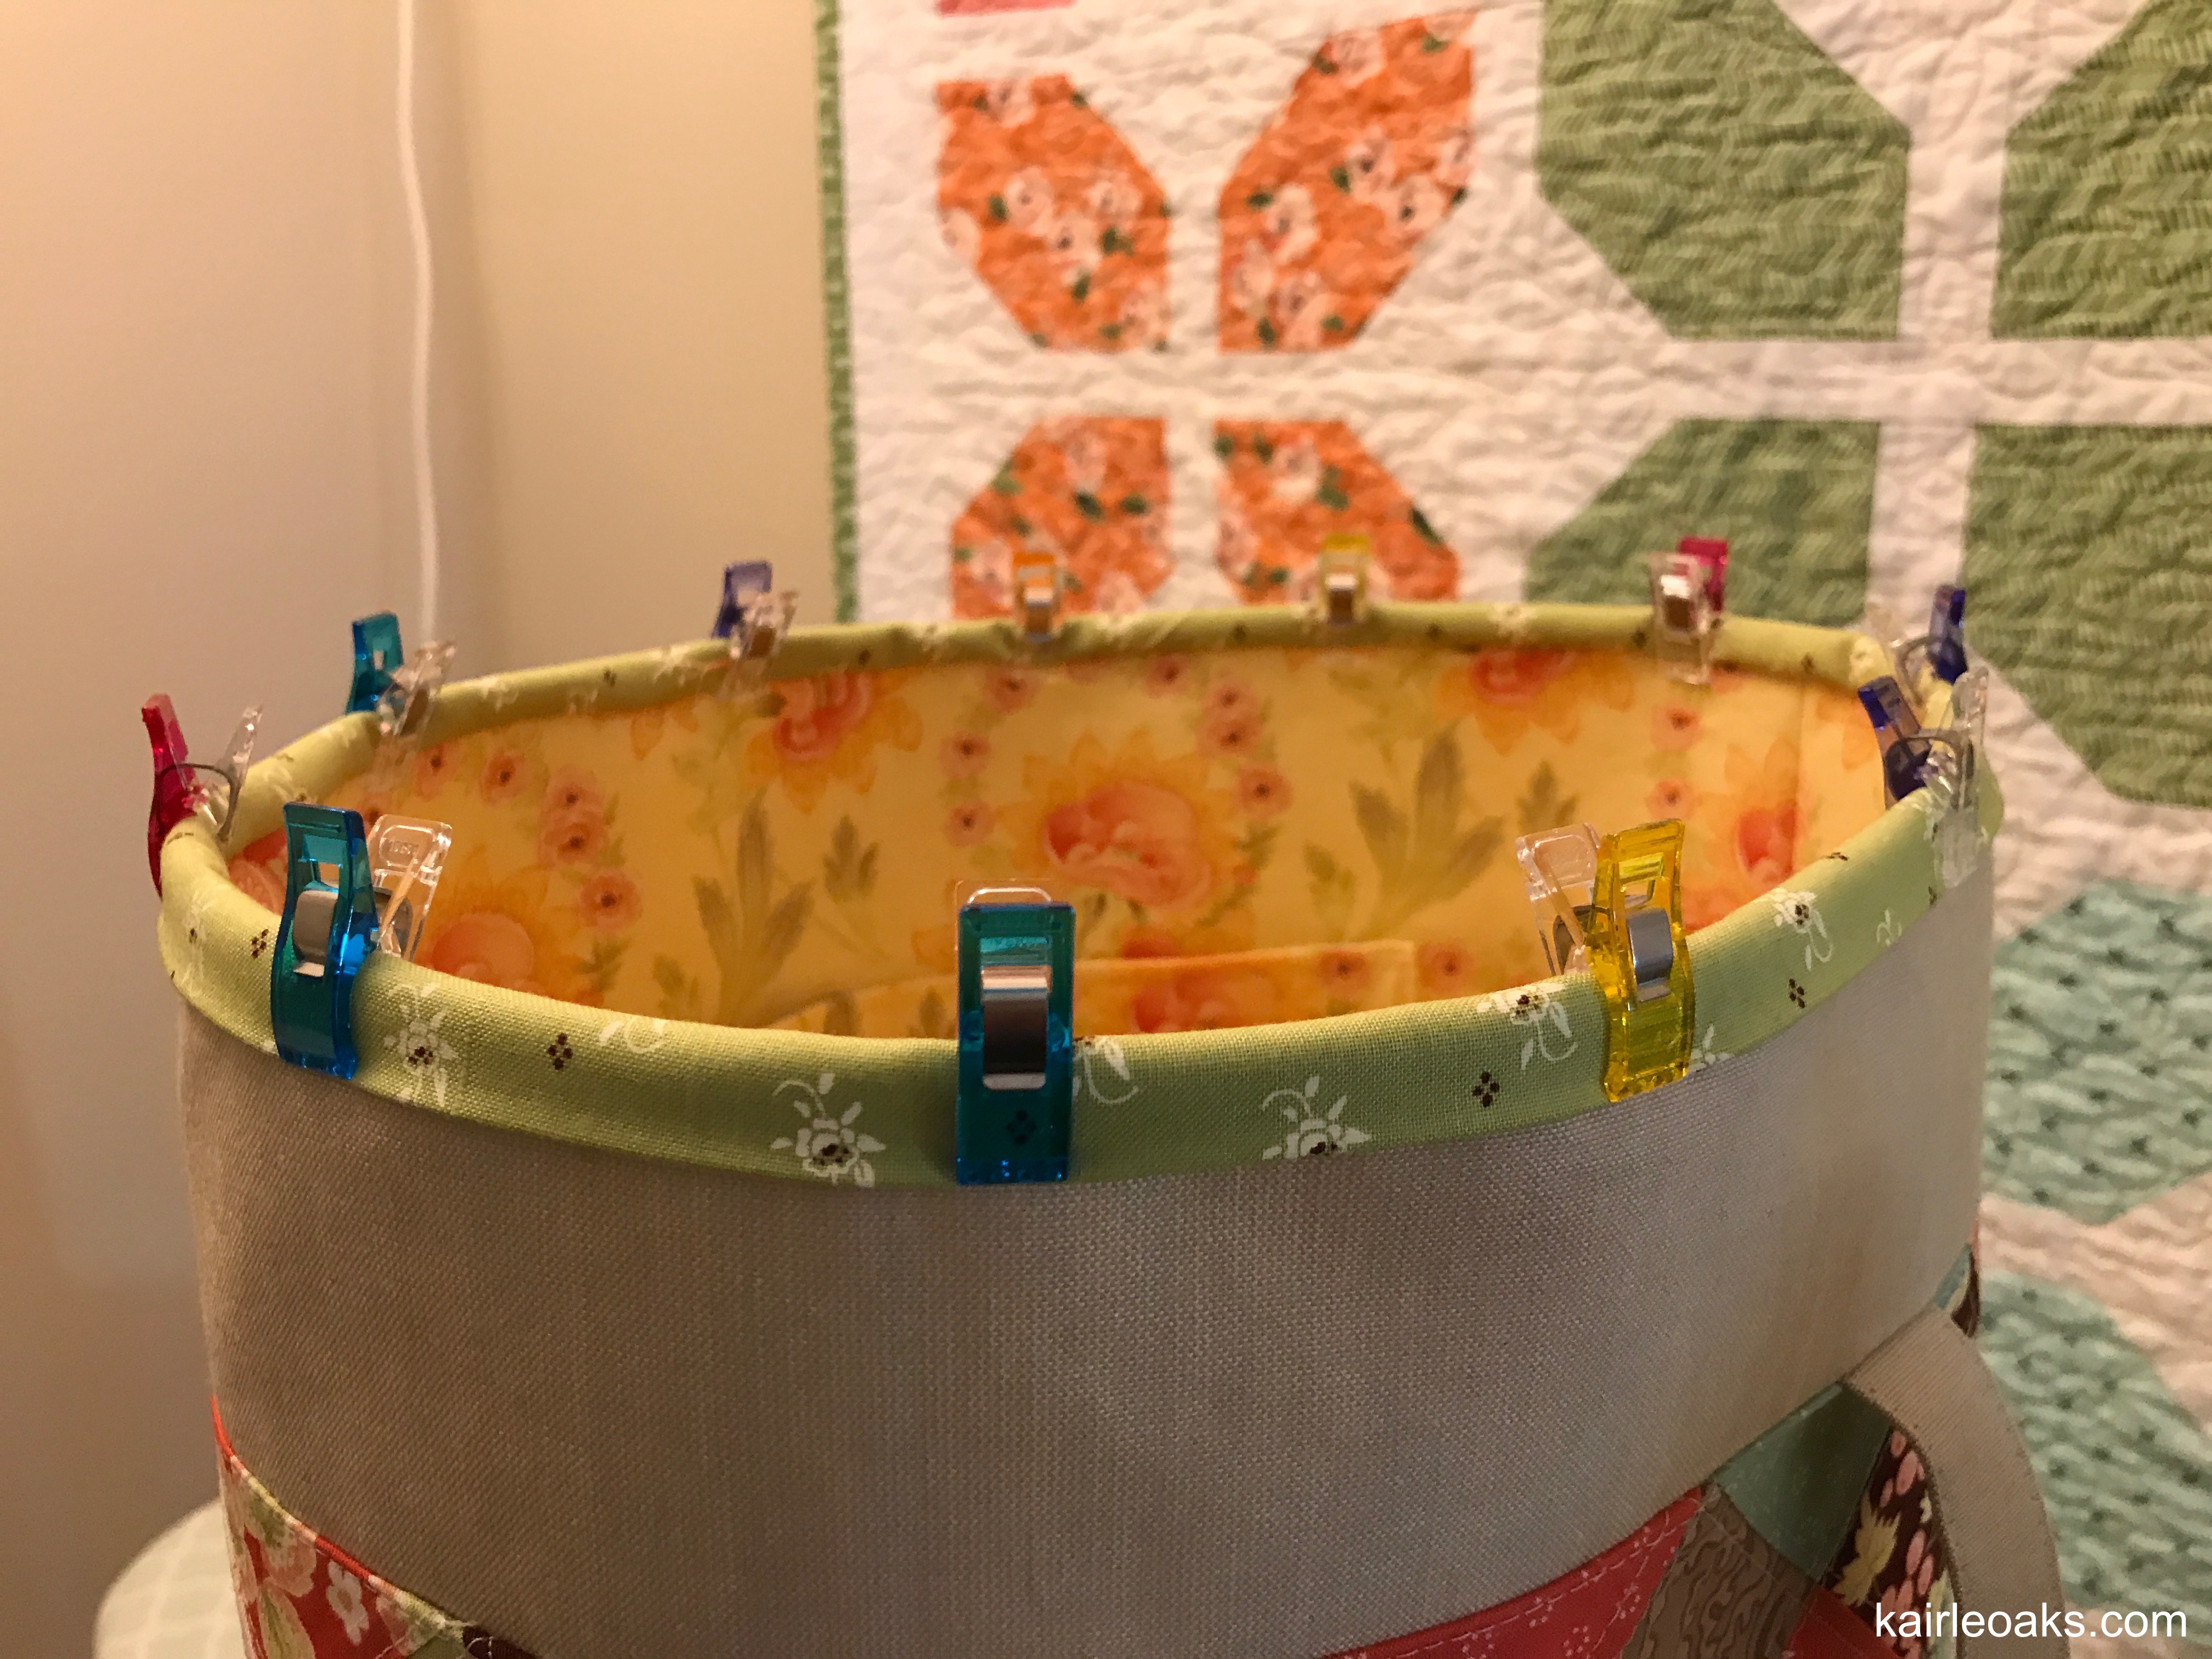
- Stitch close the edge of the binding.
Here's our final step! Hooray!!!
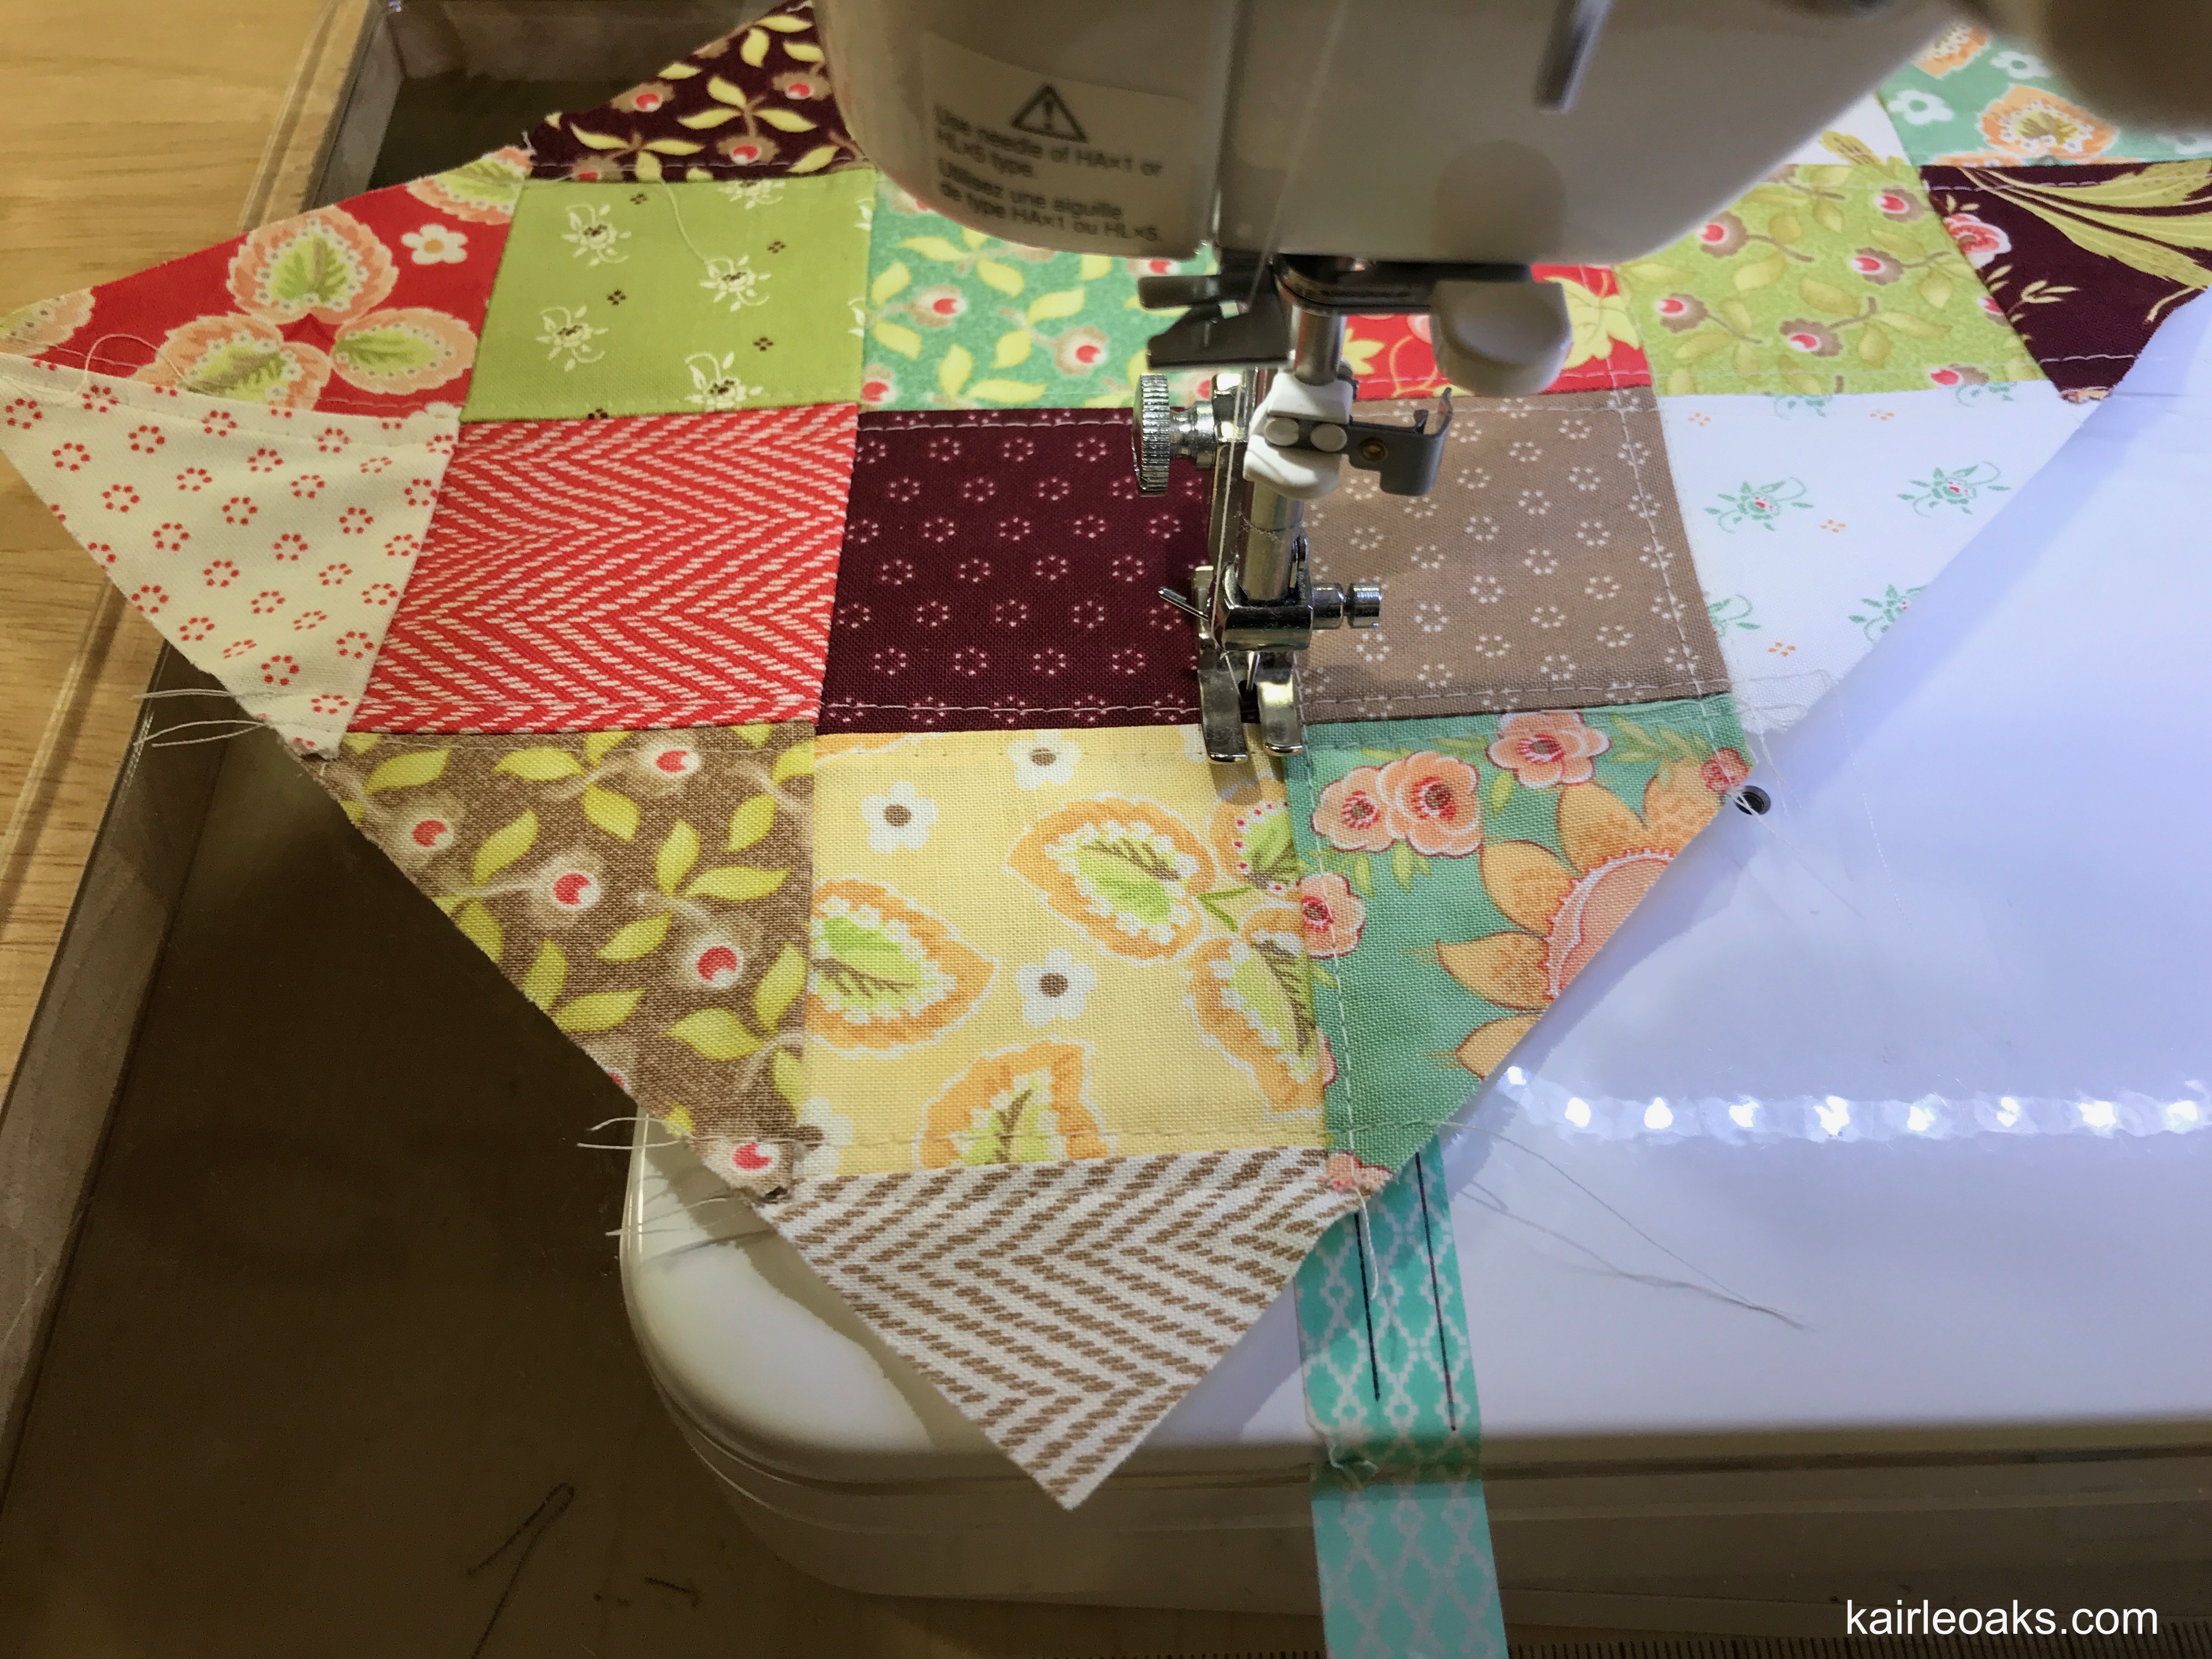
- Making sure that the straps are straight up, carefully stitch over the topstitching on the straps, as shown. Stop before you get the the binding. Backstitch when you begin and end.
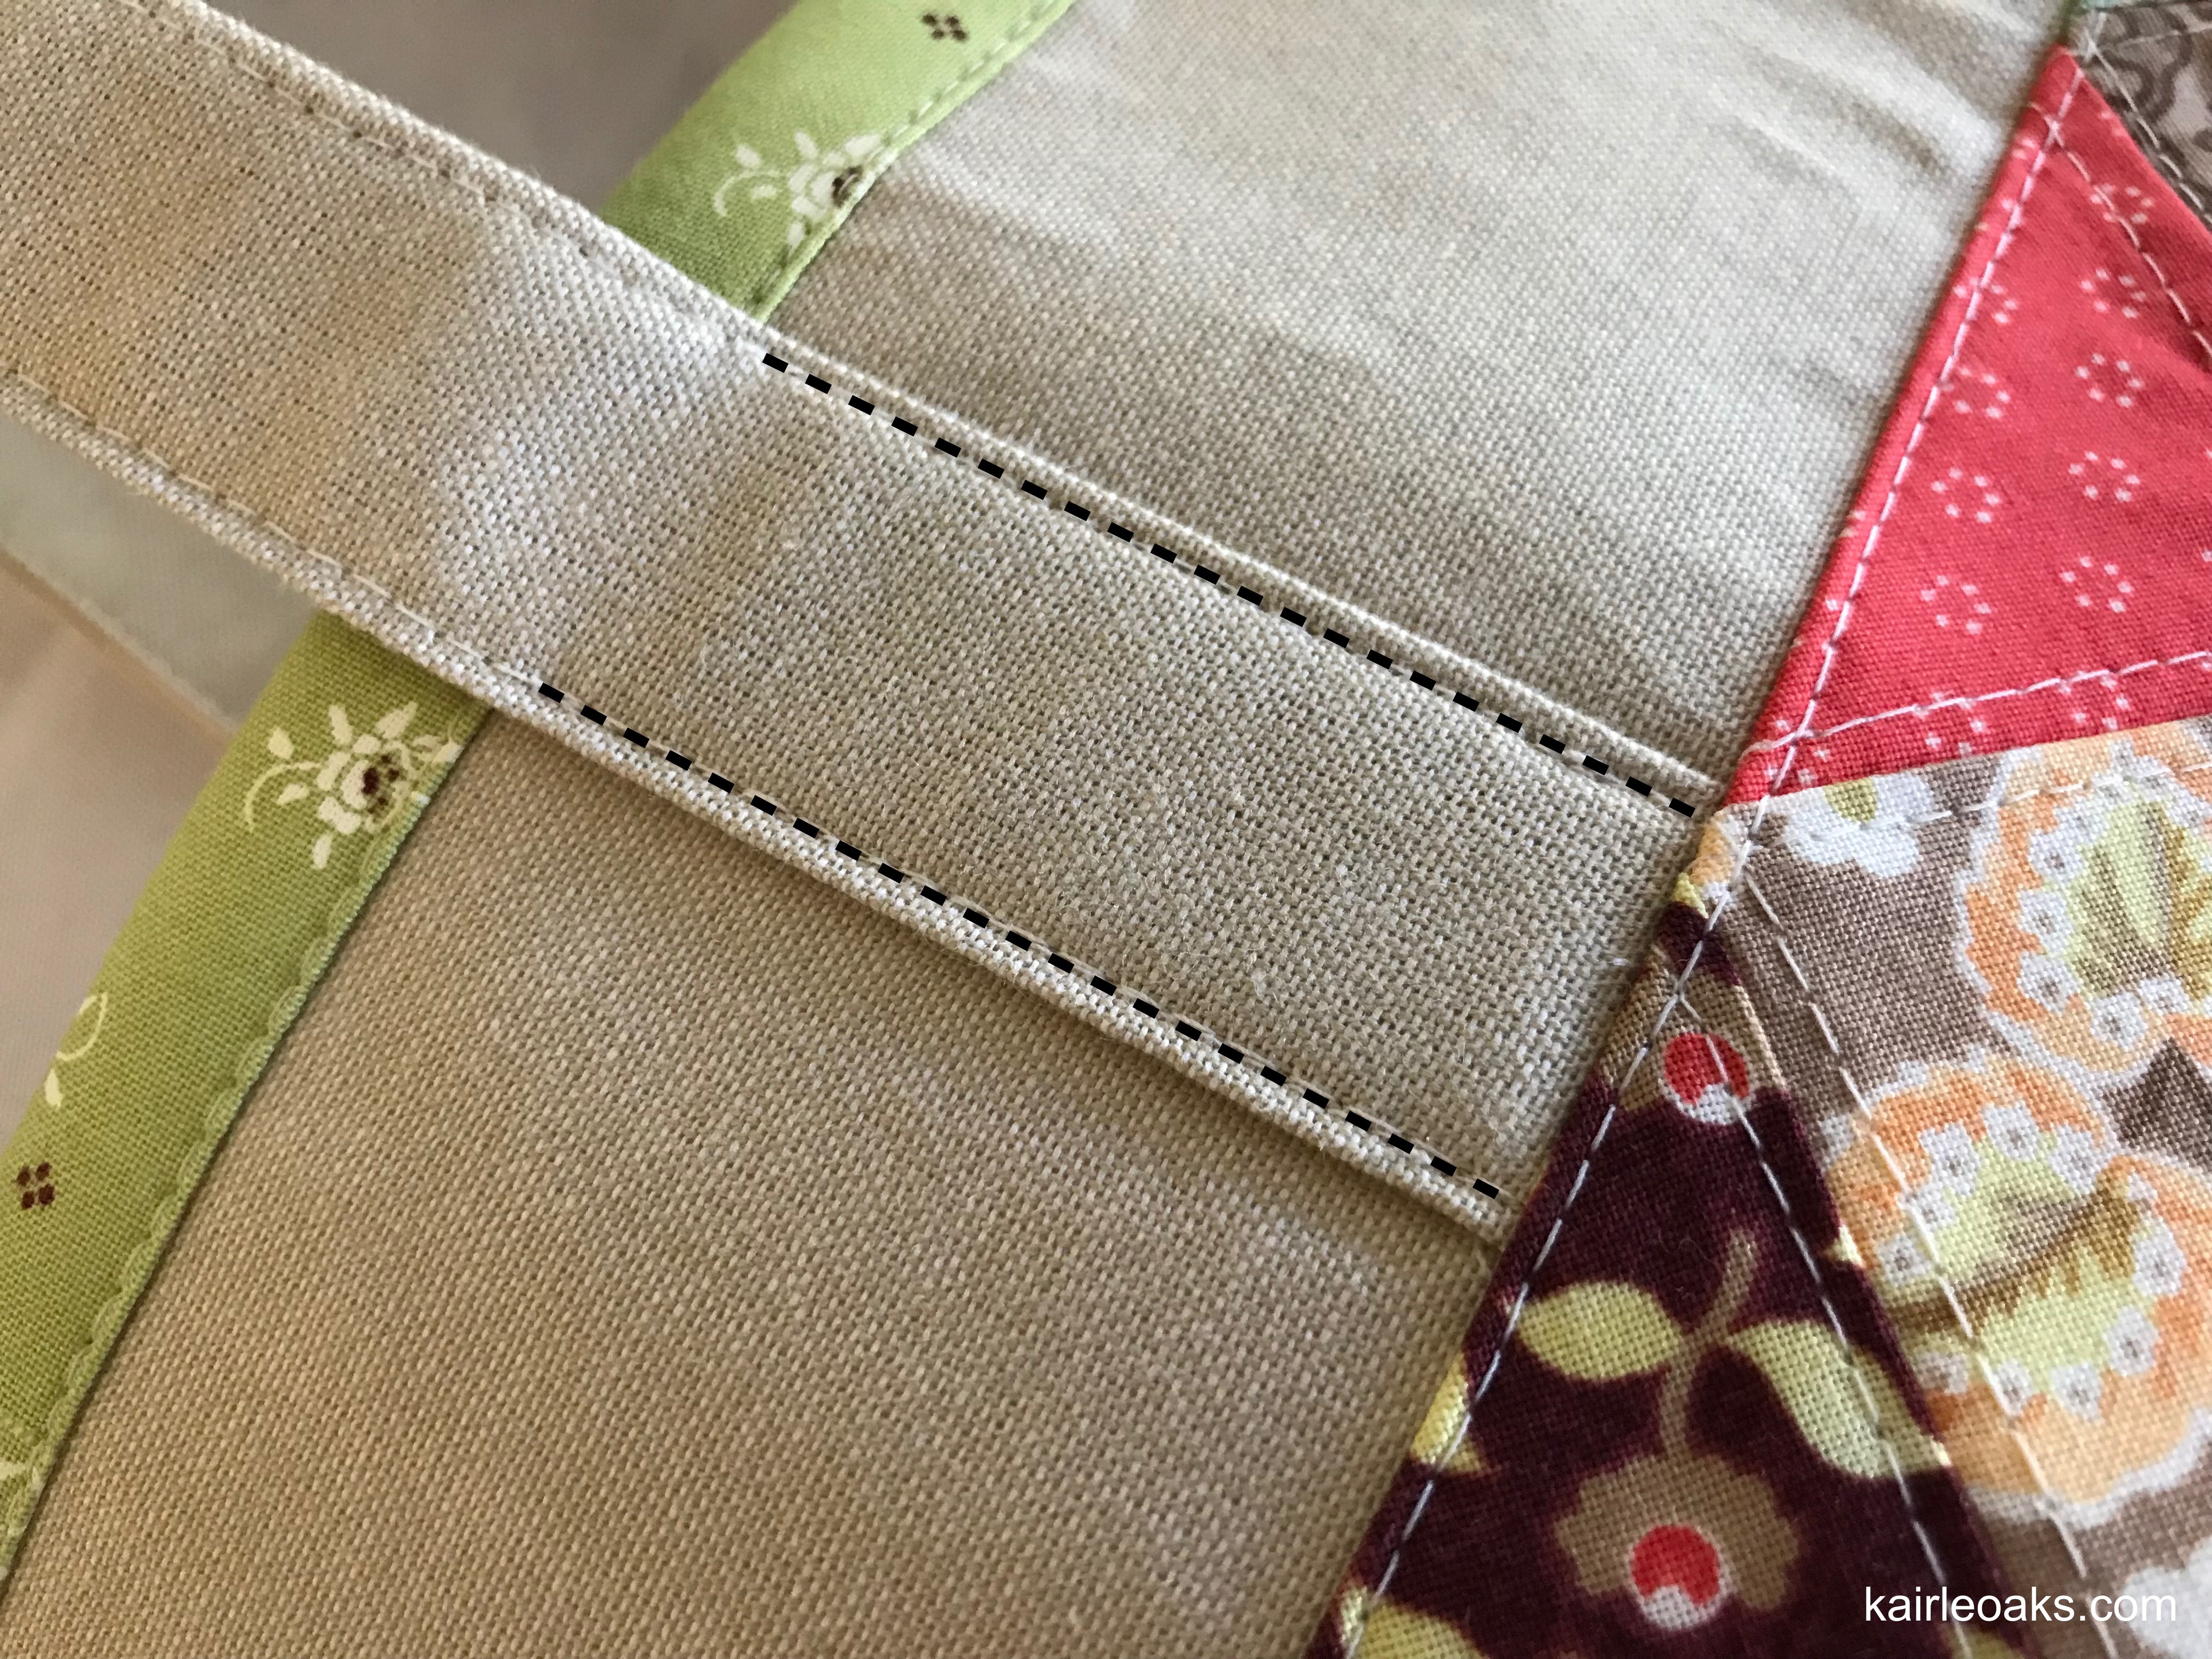
And there you have it! An En Pointe bag made by YOU!

![]()
This bag finishes 11" W x 13-1/2" H x 4" D.
I hope you enjoy making this beautiful bag. When posting on social media, please use "#enpointebag", and tag me so that I can see your fantastic work.
Kairle Oaks
![]()
Posted in:
Comments