Warehouse Closed On July 4th
Make & Take - Gift Bag & Pillowcase
Make & Take - Gift Bag & Pillowcase
Published:
Aug 6 2021 - 06:40
Think of this as a gift surrounding another gift.
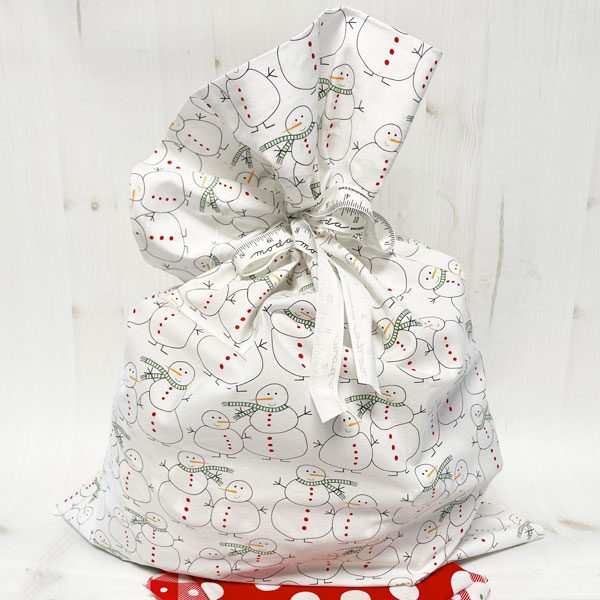
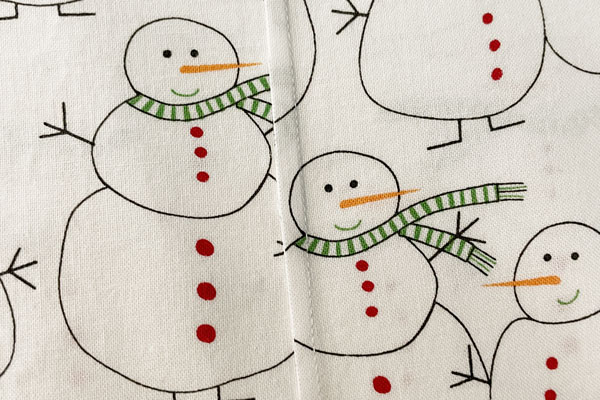
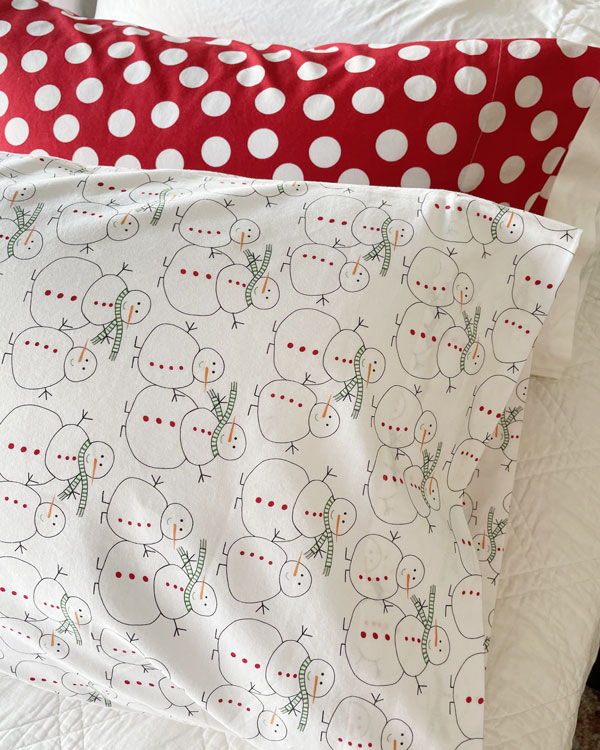
Merry & Bright by Me & My Sister Designs - Snowman (22400 13).
Many of us like adding Christmas decor throughout our home, and one of the easiest ways to add a bit of holiday to a bedroom is with a Christmas-themed pillowcase. From a pretty, Christmas floral to a whimsical family of snowmen, it's a great way to get in the holiday spirit. And encourage long winter naps with visions of sugar plums...
Whether this is a gift bag that can be used as a pillowcase, or a pillowcase that doubles as a cute big gift bag, they're easy to make. Don't let the French seam worry you, it's easily done and gives this a really nice finish.
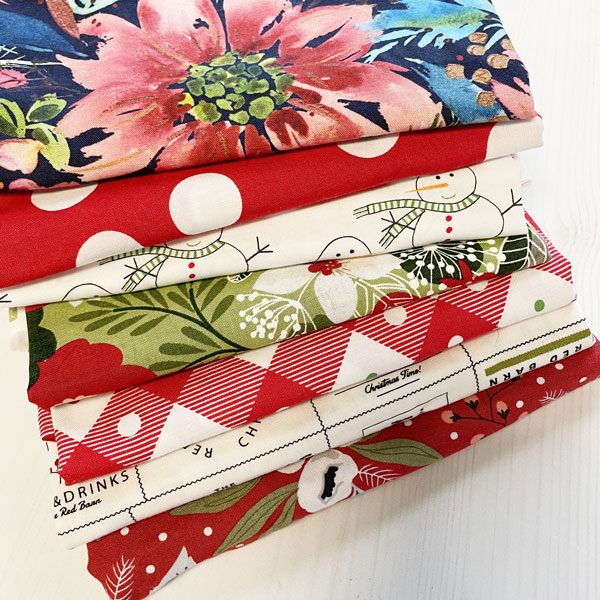
The collections and fabrics from top to bottom:
- Starflower Christmas by Laura Muir for Create Joy Project - Starflower (8480 14)
- Merry & Bright by Me & My Sister Designs - Merry Giant Dot (22405 11)
- Merry & Bright by Me & My Sister Designs - Snowman (22400 13)
- Hustle & Bustle by BasicGrey - Carols (30660 16)
- Merry & Bright by Me & My Sister Designs - Merry Plaid (22404 11)
- Red Barn Christmas by Sweetwater - The Invitations (55530 14)
- Christmas Morning by Vanessa Goertzen for Lella Boutique - Snow Blossoms (5140 16)
While there are many wonderful pillowcase patterns available online, we want to share one of our favorite versions. All you need is at least one yard of fabric and matching thread. It is finished with a simple fold-over hem without piping, edging or embellishment. You're welcome to add that, it's just not required.
The first thing to know is the three pillow sizes for bed pillows:
- Standard – 20” x 26”
- Queen – 20” x 30”
- King – 20” x 36”
Yardage Requirement. This includes a bit “extra” to allow for shrinkage and straightening the cut edge after washing.
- Standard – 1 yard
- Queen – 1-1/8 yards
- King – 1 ¼ yards
Fabrics should be pre-washed. (This way it won't be too tight, or too short for the pillow after it's washed.)
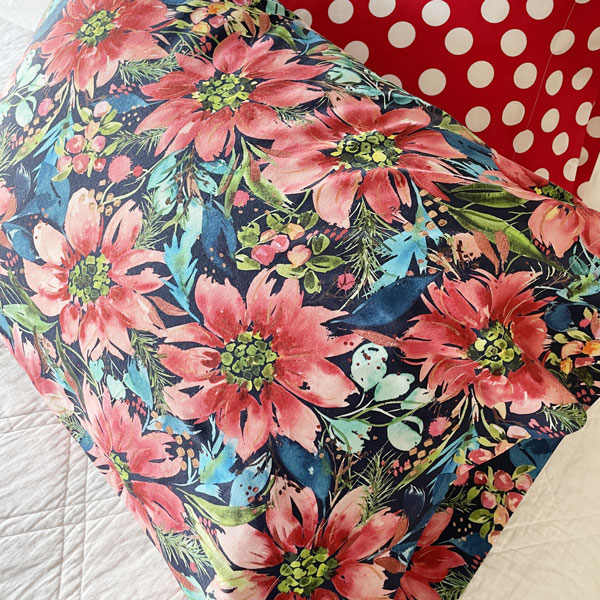
Starflower Christmas by Laura Muir for Create Joy Project - Starflower (8480 14).
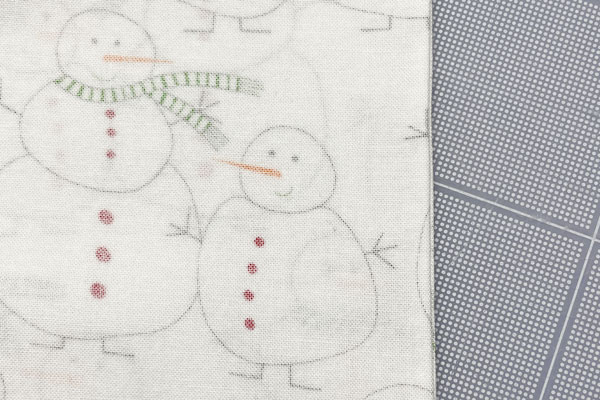
Step 1. Fold the fabric right-side-out so that the selvages are aligned and the fold is smooth. Press so that the fabrics are smooth – press the fold. Turn the fabrics over and press on the other side.
- A little bit of starch or sizing is optional – and recommended.
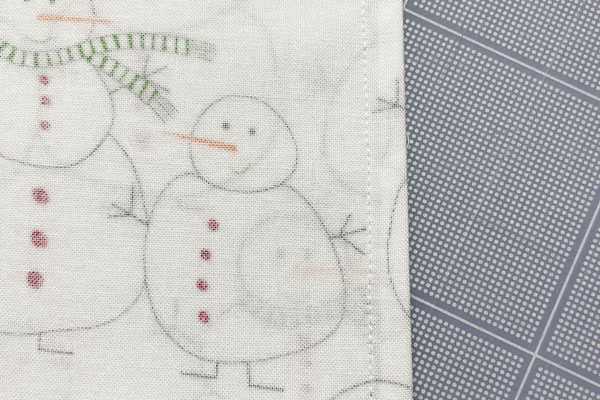
Step 2. Cutting. Measure from the fold to the selvage edge
– 21”. Mark with a chalk marker or pen.Trim the selvage side only so that the piece of fabric measures 21” from the fold.
Step 3. Now cut the piece of fabric to the following length:
- Standard – 35” long
- Queen – 40” long
- King – 45” long
Step 4. Open the folded fabric. On one 41” crosswise edge, fold the fabric up 4½” and press on the fold. This will be the hemmed end of the pillowcase.
Note: If the fabric is directional, make sure the hem is on the side so that the finished pillowcase will be right-side-up with the fold on the top and the seam on the bottom.
Step 5. Re-fold the fabric with right-sides-out – wrong-sides-together – and stitch ¼” along the long edge of the fabric.

Trim the seam to a generous 1/8”.
Press the seam to one side.
Step 6. Turn the pillowcase wrong-side-out and press the seam to create a smooth fold.
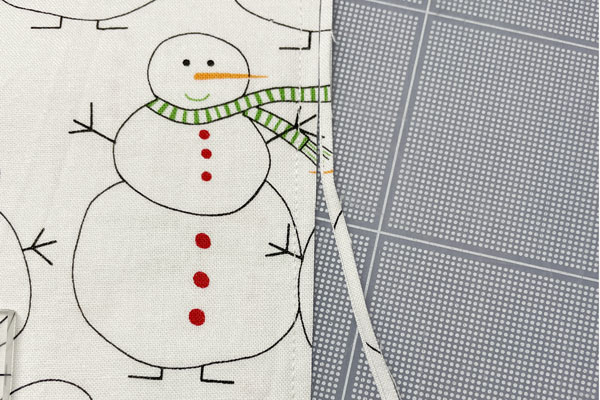
Step 7. Stitch ¼” from the edge of the folded seam – enclosing the edges of the first seam within the second seam. Turn the pillowcase right-side-out and press the seam so that it is flat and smooth.
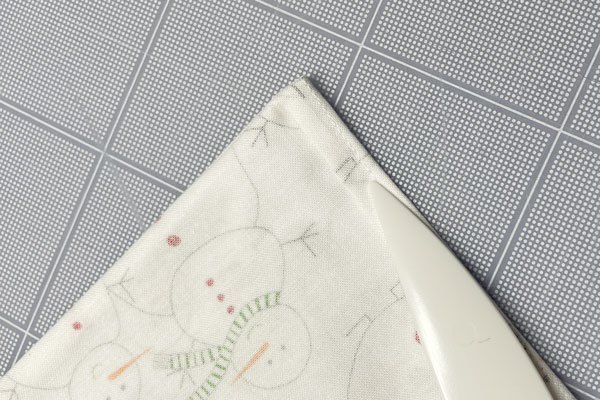
Step 8. On the end without the folded-pressed hem, align the edges and stitch a ¼” seam with right-sides-out. (As in Step 5.) Trim the seam to a generous 1/8”. Press the seam to one side. Turn the pillowcase wrong-side-out and press the seam on the fold so that it is smooth. Use a point-turner to gently push out the two corners.
The corner with the seam will fold neatly to one side as shown.
Step 9. Stitch ¼” from the edge of the folded seam.
Step 10. With the pillow case still wrong-side-out, re-press the folded hem edge as needed. Turn the raw edge under ½” and pin in place. Machine-stitch the hem along the edge. Press.
Note: Use a piece of masking or washi tape to mark a line 4" from the needle, and use this as a guide for a straight, even hem.
Other seam finishes? If you have a serger, the seams can be serged instead of finished with a French seam. This can also be made with a pinked-seam edge - stitch 1/4" from the edge of the fabric, then trim the seam with pinking shears. If your machine has an overcast stitch and presser foot, that also works.
Step 11. Turn the pillowcase right-side-out, use the point-turner to gently push out the corners, and press the seam flat.
There you have it!
While there are many pillowcase patterns and ideas available, what I like about this one is that it holds up well to being used, washed, and enjoyed. And all I need is 1 yard of fabric, matching thread, and about thirty minutes of time. (The first couple of steps of cutting the big rectangle will take the most time.)
The last thing to share is options. I have used this method to make pillowcases using V & Co. Ombrés, Primitive Gatherings' yummy plaid flannels, French General and Regent Street lawns, Moda Wovens, and Ruby Star Society fabrics. It's the fastest, easiest way to change up the look of a bedroom, and make pillowcases that coordinate with a quilt. Just saying.
The only problem is that sometimes, these are almost too pretty to use.
Almost.
Comments